Evaluating and Deploying LLMs
Prerequisites
An Azure subscription where you can create an AI Hub Resource and a AI Search service.
Setup
If you are running this Lab after lesson 1, you don’t need to worry about this step. Otherwise, follow Setup from Lesson 1 to create a project and its associated resources in Azure AI Studio, as well as to deploy the GPT-4 model.
Lab Steps
In this Lab, you will execute the following steps:
1) Evaluate your Chat flow.
2) Deploy the RAG flow to an online managed endpoint.
1) Evaluate your Chat flow
Go to your browser and type: https://ai.azure.com
Select the project created earlier and choose the Prompt flow item in the Tools section of the Build tab.
1.1) Prepare you chat flow for evaluation
For the RAG flow that you created earlier to be evaluated, you must include additional information to the output node of this flow, specifically the context used to generate the answer.
This information will be used by the Evaluation Flow. To do this, just follow these steps:
In the Flows section of Prompt Flow, open the Multi-Round Q&A on Your Data flow that you created in the previous lab. This will be the flow we use for evaluation.

Create a new output named documents in the Outputs node. This output will represent the documents that were retrieved in the lookup node and subsequently formatted in the generate_prompt_context node.
Assign the output of the generate_prompt_context node to the documents output, as shown in the image below.

Click Save before moving to the next section.
1.2) Create your evaluation flows
Still in the Prompt flow item in the Tools section of the Build tab, click on the blue Create button.

Select the Evaluation Flow filter and click on Clone on the QnA Groundedness Evaluation card.
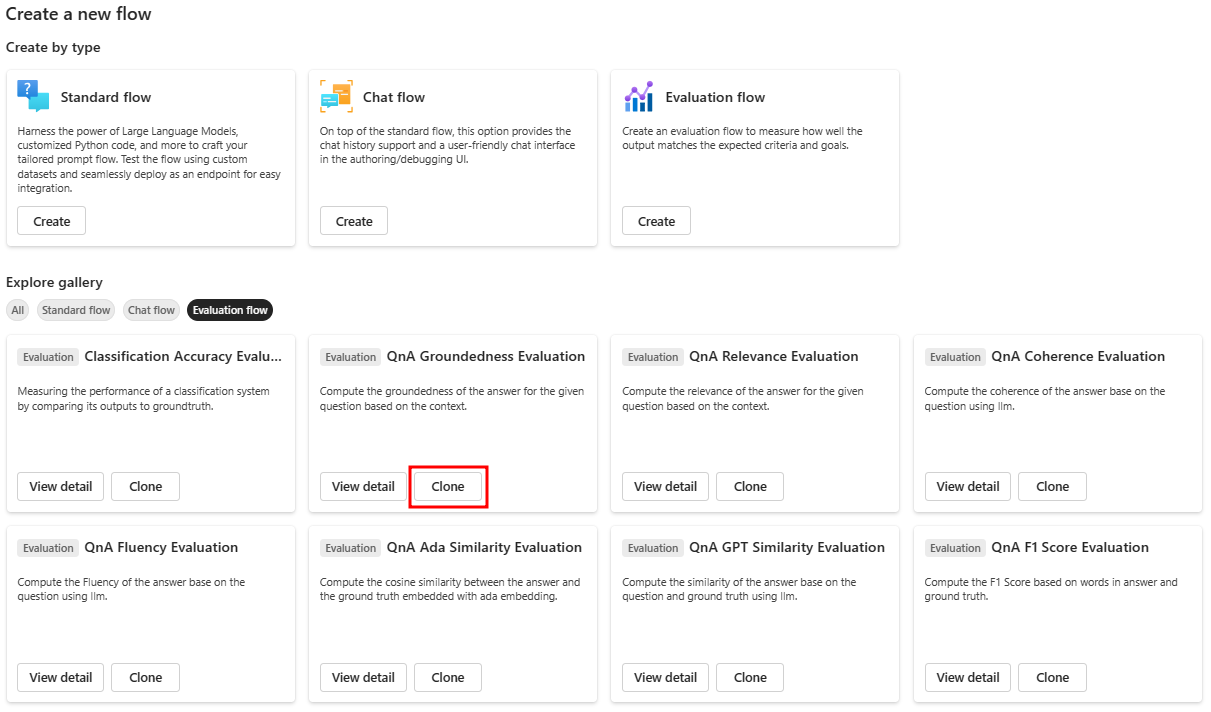
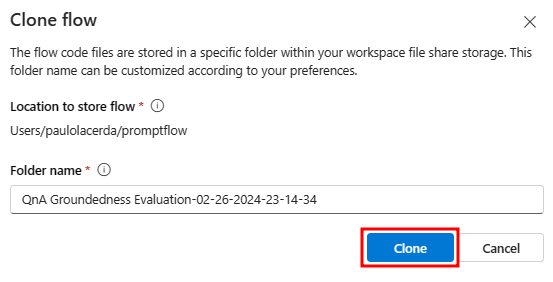
Click on the other Clone button to create a copy of the flow.
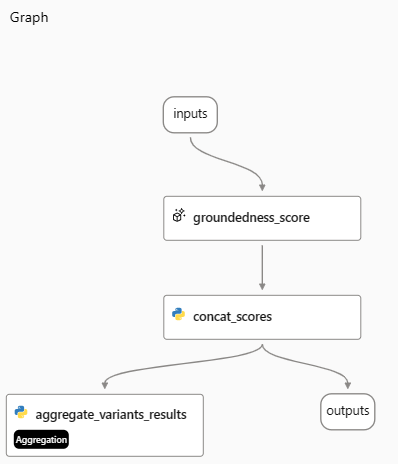
A flow will be created with the following structure:
Update the Connection field to point to a gpt-4 deployment in groundedness_score node also update max_tokens to 1000 as shown in the next figure.

After updating the connection information, click on Save in the evaluation flow and navigate to the Flows section in Prompt Flow item.
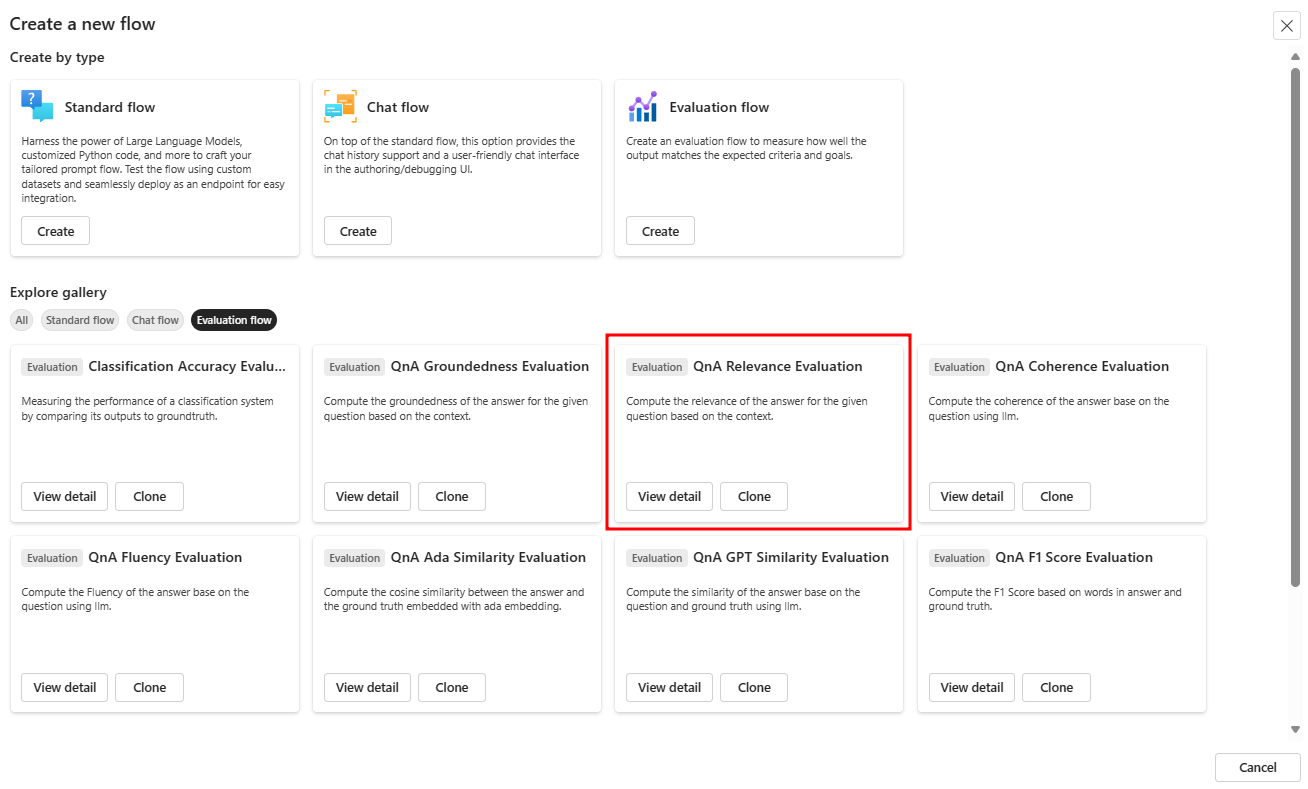
Now, you will repeat the same steps described so far in this section 1.2 to create two additional evaluation flows, one QnA Relevance Evaluation and another QnA GPT Similarity Evaluation. The two images below show where these flows are in the prompt flow gallery.
You will repeat section 1.2 steps twice since you will need to create two additional evaluation flows.
Note that the LLM nodes, where you will set the Azure OpenAI connection for each flow, have slightly different names: relevance_score and similarity_score, respectively.
QnA Relevance Evaluation:
QnA GPT Similarity Evaluation:
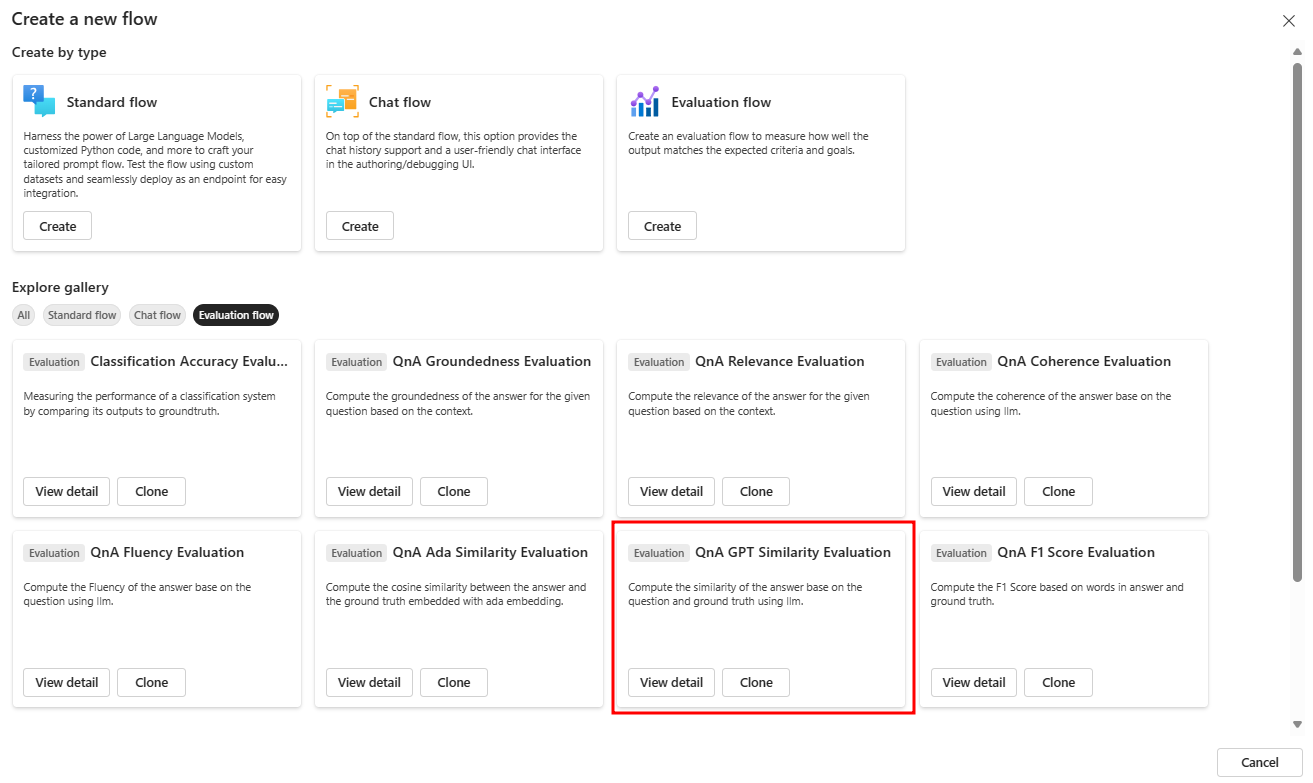
1.3) Run the evaluation
In the Flows section of Prompt Flow, open the Multi-Round Q&A on Your Data flow that you created in the previous lab. This will be the flow we use for evaluation.
Start the automatic runtime by selecting Start in the Runtime drop down. The runtime will be useful for you to work with the flow moving forward.

Now select the Custom evaluation option in the Evaluate menu.

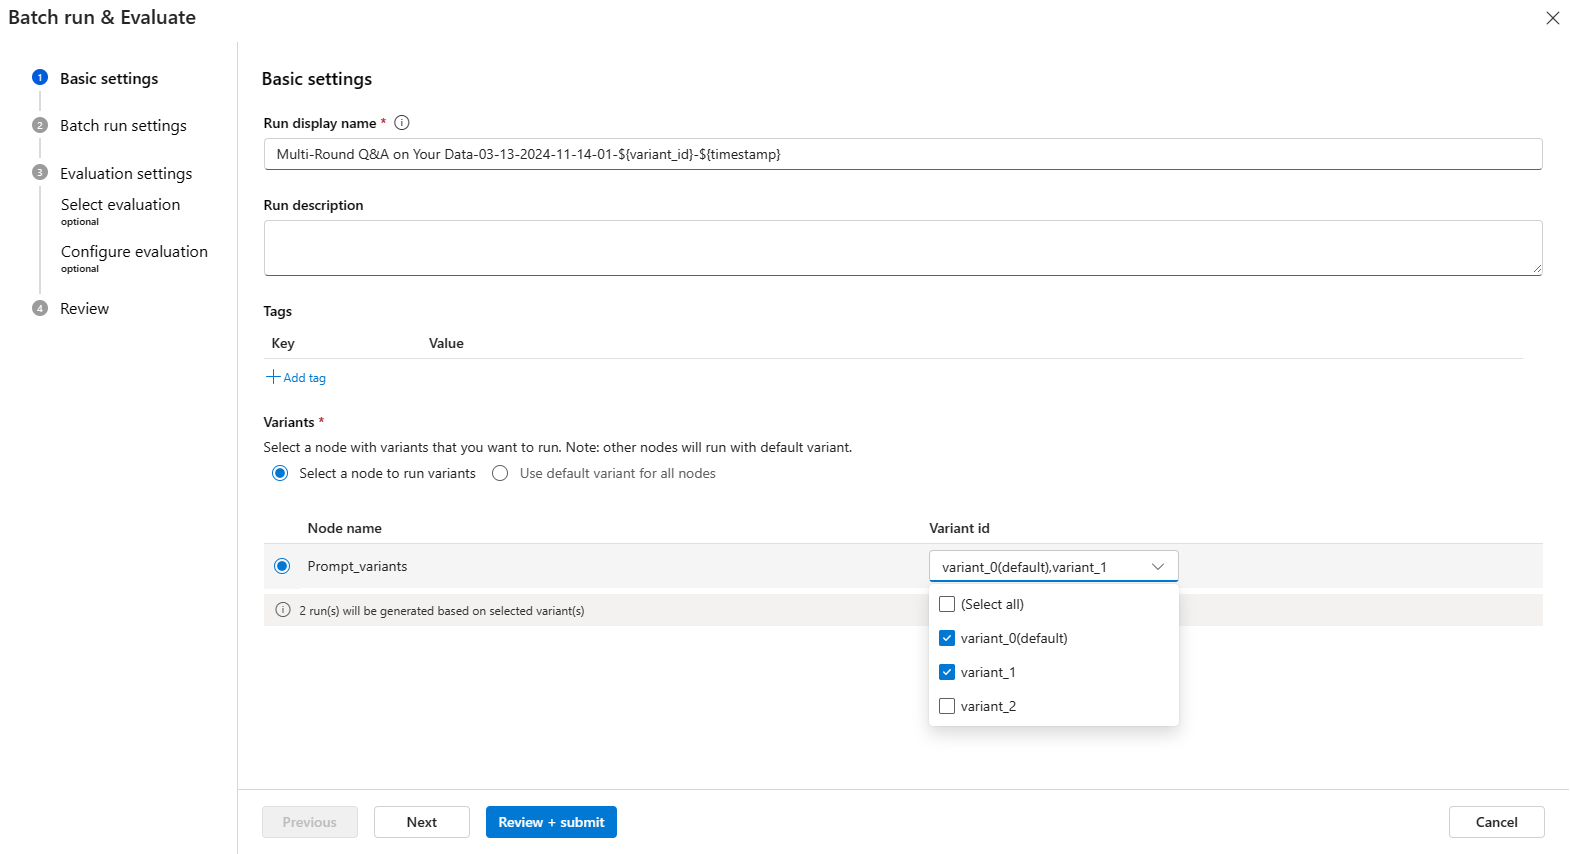
In the Prompt_variants option, select the option to run only two variants to avoid reaching your GPT-4 model quota limit, as shown in the example image below.
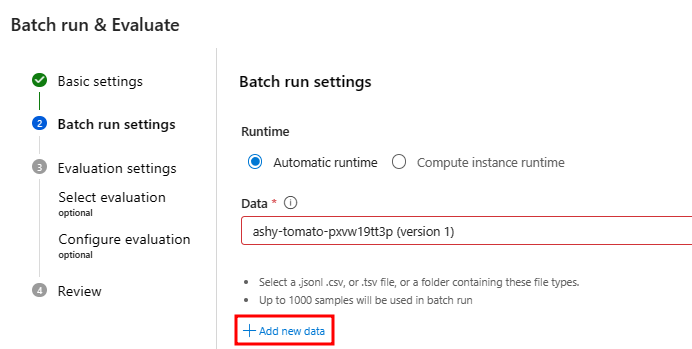
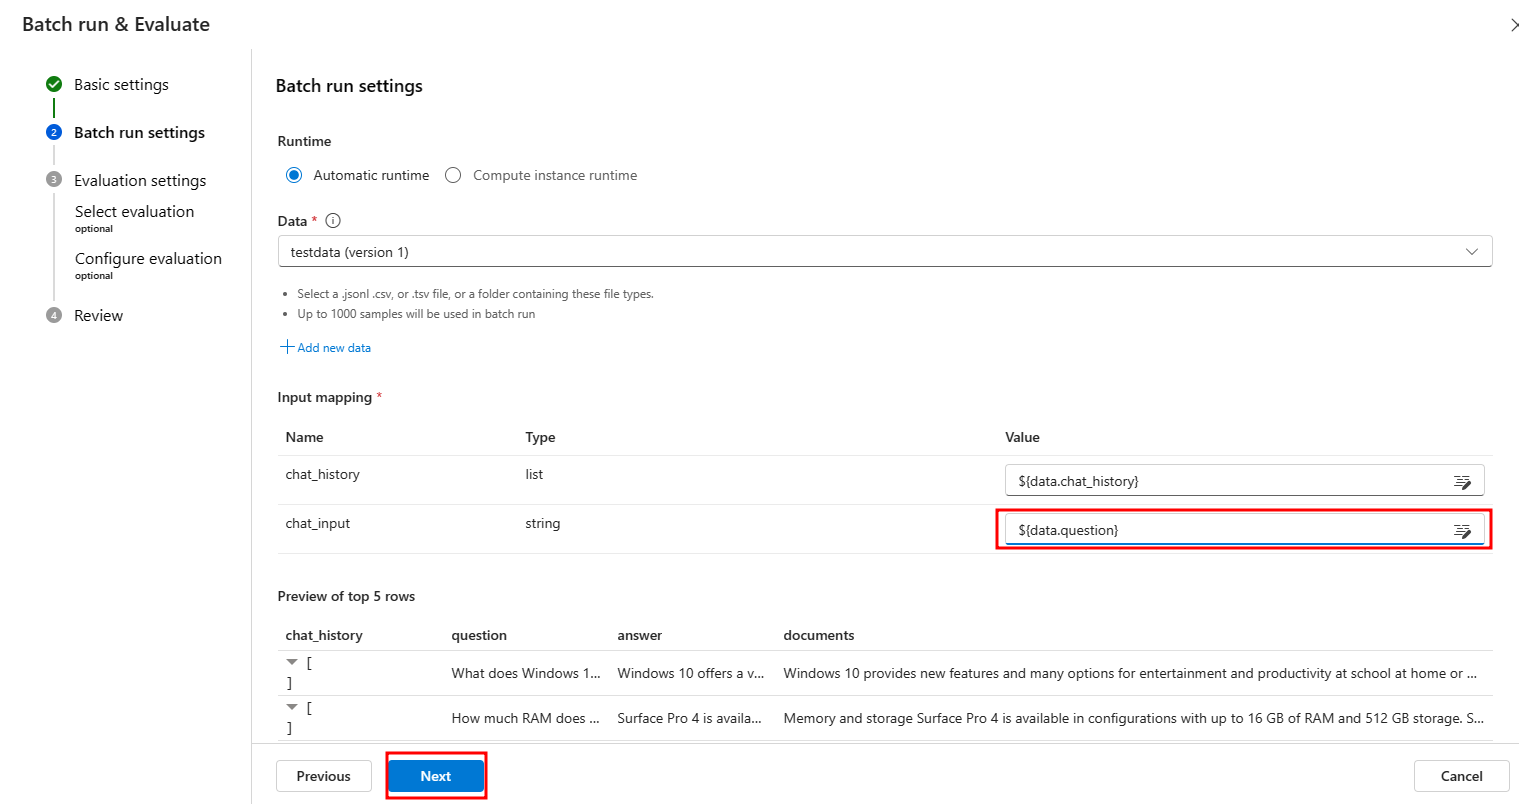
Select Add new data.
Upload the file data.csv inside the lesson_03 folder.
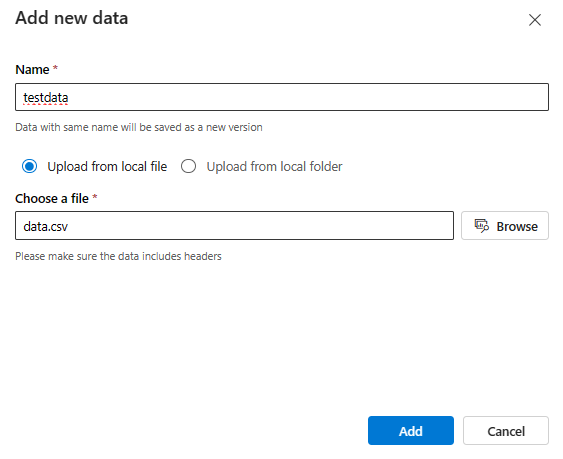
After clicking on Add proceed to map the input fields as shown below:
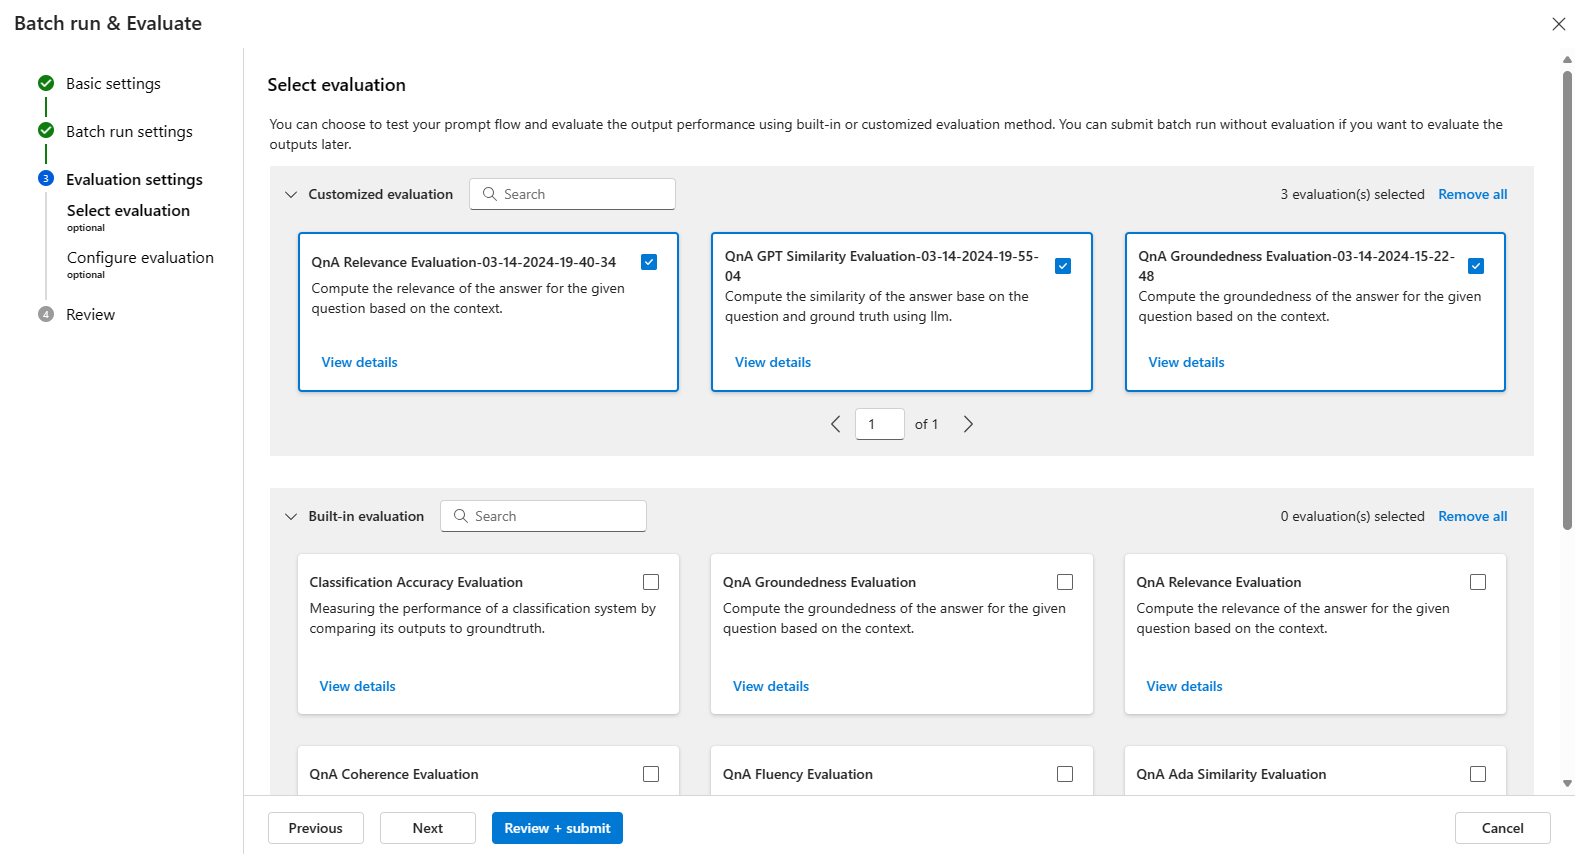
Select the three evaluation flows you just created.
Great job so far! Now, let’s move on to the next step. Click on Next to set up the question, context, ground_truth and answer fields for each evaluation flow. You can see how to do this in the three images below.
Note: Please take a moment to ensure you’ve selected the correct value. It’s crucial for accurate metric calculation. Notice that the default values initially presented in the wizard are not the same as those indicated in the following images. Keep up the good work!
QnA GPT Similarity Evaluation

QnA Groundedness Evaluation

QnA Relevance Evaluation

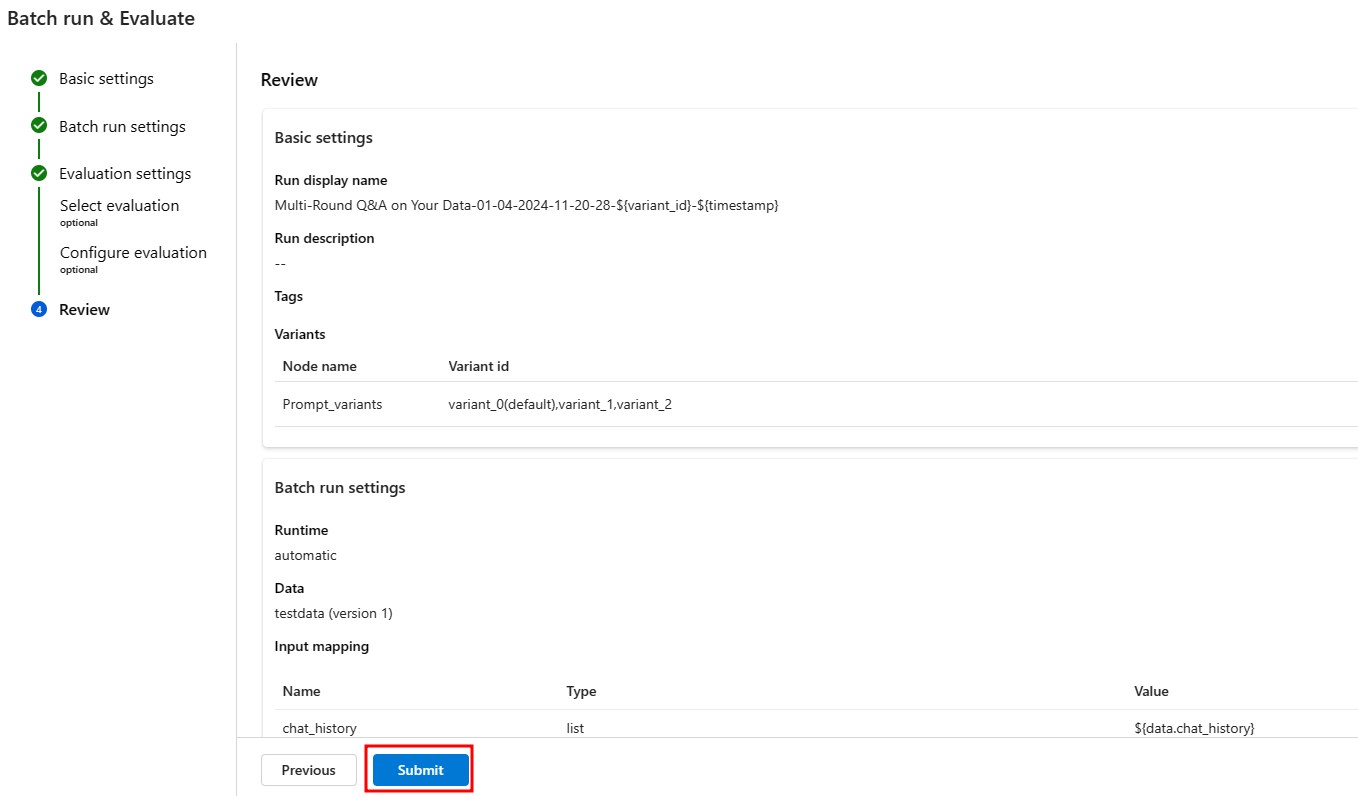
Click on Submit to start the evaluation.
The evaluation process has started. To view all evaluations (one per variant), please navigate to the Evaluation section under the Build tab.
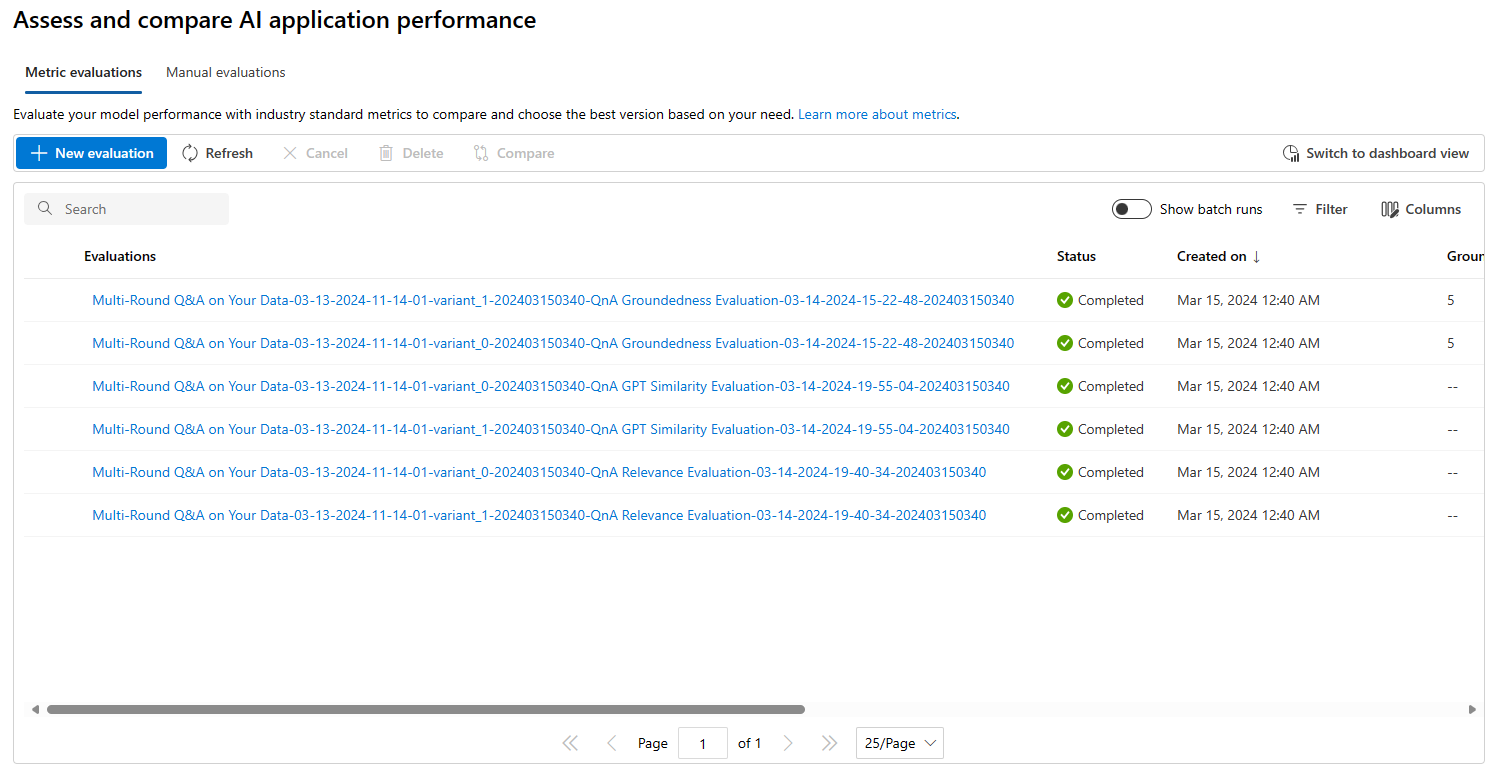
Upon selecting specific evaluation results, you will have the ability to view their detailed information.
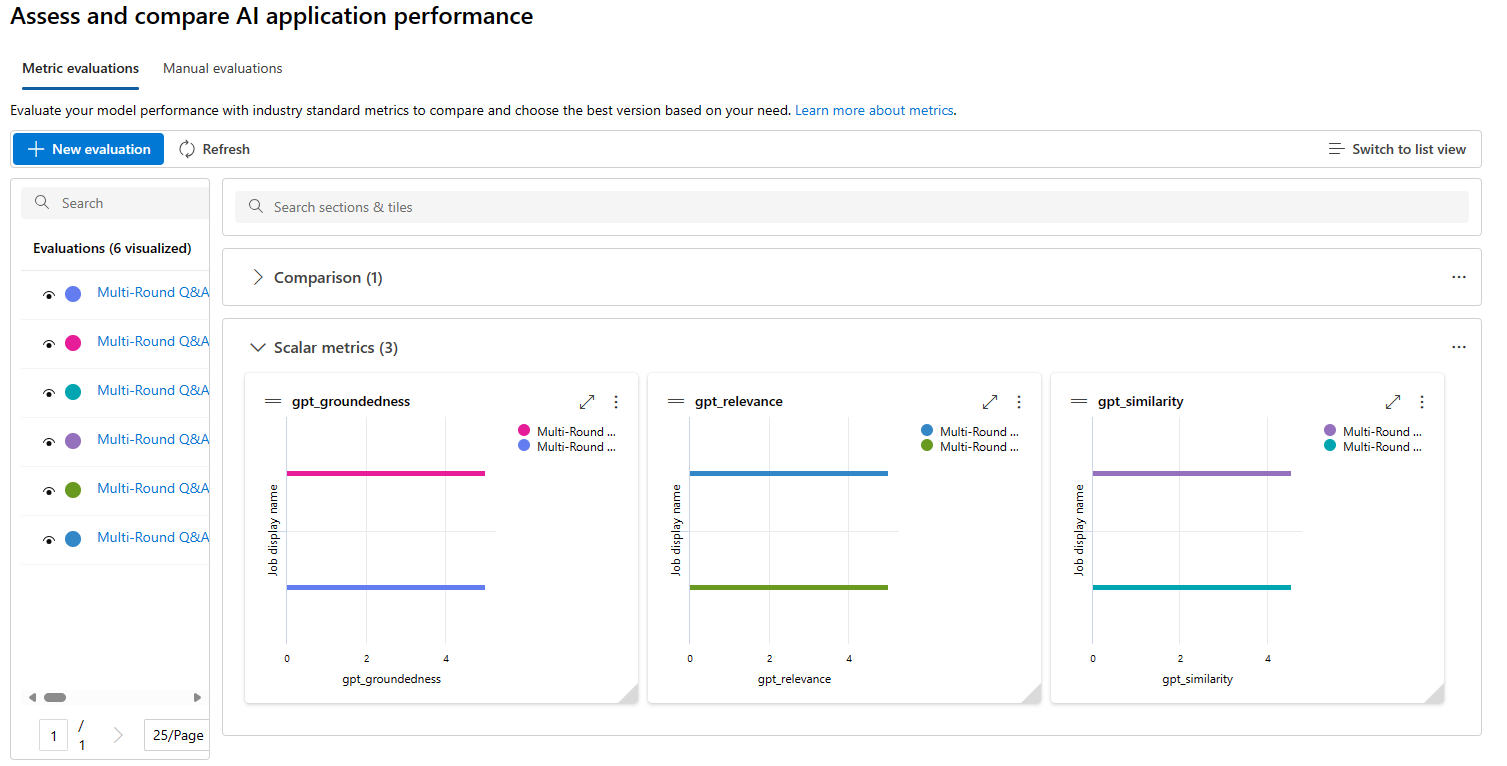
You can also select Switch to dashboard view to access a dashboard that provides a tabular and visual comparison between the rounds of different variations, as shown in the following images.
Table comparison
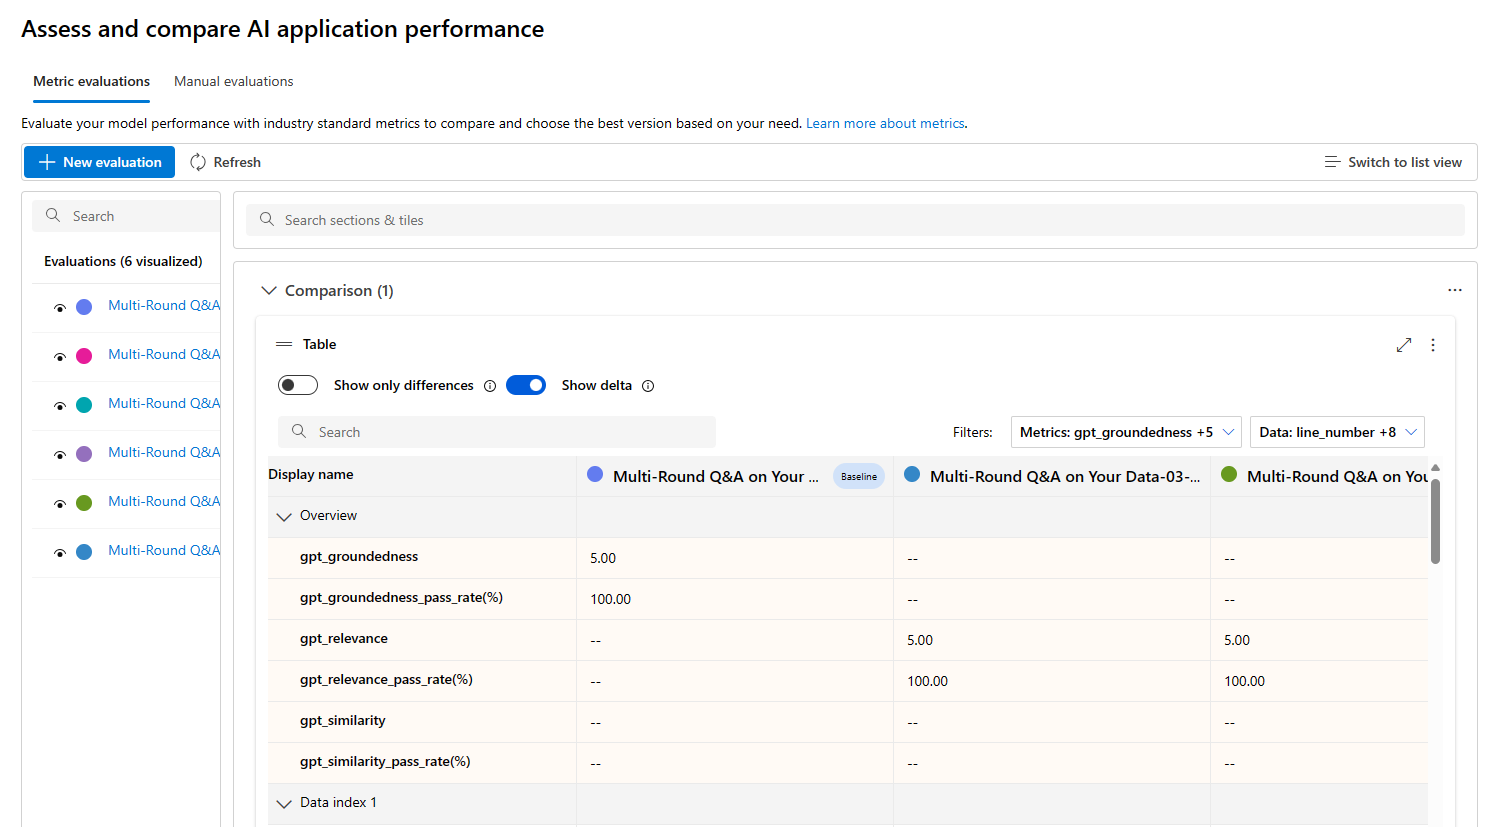
Chart comparison
2) Deploy the RAG flow to an online managed endpoint
Open the Multi-Round Q&A on Your Data flow that you created in the previous lab.
After opening the flow, follow the instructions indicated in this link:
https://learn.microsoft.com/en-us/azure/ai-studio/how-to/flow-deploy