Creating a Coral Software Delivery Pipeline
This how-to assumes that you already have registered at least one template with Coral. If the experience tells you otherwise, please refer to the how-to fork and register an existing template or how-to create template from scratch guides.
- Go to the project where you want to create the pipeline.
-
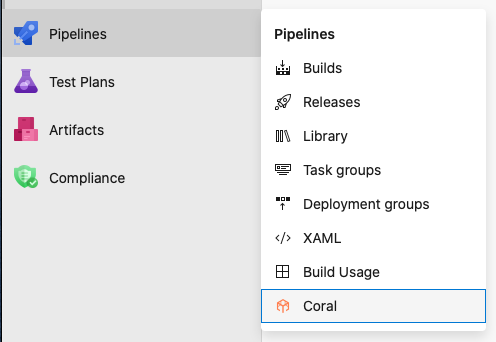
Locate Coral from the Azure DevOps Pipelines menu and click it.
-
Once the Coral extension has loaded, click the "New Pipeline" button in the top right. If no pipelines exist from before, you will be taken to the next step.
-
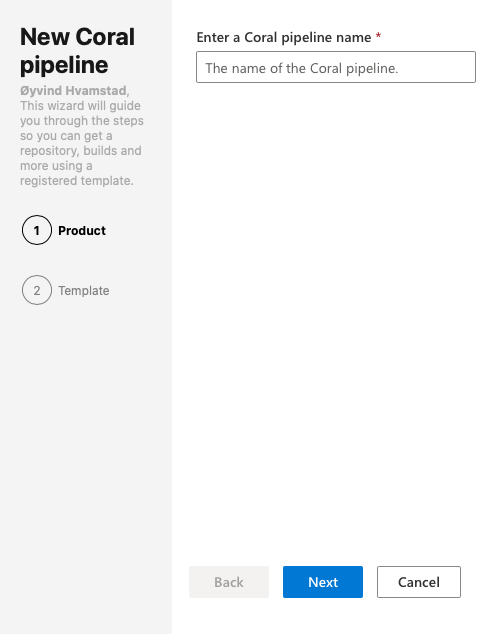
Give the pipeline a name and click "Next"
-
Select the appropriate template that suits your needs. If only one template exist in the account, you will be taken to the next step.
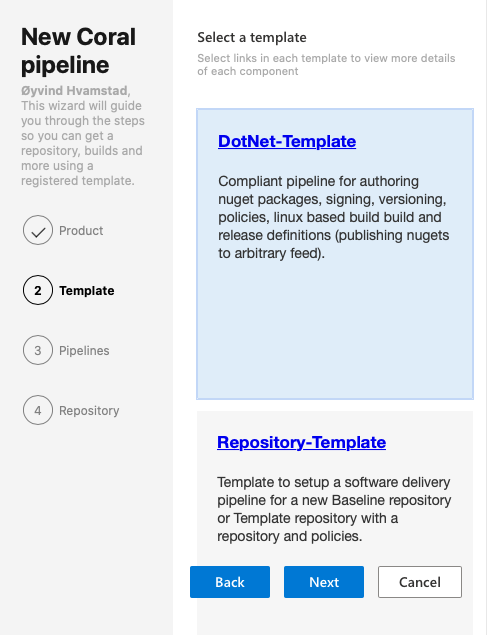
- Once you do this Coral will load the template and figure out what needs to be given as input from you.
-
After stepping through the wizard and having given all the necessary input, you click "Submit" and Coral will persist your request.
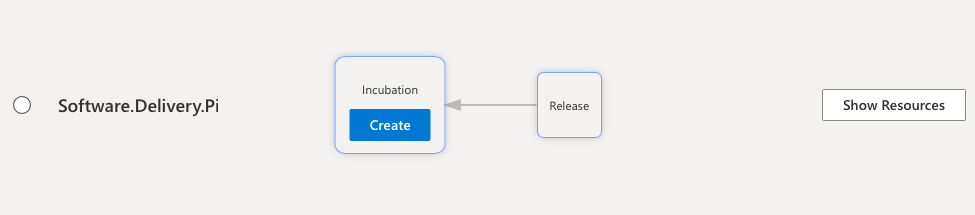
- Next you need to either have the permissions to approve the pipeline yourself, or reach out to the group in your organization that has administrator privileges in the account.