This page describes the
SQL Server VM on Azure
SQL Server On-Premises (with MicrosoftML)
HDInsight Spark
solution.
Set up Connection between SQL Server and PowerBI
Follow the instructions below to set up a connection between your SQL Server database and PowerBI. Perform these steps after you have created the
LoanChargeOff database.
Follow the instructions below to set up a connection between your Hive table and PowerBI. Perform these steps after you have created the
loanchargeoff_predictions table by executiong the LoanChargeOff_main.R and LoanChargeOff_scoring scripts.
- Download and install the Spark ODBC driver. If you already have this driver, make sure it version 1.2.4.1005 or greater.
- Push the
Windowskey on your keyboard - Type
ODBC - Open the correct app depending on what type of computer you are using (64 bit or 32 bit). To find out if your computer is running 32-bit or 64-bit Windows, do the following:
- Open System by clicking the
Startbutton, clickingControl Panel, clickingSystem and Maintenance, and then clickingSystem. - . Under System, you can view the system type
- Open System by clicking the
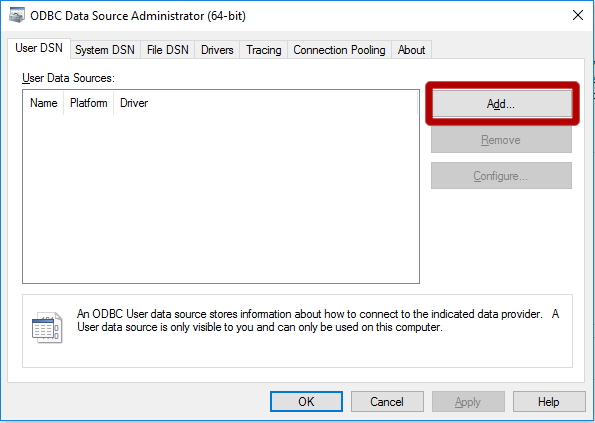
- Click on
Add
-
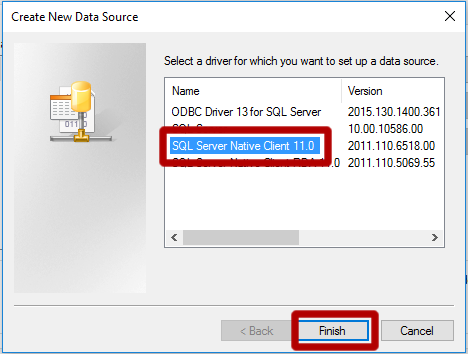
Select
Server Native Client 11.0and clickFinish.
-
Select
Microsoft Spark ODBC Driverand clickFinish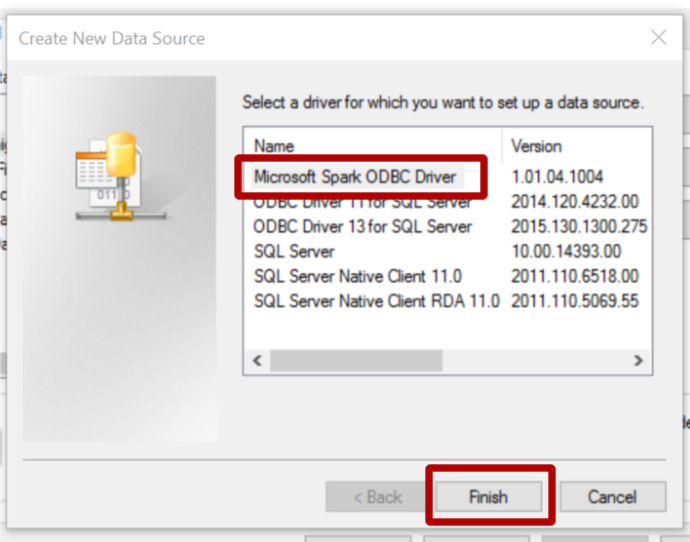
-
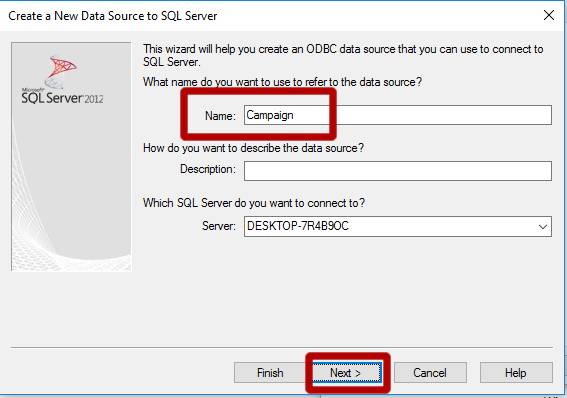
Under Name, Enter
LoanChargeOff. Under Server enter the MachineName from the SQL Server logins set up section. PressNext.
-
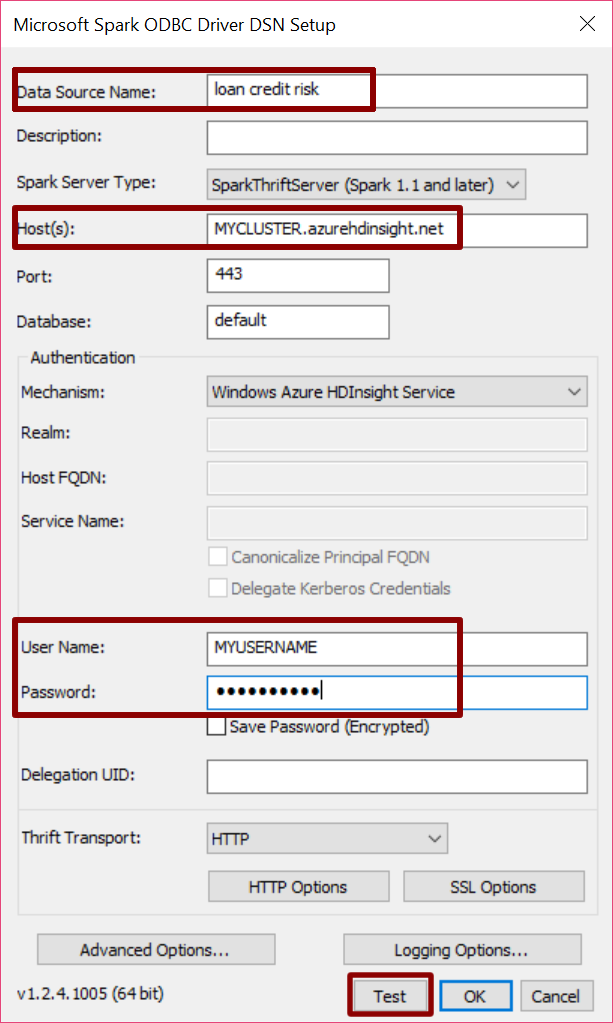
Under Name, Enter
LoanChargeOff. Add the Host name (of the form myclustername.azurehdinsight.net). For username and password enter the values you chose when you created the cluster.
-
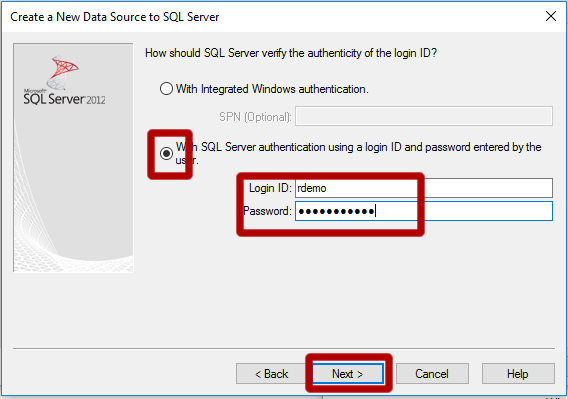
Select
SQL Server authenticationand enter the credentials you created in the SQL Server set up section. PressNext
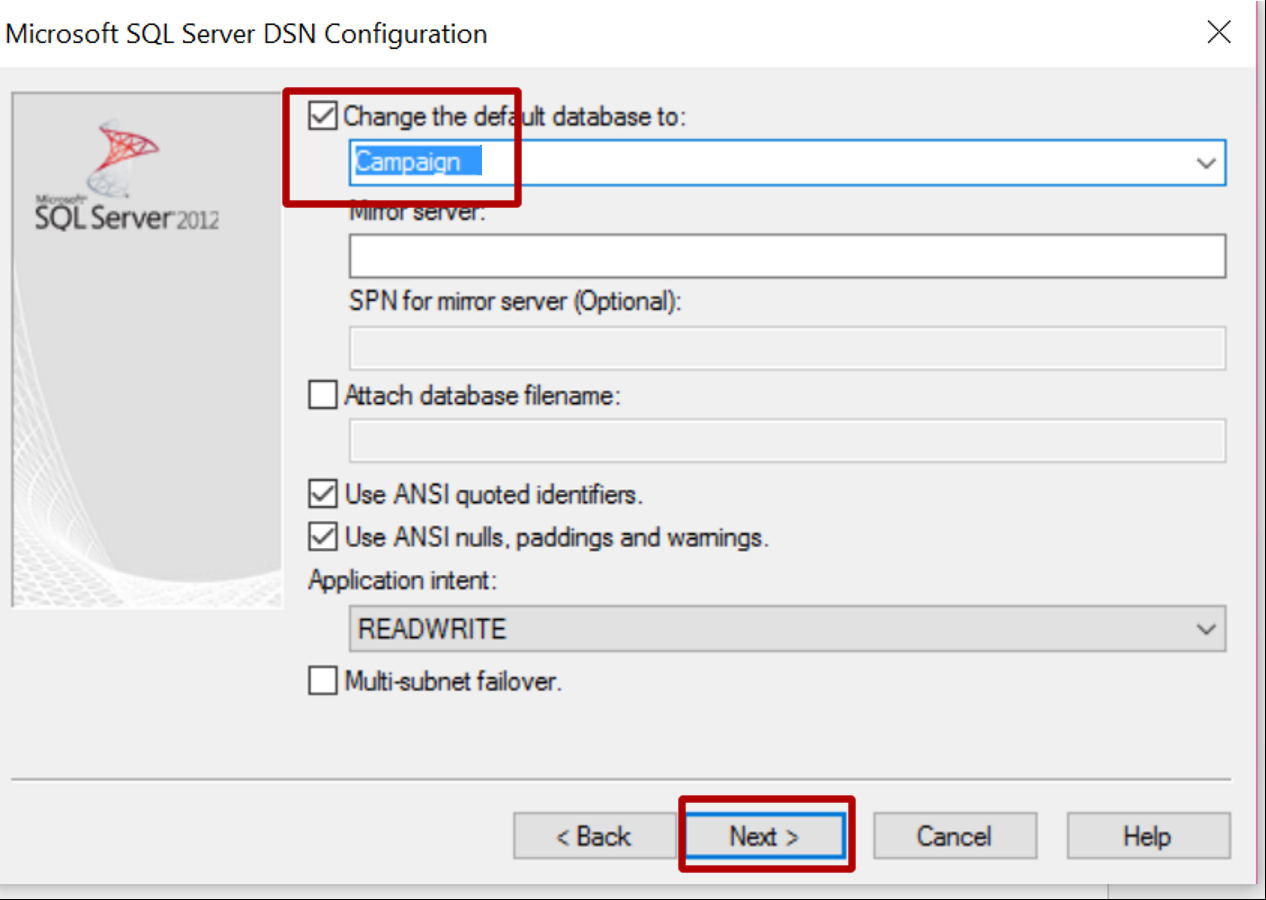
- Check the box for
Change the default database toand enterLoanChargeOff. PressNext.
- Press
Finish
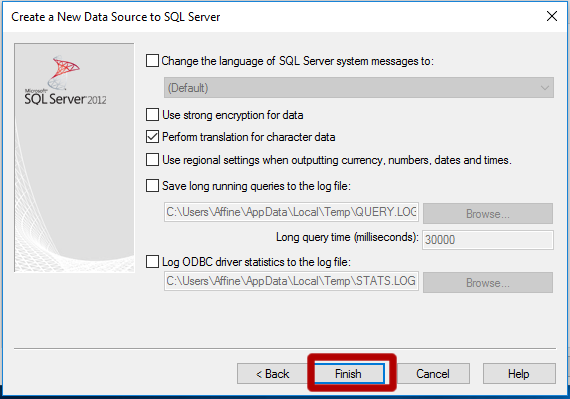
-
Press
Test Data Source
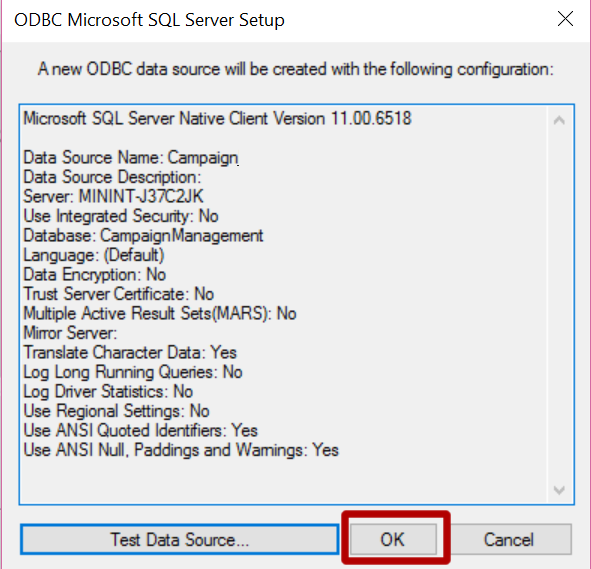
-
Press
Test. - Press
OKin the new popover. This will close the popover and return to the previous popovers.
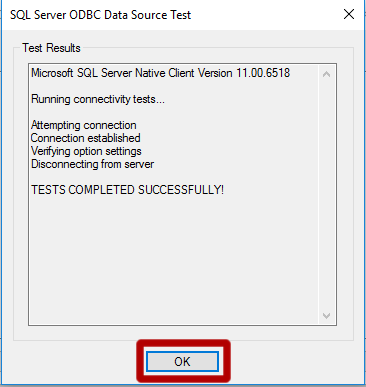
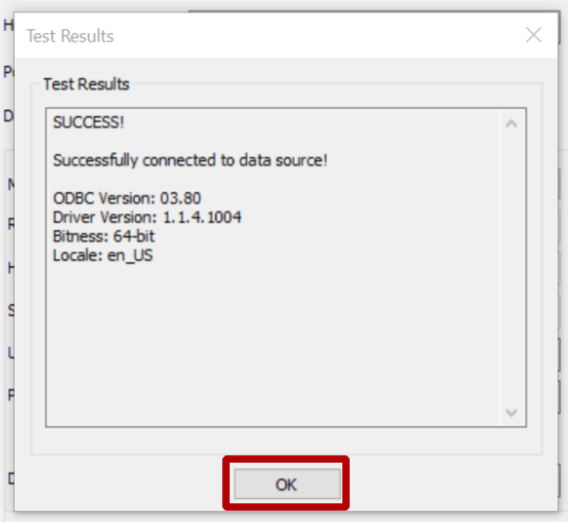
- Now that the Data Source is tested. Press
OK
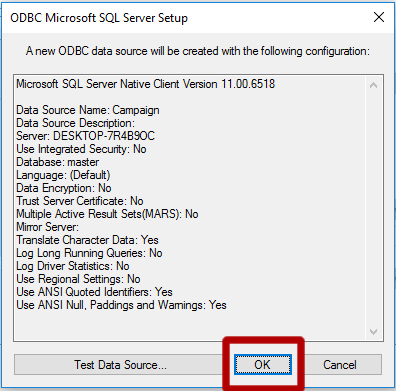
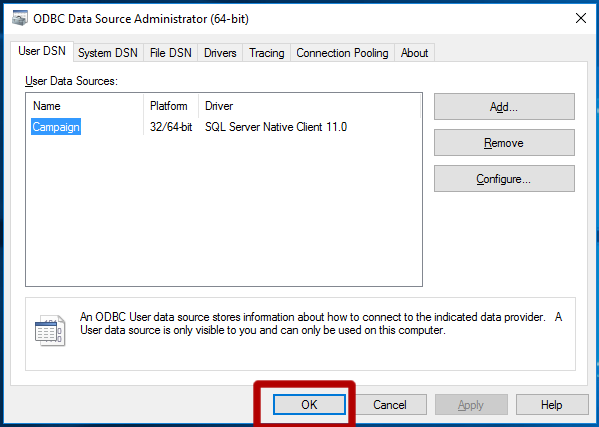
- Finally, click
OKand close the window
 You are now ready to use this connection in PowerBI
Download the LoanChargeOffPredictionDashboardHDI.pbix and open it on your desktop
Click on Get Data and choose ODBC connection and use the above connection.

