Task 03: Build and install the declarative agent in Visual Studio Code
Introduction
After validating Project Tracker in Copilot Studio, Best For You Organics’s engineering team wants to maintain the agent as source‑controlled code and enrich it with custom conversation starters and data sources. Visual Studio Code with Teams Toolkit provides the scaffolding and manifest editing tools required to achieve this.
Description
In this task you will create a brand‑new declarative agent project in Teams Toolkit, provision it to the tenant, and then edit the generated declarativeAgent.json manifest to add conversation starters, a SharePoint grounding site, and Web Search capability.
Success criteria
- A new Teams Toolkit project named sampleDeclarativeCopilot is successfully created and provisioned.
- The declarativeAgent.json manifest includes a conversation_starters array with three entries.
- A OneDriveAndSharePoint capability referencing your Project Deadlines SharePoint URL is added.
- A WebSearch capability is appended and the manifest formats without errors.
Key steps
01: Scaffold the declarative agent project
Expand this section to view the solution
If you’re using the Skillable environment, the toolkit is preinstalled in Visual Studio Code and is set to automatically update. If you are not using the Skillable environment you may need to install the toolkit.
To install the toolkit, in the left pane, select Extensions. Then, search for Microsoft 365 Agents Toolkit. Select Install.
-
Open Visual Studio Code. On the left pane, select Microsoft 365 Agents Toolkit.

-
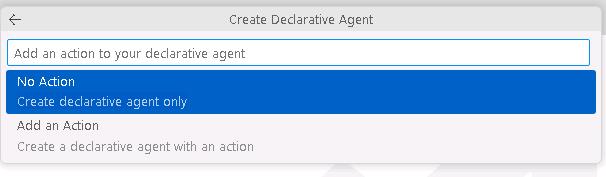
In the Microsoft 365 Agents Toolkit pane, select Create a New Agent/App and then select Declarative Agent.

-
Select No Action.
-
Select Default folder.

-
In the Application Name field, enter
sampleDeclarativeCopilotand then press Enter on your keyboard.
-
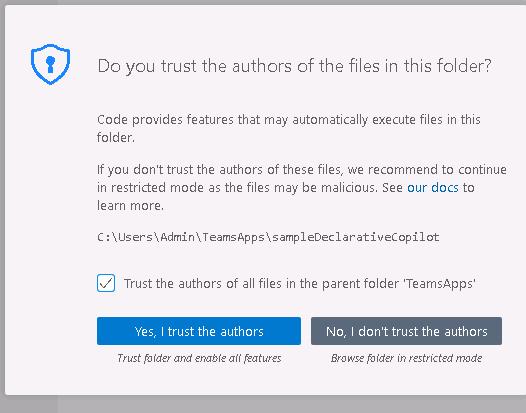
If prompted, select Yes, I trust the authors.
-
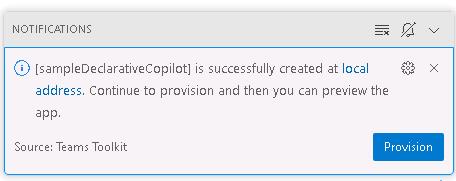
At the lower right of the page, select the Notifications icon.

-
In the current notification, select Provision.
-
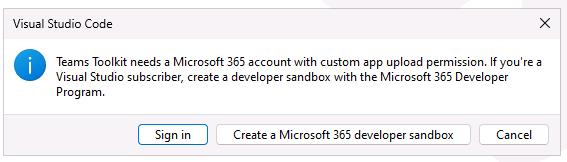
In the Visual Studio Code dialog, select Sign in.
-
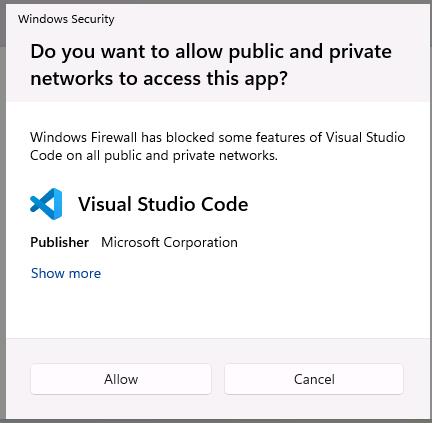
On the web page that opens, in the Windows Security dialog, select Allow.
-
In the Pick an account dialog, select your credentials.
-
Close the Visual Studio Code web page and return to Visual Studio Code.
At the lower right of the page, you may see the notification Custom app upload is disabled. The notification will provide options.
If you do not have administrative permissions for your Microsoft 365 tenant, use the Use Test Tenant option to configure a test tenant.
If you have administrative permissions for your Microsoft 365 tenant, you can configure the Enable Custom App Upload option.
Go to the Teams Admin center. In the left pane, select Teams apps and then select Setup policies. Select the Global (Org-wide default) policy and then set Upload custom apps to On. Select Save.

-
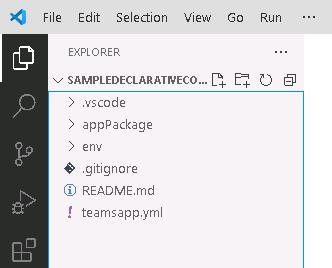
In Visual Studio Code, in the left pane, select EXPLORER. Expand appPackage to view the files that make up the declarative agent.
-
In EXPLORER, select manifest.json and inspect the file contents.
-
Near line 30, notice the copilotAgents section.
The copilotAgents section lists the identifier for the agent and the name of the file that defines the agent.
-
In EXPLORER, select instruction.txt and inspect the file contents. This file contains conversation starters.
You can customize the tone and how copilot will answer questions like you can with which questions to answer. This allows you to fine tune the experience for your scenario.
02: Add a conversation starter
Expand this section to view the solution
You can customize the declarative Copilot experience by adding conversation starters. You define conversation starters by adding a section to the declarativeCopilot.json file.
-
In EXPLORER, select declarativeAgent.json and inspect the file contents. The file contains entries for the schema, version, name, description, and instructions. The entry for instructions has a reference to a file called instruction.txt.
-
In Visual Studio Code, open declarativeAgent.json. go to line 6, add a comma at the end of the line and then press Enter on your keyboard to insert a new line.
You can customize the declarative Copilot experience by adding conversation starters. You define conversation starters by adding a section to the declarativeCopilot.json file.

-
Enter the following code on the new line to add the conversation starter section:
 "conversation_starters": [
     {
         "title": "Enrolling your mobile device",
         "text": "How can I use company resources on my mobile device?"
     },
     {
         "title": "Issues with my work computer",
         "text": "Which are the steps to follow if my PC doesn't work?"
     },
     {
         "title": "Printing",
         "text": "How can I print from my mobile device?"
     }
 ]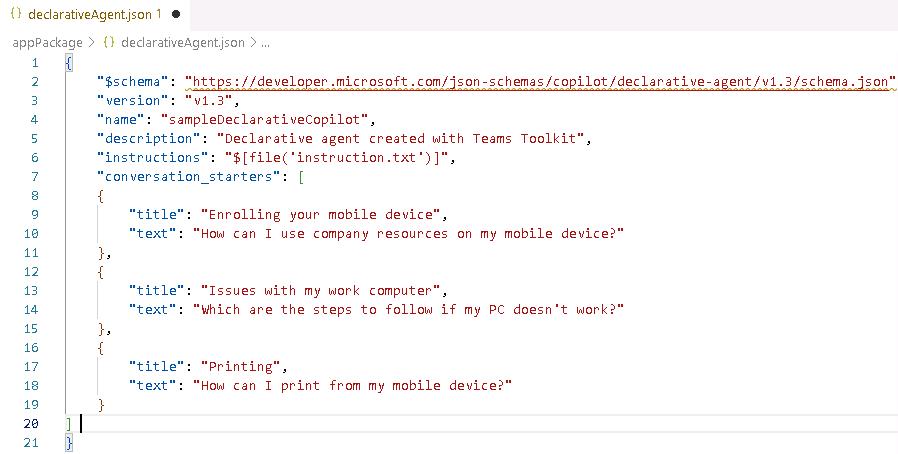
Once you deploy the agent, the conversation starters will show up as a part of the Copilot experience.
03: Add a SharePoint data source
Expand this section to view the solution
-
In declarativeAgent.json, go to line 20. Add a comma at the end of the line and then press Enter on your keyboard to insert a new line.
-
On the new line, add the following code to include a SharePoint data source:
Reminder: If you stored the URL in Notepad, replace the token @lab.Variable(URL) with the actual URL of your SharePoint site.
 "capabilities": [
     {
         "name": "OneDriveAndSharePoint",
         "items_by_url": [
             {
                 "url": "@lab.Variable(URL)"
             }
         ]
     }
 ]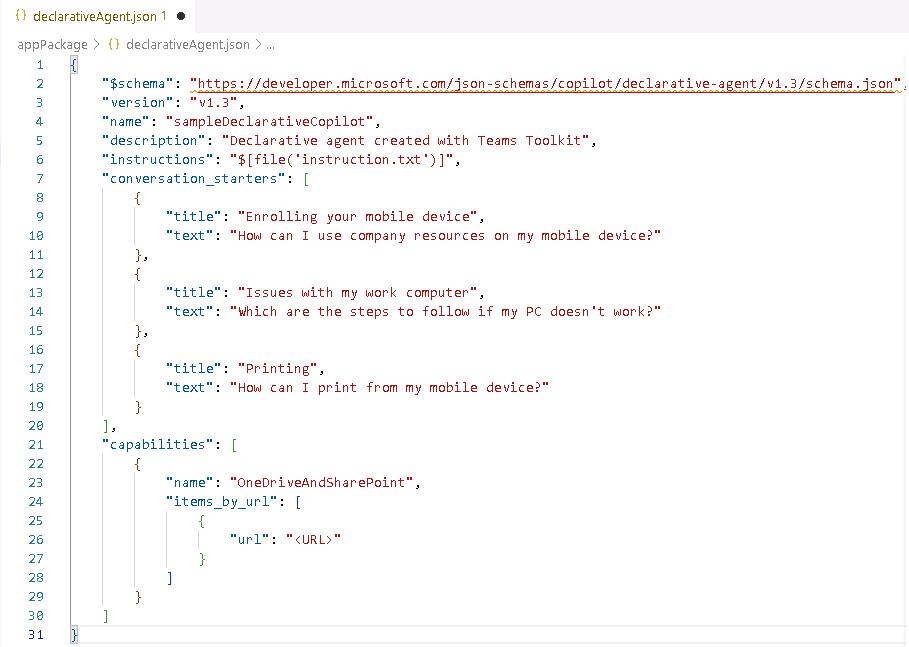
This agent uses data from OneDrive and SharePoint. You have a link to access the data source. Copilot will only focus on information from this site.
-
Right-click any open area in the code and select Format Document to auto-fix the formatting.
04: Add web search
Expand this section to view the solution
-
In declarativeAgent.json, go to line 29. Add a comma at the end of the line and then press Enter on your keyboard to insert a new line.
-
Enter the following code to add web search capabilities:
 ,
 {
     "name": "WebSearch"
 }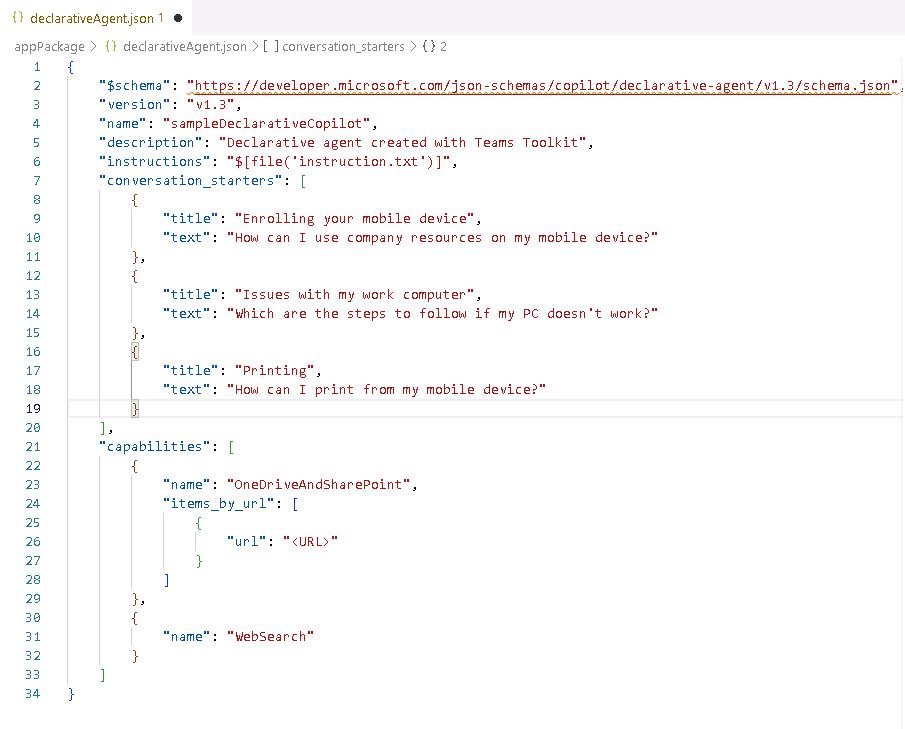
-
Save the changes to declarativeAgent.json.
Use the Ctrl S keyboard combination or go to File and select Save to save the changes.