Exercise 03: Create, configure, and test a Copilot agent
A Copilot agent will act as the interface between a user and the SAP data. In this exercise, you’ll create and configure a Copilot agent. You’ll then test the agent.
Architecture
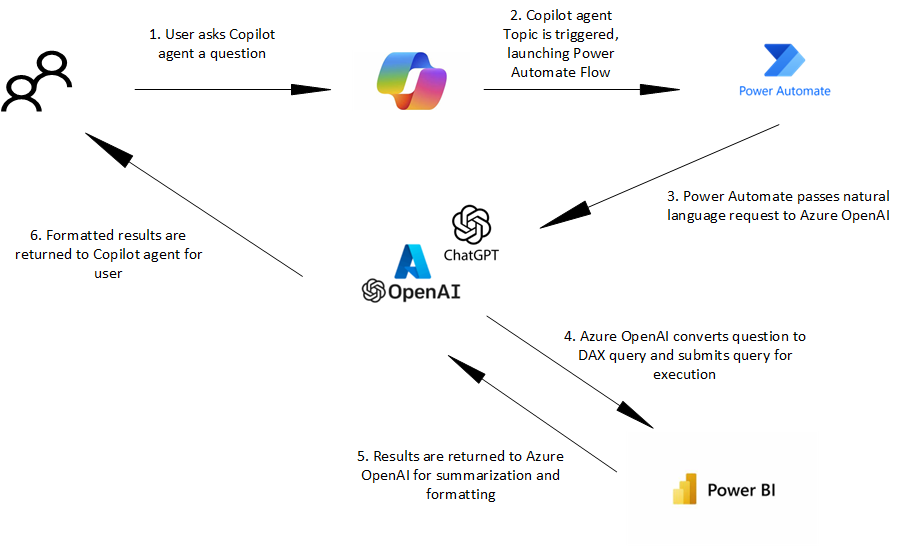
For this lab you will create a topic for the Copilot agent. When a user enters a prompt in the agent, the topic is triggered. The following diagram shows the process that occurs. The topic starts a Power Automate flow. The flow makes a call to the Azure OpenAI resource that you provisioned earlier to convert the users request into a Data Analysis Expressions (DAX) query. The DAX query is passed to a Power BI connector which connects to the lakehouse where the data is stored.
After the query is executed the results are sent to Azure OpenAI for summarization and formatting. The final results are sent back to the Copilot agent as a response.
Objectives
After you complete this exercise, you’ll be able to:
- Create a Copilot agent
- Create a topic for the agent
- Create a Power Automate flow for the topic
- Test the agent
Duration
Estimated time: 25-30 minutes
Task 01: Create a Copilot agent
Introduction
You’ve already ingested data from SAP into a Fabric lakehouse. Now, you need a way to query the data. A user will enter a business question about the data as a prompt to the Copilot agent. The agent will then use the prompt to query the data and return a response.
Description
In this task, you’ll answer a set of prompts to create a Copilot agent.
Success criteria
- You’ve created a Copilot agent by answering a series of prompts.
Learning resources
Key tasks
01: Access Copilot Studio and create the agent
Expand this section to view the solution
For the steps in this task, you provide information to help create the Copilot agent. Please remember that Copilot agents are evolving very fast. The number of questions that you’re asked and the order in which the questions are presented may differ from what you see in these steps.
-
Open a new browser tab and go to Copilot Studio.
-
Select your country/region and then select Start free trial.
After you select Start free trial, there may be a delay before the next screen displays.
-
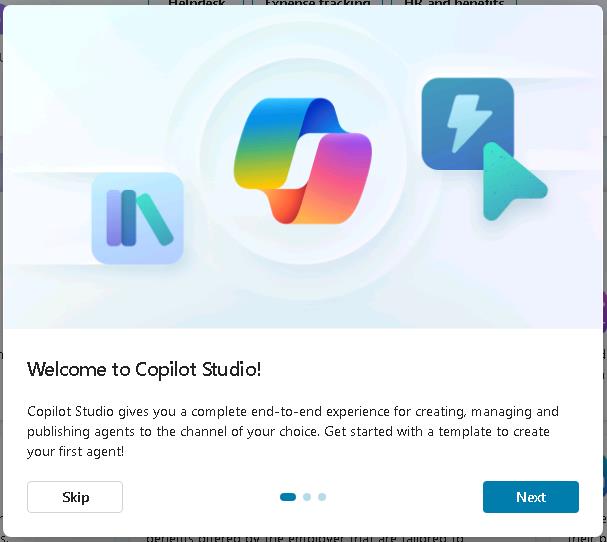
In the Welcome to Copilot Studio dialog, select Skip.
-
If prompted, sign in by using the following credentials:
Username:
your SAP portal username
Password:your SAP portal password -
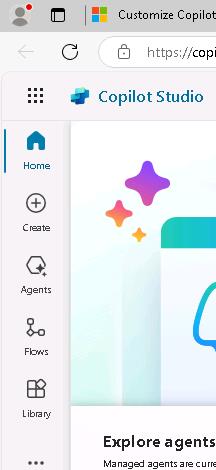
In the left navigation pane for Copilot Studio, select Create.
-
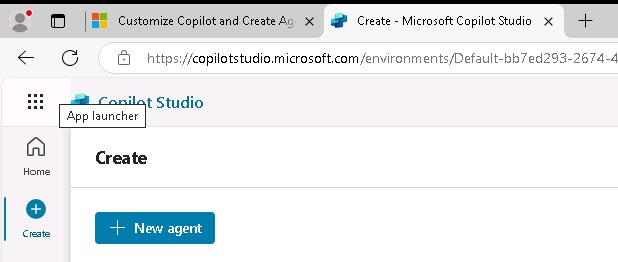
On the Create page, select + New agent.
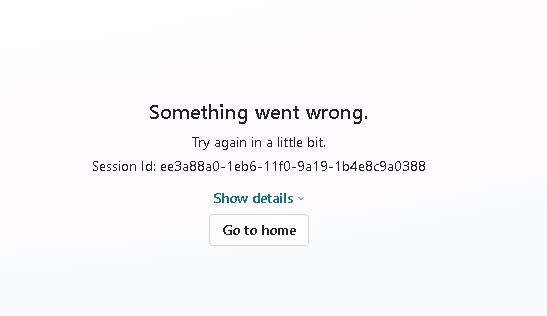
An error message which resembles the following screenshot may display. The error message often indicates that the system is still initializing. If you see this error messages, return to the previous page, wait a couple of minutes, and select + New agent again.
-
In the Type your message field, enter the following text and then select Send. Wait for Studio to load a response to your prompt.
Create an agent that allows users to interact with Product, Sales, and Customer information that was ingested from SAP into a Microsoft Fabric lakehouse.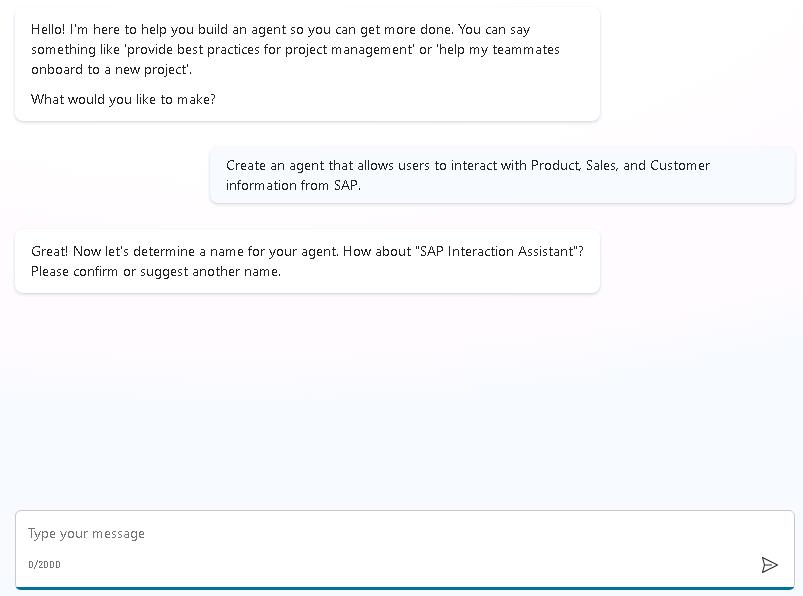
-
In the Type your message field, enter the following text and then select Send. Wait for Studio to load a response to your prompt.
Use the name "SAP Agent".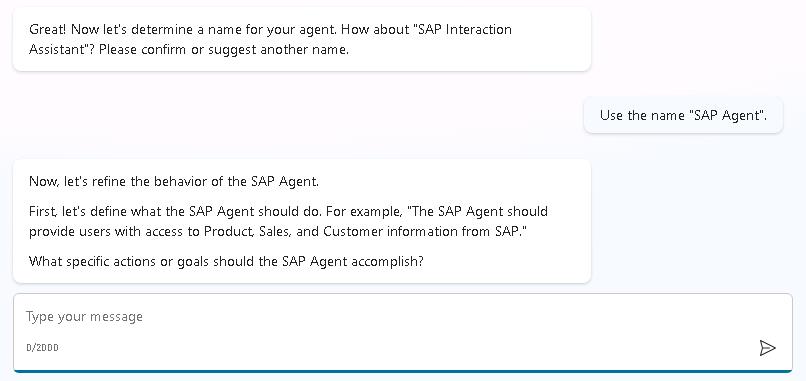
-
In the Type your message field, enter the following text and then select Send. This prompt represents some common business questions that users may ask. Wait for Studio to load a response to your prompt.
 Allow users to count the number of orders for each customer and the total GrossAmount, TaxAmount, and NetAmount for each customer.
 Allow users to identify which categories of products a customer has purchased.
 Allow users to determine which orders are not yet delivered.
 Allow users to determine the average price for products in a given category.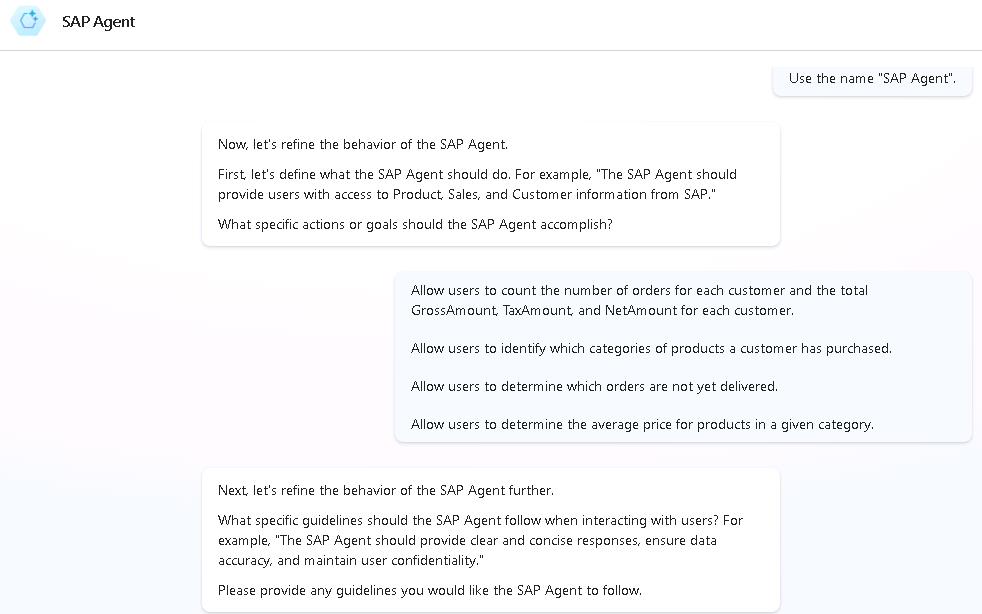
-
In the Type your message field, enter the following text and then select Send. Wait for Studio to load a response to your prompt.
Don't use publicly accessible data sources. Only use data from the Microsoft Fabric lakehouse that we'll specify.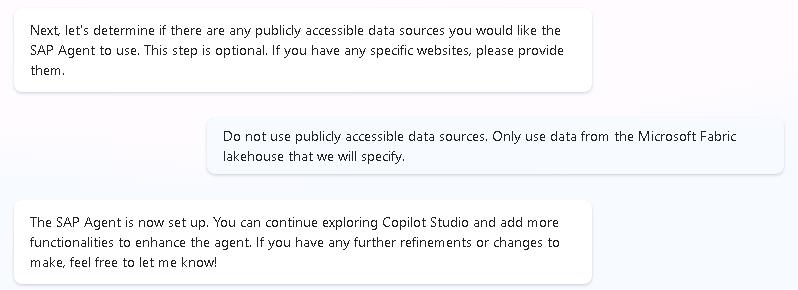
-
At the upper right of the Copilot Studio page, select Create.

It may take a few minutes to set up your agent.
Task 02: Configure the agent
Introduction
You’ve successfully created a Copilot agent and created a lakehouse in Fabric. Now, you need to connect the agent to the data from SAP.
In the near future you’ll have many more ways to connect a Copilot agent to data. These include connecting the Copilot agent to a Fabric agent which in turn connects to the data.
Description
In this task, you will create a topic that runs a Power Automate flow to retrieve data from the Fabric lakehouse.
Success criteria
- You’ve created and published a Power Automate flow
- You’ve created a topic that uses the Power Automate flow
Learning resources
Key tasks
01: Define the topic and triggers
Expand this section to view the solution
-
In Copilot Studio, in the menu bar for SAP Agent, select Topics.
 .
. -
Select + Add a topic and then select From blank.

-
At the upper left of the SAP Agent page, select Untitled. Replace the selected text with
AnswerUserQuestionsand then select the Enter key.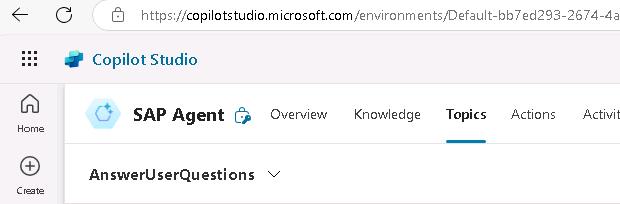
-
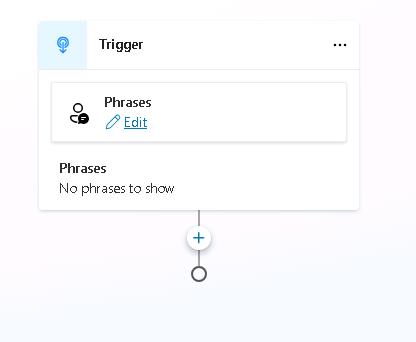
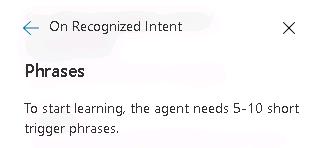
In the Trigger activity, in the Phrases section, select Edit.
-
In the Phrases pane, enter
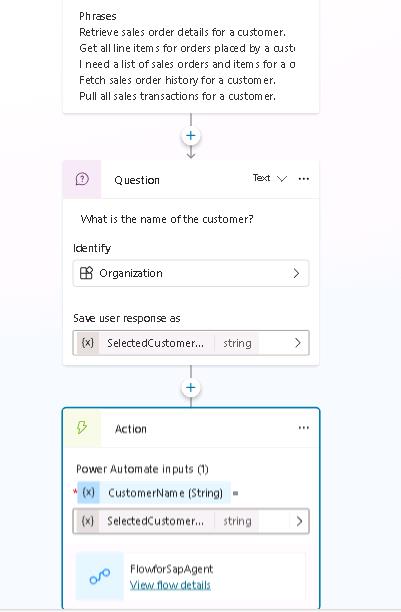
Show me all sales orders for a customerand then select + to add the phrase. -
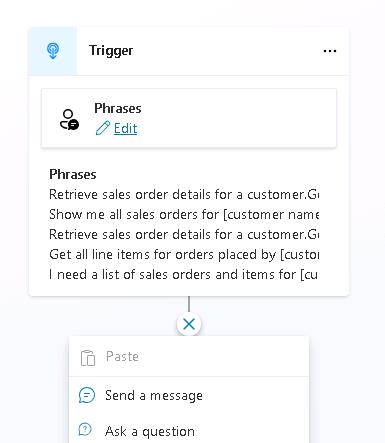
Repeat Step 5 to add each of the following phrases:
Retrieve sales order details for a customer.Get all line items for orders placed by a customer.I need a list of sales orders and items for a customer.Fetch sales order history for a customer.Pull all sales transactions for a customer.
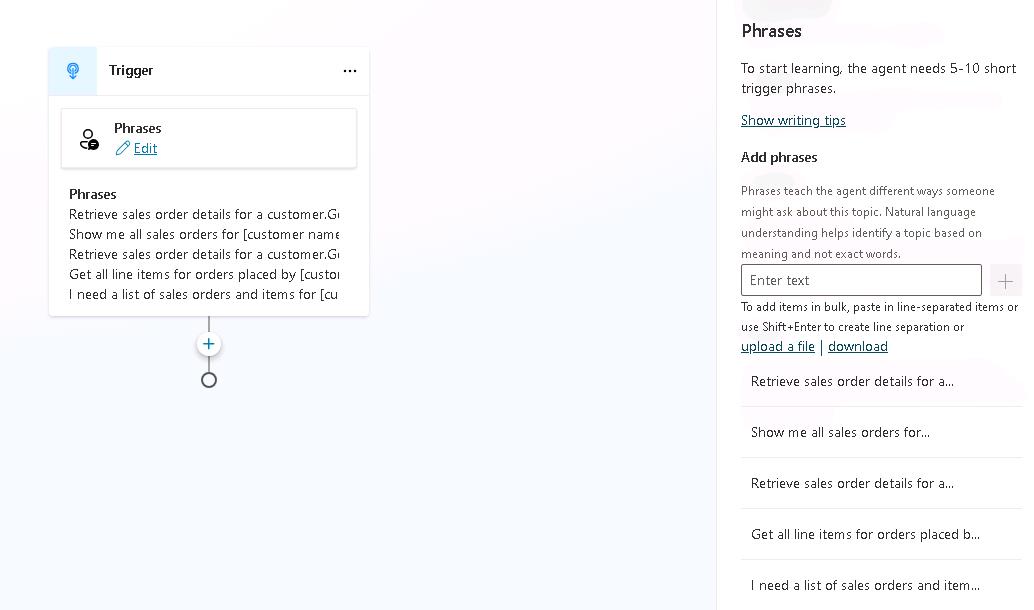
The phrases help the Copilot agent understand the different ways that users can ask for the same information.
-
Close the Phrases pane by selecting the X at the upper right of the Phrases pane.
02: Build the Power Automate flow
Expand this section to view the solution
-
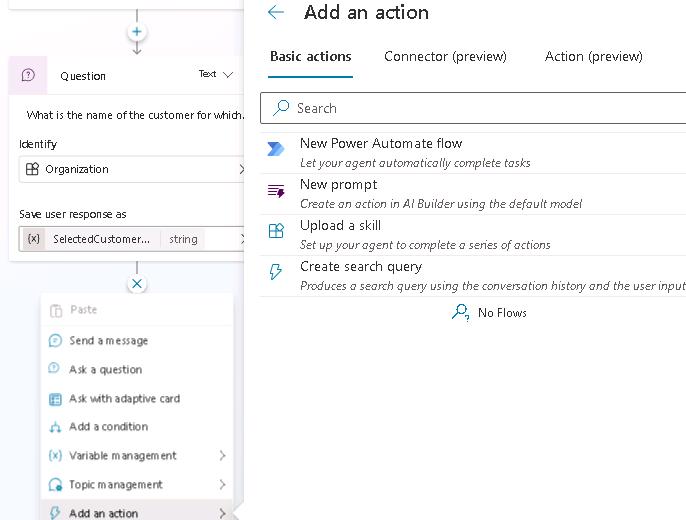
Select the Add node icon (+) under the Trigger activity and then select Ask a question.
-
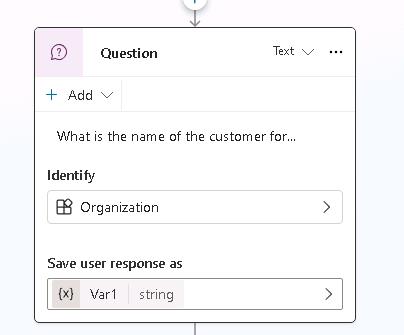
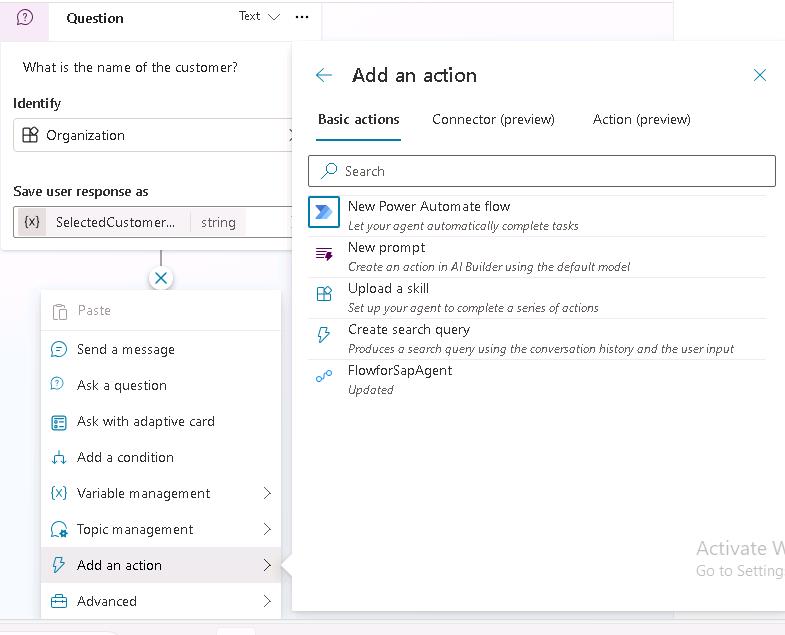
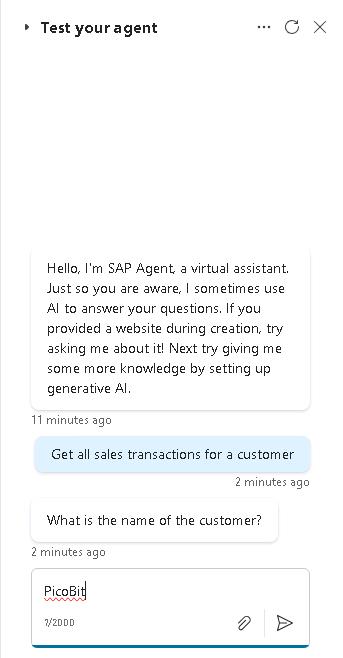
In the Enter a message field, enter
What is the name of the customer?. -
Select the Identify field. In the Choose information to identify pane, select Organization.
You may need to select the arrow (>) in the Identify field twice to see the Choose information to identify pane.
-
In the Save user response as field, select Var1.
-
In the Variable properties pane, in the Variable name field, type
SelectedCustomerName. Close the Variable properties pane.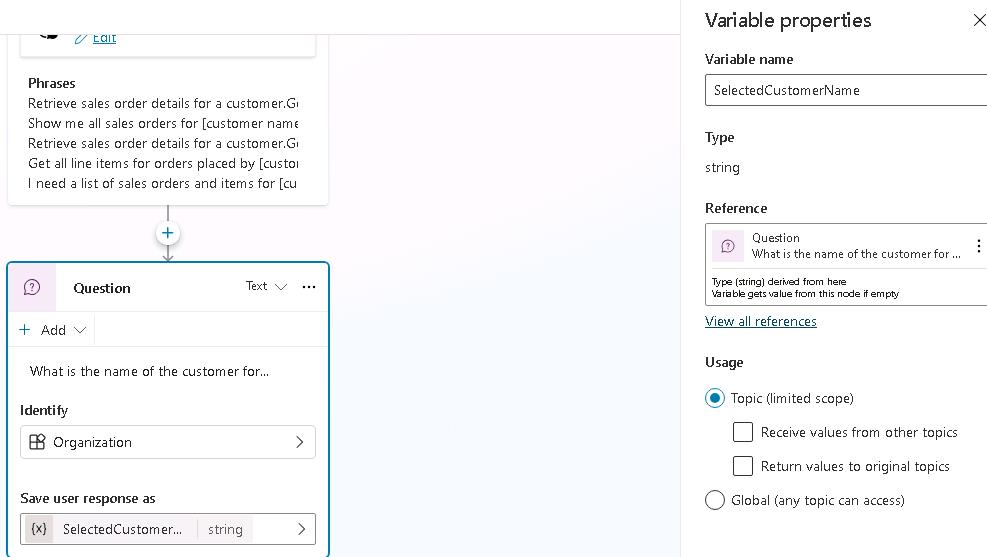
-
Close the Properties pane.
-
Select the Add node icon (+) under the Question activity. Select Add an action and then select New Power Automate flow.
-
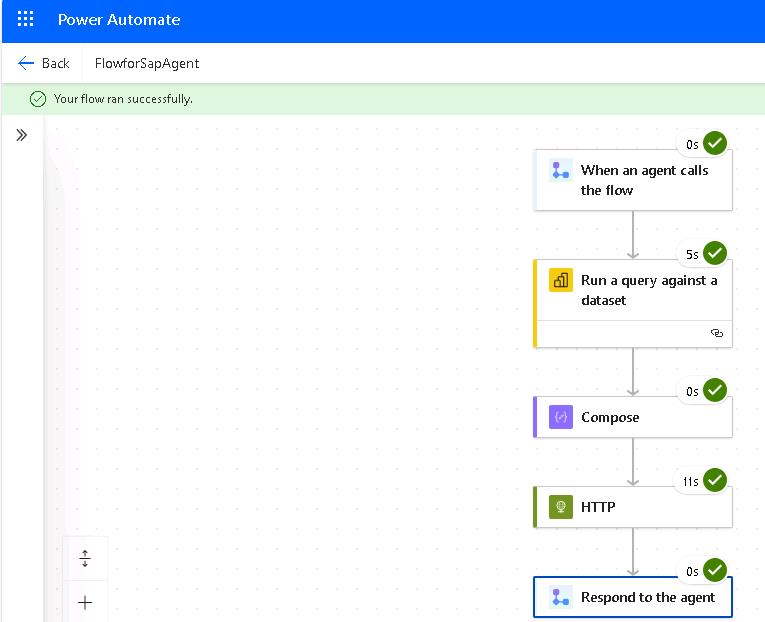
At the upper left of the Power Automate window, select When an agent calls the flow. Replace the selected text with
FlowforSapAgentand then select Enter.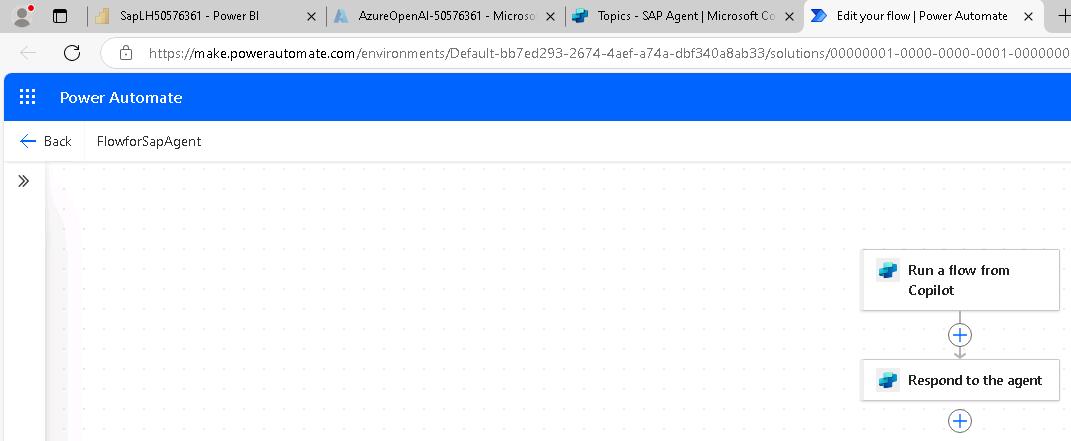
-
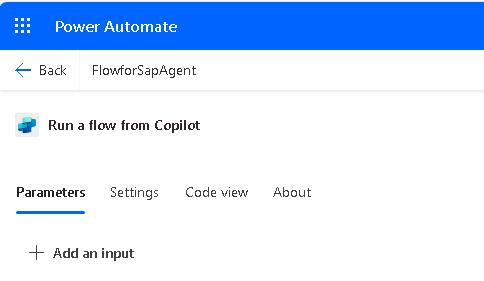
Select the When an agent calls the flow action.
-
In the pane that opens, select + Add an input.
-
Select Text.
-
Change the text in the Input field to
CustomerName.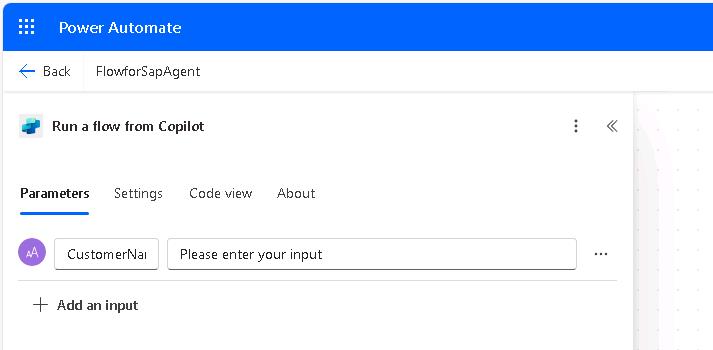
-
Select the Add node button under the When an agent calls the flow action. Search for and select the
Run a query against a datasetaction.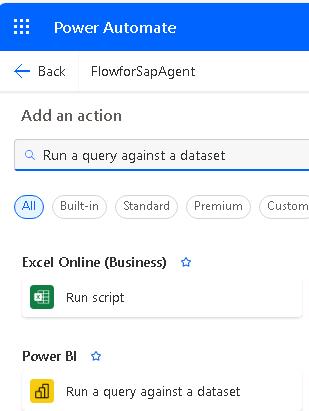
-
In the Create Connection pane, select Sign in.
You may see an error resembling the following screenshot. The message indicates that the browser cannot display the sign in dialog.
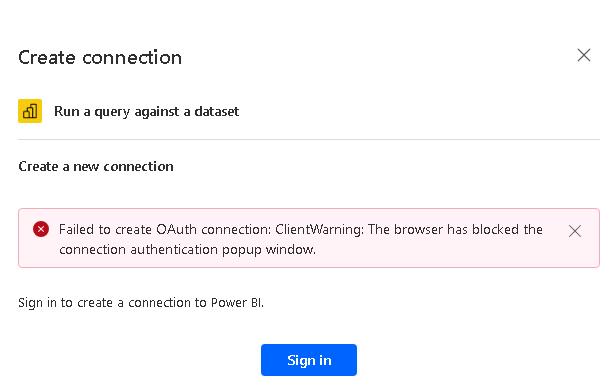
If you see this error message, in Edge, select the ellipses (…) at the right side of the menu bar and then select Settings. Search for the Pop-up setting. Change the value of the Blocked (recommended) setting to Off and then repeat Step 37.

-
In the Pick an account dialog, select the @lab.CloudPortalCredential(User1).Username.
-
Configure the Run a query against a dataset pane by using the values in the following table. Use default values for all the other settings.
Field Value Workspace SapWS-@lab.LabInstance.Id Dataset SapSemanticModel -
In the Query text field, paste in the following query:
 EVALUATE

 SUMMARIZECOLUMNS(
 SalesOrderSet[CustomerName],
 SalesOrderSet[CreatedAt],
 SalesOrderSet[BillingStatusDescription],
 SalesOrderSet[DeliveryStatusDescription],
 SalesOrderSet[GrossAmount],
 SalesOrderSet[TaxAmount],
 SalesOrderSet[NetAmount],
     KEEPFILTERS( FILTER( ALL( SalesOrderSet[CustomerName] ), SEARCH( "<Replace with CustomerName variable>", SalesOrderSet[CustomerName], 1, 0 ) >= 1 ))
 )
 ORDER BY
 SalesOrderSet[CustomerName] ASC,
 SalesOrderSet[CreatedAt] ASC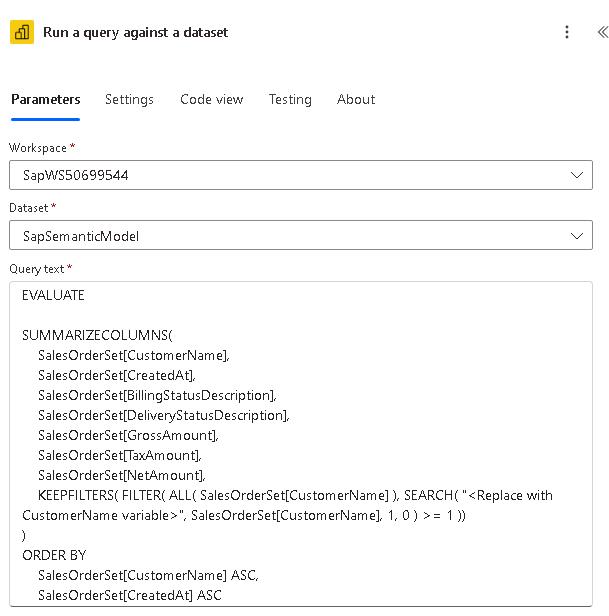
-
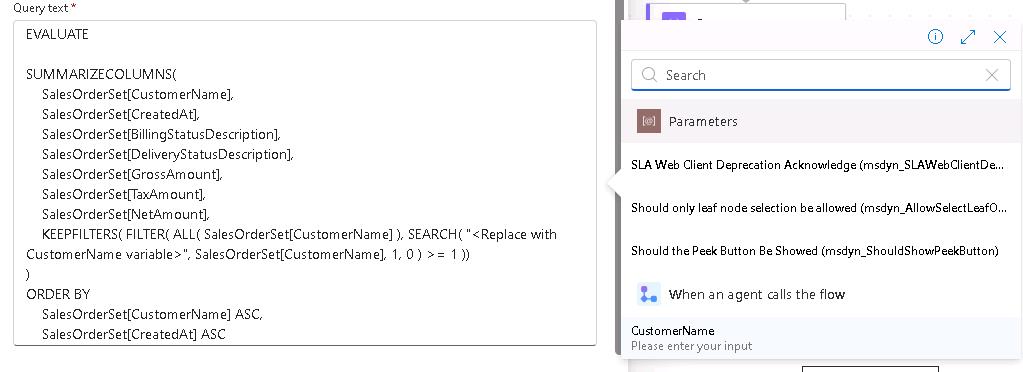
In the Query text section, select <Replace with CustomerName variable>. Then, select the lightning bolt icon. In the When an agent calls the flow section, select CustomerName. This replaces the placeholder text with a variable that represents the selected customer.
-
Select the Add node button under the Run a query against a dataset action. Search for and select the
Composeaction. -
In the Inputs field, select the lightning bolt icon. In the list of options, in the Run a query against a dataset section, select First table rows.
-
Select the Add node button under the Compose action. Search for and select the
HTTPaction.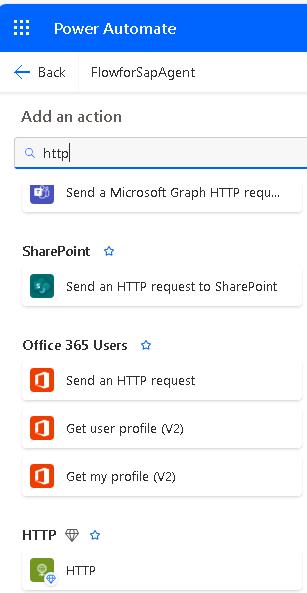
-
Configure the HTTP action by using the values in the following table. Leave all other options at their default settings.
You will be adding two headers. Each header consists of a key and a value. After you add the first header fields for a new key/value combination will display.
The URI and api-key value that you supply configure the action to connect to the Azure OpenAI service instance that you provisioned earlier in the lab.
Field Value URI @lab.Variable(OpenAIEndpoint)Method POSTHeader key content-typeHeader value application/jsonHeader key api-keyHeader value @lab.Variable(OpenAIKey) -
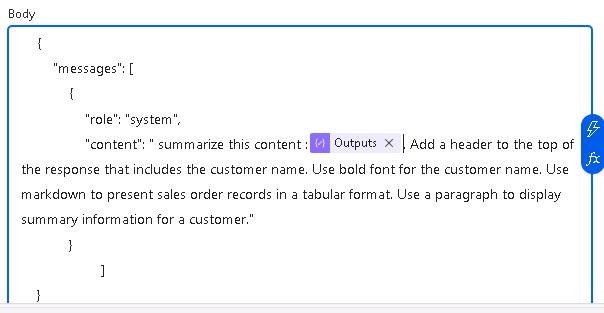
In the Body field, paste in the following text.
{ "messages": [ { "role": "system", "content": " summarize this content :<replace with output variable>. Add a header to the top of the response that includes the customer name. Use bold font for the customer name. Use markdown to present sales order records in a tabular format. Use a paragraph to display summary information for a customer." } ] } -
In the Body section, select <Replace with output variable>. Then, select the lightning bolt icon. In the Compose section, select Outputs. This replaces the placeholder text with a variable that represents the output from the Compose action.
-
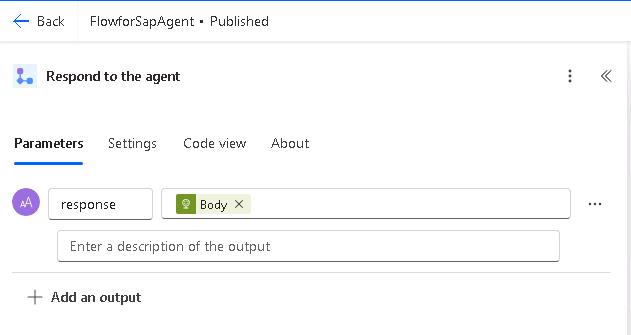
Select the Respond to the agent action. Select + Add an output and then select Text.
-
In the Enter a name field enter
response. -
Select the Enter a value to respond with field and then select the lightning bolt icon. In the HTTP section, select Body.
-
At the upper right of the Power Automate page, select Save Draft.

-
At the upper right of the Power Automate page, select Publish.

-
At the upper right of the Power Automate page, select Test.

-
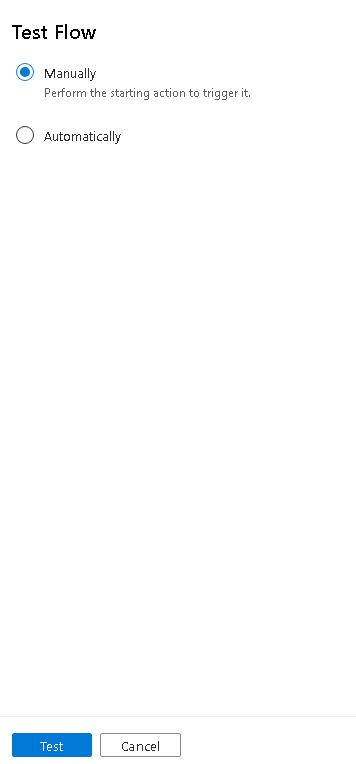
In the Test Flow pane, select Manually and then select Test.
-
In the Run flow pane, in the CustomerName field, enter
PicoBitand then select Run flow.
-
On the Power Automate page, in the Run flow pane, select Done.

-
On the Power Automate page, verify that the message Your run ran successfully displays.
Task 03: Complete the topic and test the agent
Introduction
You’ve successfully created a Copilot agent. Now, you need to test the agent.
Description
In this task, you’ll test the agent from within Copilot Studio to ensure that the agent returns expected results.
Success criteria
- The agent returns the expected results
Key tasks
01: Connect the flow to the agent and run tests
Expand this section to view the solution
-
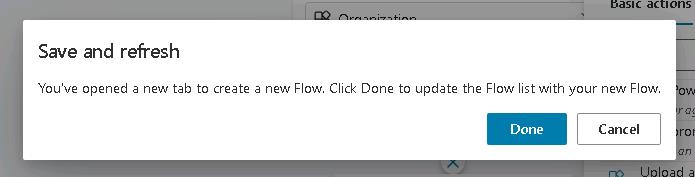
Close the Power Automate page. You are returned to the Copilot Studio Topic page. If prompted, select Done.
-
In the Add an action dialog, select FlowForSapAgent.
If you do not see FlowForSapAgent, save teh topic and then refresh the page.
-
In the Action activity, in the Enter or select a value field, select SelectedCustomerName.
-
Select the Add Node button under the Action activity. Select Send a Message.
-
Select the Insert variable button ({x}). In the list of variables, select response.
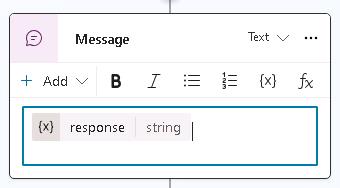
-
At the upper right of the SAP Agent page, select Save and then select Test.

-
In the Test your agent pane, enter the following prompt and select the Send button.
Get all sales transactions for a customer.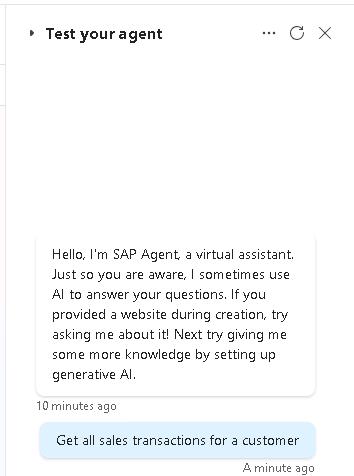
-
Enter PicoBit as the customer name. Be patient. For production agents, you will want to optimize the peformance of all elements of the agent.
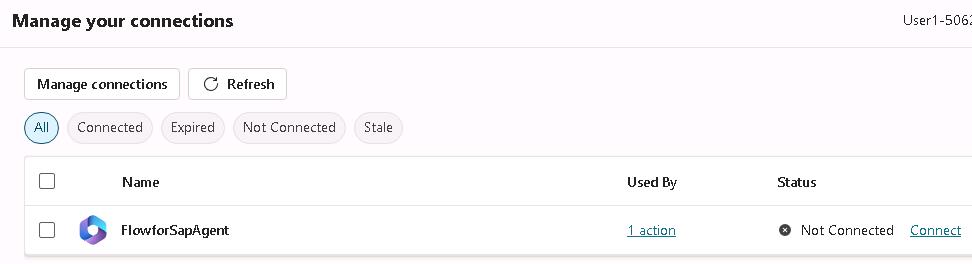
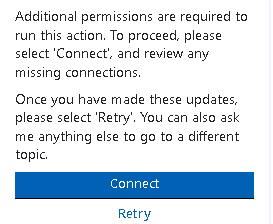
The first time you test the agent, you may see a message that resembles the message in the following screenshot.
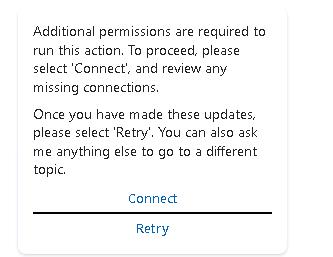
If you see this message, select Connect. Then, on the Manage your connections page, select Connect.
 In the Create or pick connections dialog, select Submit.
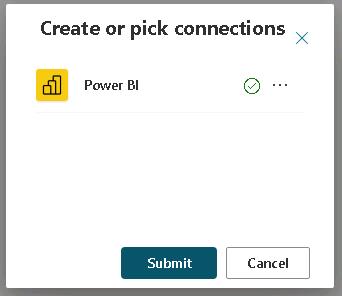
You should see that the status is Connected. Return to the Topics page and select Retry.
-
Review the response from the agent. The response may contain some extraneous information. You can adjust the inputs and outputs in the Power Automate flow to control and format the output.
Congratulations!
You have completed this module!