Task 01: Prepare to ingest SAP data
In this exercise, you will create resources in Microsoft Fabric.
After you complete this exercise, you will be able to:
Introduction
Preparing to ingest SAP data requires setting up the foundational Microsoft Fabric resources, deploying the Business Process Solutions (BPS) workload, and configuring the necessary Azure components. This environment forms the basis for connecting to SAP systems, extracting metadata and data, and securely enabling the ingestion and transformation processes used throughout the workshop.
Description
In this task, you’ll build the full technical setup required for SAP data ingestion. You’ll create a Fabric workspace, deploy and add the BPS workload, configure connectivity to the SAP metadata database, register an application in Microsoft Entra ID, and assign required permissions within Fabric. These steps collectively establish the workspace, services, and security objects needed to run Business Process Solutions against SAP data.
Success criteria
- Deployed the Business Process Solutions (BPS) workload to Fabric
- Created a Fabric workspace and assign the workspace Fabric capacity
- Added BPS to the workspace
- Configured required permissions in Azure
- Configured Azure Data Factory
- Configured a dataset in BPS
Duration
Estimated time to complete this exercise: 15 minutes
Key steps
01: Create a Microsoft Fabric workspace
a
-
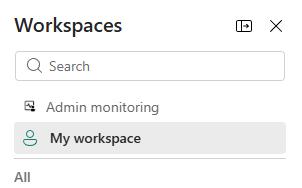
In the left pane, select Workspaces.

-
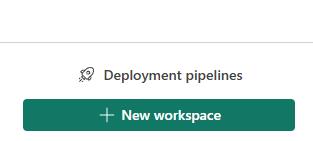
In the Workspaces pane, select + New workspace.
-
In the Create a workspace pane, in the Name field, enter
WS57383073.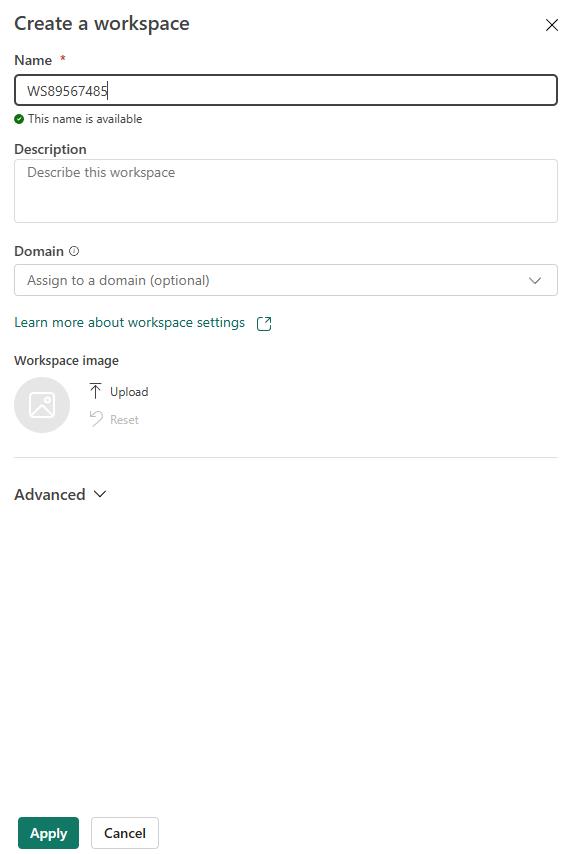
-
Expand the Advanced node.
-
Ensure that you have Fabric capacity selected.
-
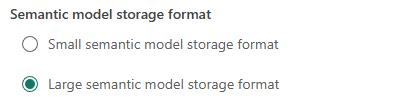
In the Semantic model storage format section, select Large semantic model storage formats.
-
Select Apply to create the workspace.
-
Leave the Fabric page open. You’ll use the page again in the next task.
02: Deploy the BPS workload and add the workload to the Fabric workspace
-
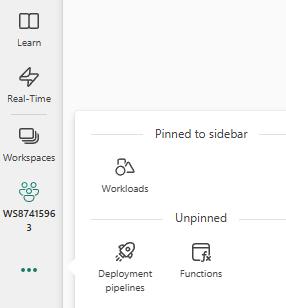
On the Fabric page, in the left pane, select More (the … icon) and then select Workloads.
-
On the Workloads page, search for the Business Process Solutions (preview) tile. Then, on the tile, select Add.

The Not validated by Microsoft message indicates that the workload is still in preview. In the Microsoft Fabric admin center, we have enabled a setting that allows you to add workloads that are not yet validated.
-
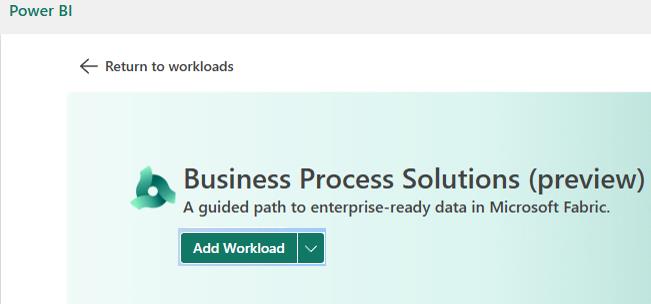
On the Business Process Solutions (preview) page, select Add workload.
-
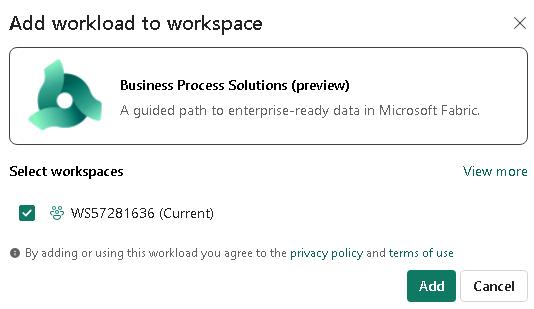
In the Add workload to workspace dialog, select Add.
03: Add the workload to the Fabric workspace
-
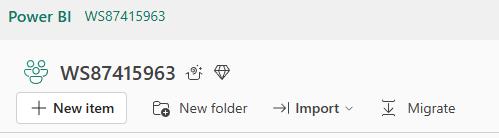
On the Fabric page, in the left pane, select Workspaces and then select WS57383073.

-
At the top left of the page, select + New item.
-
In the New item pane, in the Filter by keyword field, enter
Business Process Solutions.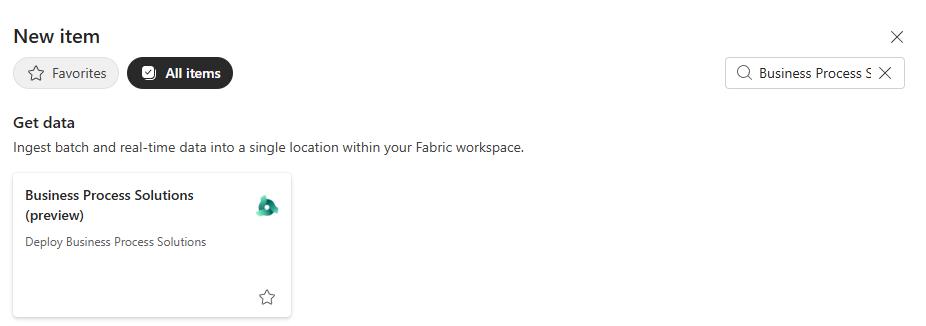
-
Select the Business Process Solutions tile.
-
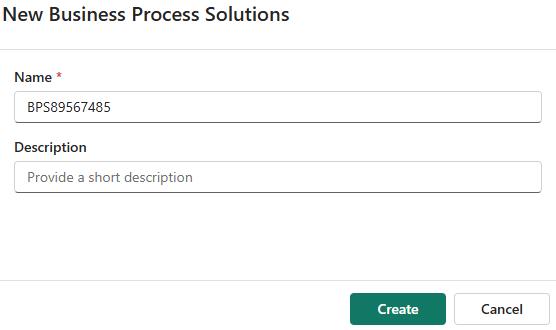
In the New Business Process Solutions dialog, in the Name field, enter
BPS@lab.LabInstance.Idand then select Create.It may take a minute or two for the New Business Process Solutions dialog to display.
-
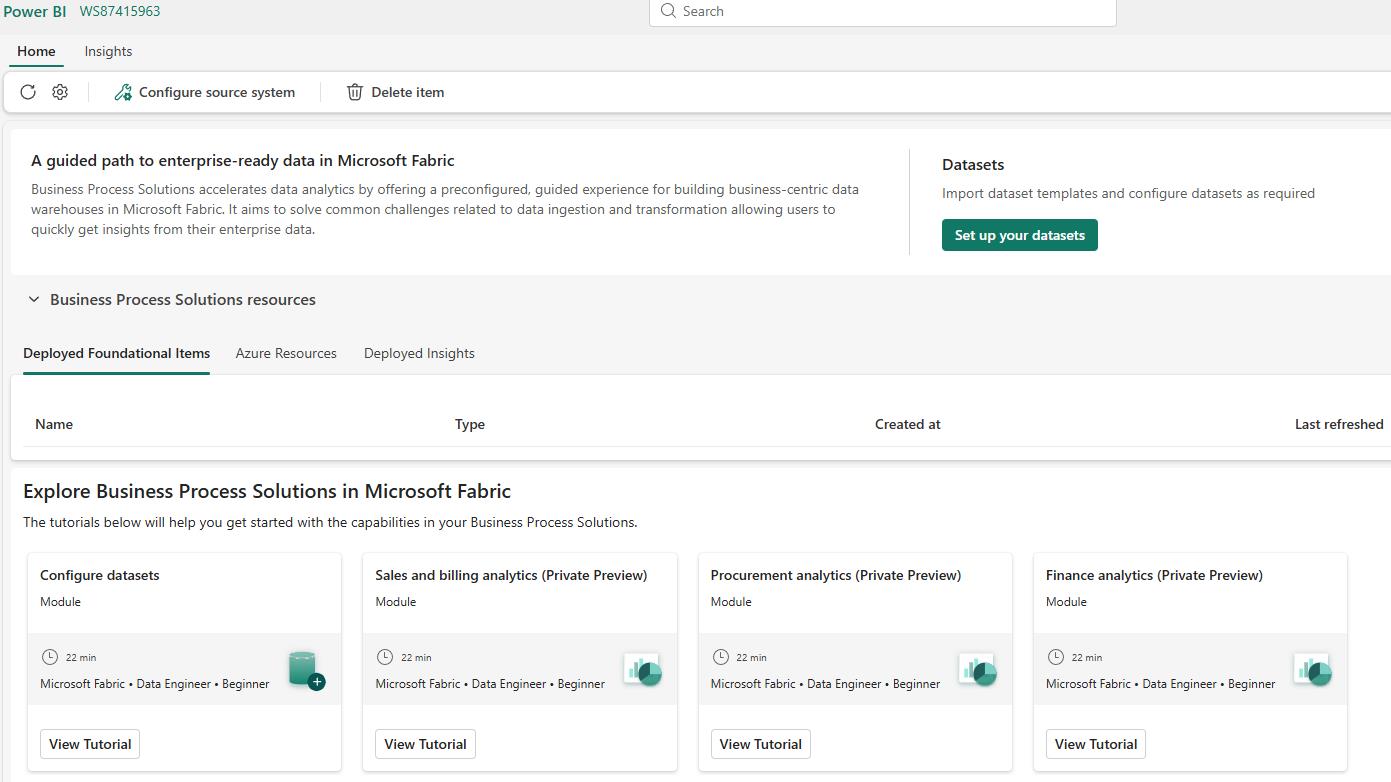
Review the BPS page that displays when the deployment is complete.
-
Leave the Fabric page open. You’ll use the page again in the next task.
04: Set up the metadata database connection
-
On the Fabric page, in the left pane, select Workspaces and then select WS57383073.
-
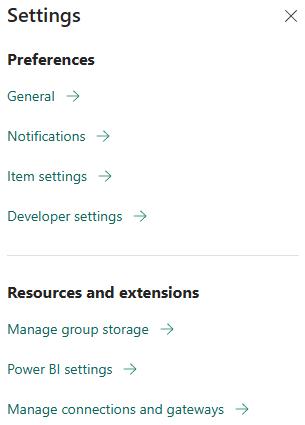
On the command bar at the top of the page, select Settings (the Gear icon).

-
In the Settings pane, in the Resources and extensions section, select Manage connections and gateways.
-
On the Manage connections and gateways page, select + New.
-
Configure the fields in the New connection page page by using the values in the following table. Leave all other settings at the default values.
Setting Value Type Cloud Connection name CN57383073Connection type Fabric SQL database Authentication method OAuth 2.0 Edit credentials In the Pick an account dialog, select your tenant account 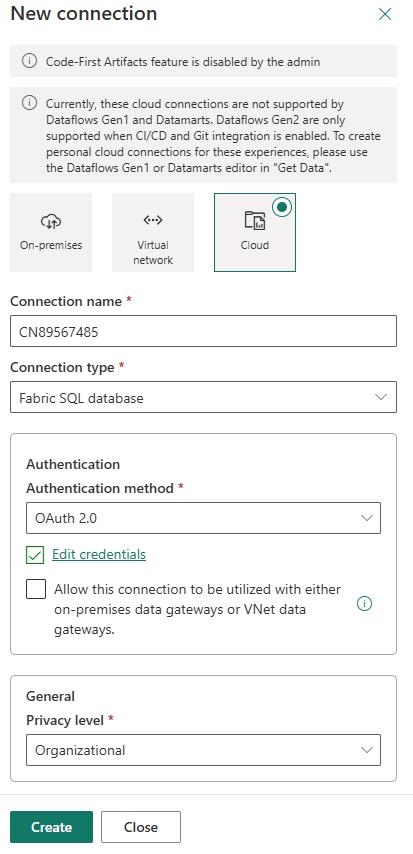
-
Select Create.
-
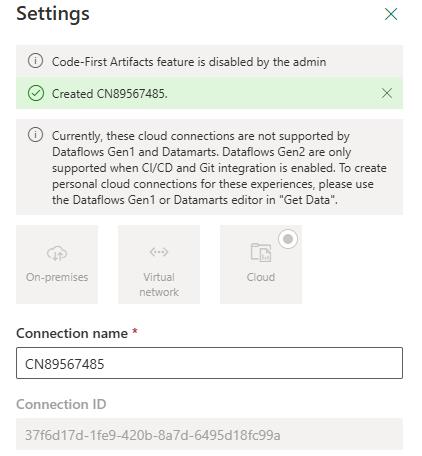
Wait while the connection is created. Copy the value from the Connection ID field and paste the value into your notepad file. You will use this value later in the lab.
- Connection ID: @lab.TextBox(ConnectionID)
-
Close the Settings pane.
-
Leave the Fabric page open. You’ll use the page again later in the workshop.
05: Configure an app registration in Azure
-
In the VM, open a new browser tab and go to
portal.azure.com. -
Search for and select
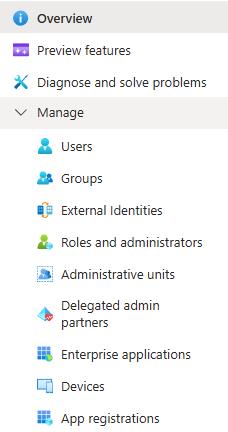
Microsoft Entra ID.
-
In the left pane, in the Manage section, select App registrations.
-
On the command bar, select + New registration.
-
In the Name field, enter
BPS-SAPapp57383073and then select Register.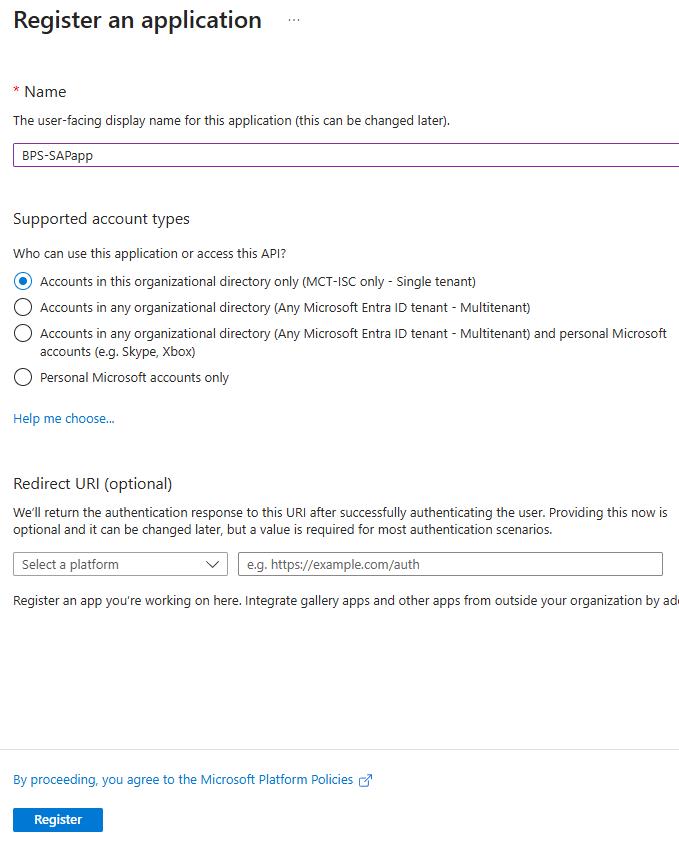
-
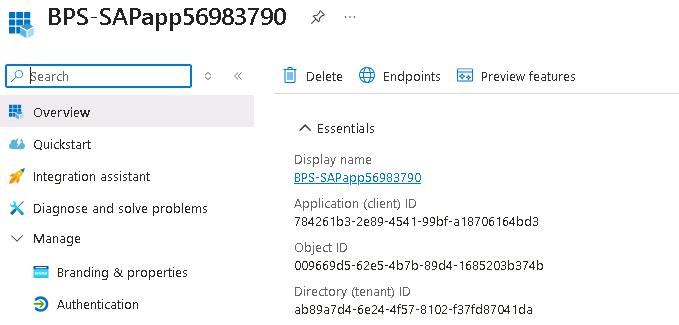
On the BPS-SAPapp57383073 page, in the Essentials section, copy the values for the following settings in a Notepad file. You will use these values later in the lab.
-
Application (client) ID: @lab.TextBox(ClientID)
-
Object ID: @lab.TextBox(ObjectID)
-
-
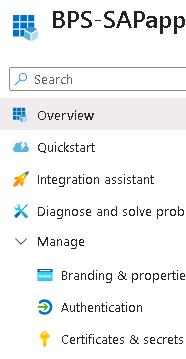
In the left pane, expand the Manage group and then select Certificates & secrets.
-
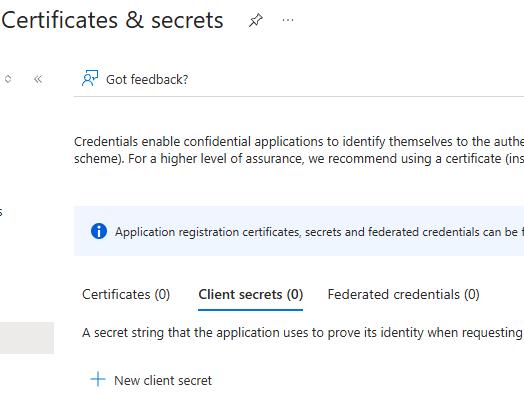
On the Certificates & secrets page, select + New client secret.
-
In the Add a client secret pane, in the Description field, enter
BPS-SAPappsecret57383073and then select Add.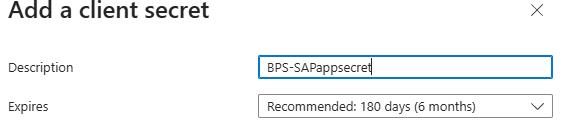

-
On the Certificates & secrets page, locate the BPS-SAPappsecret you just created. Copy the entry in the Value field and paste that value in a Notepad file for use later in the lab.
- Secret value: @lab.TextBox(Secret)
It is important that you copy and paste this value right now. Once you move away from this page, you will NOT be able to see the value again.
-
Leave the Azure portal page open. You’ll use the page again in the next task.
06: Add the service principal as an admin in the Fabric workspace
-
Return to the Fabric page.
-
On the Fabric page, in the left pane, select Workspaces and then select WS57383073.
-
On the command bar, select Manage access.

-
In the Manage access pane, select + Add people or groups.
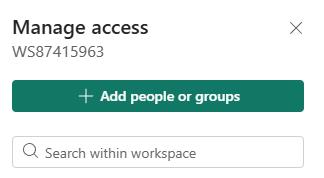
-
In the Add people pane, search for and select
BPS-SAPapp57383073. -
In the role dropdown list, select Admin and then select Add.