This page describes the
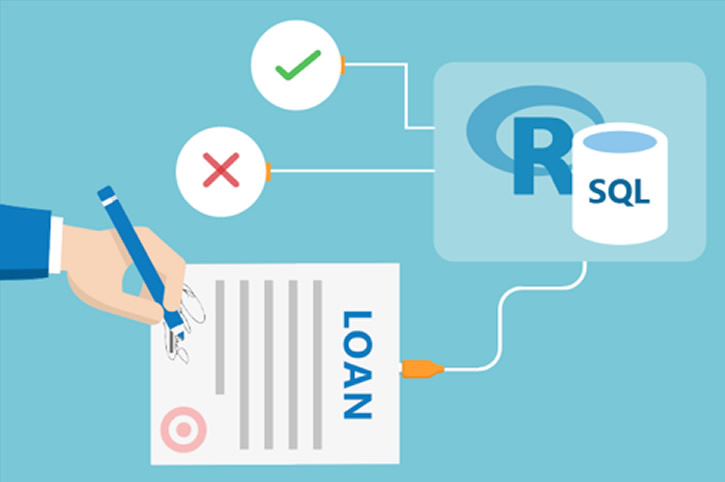
SQL Server VM on Azure
SQL Server On-Premises
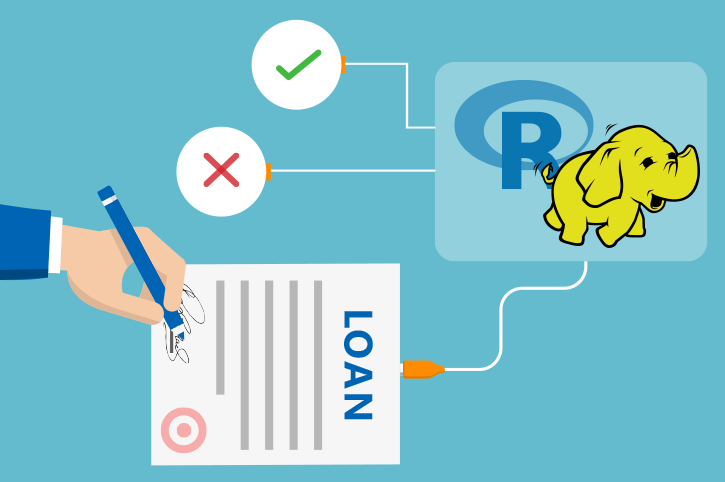
HDInsight Spark
solution.
Visualizing Results with PowerBI
This page shows how to refresh data for the PowerBI file on your VM. If you want to instead download the file to your own computer, first open the firewall on your VM by execute the following command in a PowerShell window on the VM:
netsh advfirewall firewall add rule name="SQLServer" dir=in action=allow protocol=tcp localport=1433Then follow the SQL Server On-Premises instructions.
These instructions show you how to replace the cached data in the PowerBI dashboard with data from your
SQL Server VM on Azure solution.
SQL Server On-Premises solution, or any SQL Server other than localhost.
HDInsight Spark solution.
First, try refreshing the data using the Refresh button on the toolbar.
Use your Windows credentials if prompted.
If this does not work, you may need to modify the connection information by using the steps below.
- Open the LoanCreditRisk.pbix file from the Desktop/Loans folder on your VM.
- Download and open the LoanCreditRisk.pbix file
- Download and open the LoanCreditRisk HDI.pbx file.
- Setup an ODBC connection to your cluster.
- Click on
Edit Query - Select the first query (
TestData) and then click on theAdvanced Editorin the toolbar. - Replace
localhostwith your server name and click onDone. (If you are using an Azure VM, such as the one deployed using the 'Deploy to Azure' button on the Quick start page, use the IP address for the server name.) - After a moment you'll see an alert asking for Permision to run the query. Click on
Edit Permission - Press
Refreshon the top toolbar. - On the Native Database Query dialog, click the
Runbutton. - On the Please specify how to connect alert, click on
Edit Credentials - Next you will see a SQL Server database login. Use the Windows tab to connect with your Windows credentials, or use the Database tab to supply your username and password if you have one. Then select the
Connectbutton. - Select
OKon the Encrypting Support alert. - The TestData table will appear.
- Select each of the remaining queries on the left. For each one use the
Advanced Editorin the toolbar and replacelocalhostwith your server name. You won't need to provide credentials again. - Now close the Query Editor. Select
Yesto the prompt to apply your changes. - Click on
Refreshin the top toolbar. - Enter your username and password for the cluster.
- You are now viewing data from your SQL DatabaseHive tables, rather than the imported data that was part of the initial solution package.
- Subsequent clicks of
Refreshwill work without further authentication steps. - When you close the file, save your changes.
Return to the SQL Server VM on Azure instruction if you have deployed your solution using the 'Deploy to Azure' button on the Quick start page.