
TIP
🔥 Make sure you star the repo (opens new window) to keep up to date with new tips and tricks.
💡 Learn more : Azure Communication Services overview (opens new window).
📺 Watch the video : How to get started with Azure Communication Services Part 1 of 2 - Create a chat app (opens new window).
# How to get started with Azure Communication Services Part 1 of 2 - Create a chat app
# Azure Communication Services
When you need to interact with your customers or colleagues, you need applications that enable you to chat, send SMS messages, places calls and more. You can now easily create communication-enabled applications with the Azure Communication Services (opens new window). These are a collection of APIs in Azure that you can use to chat (opens new window), send and receive SMS (opens new window) messages, make video and audio calls (opens new window) and place and receive telephone calls (opens new window). All of these capabilities are enabled by Azure and are managed for you, without you having to set up any infrastructure.
This post is part of a series of posts in which we'll create an application that enables you to chat and send SMS messages:
- How to Get Started with Azure Communication Services Part 1 of 2 - Create a chat app (opens new window) (this post)
- How to Get Started with Azure Communication Services Part 2 of 2 - Send SMS messeges (opens new window)
In this first post, we'll start by setting up Azure Communication Services and using it to create a chat application.
# Prerequisites
If you want to follow along, you'll need the following:
- An Azure subscription (If you don't have an Azure subscription, create a free account (opens new window) before you begin)
- The latest version of Visual Studio (opens new window), with the Web Development workload installed
# Set up Azure Communication Services and add chat to an app
We will create an ASP.NET Core application that enables us to send chat messages and receive them. To get started, we first need to create a new Azure Communication Services resource.
- Go to the Azure portal (opens new window)
- Click the Create a resource button (the plus-sign in the top left corner)
- Search for Communication Services, select the result and click Create
- This brings you to the create Communication Service blade
- Select a Resource Group
- Fill in a name for the Communication Services resource
- Click Review + Create and Create
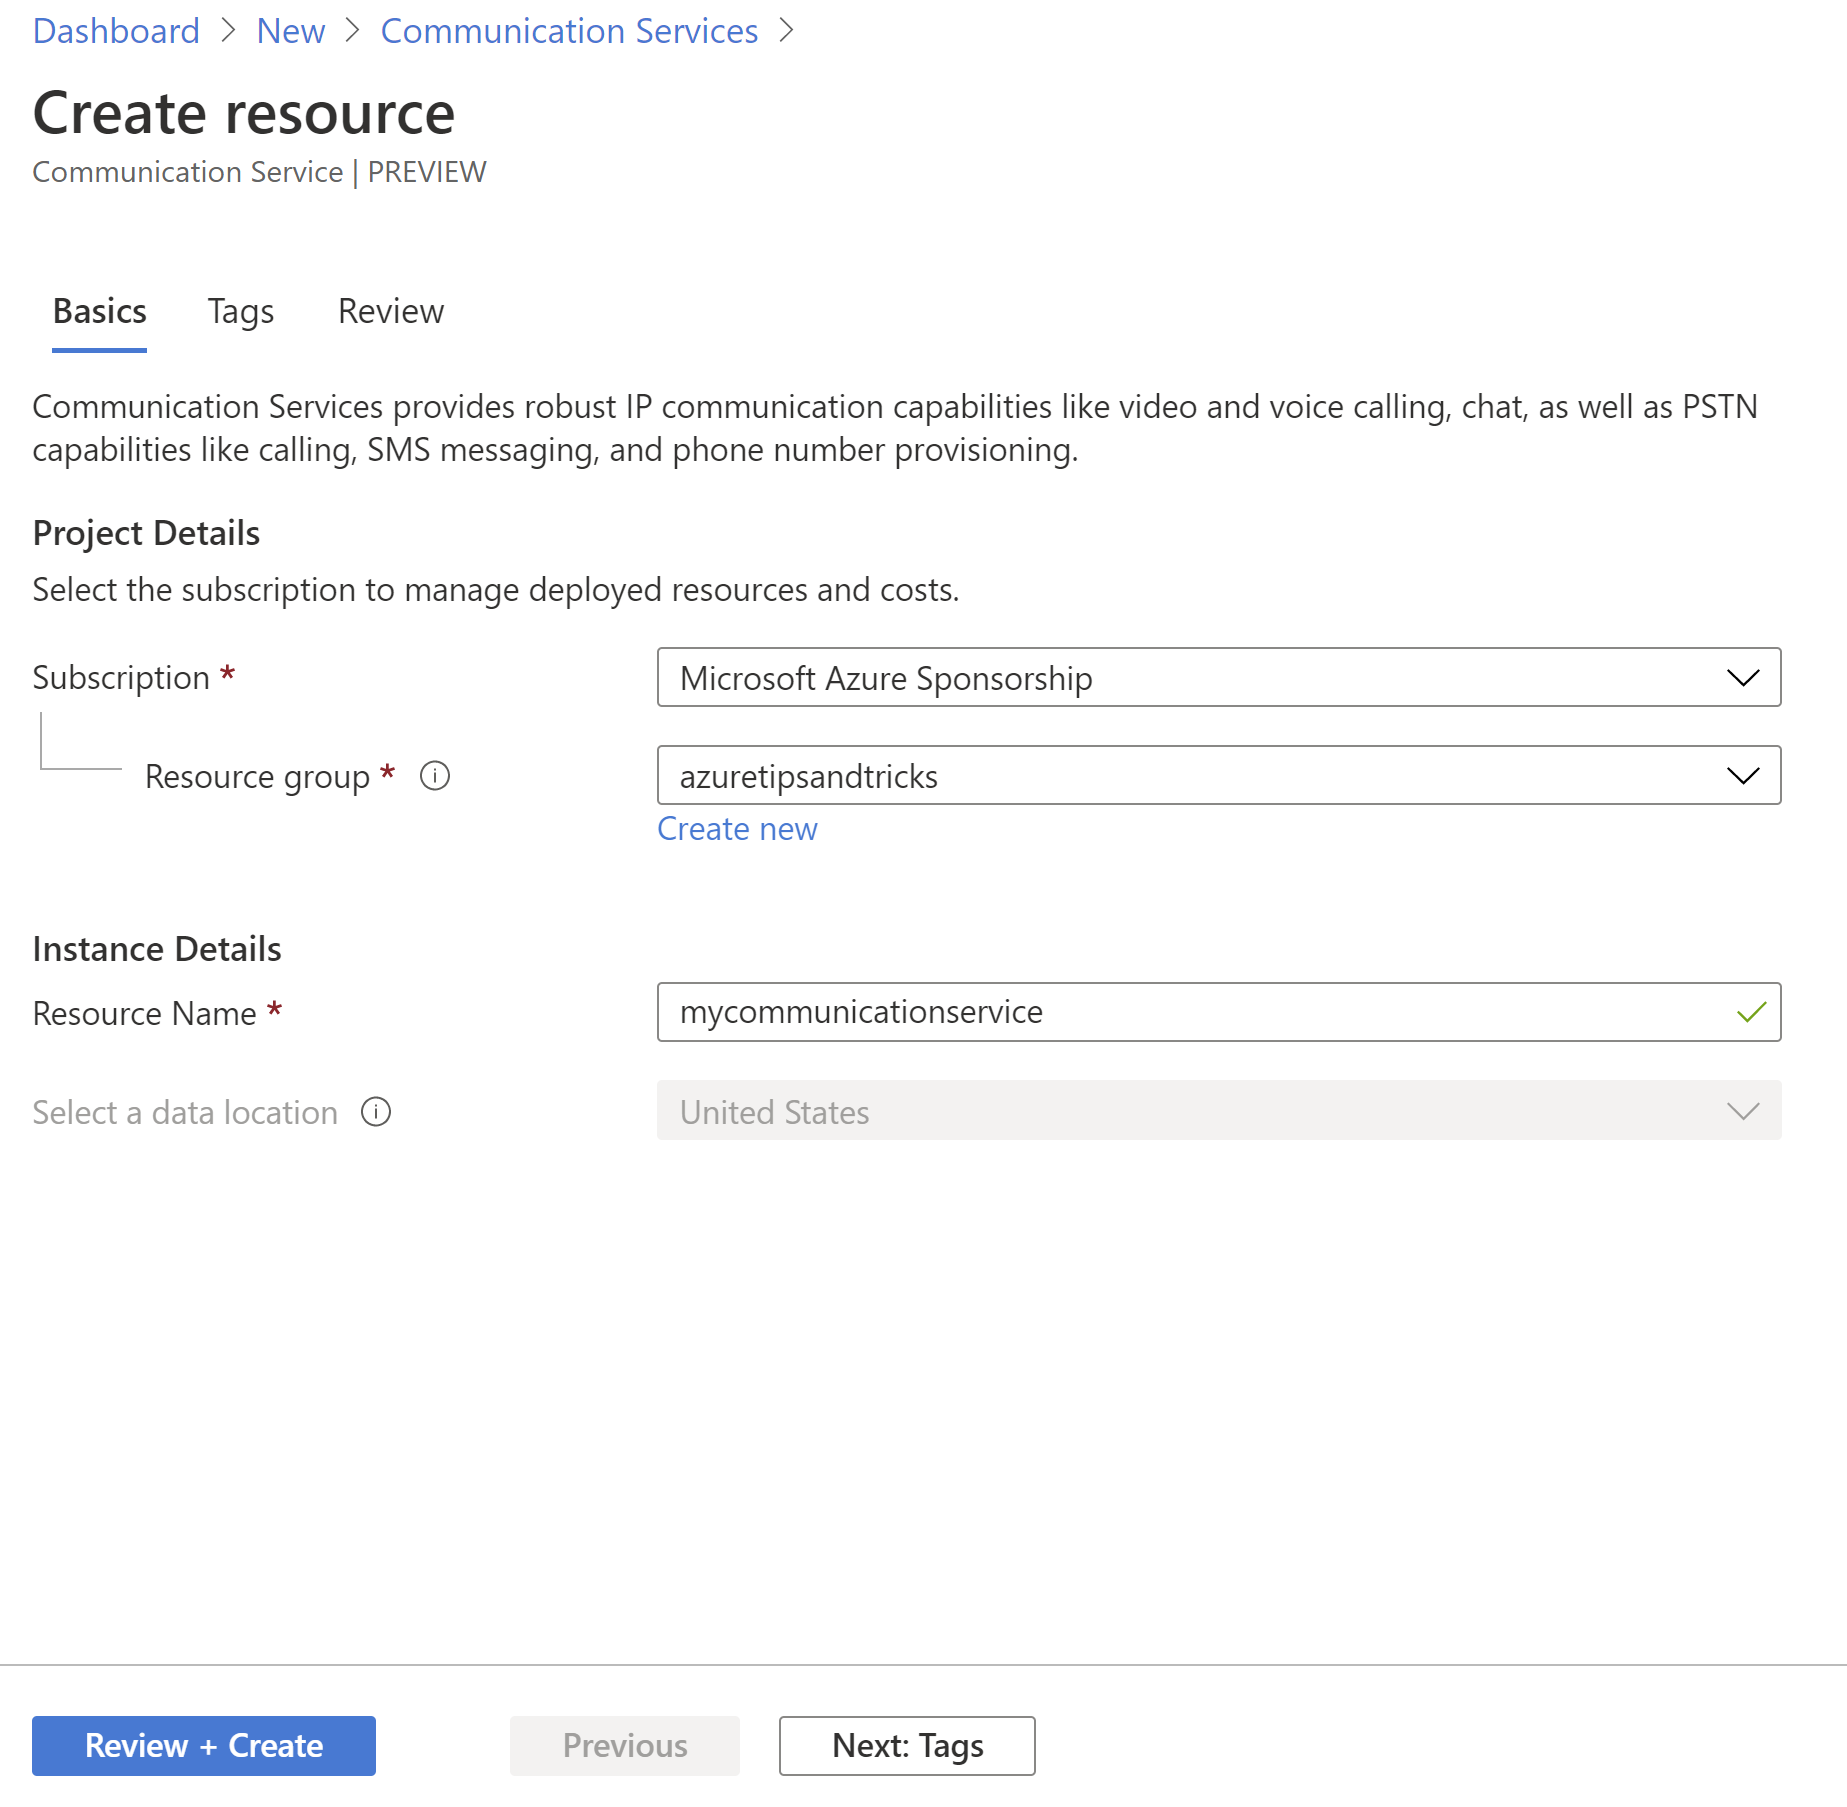
(Create a Communication Services resource in the Azure portal)
Now that the resource is created, we can use it. We'll do that from a new ASP.NET Core web application that we will create in Visual Studio. You can also use VS Code (opens new window) to work with the ASP.NET Core application.
- Open Visual Studio
- Select Create a new project
- Select ASP.NET Core Web Application and select Next
- Pick a name and location for the application and select Create
- In the dialog that pops up, select Web Application (Model-View-Controller) and select Create. This creates an ASP.NET Core app with views and controllers
The application will look like the image below:
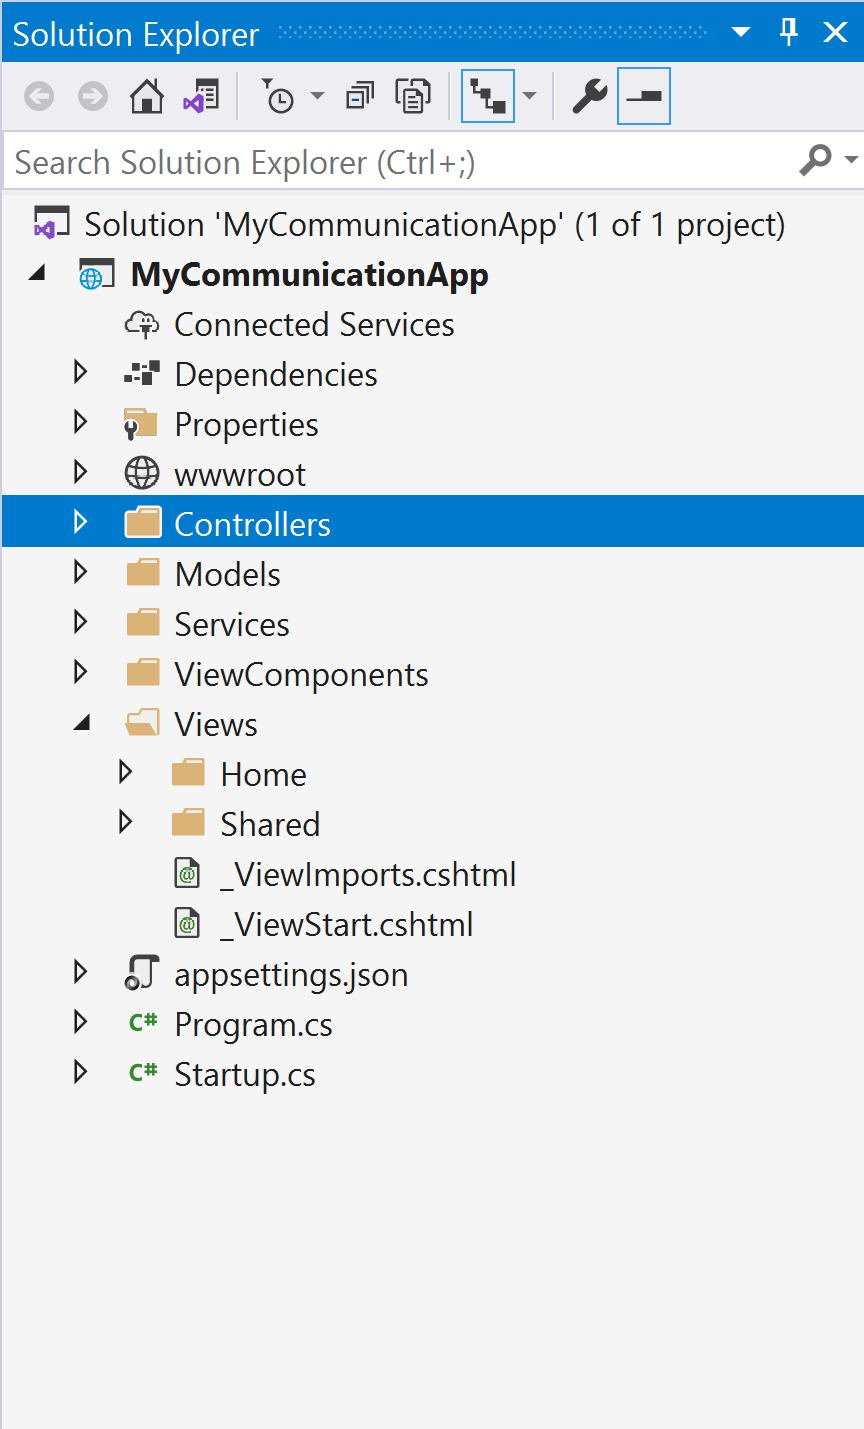
(ASP.NET Core MVC app in Visual Studio)
Let's add chat to this application. First, add the following NuGet packages to the application:
- Azure.Communication.Chat
- Azure.Communication.Administration
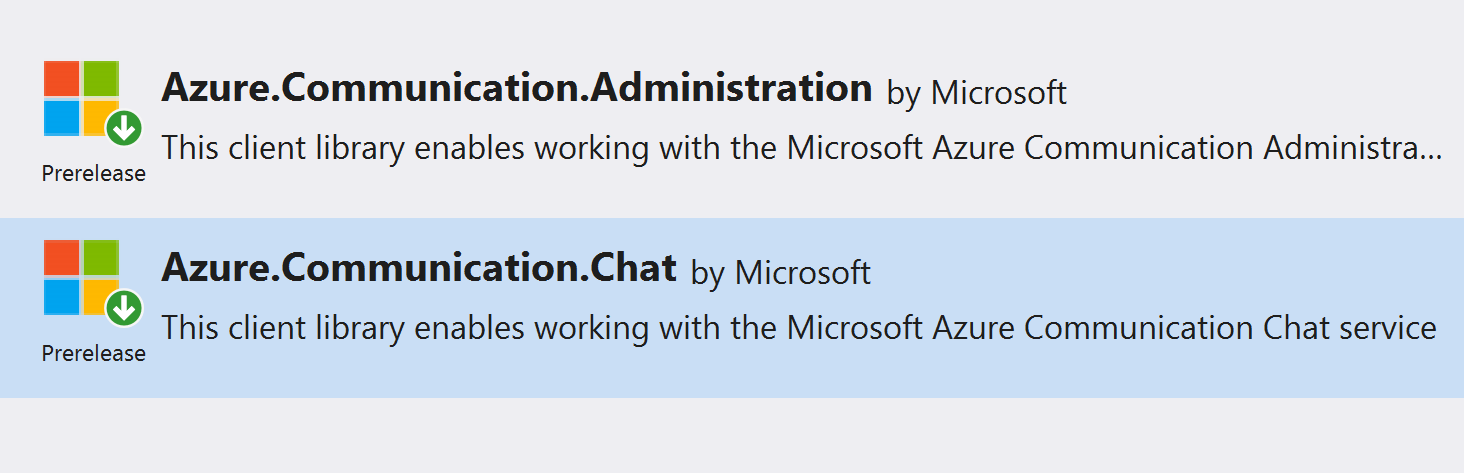
(NuGet packages to add in Visual Studio)
Next, we'll create two services that enable chat in the application. We'll call the first one the AccessTokenService and create two files for it AccessTokenService.cs for the service code and IAccessTokenService.cs for its interface. Make sure that AccessTokenService.cs contains the following code:
AccessTokenService.cs:
    public class AccessTokenService : IAccessTokenService, IDisposable
    {
        private CommunicationUser user;
        private CommunicationIdentityClient client;
        public AccessTokenService(string communicationServiceConnection)
        {
            client = new CommunicationIdentityClient(communicationServiceConnection);
        }

        public string IssueUserAccessToken(CommunicationTokenScope communicationTokenScope, CommunicationUser chatUser)
        {
            var tokenResponse =  client.IssueToken(chatUser, scopes: new[] { communicationTokenScope });
            var token = tokenResponse.Value.Token;

            return token;
        }

        public CommunicationUser CreateNewUser()
        {
            var userResponse = client.CreateUser();
            user = userResponse.Value;
            return user;
        }

        public void Dispose()
        {
            client.DeleteUser(user);
        }
    }
2
3
4
5
6
7
8
9
10
11
12
13
14
15
16
17
18
19
20
21
22
23
24
25
26
27
28
29
This code creates a new communication token, which the communication service client will use to set up chat. It also contains code to create a new user for the communication service. These users have unique IDs and are stored in Azure Communication Services. The constructor takes a connection string, which we'll feed it in the Startup.cs class later on.
Here is the interface code for the IAccessTokenService.cs file:
    public interface IAccessTokenService
    {
        string IssueUserAccessToken(CommunicationTokenScope communicationTokenScope, CommunicationUser chatUser);

        CommunicationUser CreateNewUser();
    }
2
3
4
5
6
The AccessTokenService code is used by the second class, ChatService, which initializes chat en sends and receives messages. We need to create two files for this service called ChatService.cs and IChatService.cs. Make sure that ChatService.cs contains the following code:
ChatService.cs:
public class ChatService : IChatService
    {
        private ChatThreadClient chatThreadClient;
        private IAccessTokenService _tokenService;
        public ChatService(string communicationServiceEndpoint, IAccessTokenService tokenService)
        {
            _tokenService = tokenService;

            // Your unique Azure Communication service endpoint
            Uri endpoint = new Uri(communicationServiceEndpoint);

            var user = _tokenService.CreateNewUser();

            //get user access token
            string userAccessToken = _tokenService.IssueUserAccessToken(CommunicationTokenScope.Chat, user);

            CommunicationUserCredential communicationUserCredential = new CommunicationUserCredential(userAccessToken);
            ChatClient chatClient = new ChatClient(endpoint, communicationUserCredential);

            var chatThreadMember = new ChatThreadMember(user)
            {
                DisplayName = "System user"
            };

            chatThreadClient = chatClient.CreateChatThread(topic: "Customer Service", members: new[] { chatThreadMember });
            SendMessage("Hi! Please type in your phone number to get help", "System user");
        }

        public void JoinChat()
        {
            var chatThreadMember = new ChatThreadMember(_tokenService.CreateNewUser())
            {
                DisplayName = "New user"
            };
            chatThreadClient.AddMembers(members: new[] { chatThreadMember });
        }

        public void SendMessage(string content, string displayName)
        {
            chatThreadClient.SendMessage(content, senderDisplayName: displayName);
        }

        public async Task<AsyncPageable<ChatMessage>> GetMessages()
        {
            var latestMessage = chatThreadClient.GetMessages().First();

                if (latestMessage.Type == "Text" && latestMessage.SenderDisplayName != "System user")
            {
                if (!Regex.IsMatch(latestMessage.Content, "(^^[+]*[(]{0,1}[0-9]{1,4}[)]{0,1}[-\\s\\./0-9]*$)"))
                {
                    SendMessage("Please provide a valid phonenumber", "System user");
                }
                else
                {
                    SendMessage("Thank you! Please check your phone for further instructions", "System user");
                }
            }

            return chatThreadClient.GetMessagesAsync();
        }
    }
2
3
4
5
6
7
8
9
10
11
12
13
14
15
16
17
18
19
20
21
22
23
24
25
26
27
28
29
30
31
32
33
34
35
36
37
38
39
40
41
42
43
44
45
46
47
48
49
50
51
52
53
54
55
56
57
58
59
60
61
This code does a lot. It first uses the AccessTokenService to create new communication credentials, which it uses to create a new ChatClient class with. With this class, it sets up a ChatThreadClient, which is the thing that represents a chat thread and can be used to send and receive chat messages. The service has methods to send messages to the ChatThreadClient and to read new messages. Reading new messages in the GetMessages method, it looks for a phone number in the latest received chat message and asks the user to input a valid number if it didn't find one. We'll soon see what this is used for.
And here is the code for the IChatService.cs interface:
    public interface IChatService
    {
        void JoinChat();

        void SendMessage(string content, string displayName);

        Task<AsyncPageable<ChatMessage>> GetMessages();
    }
2
3
4
5
6
7
8
These two services need to be injected using ASP.NET Core dependency injection. We configure that in the ConfigureServices method of the Startup.cs class. Here, we inject the services as follows. Also, we feed the services a connection string and an endpoint for the Azure Communication Service. You can find these under the Keys menu of the Communication Services resource in the Azure portal. In our application, these values have been placed in the appsettings.json file
Startup.cs ConfigureServices:
        public void ConfigureServices(IServiceCollection services)
        {
            services.AddTransient<IAccessTokenService>(s => new AccessTokenService(Configuration.GetConnectionString("CommunicationServiceConnection")));
            services.AddSingleton<IChatService>(s => new ChatService(Configuration.GetValue<string>("CommunicationServiceEndpoint"),
                new AccessTokenService(Configuration.GetConnectionString("CommunicationServiceConnection"))));

            services.AddControllersWithViews();
        }
2
3
4
5
6
7
8
appSettings.json:
{
  "Logging": {
    "LogLevel": {
      "Default": "Information",
      "Microsoft": "Warning",
      "Microsoft.Hosting.Lifetime": "Information"
    }
  },
  "AllowedHosts": "*",
  "CommunicationServiceEndpoint": "Fill in your Azure Communication Service endpoint",
  "ConnectionStrings": {
    "CommunicationServiceConnection": "Fill in your Azure Communication Service connection string"
  }
}
2
3
4
5
6
7
8
9
10
11
12
13
14
We've now setup the plumbing for the application. Let's bring it together in the user interface. We'll create the chat window in an ASP.NET Core ViewComponent. To do that, create a new folder called ViewComponents with a file called ChatViewComponent.cs. Make sure that the ChatViewComponent.cs file contains the following code:
ChatViewComponent.cs:
    public class ChatViewComponent : ViewComponent
    {
        private IChatService _chatService;
        public ChatViewComponent(IChatService chatService)
        {
            _chatService = chatService;
        }

        public async Task<IViewComponentResult> InvokeAsync()
        {
            return View(await _chatService.GetMessages());
        }
    }
2
3
4
5
6
7
8
9
10
11
12
13
This gets the ChatService injected and uses that to read the latest messages and pass those to the view, which we'll create next.
We'll create the ViewComponent UI by creating a file called Default.cshtml in the folder Views\SHared\Components\Chat. The Default.cshtml file should look like this:
Default.cshtml:
@model Azure.AsyncPageable<Azure.Communication.Chat.ChatMessage>

<div>
    @await foreach (var message in Model)
    {
        @if (message.Type == "Text")
        {<br />
            <div style=" border-radius: 10px; border: 1px solid #0094ff;width:50%; margin: 0 auto;">
                <span style="font-size:10px">@message.SenderDisplayName @message.CreatedOn.Value.UtcDateTime.ToLongTimeString()</span>
                <br />
                <span style="font-size:13px">@message.Content</span>
            </div>
        }
    }

</div>
2
3
4
5
6
7
8
9
10
11
12
13
14
15
16
It receives the chat messages in its model, loops through them and displays them. Now let's use this view component in the Index.cshtml file. In there, create the following HTML:
Index.cshtml:
@{
    ViewData["Title"] = "Home Page";
}

<div class="text-center">
    <h1 class="display-4">Welcome to our communication app</h1>
    @await Component.InvokeAsync("Chat")
    <br />
<form asp-action="Index">
    <input  name="chatMessage" id="chatMessage" placeholder="Your message"  type="text" size="50"  />
    <input type="submit" value="Send message" />
</form>
</div>
2
3
4
5
6
7
8
9
10
11
12
13
This HTML has a form with a textbox and a button in it and loads the Chat view component. We use the textbox to send new chat messages. All of this is wired up in the HomeController.cs file:
HomeController.cs:
    public class HomeController : Controller
    {
        private IChatService _chatService;

        public HomeController(IChatService chatService)
        {
            _chatService = chatService;
        }

        public IActionResult Index()
        {
            return View();
        }

        [HttpPost]
        public IActionResult Index(string chatMessage)
        {
            _chatService.SendMessage(chatMessage, "Customer");

            return View();
        }

        [ResponseCache(Duration = 0, Location = ResponseCacheLocation.None, NoStore = true)]
        public IActionResult Error()
        {
            return View(new ErrorViewModel { RequestId = Activity.Current?.Id ?? HttpContext.TraceIdentifier });
        }
    }
2
3
4
5
6
7
8
9
10
11
12
13
14
15
16
17
18
19
20
21
22
23
24
25
26
27
28
The HomeController gets the ChatService injected and uses that to send chat messages from a display name "customer".
That's it. Let's run it to see if it works. When the application starts it has initiated a ChatThreadClient with a user that represents a chatbot that will help you. The bot asks for your phone number. Now, you can type in a message and press Send Message to send it. When the message is received, the ChatService checks if the message is a valid phone number. If it isn't, it will send another message, asking for a valid number. And if it is, it will thank you and tell you to check your phone for further instructions. This step would send an SMS that you receive on your phone, which we will implement in the next part of this series.
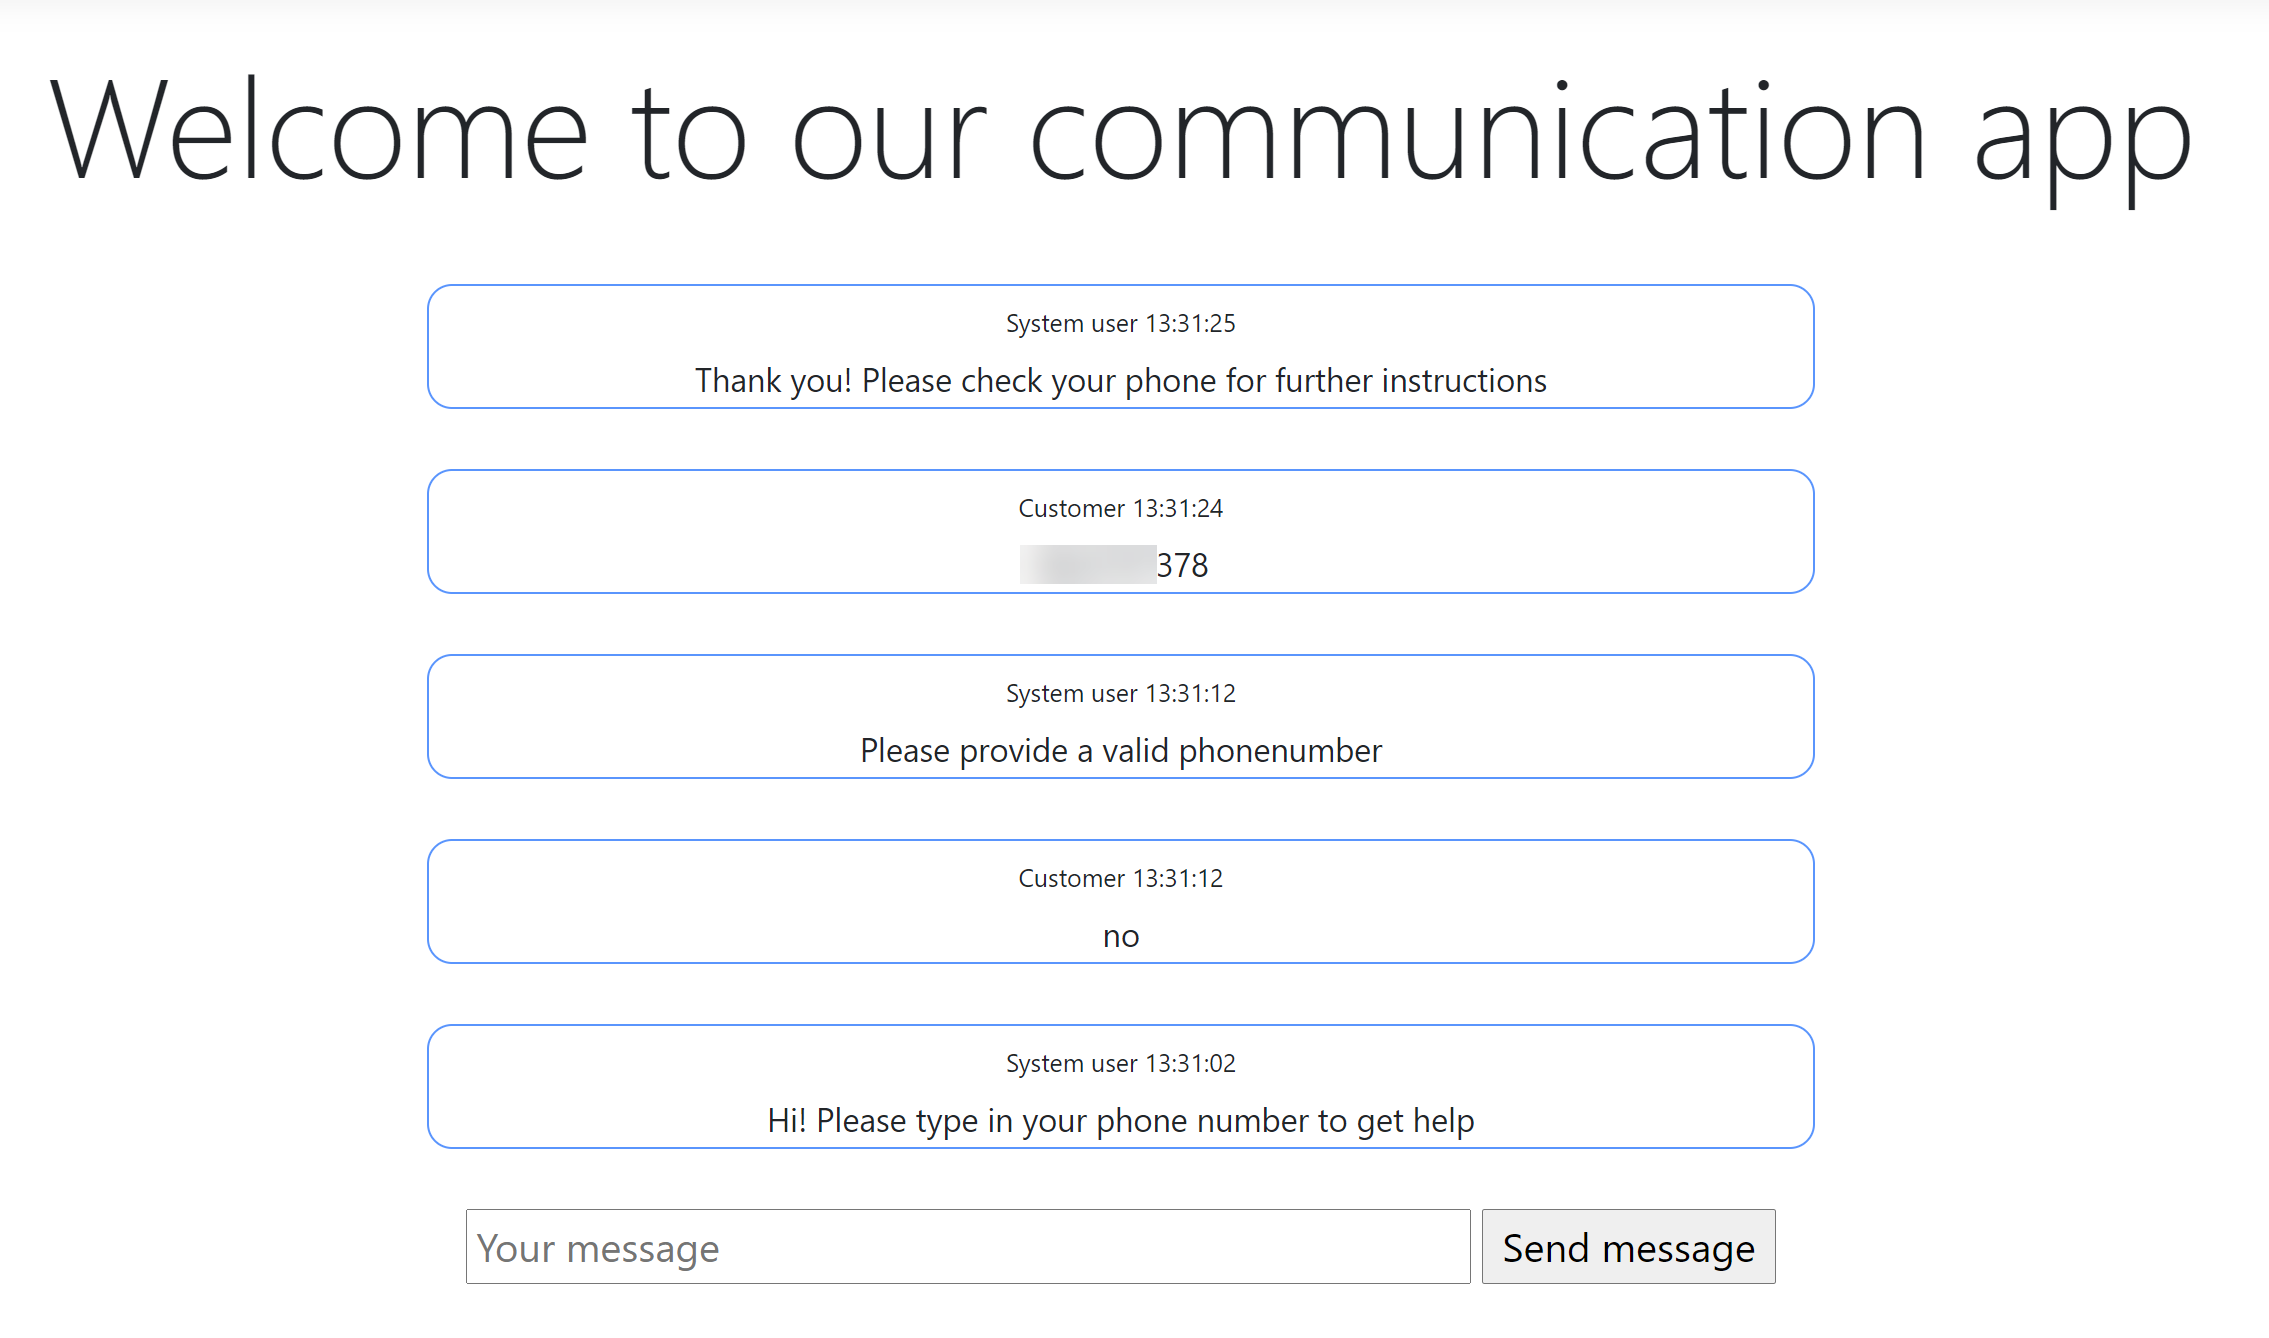
(The chat application in action)
# Conclusion
Creating an application that uses Azure Communication Services (opens new window) is easy and straightforward. You can use the SDKs (opens new window) to talk to Communication Services and use chat (opens new window), SMS (opens new window), voice and video (opens new window) or telephone (opens new window) to communicate. Go and check it out!