Task 03: Set up pay-as-you-go billing
Description
You’ll create a billing plan named CUAgentsBillingPlan in Power Platform admin center, link it to your Azure subscription and the RGforCUAgentsResouces resource group, and attach it to the EnvironmentForCUAgents environment. The plan must include the Dataverse, Copilot Studio, and Windows 365 for Agents meters.
Success criteria
- You created a billing plan named CUAgentsBillingPlan linked to your Azure subscription and resource group.
- You selected all three required meters: Dataverse, Copilot Studio, and Windows 365 for Agents.
- You confirmed the EnvironmentForCUAgents environment appears in the Target environments section of the billing plan.
Configure a pay-as-you-go billing plan in Power Platform admin center before you deploy a cloud PC pool.
In this task, you’ll create the billing plan.
You must perform this task in Power Platform admin center. Creating billing for Microsoft 365 Copilot chat will fulfill the requirements.
-
Open an InPrivate browser session in Microsoft Edge and go to
https://admin.powerplatform.microsoft.com/. The Power Platform admin center Home page displays. -
Sign in with your tenant administrative credentials.
-
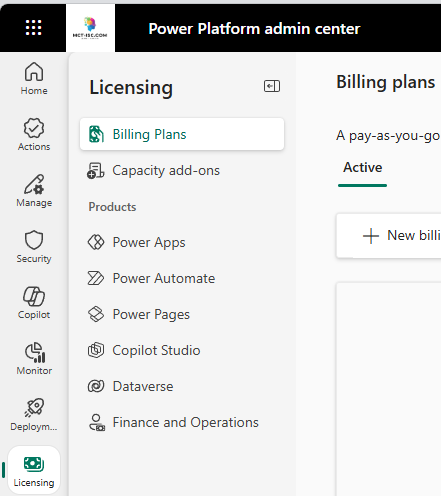
In the left pane, expand Licensing.

-
In the Licensing pane, select Billing Plans.
-
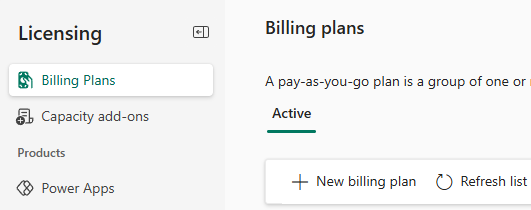
On the Billing plans page, on the command bar, select + New billing plan.
-
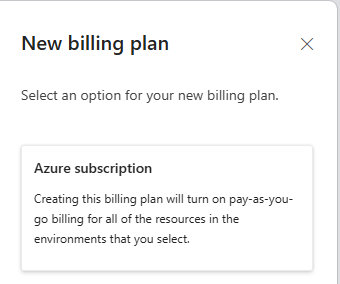
In the New billing plan pane, select Azure subscription.
-
Configure the fields by using the information in the following table:
Field Value Name CUAgentsBillingPlanAzure subscription Select the Azure subscription that you would like to bill. Resource group RGforCUAgentsResouces 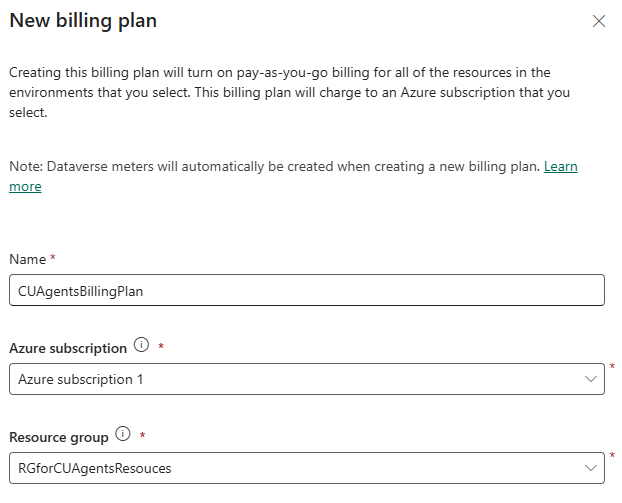
-
In the Meter field, select the following meters and then select Next.
- Dataverse
- Copilot Studio
- Windows 365 for Agents


-
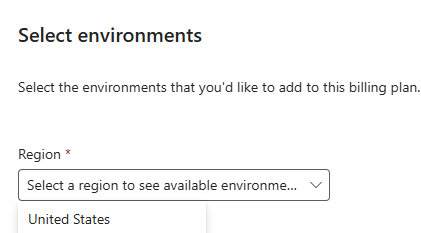
In the Select environment pane, in the Region field, select United States.
-
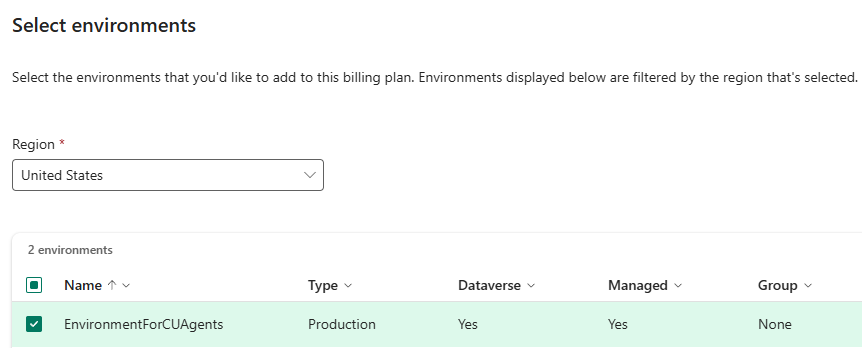
In the list of environments, select EnvironmentForCUAgents and then select Save.

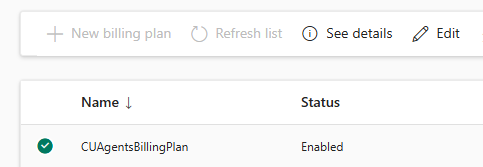
During testing, on multiple occasions we observed that the environment did not attach to the billing plan after saving. To check this, select the billing plan. Then, on the command bar, select Edit.
If you do not see the EnvironmentForCUAgents environment listed in the Target environments section, select Add or remove environments.
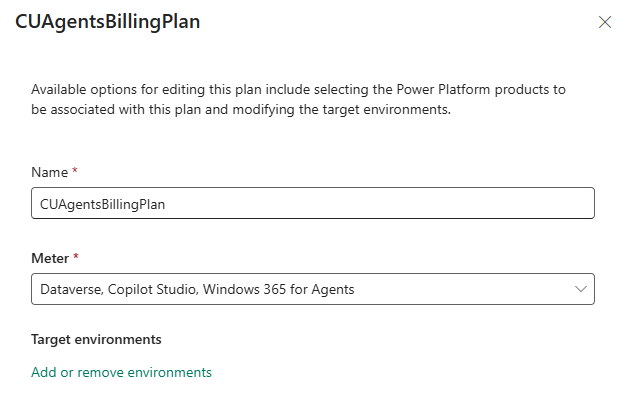
Select your environment again and then select Update environments.
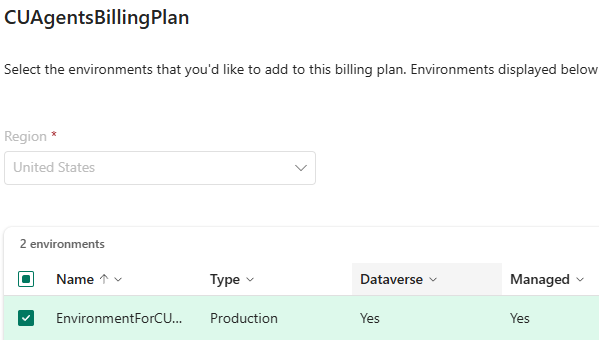

Finally, select Save.