Task 1.1: Create a Microsoft Fabric enabled workspace
-
Open a new tab and select https://app.powerbi.com/ to populate the Power BI URL and press Enter.
-
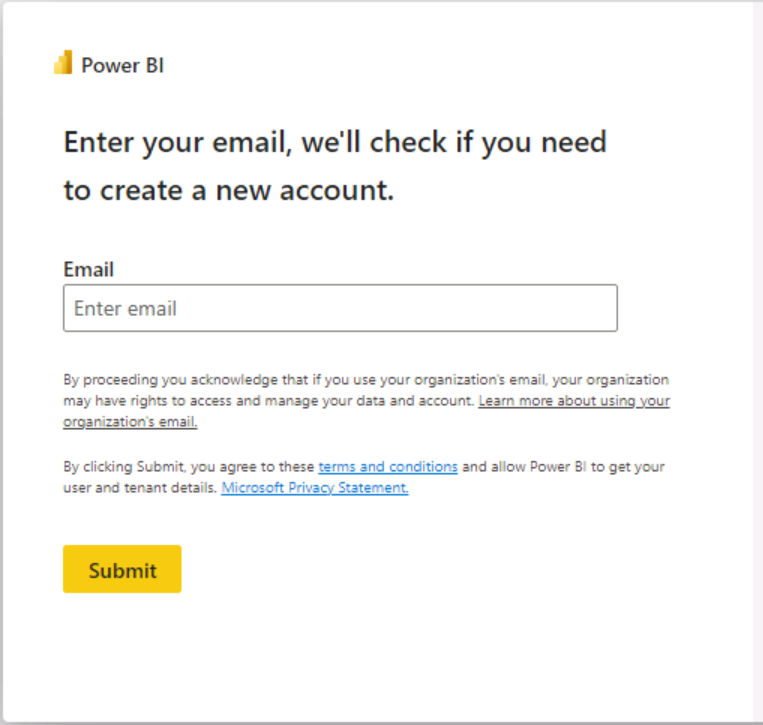
Enter following email , select @lab.CloudPortalCredential(User1).Username and select Submit.
-
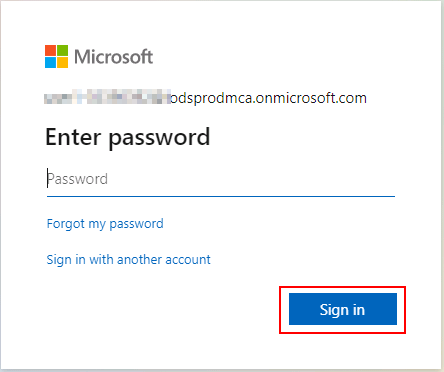
Enter the password , select @lab.CloudPortalCredential(User1).Password and select Sign in.
-
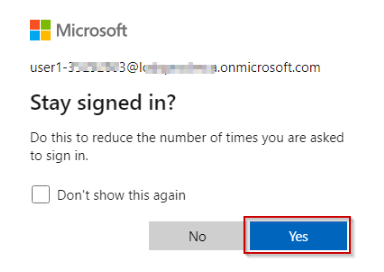
If prompted to stay signed in, select Yes.
-
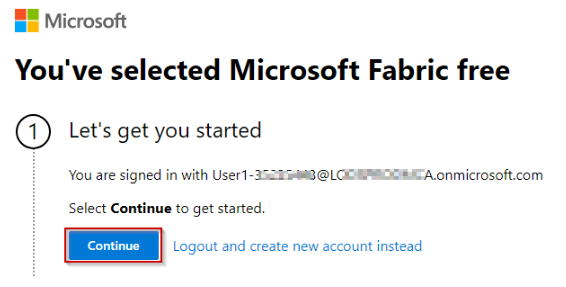
Select Continue.
-
Select Business phone number box and type a 10-digit number in the box , select 5551230849.
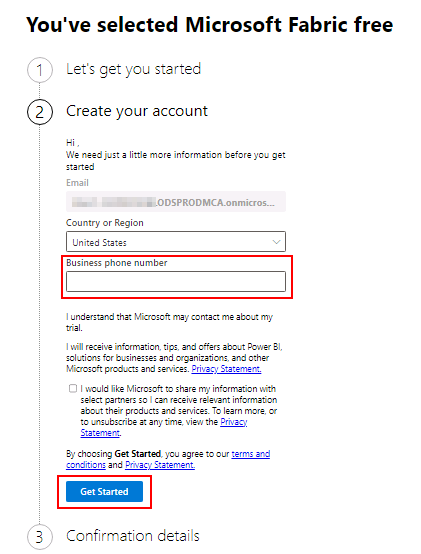
-
Again, select Get Started.
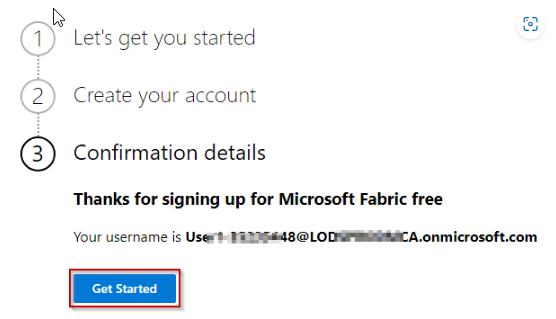
Wait for the Power BI Workspace to load
Close the top bar for a better view.
-
Select + New workspace.
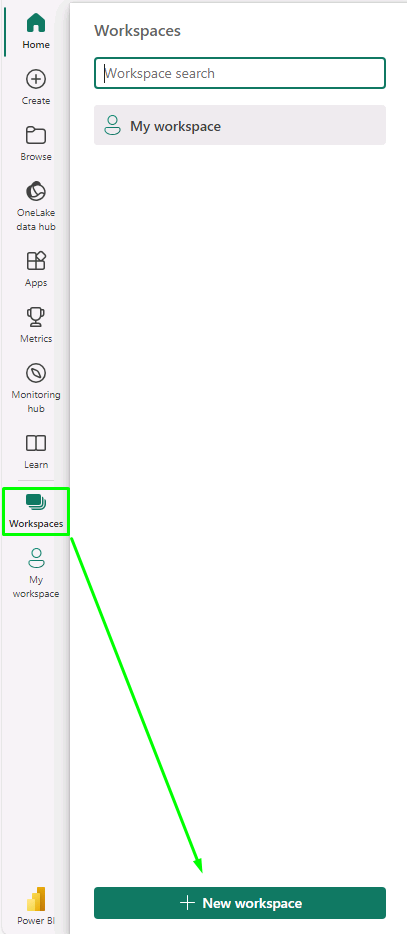
-
In the Name box, enter ContosoSales@lab.LabInstance.Id.
If you see the pop message Upgrade to Power BI Pro License do the following steps. Else skip to the next exercise .
- Select Try free.
- Select Got it to continue.
- Select Workspaces to verify if the workspace with the given name was created, if not perform the steps above again.
-
Under the Advanced drop down, select the Fabric Capacity option and select Apply.
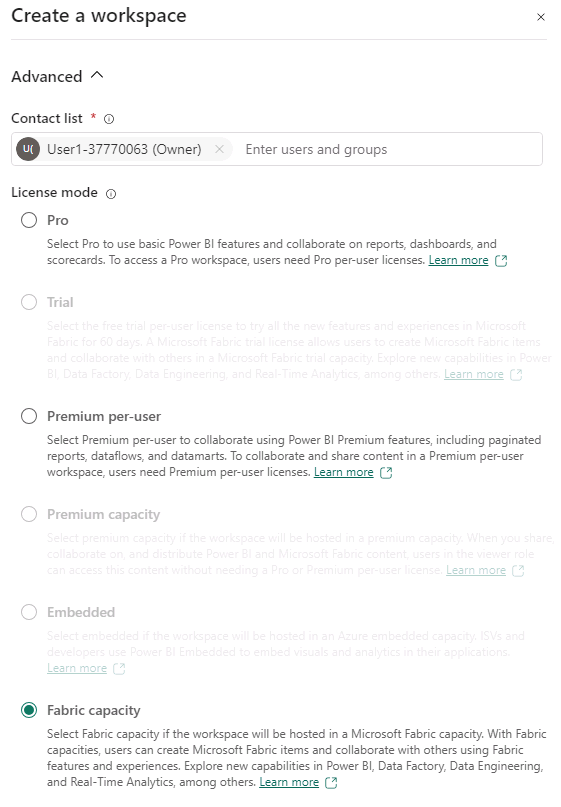
If the workspace you created is not visible, perform step 8 again.
If the name contosoSales is already taken, refresh the page and check again. The workspace might already be created.
-
In the left navigation, select Workspaces and then select ContosoSales@lab.LabInstance.Id.
-
In the top menu, select the More ellipsis and then select Manage access.

-
In the Manage access pane, select + Add people or groups.
-
In the Add people pane, in the Enter name or email box, enter fabric @lab.LabInstance.Id.
-
Select Viewer in the access menu, and then select Contributor.
-
Select Add.