To start training brains, the simulation model can either be hosted from your local machine or scaled on the Azure platform – this page focuses on the former, referred to as “locally hosted” here; Bonsai refers to the simulation models in this case being “unmanaged”.
About
With an RL-ready simulation model, and possibly some pre-written Inkling code, you have the option to start the training process and run through iterations on your local machine before uploading your model for scaled training.
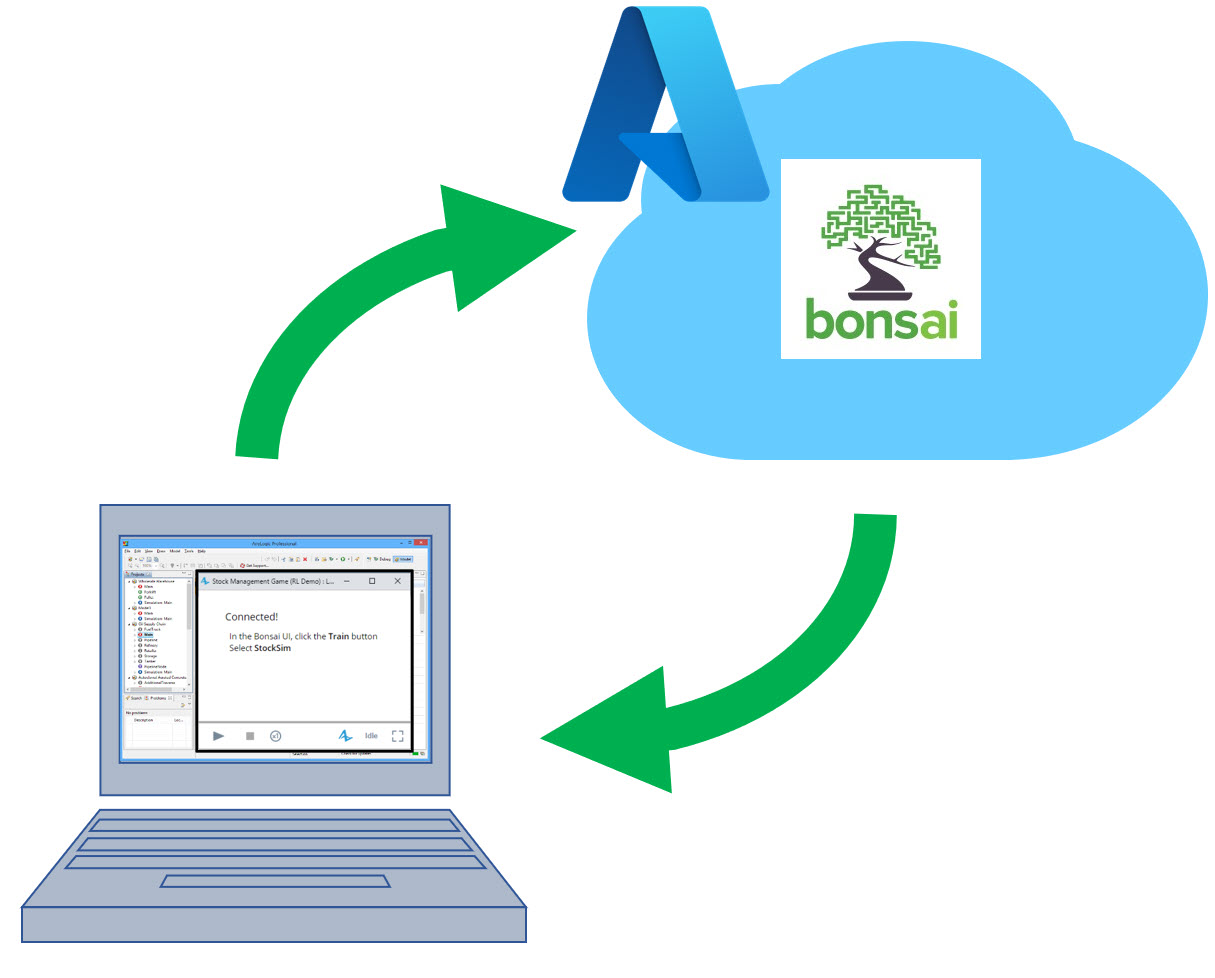
As the diagram shows, your model runs from your machine and sends/receives information from the Bonsai platform - a process automated from the end-users via the Bonsai Connector object.
When the model is setup for locally hosted training, the general execution goes as follows:
-
You launch a Simulation experiment
-
The model window appears; once run, the enabled Bonsai Connector starts to take control over your model and it does the following (automatically):
-
Register the simulator with the Bonsai platform (waiting until it passes or stopping if it fails)
-
Run your model until the iteration trigger occurs
-
Pause your model and send an observation to Bonsai
-
Waits for a reply from Bonsai with an action or a terminal condition
-
If an action, executes it and continues to the next iteration trigger; if a terminal indicator, stops and restarts the run
-
Instructions
Start in your AnyLogic environment:
-
In your top-level agent, verify you have a Bonsai Connector object, that it will be enabled, and is filled out with your Bonsai Workspace ID and Access Key
Tip: For details on this, see the Bonsai Connector implementation.
-
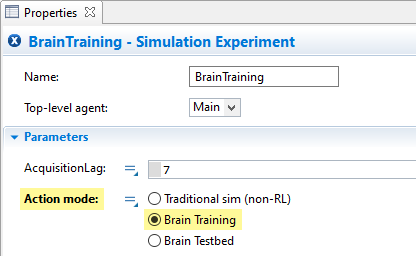
Verify you have a Simulation experiment with the following properties:
a. The mode parameter (if present) is set to perform training
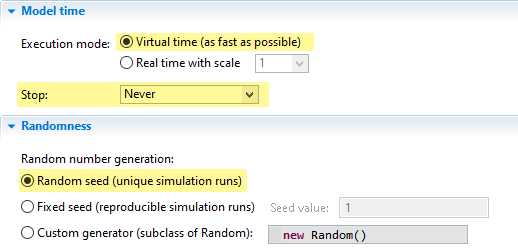
b. Under the “Model time” section, “Execution mode” is set to “Virtual time” & the stop time is set to “Never” (this is controlled by the platform)
c. The seed option in the “Randomness” section is assigned to your preferences
 Tip: For instructions on creating a new Simulation experiment, see the AnyLogic Help article on the Simulation Experiment.
 -
Start the experiment.
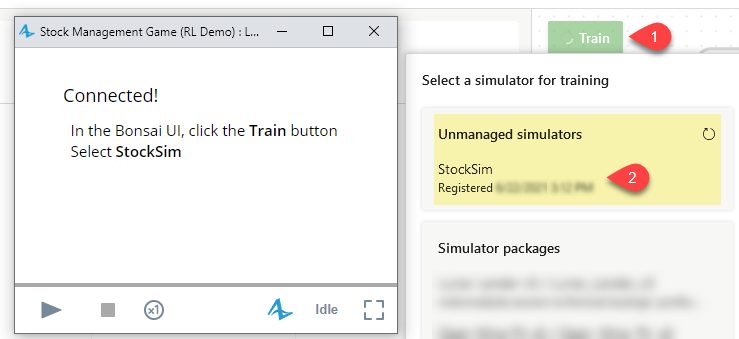
Tip: For instructions, see the AnyLogic Help article, Running the modelNote: The Bonsai Connector will take over your model and display a ‘Connecting…’ message. When it has established a connection to the platform (‘registered’), it will display a ‘Connected!’ message along with the name of your sim.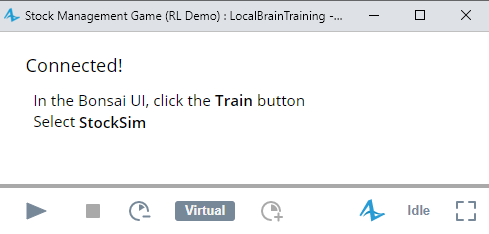 Warning: At this point, do not make any meaningful interactions with the model.
 -
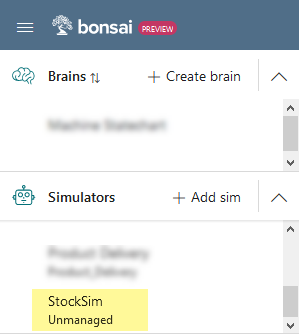
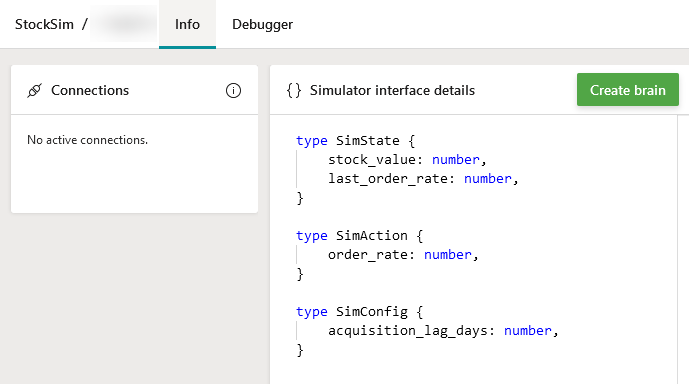
Switch to the Bonsai portal. You should see your locally hosted model listed under the “Simulators” section (possibly at the end). Clicking on it will show information about it.
-
Prepare a new brain or configure an existing one to your preferences. For help, consult the Inkling Basics.
-
Once your training regimen is ready, click the green “Train” button. In the pop-up, select your simulator under the “Unmanaged Simulators” section that matches both in name and appropriate timestamp for when it connected.
-
After some time (typically under a minute) training will commence. On the simulation side, you’ll see the simulation animation starting, ending, and restarting automatically. After a while you’ll be able to see the results of the training under the “Train” tab in Bonsai.
As previously stated, this method of training is only capable of running one simulation at a time (i.e., sequential episodes) and should be primarily used for debugging purposes or to be able to visually monitor the training process. For scaling the training process, it’s advised to upload your model to Azure – a process described in the next section.