Task 05 - Install Azure CLI
You’ll use Azure CLI to run commands for this lab.
Introduction
The Azure Command-Line Interface (CLI) is a cross-platform command-line tool designed to manage Azure resources. You can use the Azure CLI to authenticate to Azure and to manage resources.
Description
In this task, you’ll ensure that Azure CLI is installed and install Azure CLI if needed.
The key steps are as follows:
- Run a command to determine whether Azure CLI is installed.
- Install Azure CLI if necessary.
- Verify that the Azure CLI is correctly installed.
Success Criteria
- You’ve successfully installed Azure CLI.
Learning Resources
Solution
Expand this section to view the solution
-
Enter the following command at the Visual Studio Code Terminal window prompt and then select Enter. This command returns the Azure CLI version if Azure CLI is installed.
az --version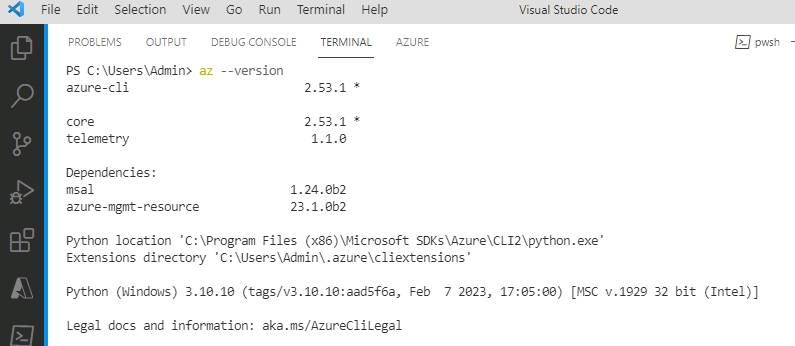
If Azure CLI 2.53.1 or above is installed, skip the remaining steps in this task and move to the next task. Otherwise, complete the following steps to install Git.
-
Open a web browser and go to Install Azure CLI on Windows.
-
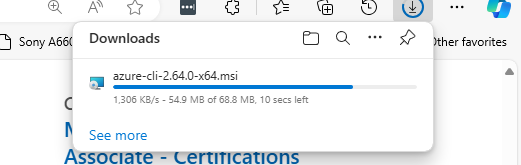
In the Latest version section of the page, select Latest MSI of the Azure CLI (64-bit). Wait while the MSI package downloads.
-
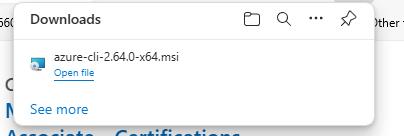
When the download completes, select Open file.
-
In the Setup dialog that displays, accept the license agreement and then select Install.
-
On the User Account Control page, select Yes. Wait while Azure CLI installs.
-
In the Setup dialog, select Finish.
-
Return to Visual Studio Code. Enter the following command at the Terminal window prompt and then select Enter. Verify that the command returns the Git version.
az --version -
Leave Visual Studio Code open. You’ll use the tool again in the next task.