Task 03 - Configure Azure AI Search to extract data from the brochures and test the search index
Introduction
Azure AI Search includes a wizard that allows you to import and vectorize data. You’ll use the wizard to extract and vectorize data from the hotel brochures. As part of the wizard, you’ll create an Azure OpenAI Service instance and deploy models to the instance. You’ll use these models later in the lab to build the chatbot that lets visitors ask questions about hotels.
Description
In this task, you’ll use Azure AI Search to import and vectorize data from the hotel brochures. You’ll then test the index.
The key steps are as follows:
- Launch the import and vectorize data and connect to Azure Blob Storage.
- Create an Azure OpenAI Service instance and deploy models to the instance.
- Vectorize text from the brochures.
- Index the data.
- Test the index.
Success Criteria
- You’ve successfully completed all steps in the Import and vectorize data wizard.
- You’ve deployed models to an Azure OpenAI instance.
- You’ve tested the search index by using Search Explorer and can view results.
Learning Resources
- Azure Search Overview
- Integrated data chunking and embedding in Azure AI Search
- Quickstart: Vectorize text and images by using the Azure portal
- Manage your Azure AI Search service with the Azure CLI
Solution
Expand this section to view the solution
-
Open a browser window and go to Azure portal. Sign in to Azure.
-
On the Azure Home page, select Resource groups and then select ContosoHotel.
-
In the list of resources that displays, select the Azure AI Search service instance from the list of resources.
-
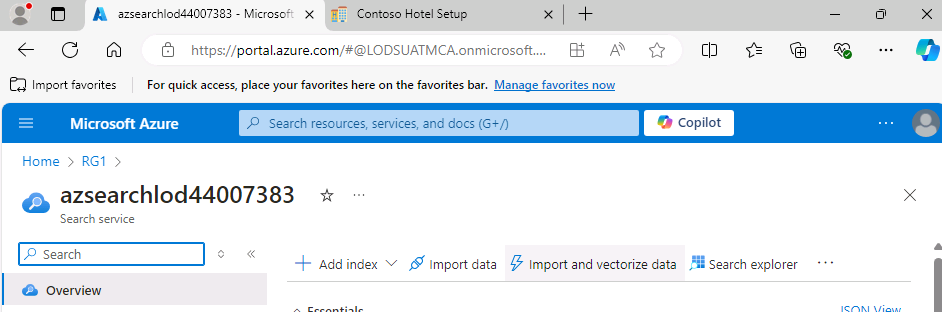
On the Overview page for the Search service, select Import and vectorize data.
-
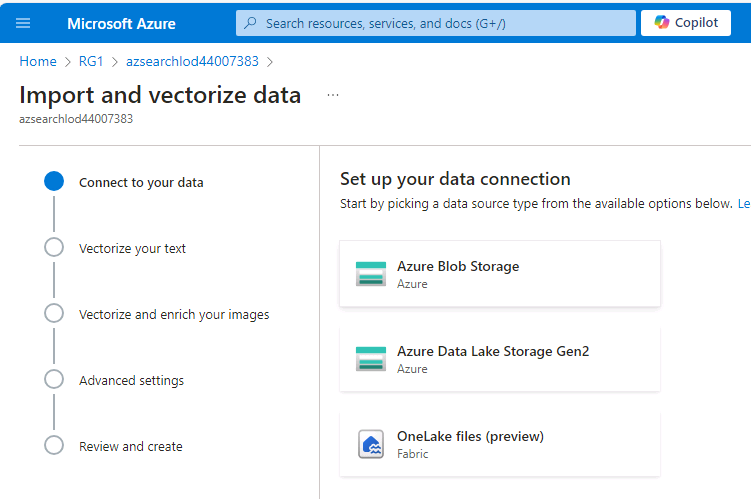
On the Connect to your data page, select Azure Blob Storage.
-
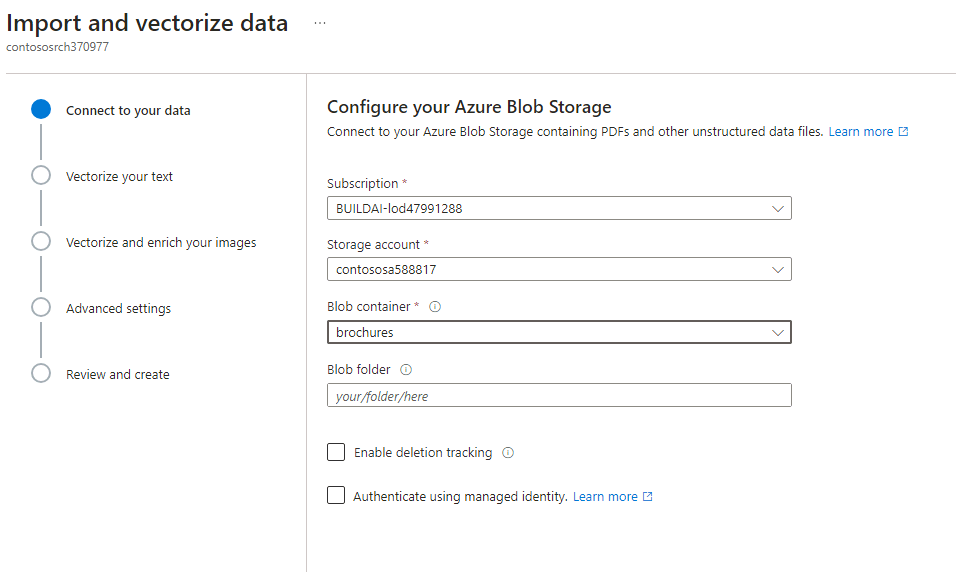
On the Configure your Azure Blob Storage page, enter the following information and then select Next. Wait while Azure validates the connection:
Setting Value Storage acccount Use the name for the storage account that you created in Exercise 04, Task 01, Step 11 Blob container brochures The data import wizard will fail at this step if you haven’t uploaded any brochures to the storage container.
-
On the Vectorize your text page, enter the following information:
Setting Value Kind Azure OpenAI Azure OpenAI service The name you recorded in Task 01 Step 20. Model deployment ada Authentication type System assigned identity 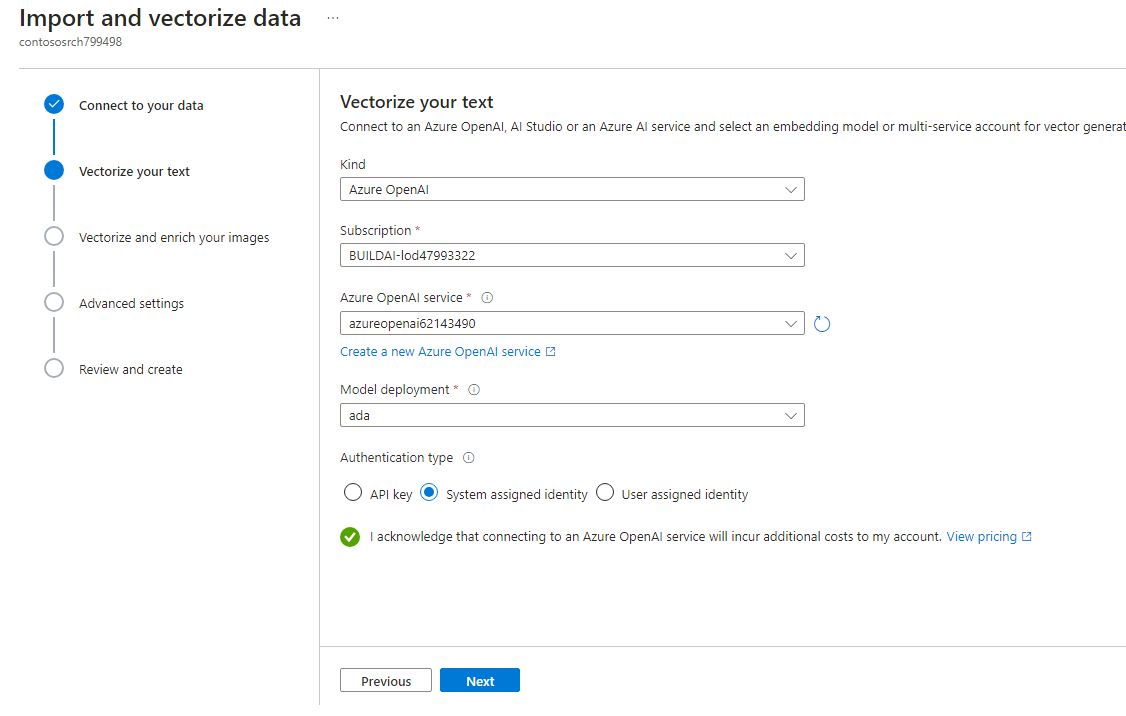
-
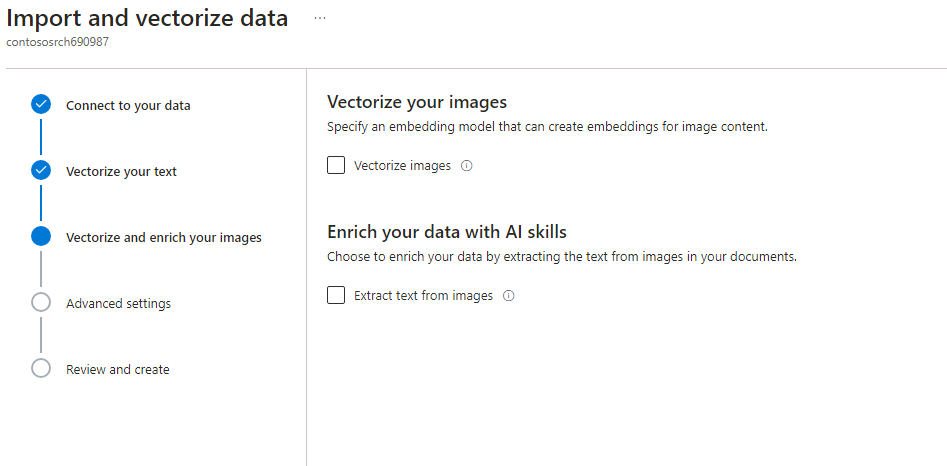
Select the checkbox to acknowledge that connecting to Azure OpenAI service will incur costs and then select Next. Select Next again to skip the Vectorize and enrich your images step.
-
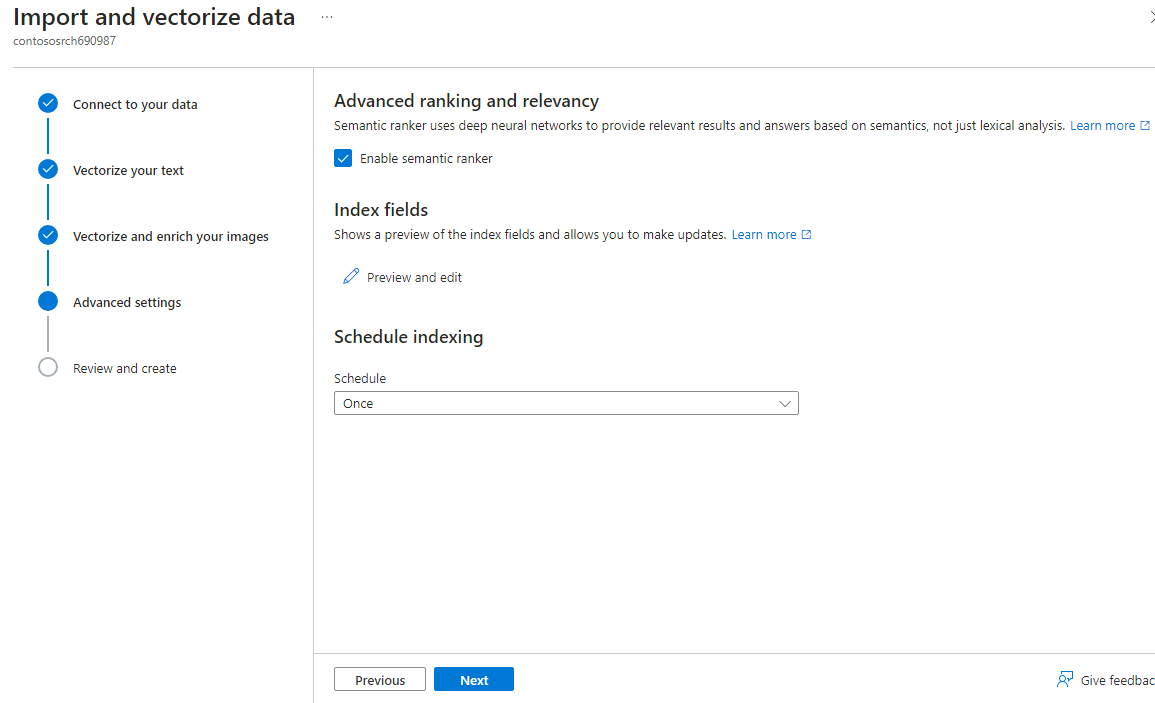
On the Advanced settings page, select Enable semantic ranker. In the Schedule indexing dropdown list, select Once.
-
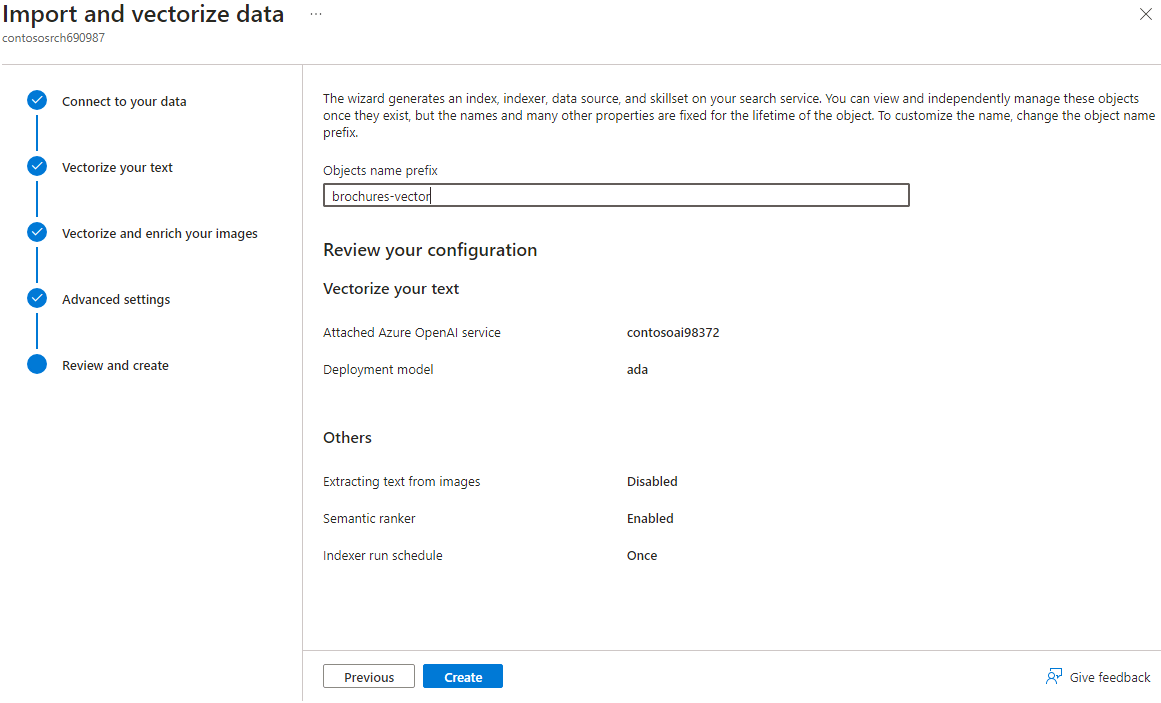
On the Review and create page, enter brochures-vector in the Objects name prefix text field and then select Create. Wait for the creation process to complete and select Close.
It should take only a few minutes for the Import and vectorize data tool to index the data from the 40 hotel brochures.
-
In the left navigation pane for the Search Service instance, in the Search management section, select Indexers.
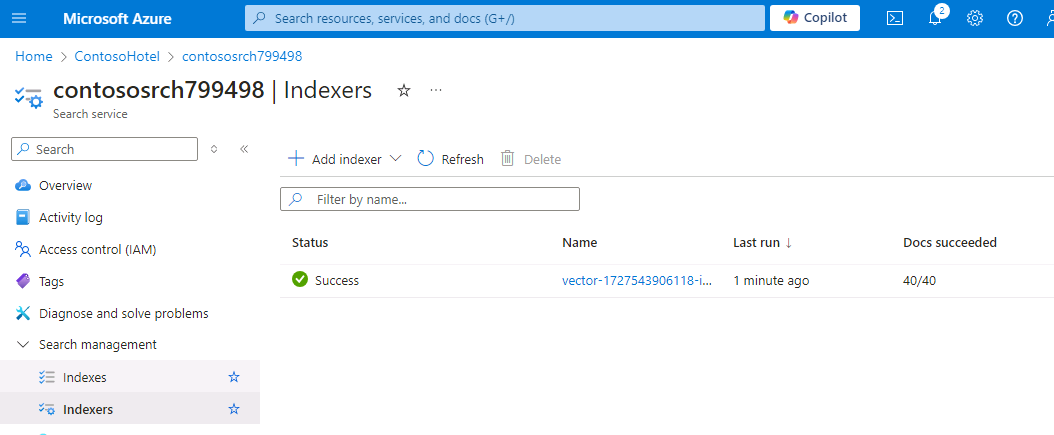
The Status for the indexer should be Succeeded. If the Status indicates that indexing is still in progress, wait a few minutes and refresh the page. If the Status shows as Failed, select the indexer to review error messages and then notify your coach.
-
In the left navigation pane for the Search Service instance, in the Search management section, select Indexes and then select the index.
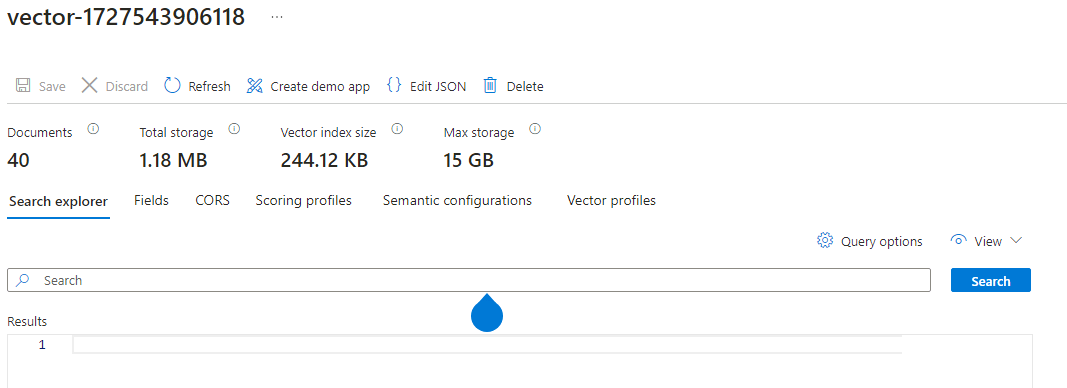
-
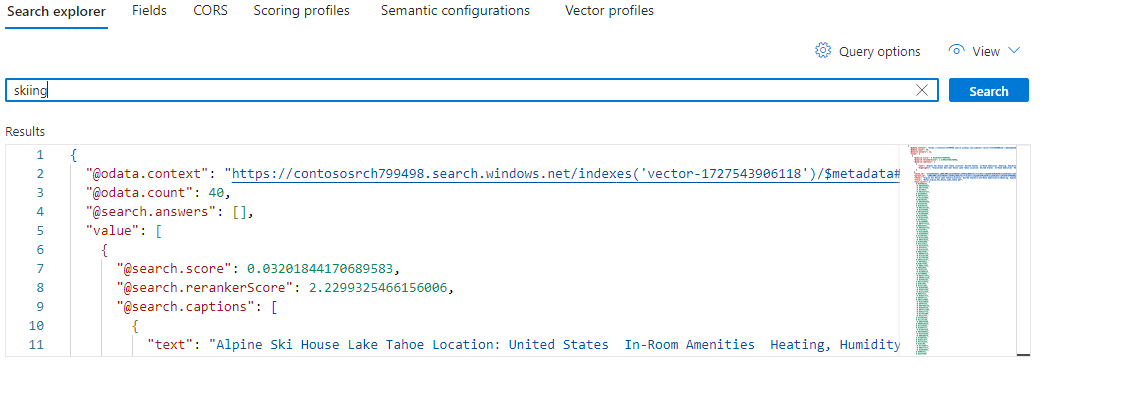
In the Search field, enter Skiing and then select Search.
-
Review the output from the search operation. The results should list data about skiing and should also contain a text vector.
-
Leave Visual Studio Code open. You’ll run additional commands in the next exercise.