Task 01 - Separate front-end components from back-end components
Introduction
The Contoso Hotel legacy app is monolithic. That is, front-end components and back-end components are deployed as a single unit. Mololithic apps don’t scale very well. Contoso wants to ensure that the app scales to meet expected increases in demand.
Microsoft AppCAT (Application and Code Assessment Tool) is part of the Azure Migrate suite. The AppCAT tool assesses applications and code and identifies dependencies and linkages. At this time, AppCAT only supports .NET and Java apps. Python is not supported.
Description
In this task, you’ll manually separate front-end and back-end components into separate folders.
The key steps are as follows:
- Create a folder named UpdatedApp with subfolders FrontEnd and Backend.
- Copy all front-end files to the FrontEnd folder and all back-end files to the Backend folder.
Success Criteria
- You’ve created the UpdatedApp folder and the FrontEnd and Backend subfolders.
- You’ve copied the required files to the FrontEnd and Backend subfolders.
Learning Resources
Solution
Expand this section to view the solution
-
Open Visual Studio Code.
-
On the Visual Studio Code menu bar, select Terminal and then select New Terminal. A Terminal pane opens at the bottom of the window.

-
Update the value for the $PATH_TO_DOWNLOADS variable to point to the Downloads folder on your machine. Enter the following commands at the Terminal window prompt to set the variable and change directories to that folder, which contains the repository files you cloned in Exercise 01.
 $PATH_TO_DOWNLOADS = "C:\Users\Admin\Downloads\ContosoHotelRepo"
 cd $PATH_TO_DOWNLOADS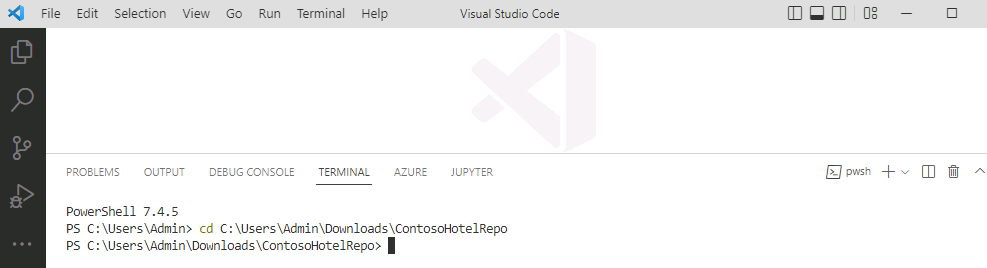
-
Enter the following command at the Terminal window prompt. This command creates a directory for front-end components.
mkdir -p ContosoHotel/UpdatedApp/Frontend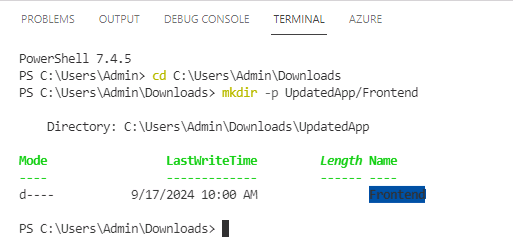
-
Enter the following command at the Terminal window prompt. This command creates a directory for back-end components.
mkdir -p ContosoHotel/UpdatedApp/Backend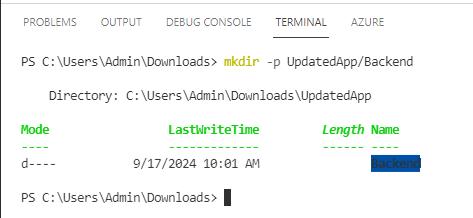
-
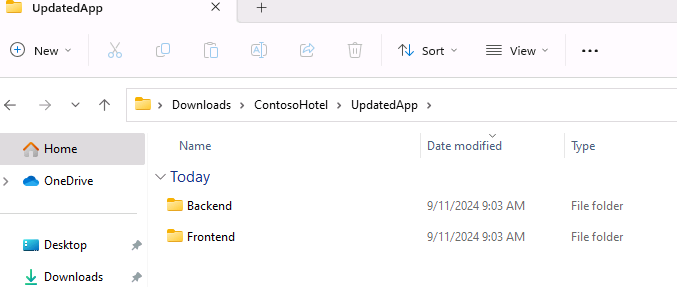
Open File Explorer and go to the Downloads/ContosoHotel folder. Verify that the UpdatedApp folder and subfolders you created are present.
-
Enter the following commands at the Terminal window prompt. These commands copy all necessary files to the Frontend folder for the updated app.
 cd $PATH_TO_DOWNLOADS\ContosoHotel
 cp startup.* $PATH_TO_DOWNLOADS\ContosoHotel\UpdatedApp\Frontend
 cp uwsgi.ini $PATH_TO_DOWNLOADS\ContosoHotel\UpdatedApp\Frontend
 cp Dockerfile $PATH_TO_DOWNLOADS\ContosoHotel\UpdatedApp\Frontend
 cp *.docker* $PATH_TO_DOWNLOADS\ContosoHotel\UpdatedApp\Frontend
 cp requirements.txt $PATH_TO_DOWNLOADS\ContosoHotel\UpdatedApp\Frontend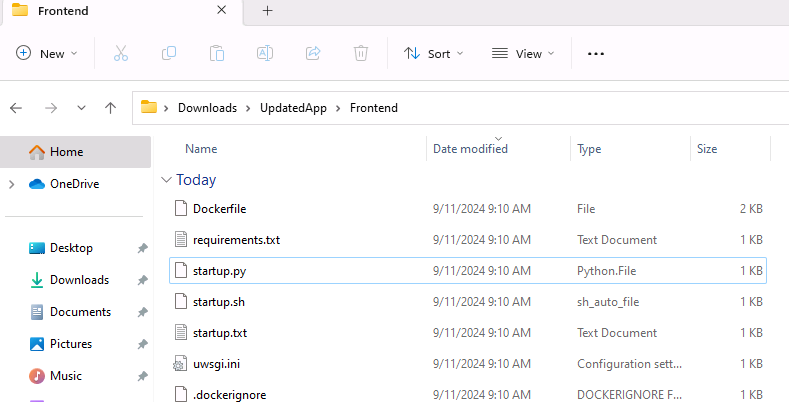
-
Enter the following commands at the Terminal window prompt. These commands create a subfolder in the Frontend folder and copy all necessary files to subfolder.
 cd $PATH_TO_DOWNLOADS

 cp -r ContosoHotel/contoso_hotel/static $PATH_TO_DOWNLOADS\ContosoHotel\UpdatedApp\Frontend\contoso_hotel\
 cp -r ContosoHotel/contoso_hotel/templates $PATH_TO_DOWNLOADSs\ContosoHotel\UpdatedApp\Frontend\contoso_hotel\
 cp ContosoHotel/contoso_hotel/*.py $PATH_TO_DOWNLOADS\ContosoHotel\UpdatedApp\Frontend\contoso_hotel\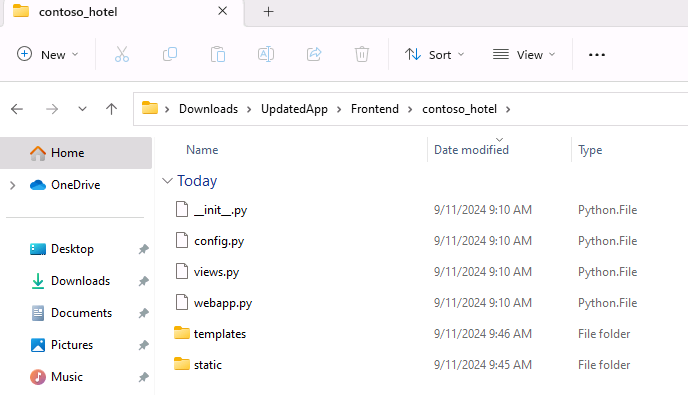
-
Enter the following commands at the Terminal window prompt. These commands copy all necessary files to the Backend folder for the updated app.
 cd $PATH_TO_DOWNLOADS\ContosoHotel
 cp *.sql $PATH_TO_DOWNLOADS\ContosoHotel\UpdatedApp\Backend
 cp startup.* $PATH_TO_DOWNLOADS\ContosoHotel\UpdatedApp\Backend
 cp uwsgi.ini $PATH_TO_DOWNLOADS\ContosoHotel\UpdatedApp\Backend
 cp *docker* $PATH_TO_DOWNLOADS\ContosoHotel\UpdatedApp\Backend
 cp requirements.txt $PATH_TO_DOWNLOADS\ContosoHotel\UpdatedApp\Backend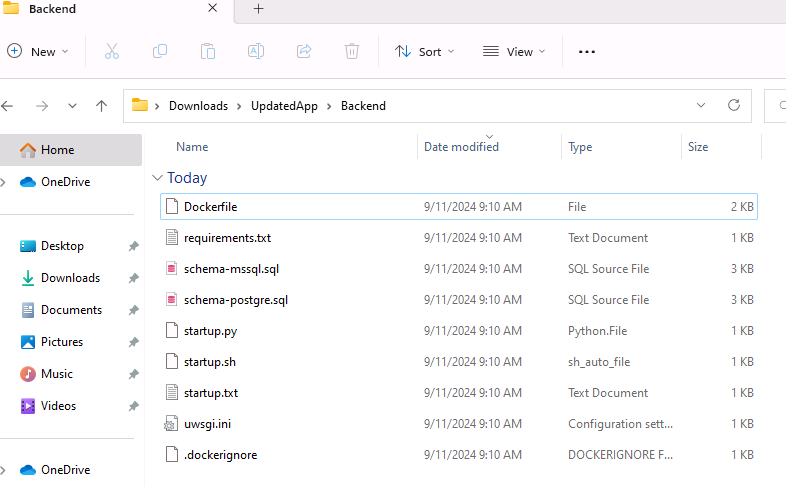
-
Enter the following commands at the Terminal window prompt. These commands create a subfolder in the Backend folder and copy all necessary files to subfolder.
 cd $PATH_TO_DOWNLOADS\

 cp -r ContosoHotel/contoso_hotel/dblayer $PATH_TO_DOWNLOADS\ContosoHotel\UpdatedApp\Backend\contoso_hotel\
 cp ContosoHotel/contoso_hotel/*.py $PATH_TO_DOWNLOADS\ContosoHotel\UpdatedApp\Backend\contoso_hotel\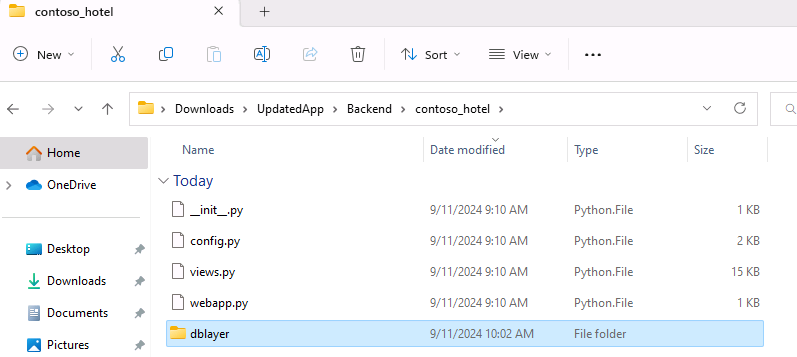
-
Leave Visual Studio Code open. You’ll use the tool again in the next task.