Task 01 - Create a postgresql user and set up an AI Hub and Prompt Flow
Introduction
An Azure AI Studio Hub is a central resource within Azure AI Studio that helps teams manage, collaborate, and organize their AI projects.
Description
In this task, you’ll create a hub and then create a project within the hub. You’ll also create a PostgreSQL user so that the flow can access the database records.
The key steps are as follows:
- Create a user for the PostgreSQL database that allows the chatbot read-only access to the Hotels, Visitors, and Bookings tables.
- Set up and configure an AI Studio Hub.
- Create a project in the hub.
Success Criteria
- You’ve successfully created a user in the PostgreSQL database.
- You’ve created a new AI Studio Hub and created a project.
Learning Resources
- Secure Azure Database for PostgreSQL
- Develop your own custom copilots with Azure AI Studio
- Get started with prompt flow
- Prompt flow in Azure AI Studio
- Add a new connection in Azure AI Studio
Solution
Expand this section to view the solution
-
Open a browser window and go to Azure portal.
-
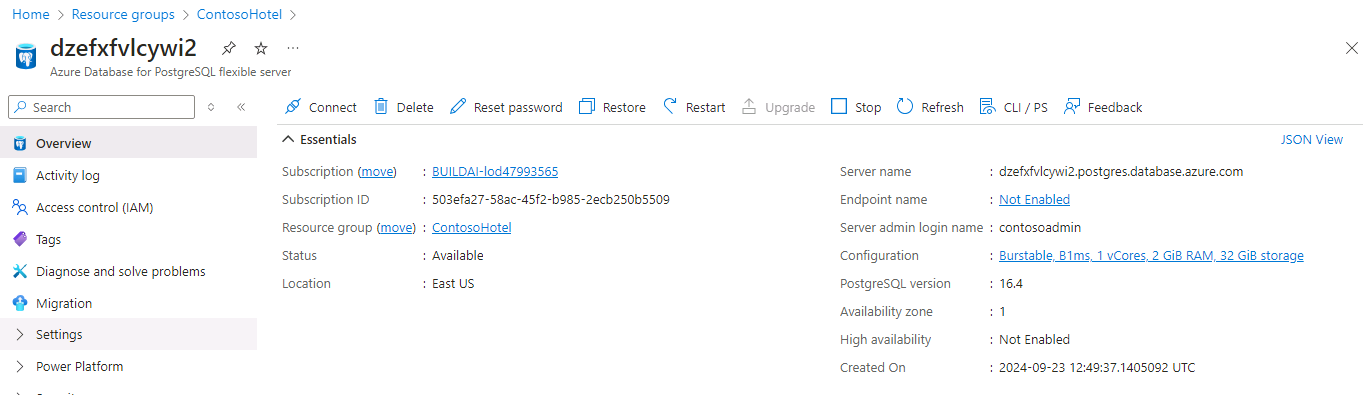
Search for and select the PostgreSQL database that you created in a previous exercise.
-
On the menu bar for the database server, select Cloud Shell and then select Bash in the Cloud Shell pane.

-
Select your subscription from the dropdown list and then select Apply.
-
Replace the value for POSTGRESQL_SERVERNAME with the Server name that appears in the Overview section for your database server. Then, enter the following commands at the Cloud Shell prompt. These commands connect to the database.
export PGHOST="POSTGRESQL_SERVERNAME" export PGUSER="contosoadmin" export PGPORT="5432" export PGDATABASE="pycontosohotel" export PGPASSWORD="1234ABcd!" psql -
Enter the following SQL statement at the Cloud Shell prompt. This statement creates a read-only user for the Prompt flow chatbot:
CREATE USER promptflow WITH PASSWORD '1234ABCD!'; -
Enter the following SQL statement at the Cloud Shell prompt. These statements grant the user access to the database tables.
 GRANT SELECT ON TABLE hotels TO promptflow;
 GRANT SELECT ON TABLE bookings TO promptflow;
 GRANT SELECT ON TABLE visitors TO promptflow;
 GRANT EXECUTE ON FUNCTION getroomsusagewithintimespan TO promptflow;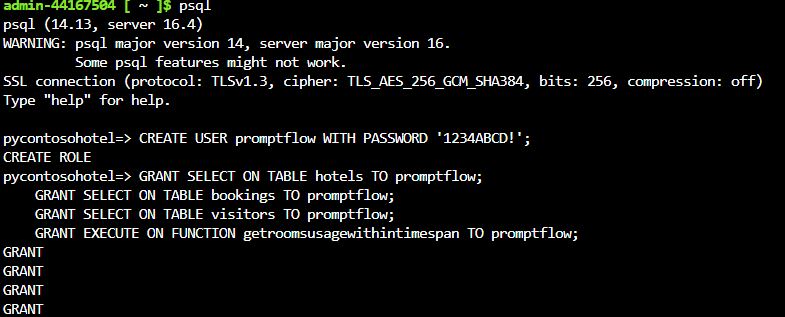
-
Return to Visual Studio Code. Enter the following command at the Terminal window prompt. This command creates a unique name for an AI Hub.
 $AI_HUB_NAME="ai-hub$(Get-Random -Minimum 100000 -Maximum 999999)"
 Write-Host -ForegroundColor Green  "AI Hub name is: " $AI_HUB_NAME
Record the name of the AI Hub. You’ll use the name later in this task.
-
Open a browser window and go to https://ai.azure.com/.
-
On the Azure AI Studio home page, select Sign in.

-
If prompted, enter your credentials to sign into Azure AI Studio:
-
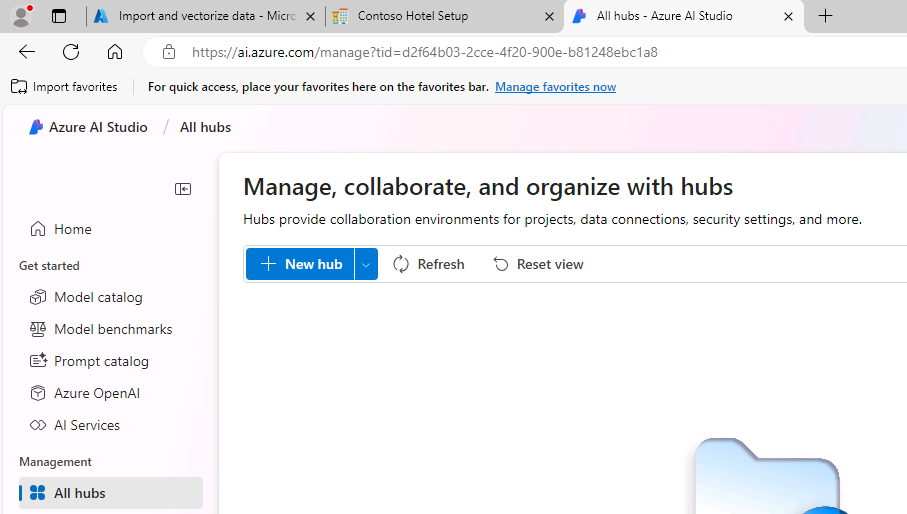
In the left navigation pane, in the Management section, select All Resources.
-
On the page that displays, select +New hub.
-
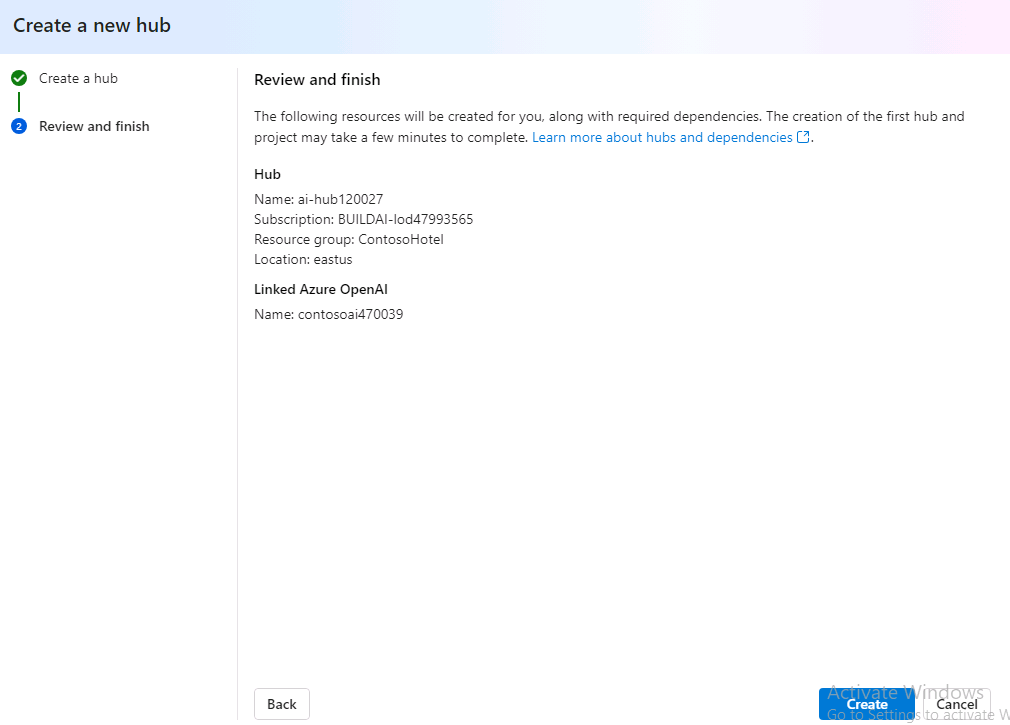
Configure the hub by using the values in the following table. Leave all other settings at their default values. Wait for the validation to complete and then select Next.
Setting Value Hub name Use the AI Hub name that you recorded in step 8 of this task. Subscription Use the subscription where you deployed all other resources. Resource group ContosoHotel Location Enter the location for the region where you deployed all other resources** Connect Azure AI Services or OpenAI Select the name for the OpenAI service instance that you deployed 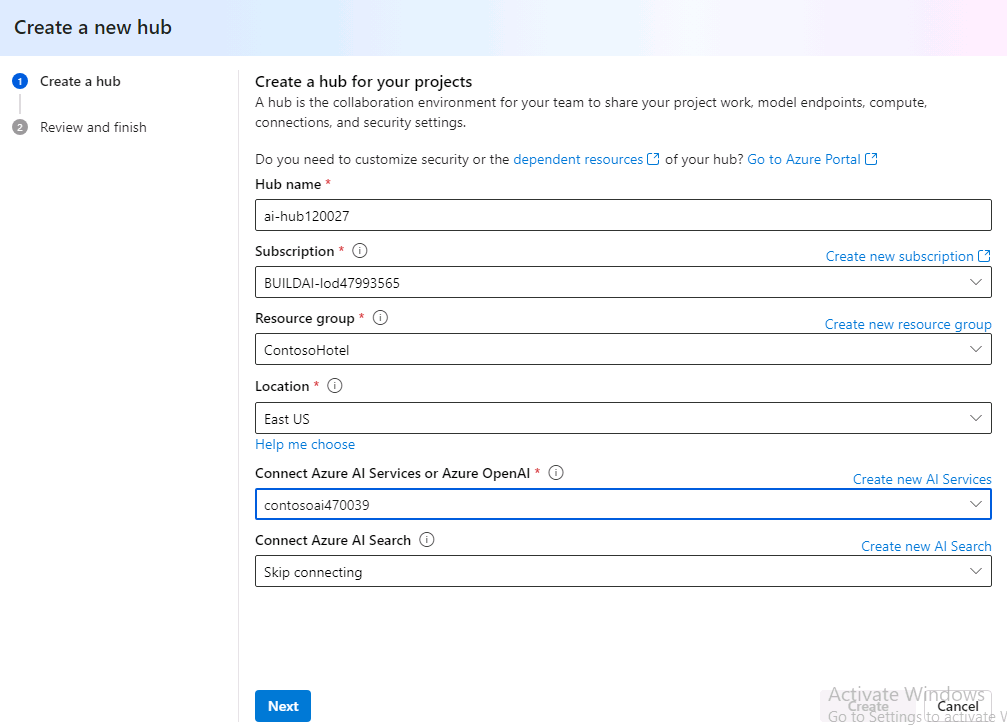
-
On the Review and finish page, select Create.
-
Wait until the new AI hub, storage account, and key vault are created.
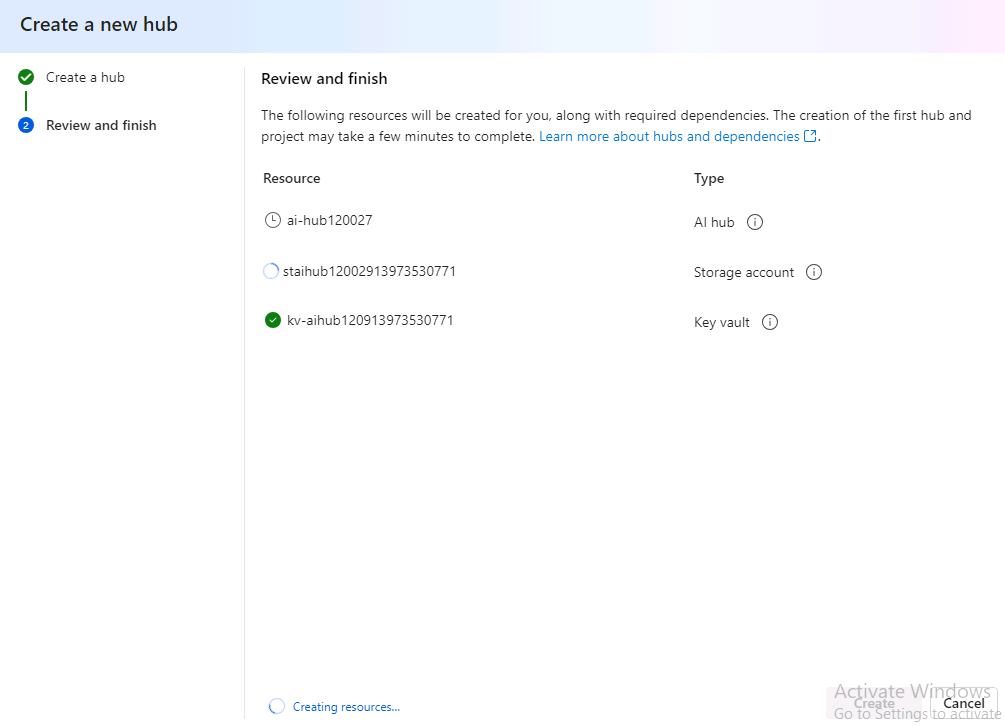
While the resources are being provisioned, take a screenshot of the page that displays. You’ll need to enter the AI Hub name and the Storage account name later in this task.
-
Open a browser window and go to Azure portal.
-
In the Search field at the top of the home page, enter Resource groups and then select ContosoHotel.
-
Filter the list of resources by using the Type column. You should see two storage accounts. The first is the storage account that you created earlier in the lab. The other was created by the AI Hub. Select this storage account.
The name for the newly created storage account will start with st. You can also use the screenshot you captured in Step 16 to identify the storage account name to use here.
-
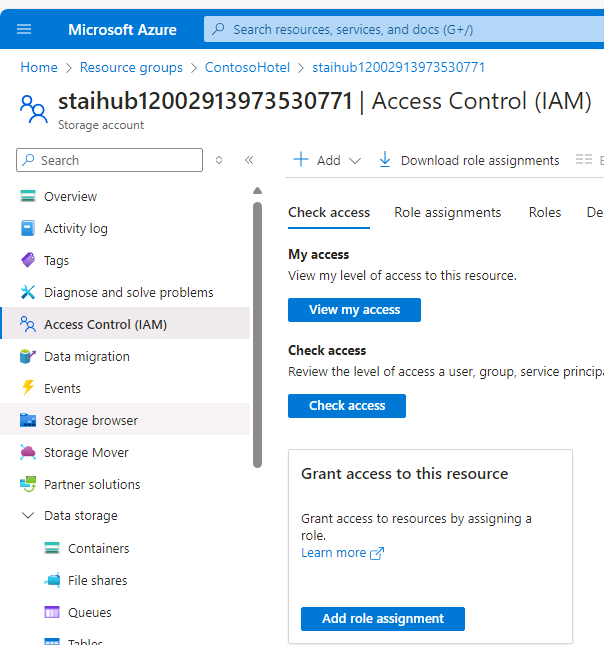
In the left navigation pane for the storage account, select Access Control (IAM).
-
On the Access Control (IAM) page, on the Grant access to this resource tile, select Add role assignment.
-
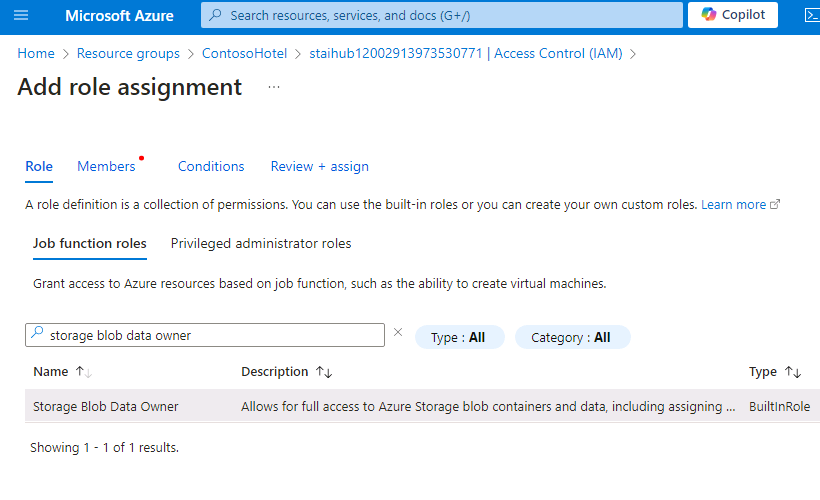
In the Search field, enter Storage Blob Data Owner and then select Storage Blob Data Owner from the list of search results. Select Next.
-
On the Add role assignment page, select +Select members.
-
In the Select members pane, search for and select your user name.
-
Select Select to close the Select members pane. Then, select Review + assign twice.
-
On the Access Control (IAM) page, on the Grant access to this resource tile, select Add role assignment to add a second role assignment.
-
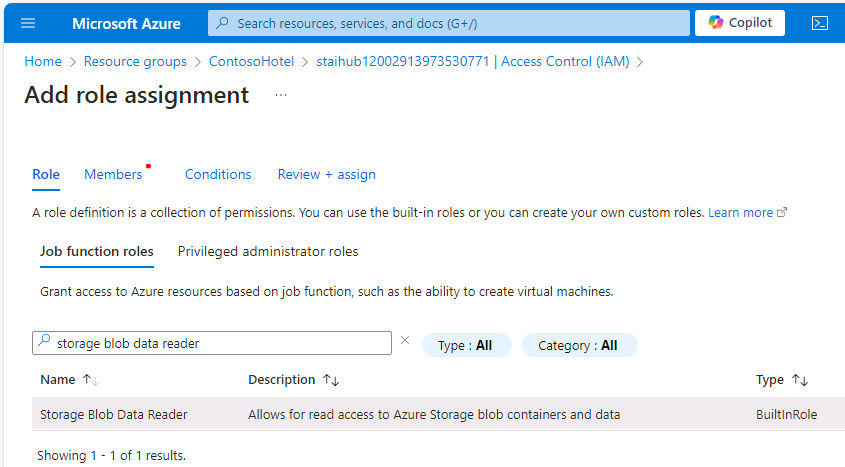
In the Search field, enter Storage Blob Data Reader and then select Storage Blob Data Reader from the list of search results. Select Next.
-
On the Add role assignment page, select +Select members.
-
In the Select members pane, search for and select the name for the AI Hub that you created in Step 8 of this task.
-
Select Select to close the Select members pane. Then, select Review + assign twice.