Task 02 - Configure managed identities for deployed Azure resources
Introduction
Managing permissions and access for users and Azure resources can be challenging. Managed identities help you deploy secure solutions on Azure without the need to manage credentials. You can create system-assigned and user-assigned managed identities. For this lab, you’ll use system-assigned managed identities. You enable this type of identity directly on the Azure resource.
Description
In this task, you’ll create a set of managed identities so that the various Azure resources you created can communicate with each other.
The key steps are as follows:
- Configure the Azure OpenAI and Azure AI Search instances to use system-assigned managed identities.
- Configure a managed identity to allow the Azure AI Search and Azure OpenAI instances to access the Azure Blob Storage account.
- Configure a managed identity to allow Azure AI Search instance to access the Azure OpenAI Service instance.
- Configure a managed identity to allow Azure OpenAI Service instance to access the Azure AI Search instance.
Success Criteria
- You’ve configured managed identities so that the Azure Blob Storage account, Azure AI Search instance, and Azure OpenAI Service instance can communicate with each other.
Learning Resources
Solution
Expand this section to view the solution
-
Open a browser window and go to Azure portal. Sign in to Azure.
-
On the Azure Home page, select Resource groups and then select ContosoHotel.
-
In the list of services, select the Azure AI Search instance you created.
-
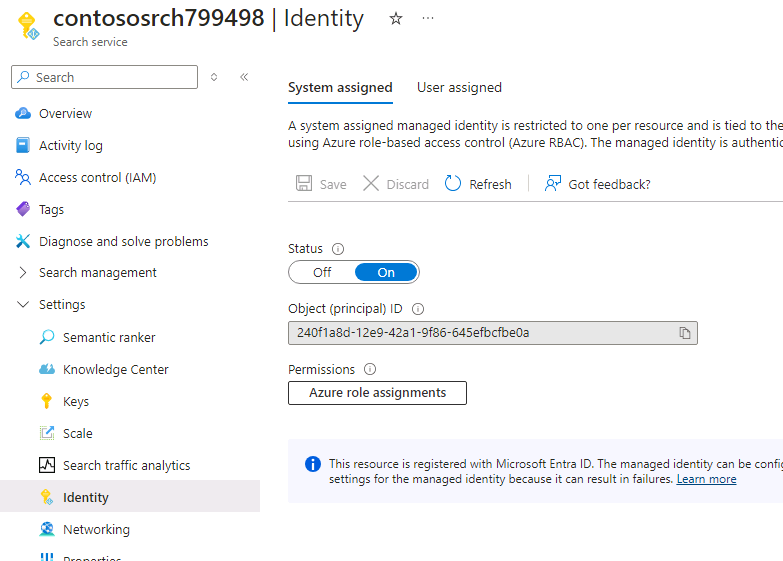
In the left navigation pane, in the Settings section, select Identity.
-
Set the value for the Status field on the System assigned tab to On.
-
If prompted, select Yes to confirm the change.
-
On the Azure Home page, select Resource groups and then select ContosoHotel.
-
In the list of services, select the Azure OpenAI resource you created.
-
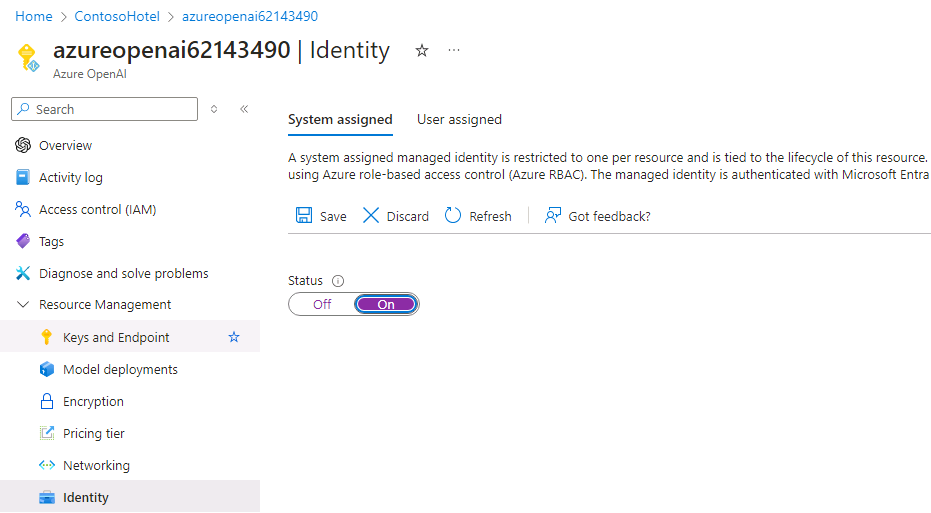
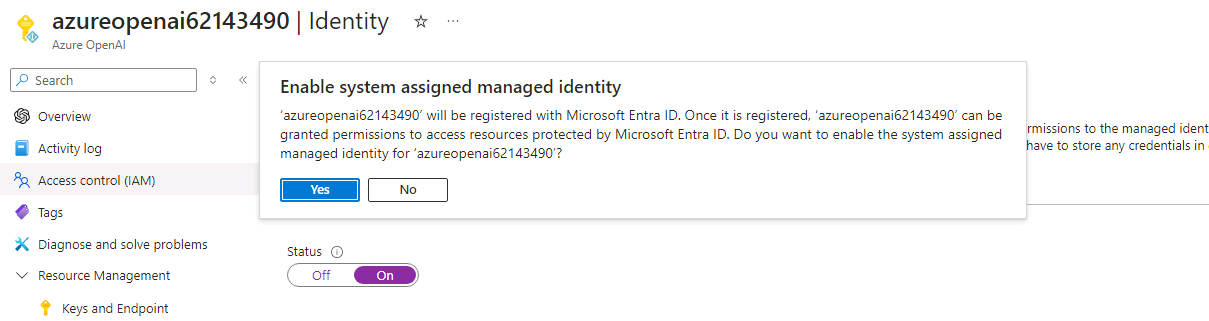
In the left navigation pane, in the Resource Management section, select Identity.
-
Verify that the value for the Status field on the System assigned tab is set to On.
-
If prompted, select Yes to confirm the change.
-
Modify the values for the variables to reflect the names for the resources that you created in Task 01.
$CONTOSO_SEARCH_SERVICE_NAME="ENTER_NAME_YOU_RECORDED_TASK01_STEP6" $CONTOSO_STORAGE_ACCOUNT_NAME="ENTER_NAME_YOU_RECORDED_TASK01_STEP13" $CONTOSO_AI_NAME="ENTER_NAME_YOU_RECORDED_TASK01_STEP20" -
Enter the following commands at the Terminal window prompt. These commands allow the Azure Search and Azure OpenAI instances to access the Azure Blob Storage account.
$SEARCH_IDENTITY=$(az search service show --name $CONTOSO_SEARCH_SERVICE_NAME --resource-group ContosoHotel --query identity.principalId -o tsv) $AI_IDENTITY=$(az cognitiveservices account identity show --name $CONTOSO_AI_NAME --resource-group ContosoHotel --query principalId -o tsv) $STORAGE_SCOPE=$(az storage account show --name $CONTOSO_STORAGE_ACCOUNT_NAME --resource-group ContosoHotel --query id -o tsv) az role assignment create --role "Storage Blob Data Contributor" --assignee $SEARCH_IDENTITY --scope $STORAGE_SCOPE az role assignment create --role "Storage Blob Data Contributor" --assignee $AI_IDENTITY --scope $STORAGE_SCOPE -
Enter the following commands at the Terminal window prompt. These commands allow the Azure Search to access the Azure OpenAI Service instance you created.
$AI_SCOPE=$(az cognitiveservices account show --name $CONTOSO_AI_NAME --resource-group ContosoHotel --query id -o tsv) az role assignment create --role "Cognitive Services OpenAI Contributor" --assignee $SEARCH_IDENTITY --scope $AI_SCOPE -
Enter the following commands at the Terminal window prompt. These commands allow the Azure OpenAI Service instance to access the Azure Search Service instance you created.
$SEARCH_SCOPE=$(az search service show --name $CONTOSO_SEARCH_SERVICE_NAME --resource-group ContosoHotel --query id -o tsv) az role assignment create --role "Search Index Data Contributor" --assignee $AI_IDENTITY --scope $SEARCH_SCOPE az role assignment create --role "Search Index Data Reader" --assignee $AI_IDENTITY --scope $SEARCH_SCOPE az role assignment create --role "Search Service Contributor" --assignee $AI_IDENTITY --scope $SEARCH_SCOPE -
Leave Visual Studio Code open. You’ll run additional commands in the next task.