Task 01: Create a chat flow with chat history
Introduction
To enhance customer support and engagement, Adatum is implementing chat history tracking within its AI chatbot. Maintaining chat history allows for more context-aware interactions, improving user experience and reducing repetitive queries.
Description
In this task, you’ll create a chat flow using your existing playground configuration as a template. This structured approach ensures consistency in chatbot interactions and enables tracking of previous conversations for better response accuracy.
Success Criteria
- The chat flow has been created successfully.
Learning Resources
Key tasks
01: Create prompt flow using Playground as a template
Expand this section to view the solution
Before continuing, ensure that the project1/workspaceblobstore connection has the Storage Blob Data Contributor and Storage File Data Privileged Contributor roles.
-
Return to the tab with Azure portal.
-
In the search bar at the top, enter storage and then select Storage accounts.
-
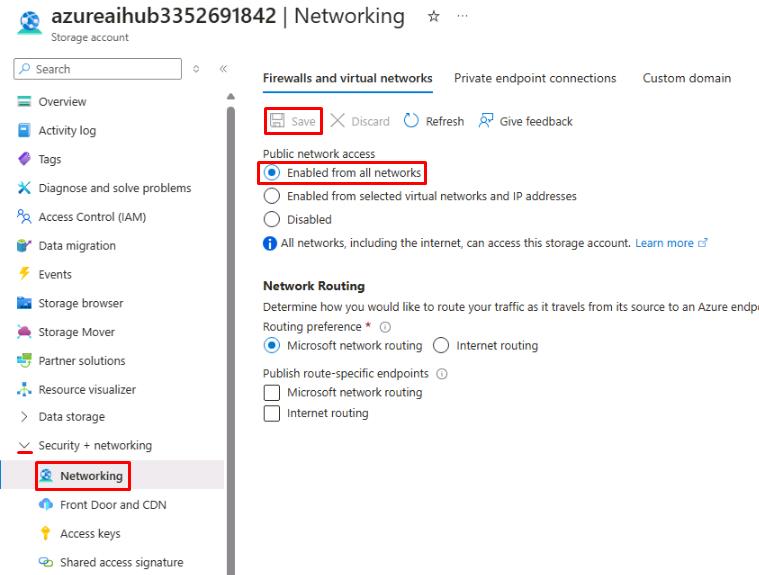
Select the storage account, then select Security + networking > Networking from the left menu.
-
For Public network access, select Enabled from all networks, then select Save.
-
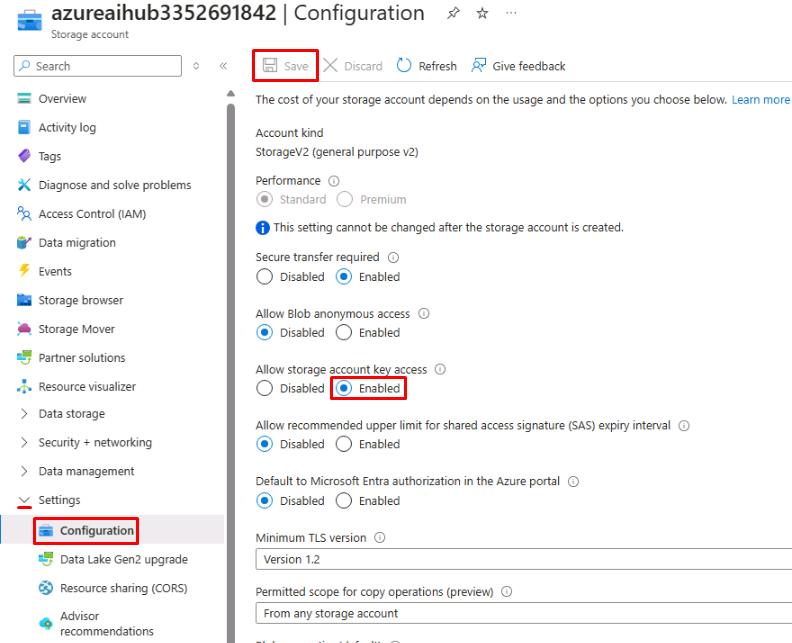
Select Settings > Configuration from the left menu.
-
For allow storage account key access, select Enabled, then select Save.
-
Return to the tab with Chat playground and select Prompt flow from the left menu.
-
Select + Create, then select Upload under Upload from local.
-
Download the chatflow.zip file HERE.
-
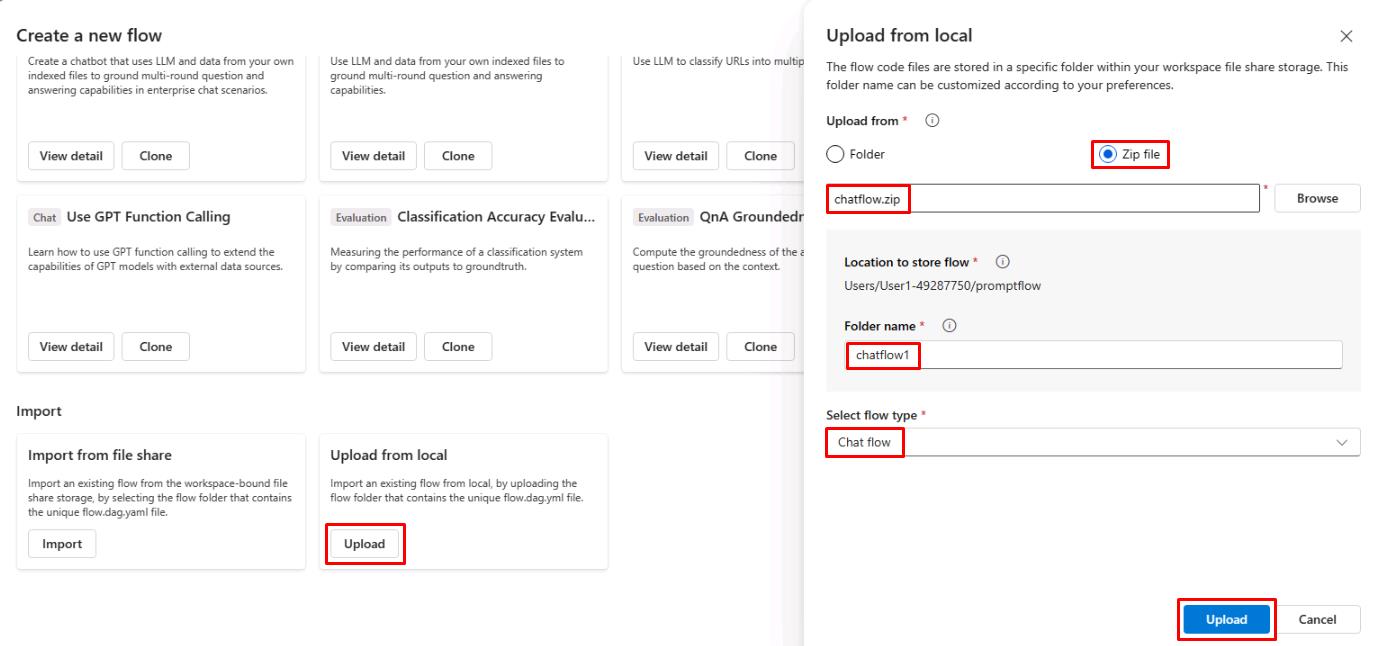
On the Upload from local pane, select Zip file, then select Browse and upload the chatflow.zip file.
-
Name the folder chatflow1, set the Select flow type field to Chat flow, and select Upload.
-
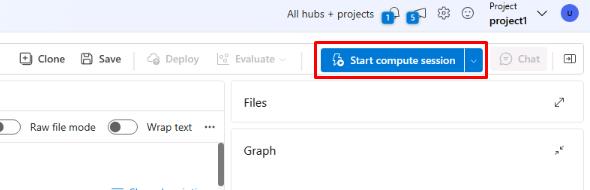
Once the chat flow is created, select Start compute session in the top right.
The prompt flow page contains two main panes. On the left is the flow pane, which allows you to add and configure new flows with LLMs, prompts, and various Python tools. The right pane contains a graph, allowing you to easily visualize the flow of different nodes. The graph will update dynamically as updates are made in the flow pane.
-
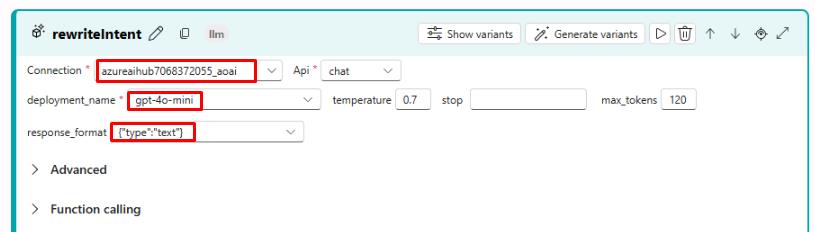
In the left pane, find the rewriteIntent node and connect it to your hub. Ensure the deployment is set to gpt-4o-mini and the response it set to text.
-
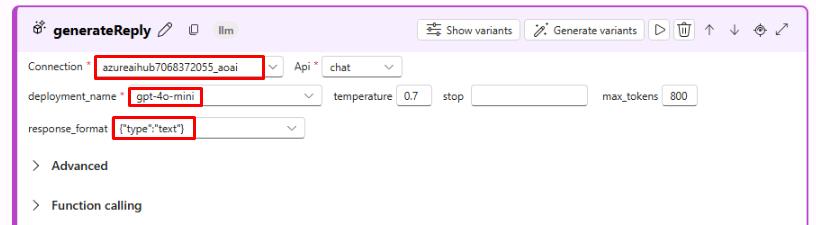
Next, find the generateReply node and configure the same settings.
Ensure the compute instance has started before continuing.
-
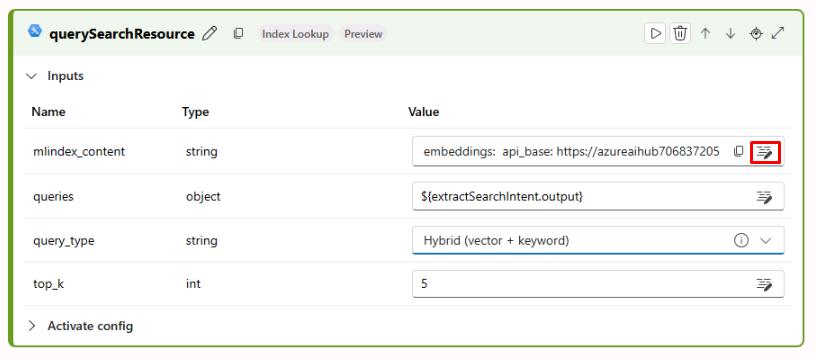
Next, find the querySearchResource node and select the edit icon next to mlindex_content.
-
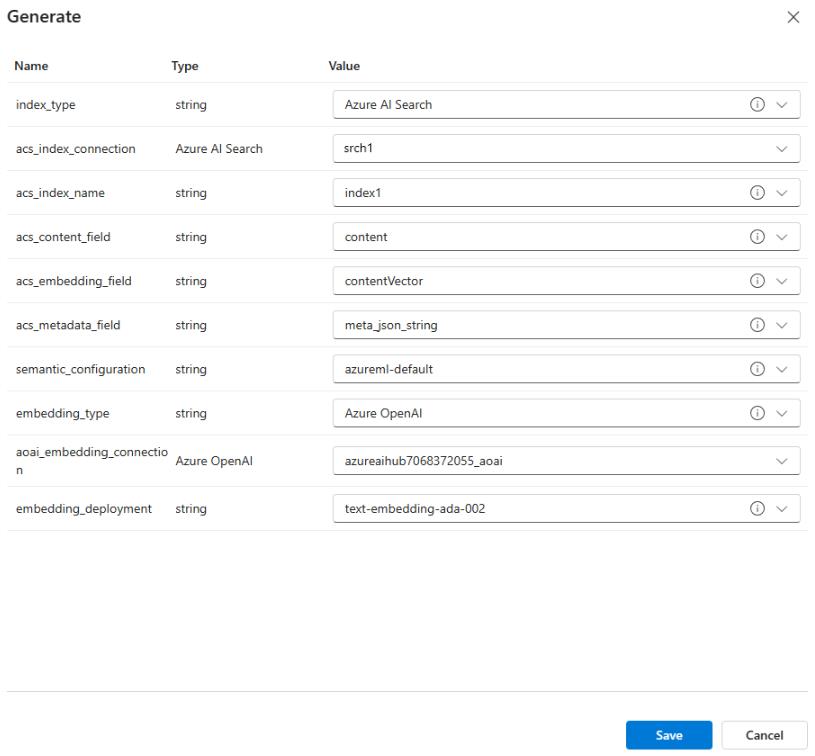
Set the acs_index_connection and set it to the srch1 index. Ensure the remaining fields match the screenshot below and select Save.
-
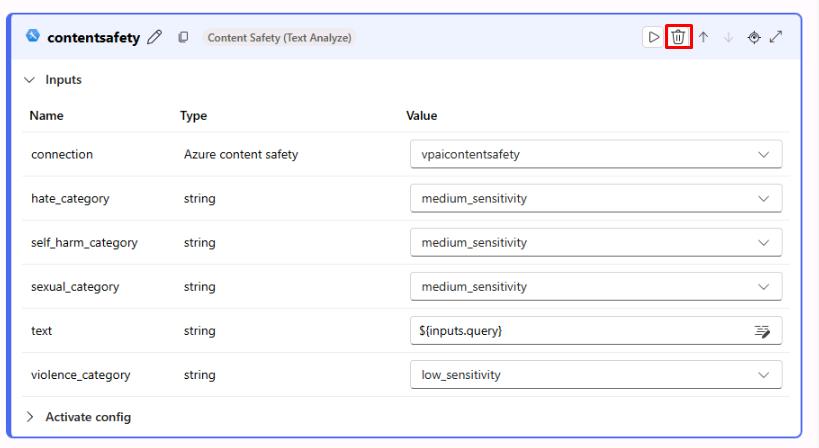
Find the contentsafety node at the bottom and delete it for now. We’ll add this in a later step.
You’ve successfully completed this task.