Workshop
Leverage your TypeScript skills to program electronics using DeviceScript.
Time Estimate
2.0 hours
Overview
This project will introduce participants to DeviceScript, a TypeScript programming environment for small electronics, including sensing and interacting with the physical environment using a common microcontroller - ESP32-C3.
- Participants will program a microcontroller to retrieve data readings from the sensor and then act upon that data.
- Participants will use
fetchto call a Web API (GitHub build status) and update an LED based on the result.
Who are You?
The ideal participant is someone who is familiar with TypeScript (front-end or back-end). Experience with electronics is not required.
Activity Outcome
Participants should have a device programmed with DeviceScript that can detect moisture levels in their plant soil, show some light animation on a LED display. Update the LED display based on the build status of their favorite GitHub repository.
Participants will have learned to:
- Connect sensors to read the phyiscal environment (BME680)
- Control the physical environment by playing sounds on buzzer, animating LEDs
- Deploy DeviceScript scripts to hardware device
- Issue Web HTTP requests
Required Materials
These items are required.


Prerequisites:
This workshop does not require experience with programming or electronics. However to make the most of the time, experience with TypeScript is helpful.
Setup
DeviceScript is tested on Windows and MacOS. Results may vary in other environment, depending of the support of serialport. The programming can be done from containers (GitHub Codespaces, docker, WSL2) but access to Serial/USB typically requires to run on the host OS.
- Install Node.JS 16+ and Visual Studio Code
- Install DeviceScript extension v2.10.2+ (more info...). If you have an older installation of the extension, make sure to take the update.
Getting started
- Open VS Code
- Make sure that the DeviceScript extension is installed
- Open the command palette and run the
DeviceScript: Create new Project...command.

- Once the project is created, reopen the project in VSCode

Part 1: Programming with simulators
Before we start working wiith hardware, we can start programming and debugging embedded application using simulators, both for the main board and the sensors.
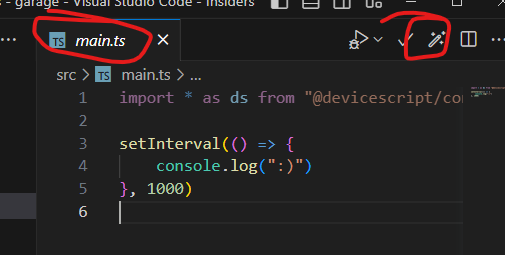
- edit
src/main.tsto contain:
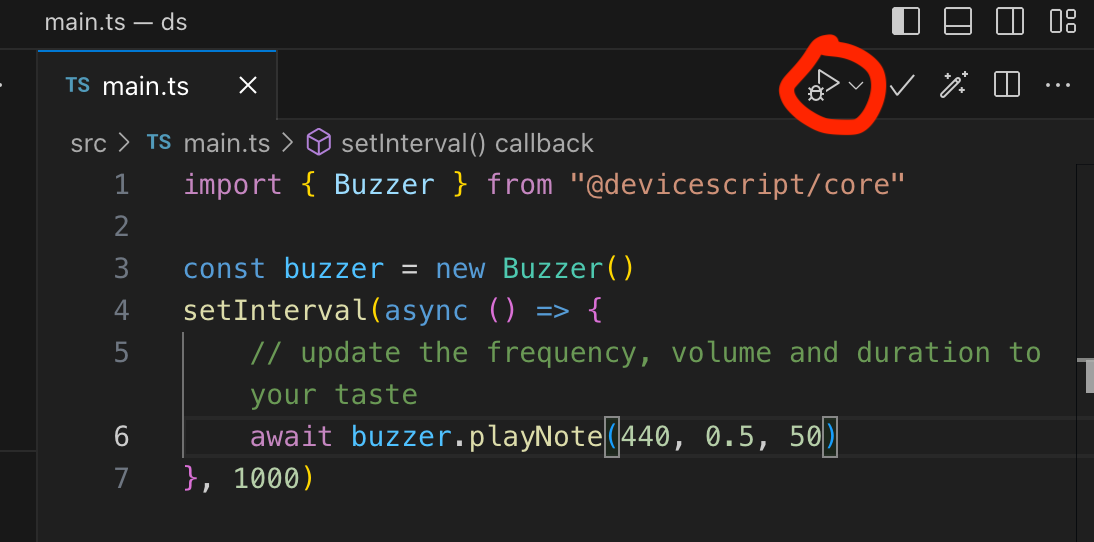
import { Buzzer } from "@devicescript/core"

const buzzer = new Buzzer()
setInterval(async () => {
    // update the frequency, volume and duration to your taste
    await buzzer.playNote(440, 0.5, 50)
}, 1000)
- click on Play button on the editor menu in the top-right corner
- in the simulator pane click auto-start to start the buzzer simulator
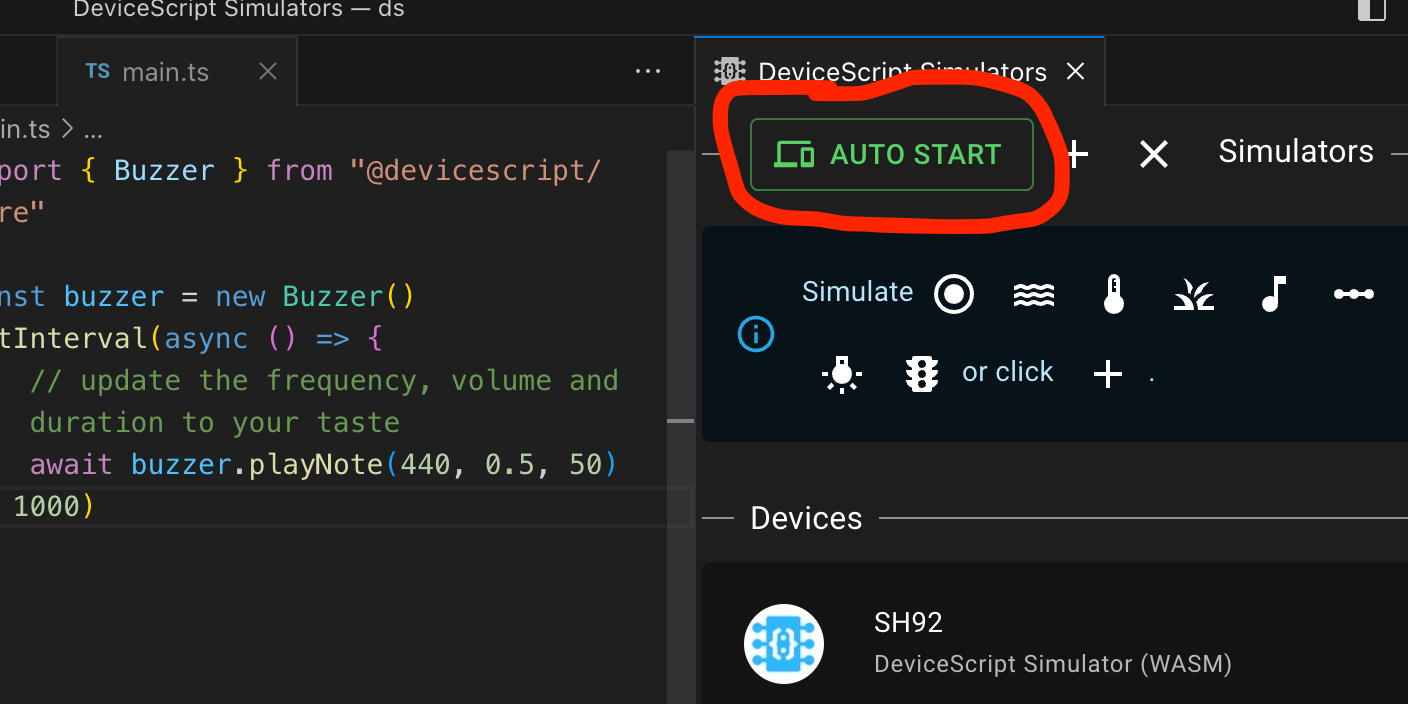
- enable sound on the simulator
- enjoy the music!
More tutorials
- Follow the Blinky to get used to the DeviceScript interface
- Follow the Thermostat to get used to handle sensor data
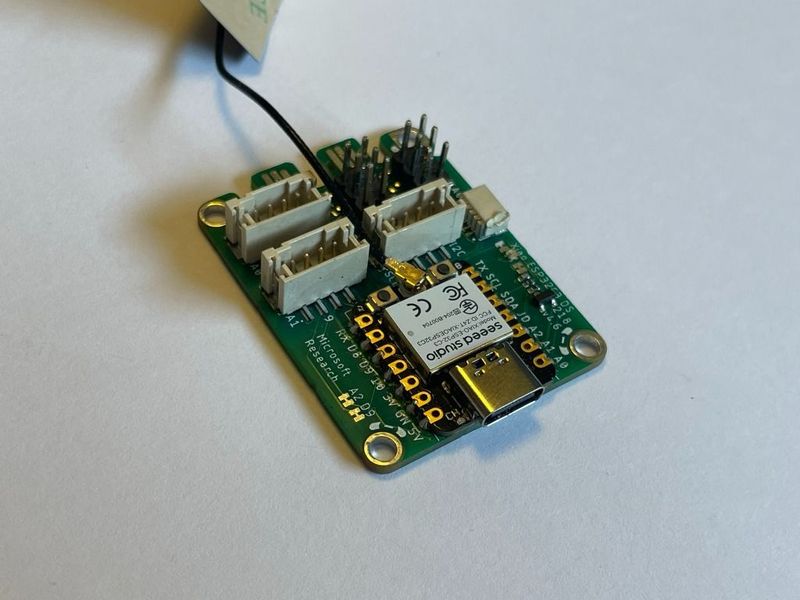
Part 2: Configuring the Hardware
Now that we have a simple program working on simulator, it is time to specialize it for the available sensor and test it out on hardware.
Let's start by making sure the DeviceScript firmware is updated.
- Connect the BME680 sensor to the Qwic connector
- Connect the Buzzer to the Grove connector A0
- Connect Xiao board to your computer using the USB-C cable
- Make sure the Python extension is installed, along with a Python runtime
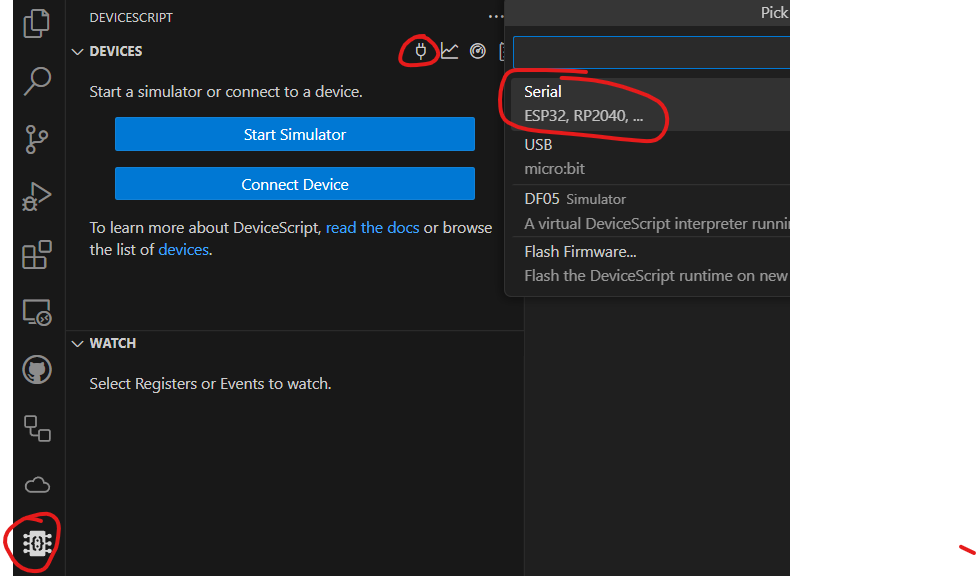
- Open the DeviceScript view and click on the plug to connect to your Xiao.
- Select Flash Firmware...
- Scroll down and select Seeed Studio XIAO ESP32C3 with MSR218 base

Once the flashing process is over,
- Open the DeviceScript view and click on the plug to connect to your Xiao.
- Select Serial

- Your device should be appearing in the device explorer!
Part 4: Sensors
- Open main.ts and click on the magic wand icon in the file menu.
The wizard will add an import that contains the pin mapping for the Xiao and search for startBME680. Repeat the operation for startBuzzer
import { pins, board } from "@dsboard/seeed_xiao_esp32c3_msr218"
import { startBME680 } from "@devicescript/drivers"
import { startBuzzer } from "@devicescript/servers"

const { temperature, humidity, pressure, airQualityIndex } = await startBME680()
const buzzer = startBuzzer({
    pin: pins.A0,
})
Part 5: Funny humidity meter
Here is a tiny toy example that puts everything together. It buzzes and turns the LEDs red if the humidity gets too high. In the simulator, drag the slider or blow on the BME680 sensor to test it out.
If you want to use simulator, disconnect the hardware and restart.
import { pins, board } from "@dsboard/seeed_xiao_esp32c3_msr218"
import { startBME680 } from "@devicescript/drivers"
import { startBuzzer } from "@devicescript/servers"
import { setStatusLight } from "@devicescript/runtime"

const { temperature, humidity, pressure, airQualityIndex } = await startBME680()
const buzzer = startBuzzer({
    pin: pins.A0,
})

setInterval(async () => {
    // read humidity sensor data
    // improvements: what about filtering?
    const h = await humidity.reading.read()
    // if humidity goes above threshold (80%)
    const humidityThreshold = 80
    if (h > humidityThreshold) {
        // buzz and turn the board LED red
        await buzzer.playNote(440, 0.5, 500)
        await setStatusLight(0xff0000)
    } else {
        // otherwise turn the LED off
        await setStatusLight(0)
    }
}, 1000)
Part 6: Connect to Wifi
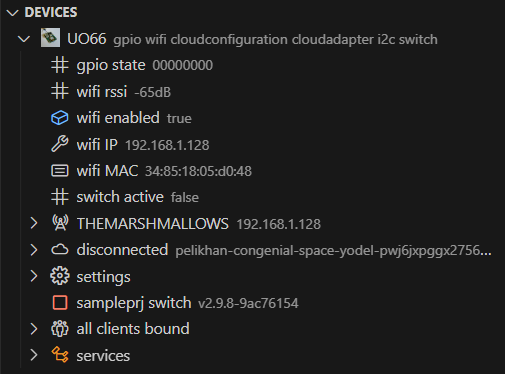
Enter the Wifi connection information through the explorer,
- expand the wifi node in the device explorer
- hover on the access point and click the plug button
- enter the access point password
DeviceScript should use the Access Point when detected.
Microsoft Campus Device Registration
You need to register the XIAO MAC address in order for it to connect to the MSFTGUEST network.
- in the Devices tree, find the WiFi MAC field value and copy it.
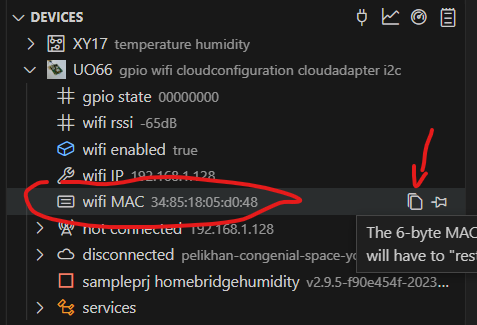
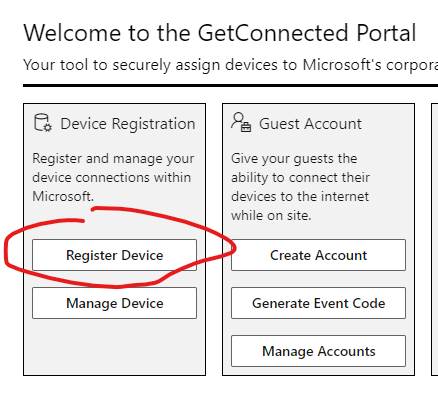
- navigate to https://aka.ms/getconnected , click Quick Registration - Wireless, Guest Account (MSFTGUEST), and register your device MAC address
- find MSFTGUEST in the list of APs, click the plug icon and press Enter to leave the password empty.
Part 7: Settings and secrets
In this section, we'll add a GET call to the GitHub repository status API and use it to change the LED color.
First thing first, we'll add .env files to the project to store the github configuration and secret token.
- Click on the wand icon on the file menu
- Select Add Device Settings...
Update .env.defaults with the public settings (checked in)
# .env.defaults = public settings
GITHUB_OWNER=microsoft
GITHUB_REPO=devicescript
GITHUB_REF=main
Secrets are stored in the ./env.local file. This file is not part of the source code and should not be committed to a repository.
The GitHub token needs repo:status scope (and no more). You can create a token in the GitHub settings.
# .env.local = secrets, do not commit
GITHUB_TOKEN=...
import { readSetting } from "@devicescript/settings"

// read configuration from ./env.defaults
const owner = await readSetting("GITHUB_OWNER")
const repo = await readSetting("GITHUB_REPO")
const ref = await readSetting("GITHUB_REF", "main")
// read secret from ./env.local
const token = await readSetting("GITHUB_TOKEN")

console.log({ owner, repo, ref })
Part 8: Fetching GitHub Build Status
DeviceScript provides a Fetch API similar to the browser fetch. You can use it to issue web requests.
This snippet makes the query to github and updates the status. Feel free to remix it to integrate it into your current application
import { readSetting } from "@devicescript/settings"
import { fetch } from "@devicescript/net"
import { setStatusLight, schedule } from "@devicescript/runtime"

// read configuration from ./env.defaults
const owner = await readSetting("GITHUB_OWNER")
const repo = await readSetting("GITHUB_REPO")
// read ref or default to 'main'
const ref = await readSetting("GITHUB_REF", "main")
// read secret from ./env.local
const token = await readSetting("GITHUB_TOKEN", "")

if (!owner || !repo) throw new Error("missing configuration")

// track state of last fetch
let state: "failure" | "pending" | "success" | "error" | "" = ""
let blinki = 0

// update status light
setInterval(async () => {
    blinki++
    let c = 0x000000
    if (state === "failure")
        c = blinki % 2 === 0 ? 0x100000 : 0x000000 // blink fast red
    else if (state === "pending")
        c = (blinki >> 1) % 2 === 0 ? 0x100500 : 0x000000 // blink slow orange
    else if (state === "success") c = 0x000a00 // solid green
    else c = 0x000000 // dark if any error
    await setStatusLight(c)
}, 500)

// query github every 5s
schedule(
    async () => {
        const res = await fetch(
            `https://api.github.com/repos/${owner}/${repo}/commits/${ref}/status`,
            {
                headers: {
                    Accept: "application/vnd.github+json",
                    Authorization: token ? `Bearer ${token}` : undefined,
                    "X-GitHub-Api-Version": "2022-11-28",
                },
            }
        )
        if (res.status === 200) {
            const json = await res.json()
            state = json.state
            console.log({ json, state })
        } else state = "error"
    },
    { timeout: 1000, interval: 5000 }
)
Memory is limited! Be careful about using Web APIs that return huge payloads as you will surely run out of memory...