
TIP
🔥 Download the FREE Azure Developer Guide eBook here (opens new window).
💡 Learn more : Azure IoT Central overview (opens new window).
📺 Watch the video : How to get started with Azure IoT Central (opens new window).
# How to get started with Azure IoT Central
# An easy way to get started with IoT
The Internet of Things (IoT) connects the physical to the digital world with sensors, devices, connectors, services, dashboards, and more. It can be complex to connect devices to your applications, and manage and monitor them securely. Azure IoT Central (opens new window) takes away that complexity. It enables you to easily connect devices to a central place in the cloud, and provides industry specific templates for security, monitoring and management. This gets you started quickly and allows you to do more advanced configuration and development if needed.
In this post, we'll connect a device to Azure IoT Central (opens new window) to see how easy it is to receive data from it.
# Prerequisites
If you want to follow along, you'll need the following:
- An Azure subscription (If you don't have an Azure subscription, create a free account (opens new window) before you begin)
- A smartphone or phone emulator (iOS or Android) on which you can install the IoT Plug and Play app
# Create a new IoT application and connect a device to it
Azure IoT Central provides IoT-as-a-service. Let's try it out.
- Go to apps.azureiotcentral.com (opens new window) and sign in with the account that you use for Azure. This is the main portal for Azure IoT Central
- In the menu on the left, click on Build
- Here, we can build our first IoT application. IoT Central provides many application templates to help you to get started. This includes templates for specific industries, like Retail, Healthcare and Energy. We will create a custom app. In the Custom app template, click Create app
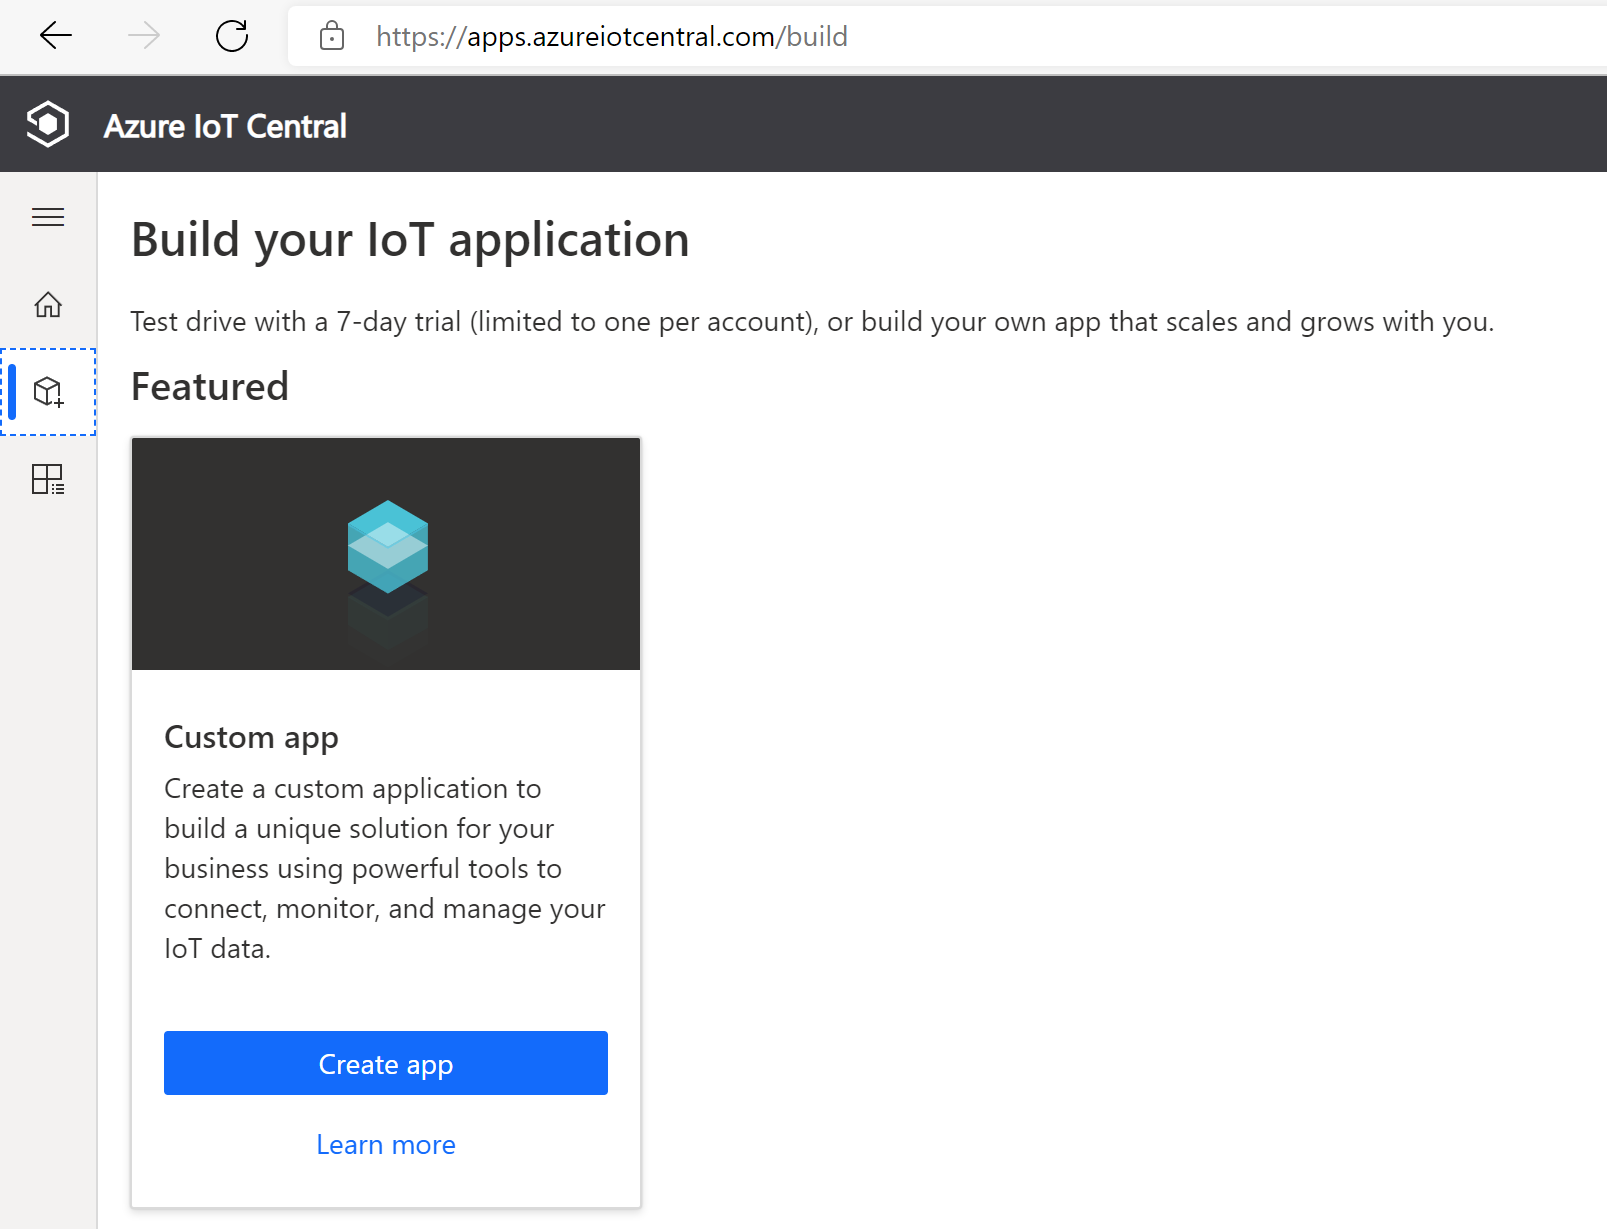
(Create a custom app in Azure IoT Central)
- This opens the "About your app" blade
- IoT Central suggests a name and URL prefix. You can leave them as they are
- Choose Free for the Pricing plan
- In Billing Info, select your Azure Active Directory
- Select the Azure Subscription that you want to use
- Select a Location for the application
- Click Create
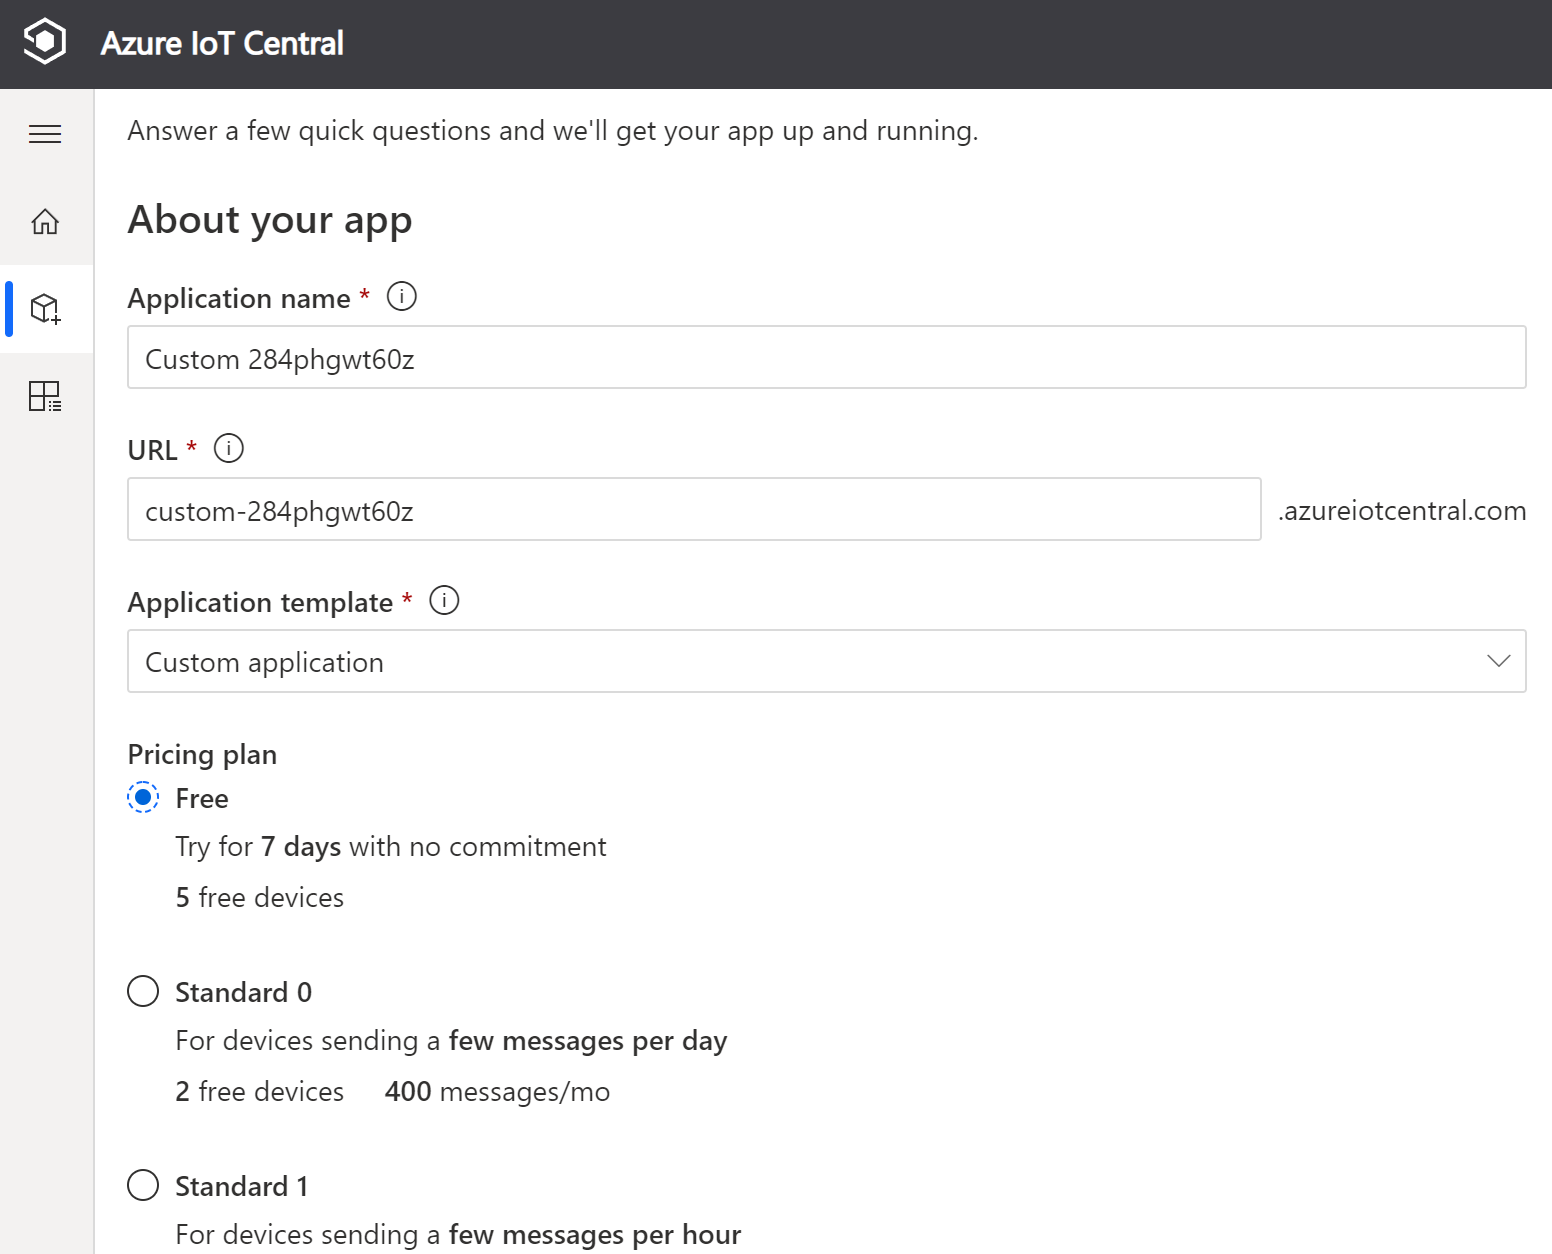
(Configure the application details in Azure IoT Central)
Azure IoT Central applications can contain connections to devices, rules, jobs, analytics and much more. We will keep it simple and just add a device.
- In the left menu, select Devices
- We haven't connected any devices yet, so click Create a device. This does not create a physical device or emulator, but creates a digital representation of an existing device
- You can leave the device details as they are
- Click Create to create the device in IoT Central
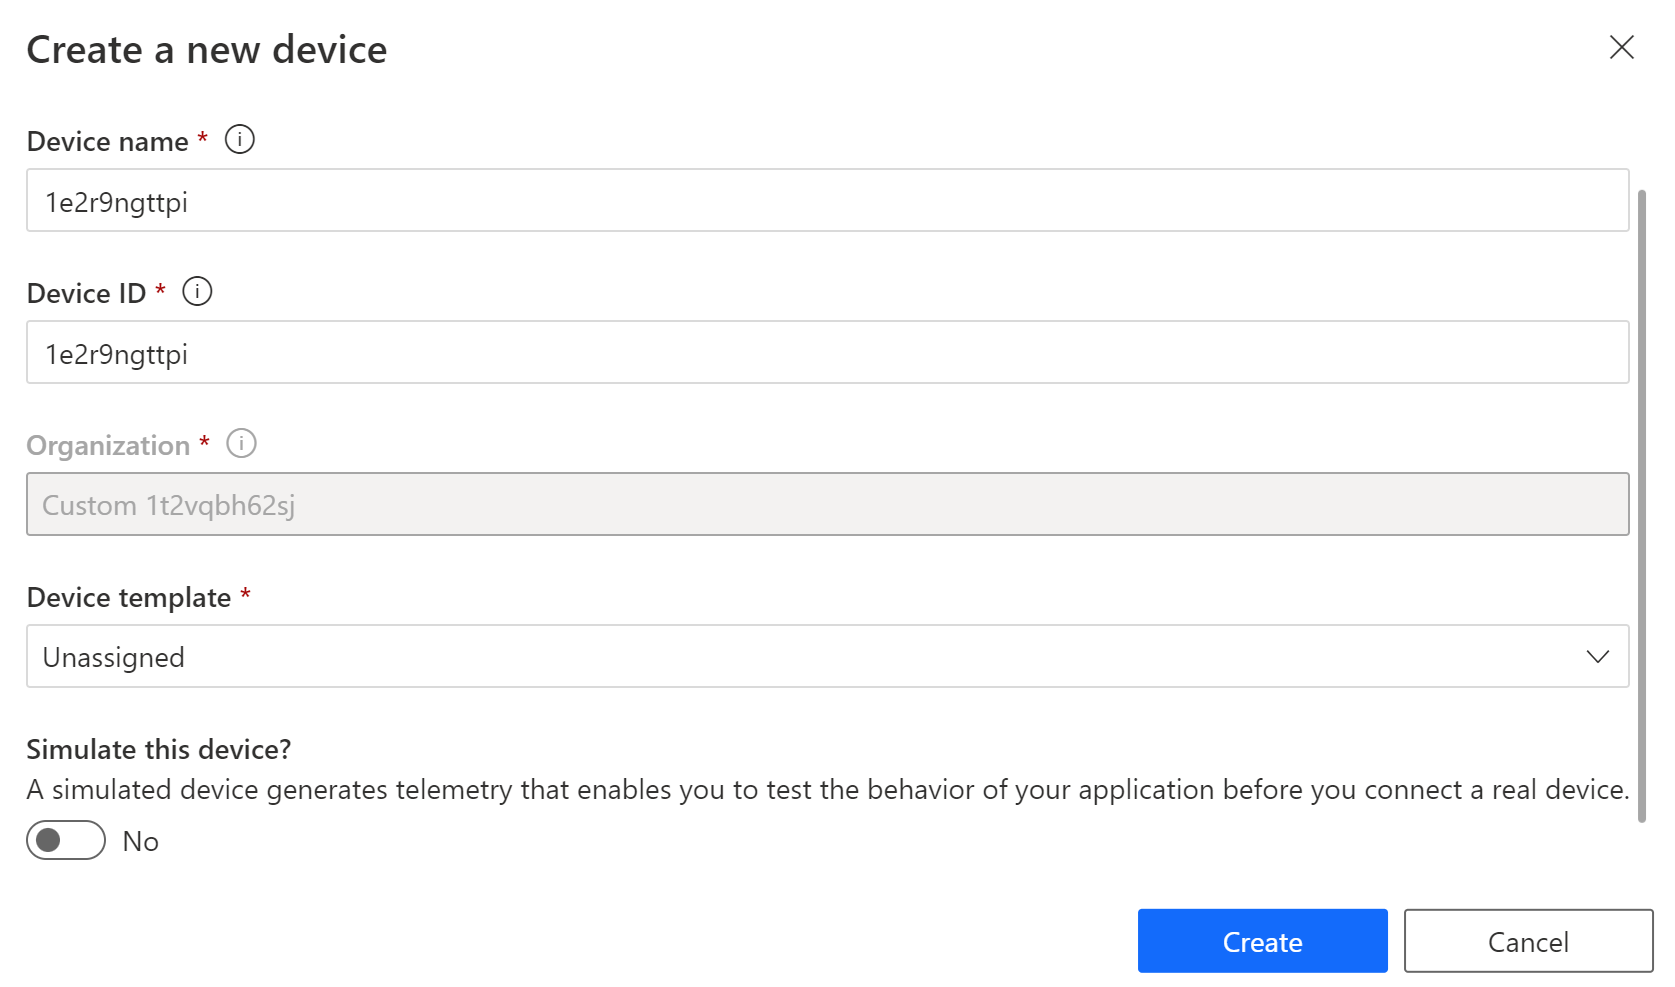
(Create a device in Azure IoT Central)
- Next, click on the device that we've just created
- Click Connect in the top menu. This shows the connection blade
- You can connect a device by using several types of authentication. We'll use the Shared Access Signature (SAS) method. Click on QR Code to show the QR code that we can use to connect our device
- Install the IoT Plug and Play app on an Android (opens new window) or iOS phone (opens new window)
- Open the app on your phone. It will ask to scan a QR code
- Grant the app access to your camera
- Scan the QR code from Azure IoT Central. After a moment, it will say that it is connected
- Go back to IoT Central and select the device
- You'll now see device properties and device data, including location, battery level, altitude and more. You can now monitor the device from IoT Central and create rules and jobs to manage its data and security
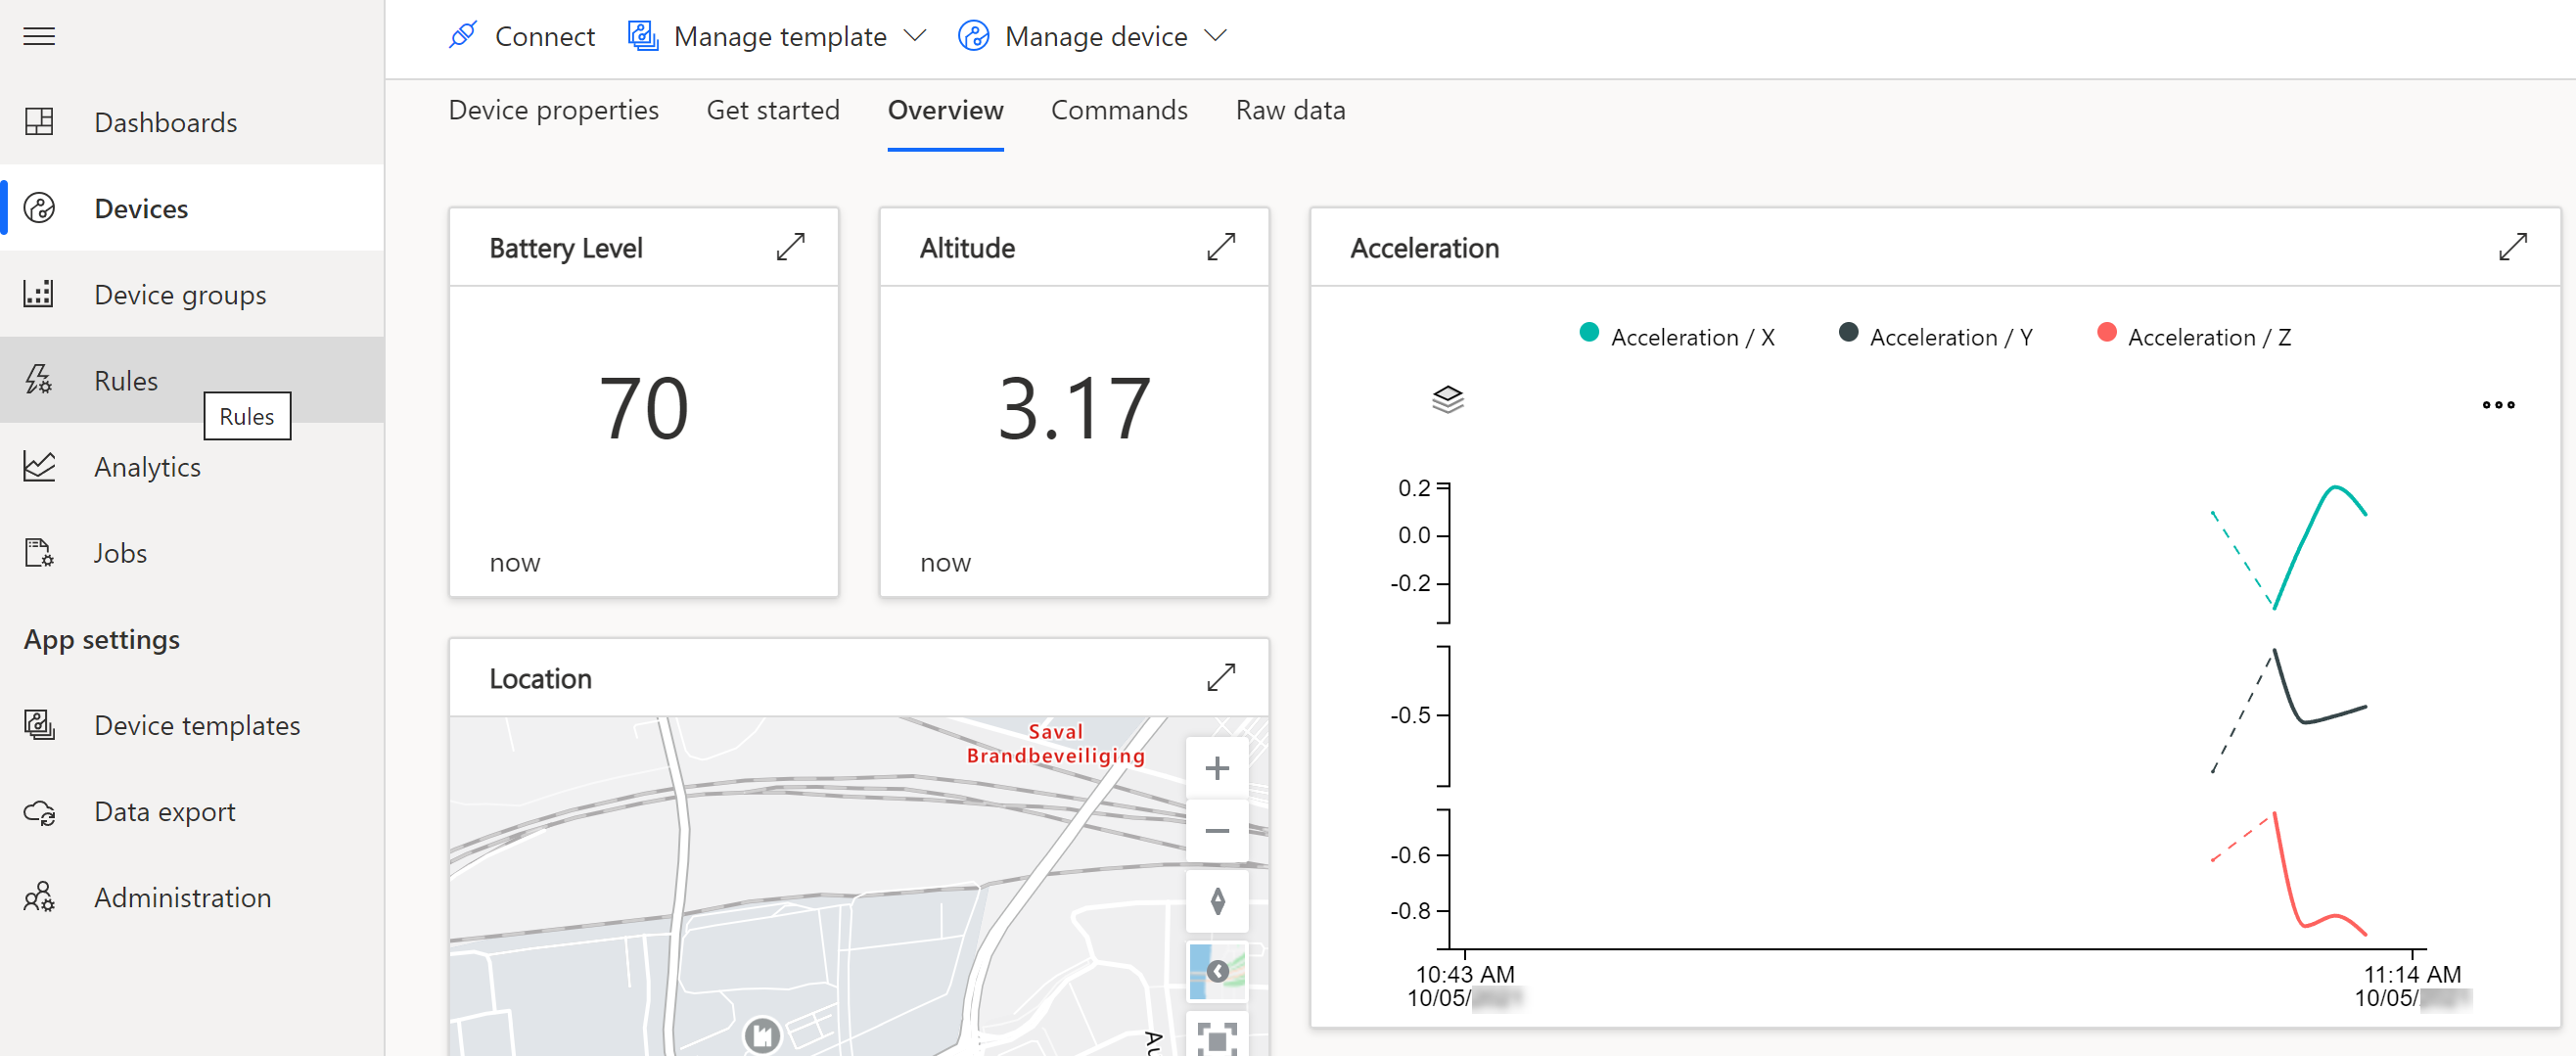
(The device is connected to Azure IoT Central)
# Conclusion
Azure IoT Central (opens new window) provides an easy way to get started with IoT, without having to invest in developing and managing a solution. Go and check it out!