
TIP
💡 Learn more : Azure IoT Hub Overview (opens new window).
# Getting up and running with Azure IoT MXChip
I recently was given an Azure IoT DevKit that included the new MXChip (opens new window). The chip is very impressive and while it supports a lot of amazing features, the following caught my eyes:
- OLED,128×64
- 2 user button
- Motion sensor
- Magnetometer sensor
- Atmospheric pressure sensor
- Temperature and humidity sensor
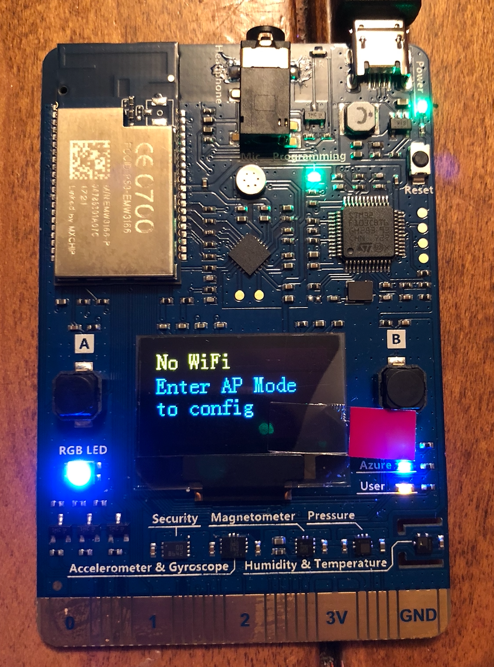
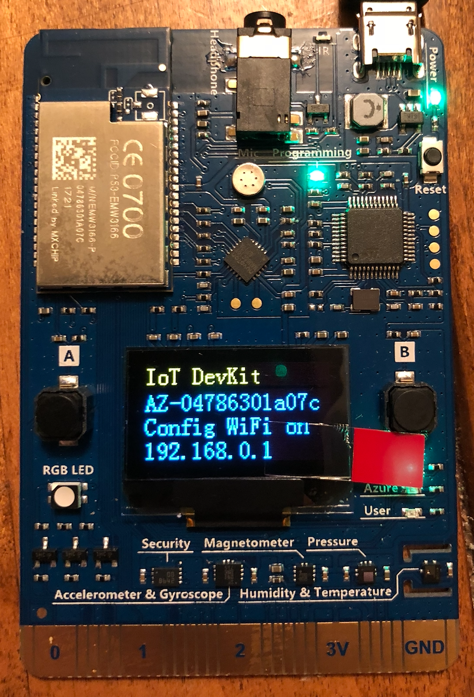
On first boot, it wanted me to configure my Wifi. Since it automatically creates an AP, I was able to use my iPhone to connect to the MXChip's AP and enter my home network for it to connect to.
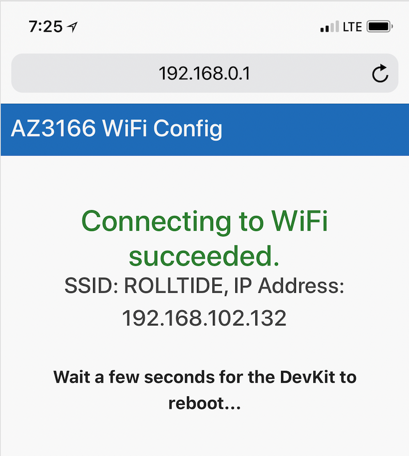
Great! It now reboots and I'm on my home WiFi.
Note It can only store one WiFi profile, so if you take it into your office and bring it back home then you'll be configuring it a lot. {: .btn .btn--success}
Next up was noticing that my firmware needed to be upgraded. Thankfully this is as simply as navigating to this page (opens new window) and placing the files on the root of the MXChip once you plug it into your USB port.
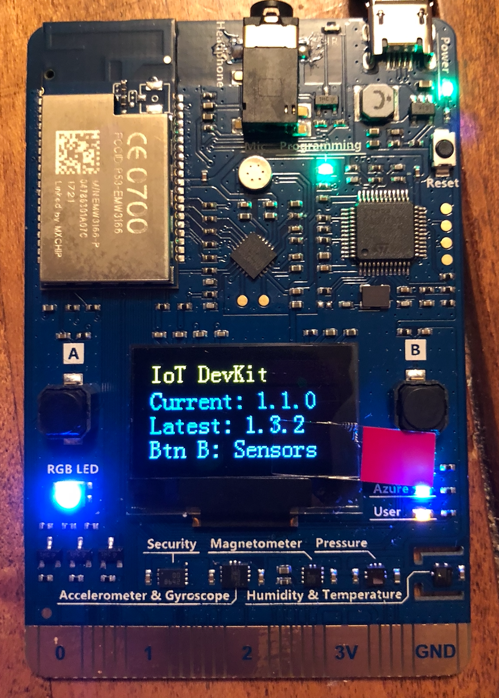
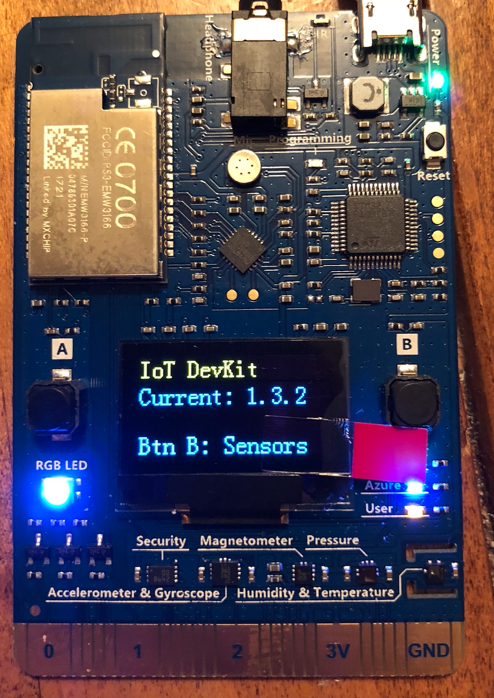
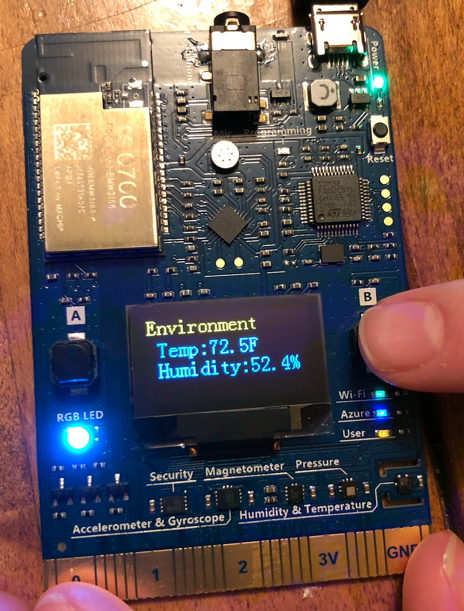
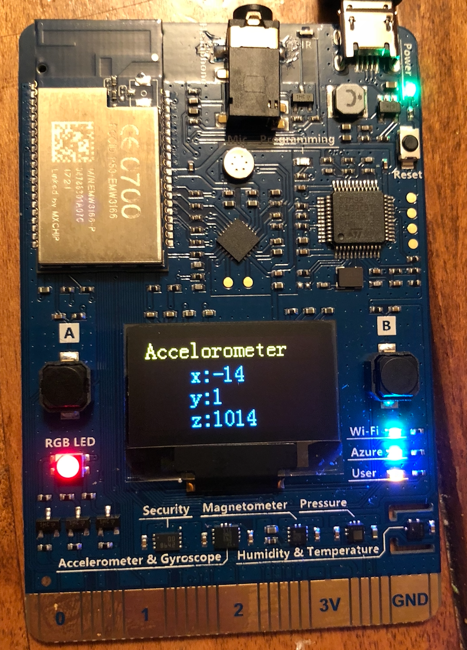
Now you probably want to test your device by pressing the B button. This cycles through various features of the device as shown below.
Now all that is left to do is to download a script that installs all necessary files along with VS Code. If you already have some of them installed, the script will can and skip them.
Get it here for Windows (opens new window) or Mac (opens new window)
It contains the following:
- Node.js and Yarn: Runtime for the setup script and automated tasks.
- Azure CLI 2.0 MSI - Cross-platform command-line experience for managing Azure resources. The MSI contains dependent Python and pip.
- Visual Studio Code (VS Code): Lightweight code editor for DevKit development.
- Visual Studio Code extension for Arduino: Extension that enables Arduino development in Visual Studio Code.
- Arduino IDE: The extension for Arduino relies on this tool.
- DevKit Board Package: Tool chains, libraries, and projects for the DevKit
- ST-Link Utility: Essential tools and drivers.
That's it. Now you can begin working with a project here (opens new window).