Adaptive Policy Scopes - Exchange Workload⚓︎
The JumpStart series is intended to help companies start with a simple approach to governing data residing in the M365 platform by reducing the complexity of knowing where to start, taking the first steps to reduce risk, and complying with laws on how the data is governed.
Great, but what if I don’t know what I don’t know. Developing an organisational policy takes time given the number of business roles involved. What data are we supposed to protect? How much data should we retain? Sadly, if you’re not governing anything now, you have no way to ensure that data isn’t being deleted by a disgruntled employee or someone with malicious intent while that policy gets developed. The below guidance helps you to begin gathering an understanding of the potentially sensitive data within the Exchange workload and provides helpful insights that you can use to determine what actions are needed to effectively govern this data over the next few months.
The mindset behind this approach allows the start of classifying content that then can be reviewed in activity explorer and content explorer. Using content explorer Getting started with content explorer allows a quick point in time view of how the label is applied to items in M365 before acting on the data and predicts outcome for organizational compliance with regulation. Activity explorer Getting started with activity explorer builds on content explorer displaying the history of how the data is labeled.
We detail a single common method for applying a retention policy that can cover the specific country/region or city, etc.. within your organization. For more of an in-depth guide to Information Governance, refer to Deployment Accelerator Guide. Do know the below step-by-step will be a cumulative activity that starts as a building block for your company's governance strategy. The first step is putting a retention policy in place to apply a base level of data governance before deciding on the labels to apply.
Getting Started⚓︎
Start by using user data that contians country or region attributes
Creating scopes⚓︎
- Log into the Microsoft 365 compliance center at compliance.microsoft.com
-
Select Information Governance from the left pane
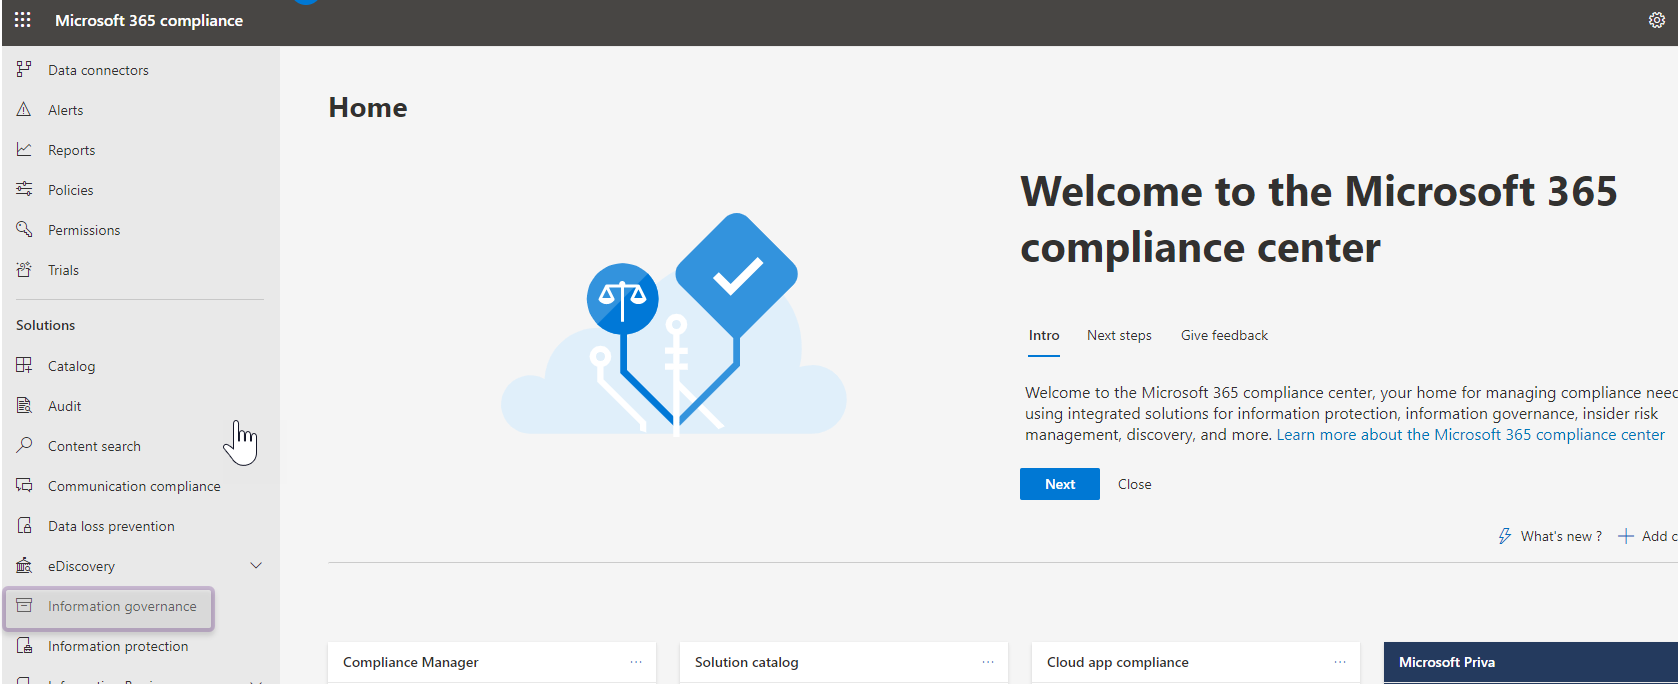
Figure 1: Home page of Microsoft 365 compliance center -
Under the Adaptive Scopes tab, click Create Scope.
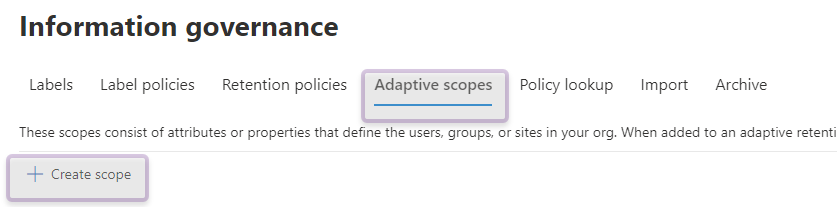
Figure 2: Adaptive scopes tab on Information Governance page with Create Scope action selected -
On the Name Your Adaptive Policy Scope page of the Create Adaptive Scope wizard, add a name for the scope and a description. Click Next to continue.
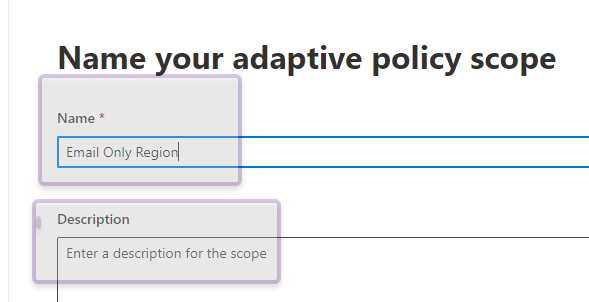
Figure 3: Name Your Adaptive Policy Scope page with Name box and Description box selected
User scope⚓︎
-
On the What Type Of Scope Do You Want To Create? Page, select Users as the scope. Click Next to continue.
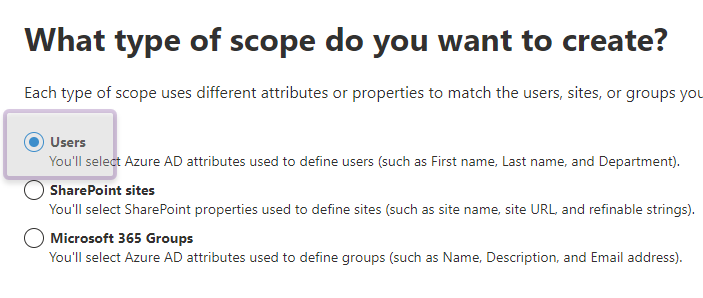
Figure 4: What Type Of Scope Do You Want To Create page with Users radio button selected
Region attribute⚓︎
-
On the Create The Query To Define Users page under User Attributes section, select Country Or Region from the drop down.
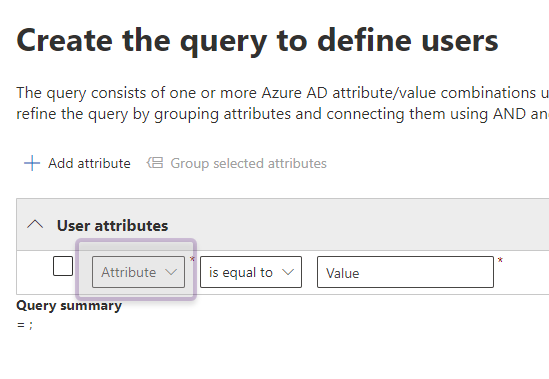
Figure 5: Create The Query To Define Users page with Attribute dropdown box selected 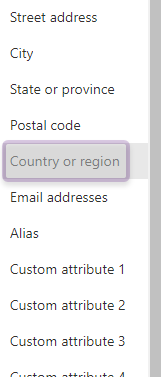
Figure 6: Within the Attribute dropdown box, Country Or Region is selected -
In the Value box enter the name of region for the scope this applies to. Click Next to continue.
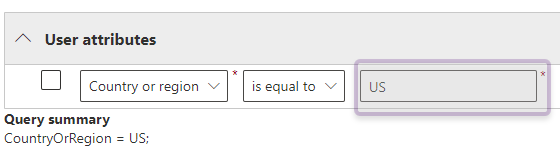
Figure 7: Value text box populated with region equal to US
Tip
If needing to add more regions, simply click Add Attribute then repeat steps 6 & 7. You can also add City, Office, Department or Job Title attributes as well during this step.
- On the Review And Finish page, edit any information that maybe incorrect then click Submit.
Create retention policy using scope⚓︎
-
Return to the Information Governance landing page and click Retention Policies tab.
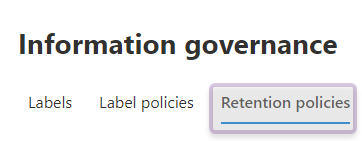
Figure 8: Information Governance main page with Retention Policies selected -
Select New Retention Policy.
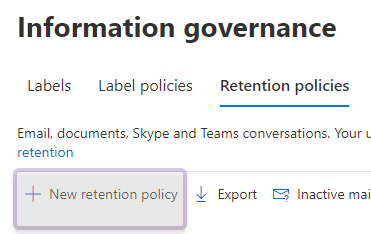
Figure 9: Information Governance main page with New Retention Policy selected -
On the Name Your Retention Policy page, add a name for the retention policy and a description. Click Next to continue.
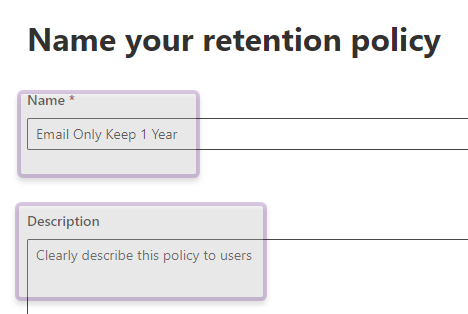
Figure 10: Name Your Retention Policy page with Name and Description fields shown
Adaptive scope policy⚓︎
-
On the Choose The Type Of Retention Policy To Create page, select Adaptive and click Next.
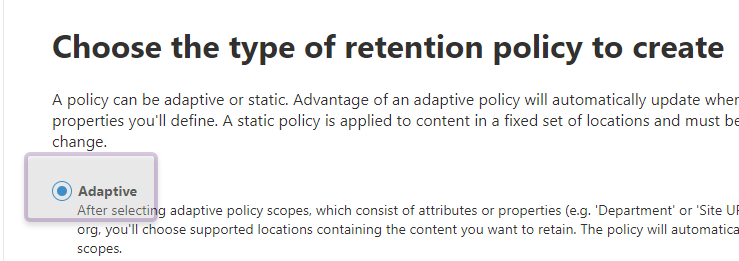
Figure 11: Choosing the type of retention policy with Adaptive radio button selected -
On the Choose Adaptive Policy Scopes And Locations page, click Add Scopes.
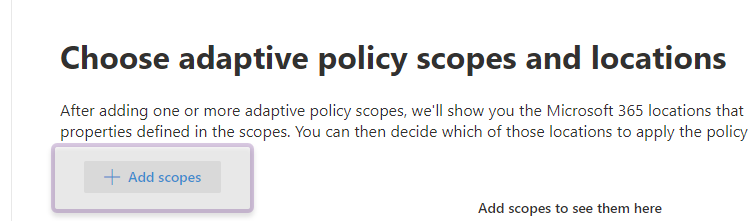
Figure 12: Choosing the adaptive policy scope and location with Add Scopes selected -
On the Choose Adaptive Policy Scopes dialog box, choose the scope created earlier in step x. Click Add to continue.

Figure 13: Choosing the adaptive policy scope with Email Only Region selected
Adding Exchange workload⚓︎
-
Under the Choose Locations To Apply The Policy section, verify the only Status set to On is Exchange Email. Click Next to continue.
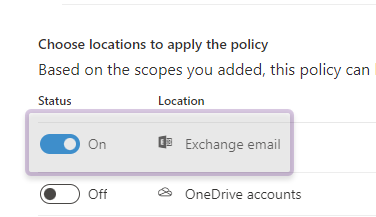
Figure 14: Chosing the adaptive policy scope with Exchange Email Status set to On
Configuring retention period⚓︎
-
On the Decide If You Want To Retain Content, Delete It, Or Both page, leave the radio button Retain Items For A Specific Period selected, choose Custom from the dropdown menu then adjust the retention to 1 year and finally select the Do Nothing radio button. Click Next to continue.

Figure 15: Configuring retention period to 1 year and at the end of this period Do Nothing enabled -
Lastly, review settings and make changes if need be then click Submit.
On behalf of the Governance, eDiscovery, Audit, Records -GEAR engineering team, we would like to recognize the contributions of the following persons to this post:
Joanne Klein - Microsoft MVP, Compliance SME