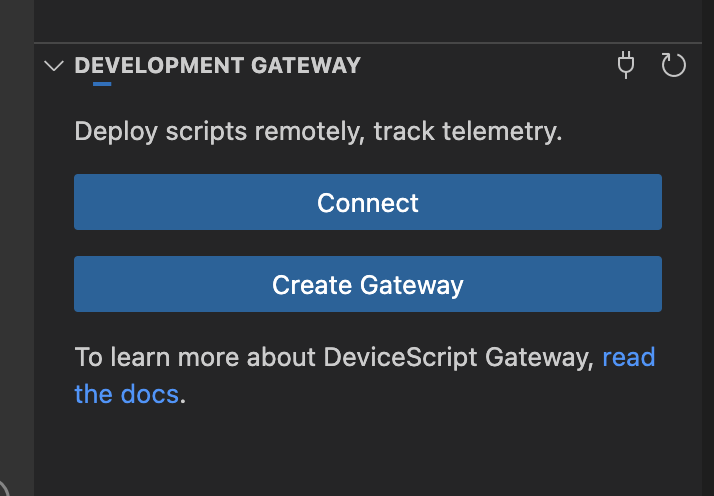
Development Gateway
DeviceScript defines a cloud layer to abstract the communication between the device and a cloud provider.
In order to facilitate rapid prototyping, it is possible to run a Development Gateway locally or deploy it to Azure on top of Azure services.
- Full sources at https://github.com/microsoft/devicescript-gateway
Features
- Local or Azure deployment
- Device provisioning, management: register, unregister, list, ...
- Script management: create, update (versioned)
- Script deployment: assign a script to a device and the gateway will deploy it
- Analytics through Azure Monitor
- JSON messages from and to devices
- Per-device environment variables
- Swagger API front end for non-embedded clients
- Visual Studio Code extension
The Development Gateway is a sample and not meant for production deployment.
Prerequisites
Follow these steps to get started with using the gateway.
- install Node.JS 16+ and the Azure CLI.
- fork https://github.com/microsoft/devicescript-gateway/
The full sources of the Gateway is available in that repository.
- install the dependencies and pull the submodules
- npm
- Yarn
- pnpm
npm run setup
yarn setup
pnpm run setup
Local developement
The Development Gateway can be run locally without any cloud resources. This is great for tinkering.
- Node.JS + Fastify is a popular web server framework
To get started,
- launch Azurite, a local Azure storage emulator. Keep this terminal open.
- npm
- Yarn
- pnpm
npm run azurite
yarn azurite
pnpm run azurite
- launch the local development server
- npm
- Yarn
- pnpm
npm run dev
yarn dev
pnpm run dev
- open the swagger page,
http://localhost:7071/swagger/and make sure it loads - in Visual Studio Code, use the configuration string printed in the console.
Make sure to use the connection string for local network to connect to a device on the same local network. Otherwise, you can also work on the simulator device using the local host connection string.
Device messages are pushed into the messages Azure Storage Queue as a base-64 encoded JSON string.
You can use any client library to access those messages.
Codesandbox.io
Running the local web server from CodeSandbox.io allows you to run the Development Gateway in the cloud, which simplifies many connectivity issues with local networks.
The Development Gateway can be run in a browser using codesandbox.io.
- open https://codesandbox.io/
- click on Import repository
- enter
microsoft/devicescript-gatewayor your forked repository.
MQTT
The gateway can also be used as an MQTT server or a bridge to an existing MQTT server.
publishMessage,subscribeMessagefrom "@devicescript/cloud" will automatically be bridge to the MQTT server under the topicdevs/{deviceId}/(from|to)/{topic}.- You can override the
devs/.../(from|to)/...routing scheme by starting your topic with/. For example,/mytopicwill be routed tomytopic.
There are many options to run your own MQTT broker/server. Once you have a server,
you can configure the gateway using the DEVS_MQTT_URL and DEVS_MQTT_USER environment variables or secrets.
DEVS_MQTT_URL="mqtts://host:post"
DEVS_MQTT_USER="username:password"
You can use the VSMqtt in Visual Studio Code to connect to the MQTT server and publish, subscribe to topics.
Azure deployment (optional)
The Development Gateway can be deployed to Azure on top of Azure services:
- App Service, runs a Node.JS web service with a swagger frontend
- Key Vault, to store secrets needed by the Web Application
- Storage, blobs and tables to manage devices, scripts and telemetry
- App Insights, to collect telemetry about the health of devices
- Event Hub to forward JSON messages from the device
NOTE:
- Some Azure resources will incur costs to your Azure subscription.
The Development Gateway requires an Azure account and optionally a GitHub account.
Provisioning
NOTE:
- The
npm run provisionscript will create Azure resources that will incur costs to your Azure subscription. You can clean up those resources manually via the Azure portal or with thenpm run unprovisioncommand.- You can call
npm run provisionas many times as you like, it will delete the previous resources and create new ones.
- open a terminal with the Azure CLI logged in and the default subscription configured
az login
You will need to generate a Github personal access token for the forked repository, with
actions,secretsscope asread+write.launch the provisioning script
- npm
- Yarn
- pnpm
npm run provision
yarn provision
pnpm run provision
After the script is done executing, it will take a couple of minutes for the Github Actions to build the site and start it.
- open the swagger page,
https://WEBAPPNAME.azurewebsites.net/swagger/and make sure it loads
You will be able to continue the configuration of the gateway through the VS Code extension,
DeviceScript view, Development Gateway section.

Deployment
The repository can be configured to deploy the site on every build on the main brain,
using the build.yml GitHub Actions.
- to enable, uncomment
# AZURE_WEBAPP_PUBLISH: "true"in.github/workflows/build.yml
The project README.md file contains details for local development.
Cleanup
Use the Azure CLI to delete the resource group and all its associated resources.
- npm
- Yarn
- pnpm
npm run unprovision
yarn unprovision
pnpm run unprovision
Dashboards
Out of the box, the gateway will push telemetry metrics in an Application Insights instance and in an Event Hub.
- You can use the built-in dashboarding capabilities of Application Insights to visualize metrics and explore logs.
- You can build a dashboard of metrics in an Azure Hosted Grafana instance.
Visual Studio Code extension
Once the gateway is up and running, you can use the Visual Studio Code extension to manage devices, scripts and work with the gateway.