Set Up Parts Unlimited MRP with VSTS
In this lab, we will set up the PartsUnlimited MRP VSTS team project as a pre-requisite for the Continuous Integration lab. You will need an active Visual Studio Team Services (VSTS) account, or you will need to sign up for a free Visual Studio Team Services account by following this link. Ensure that you are also a Project Collection Administrator for the Visual Studio Team Services account or follow this link.
DevOps MPP Course Source
- This lab is used in course DevOps200.1x: DevOps Practices and Principles: Module 2.
Pre-Requisites:
-
An active Visual Studio Team Services (VSTS) account
-
Project Collection Administrator rights to the Visual Studio Team Services account
Lab Tasks:
Set up your Visual Studio Team Services account: This step helps you download the source code and then push it to your own Visual Studio Team Services account.
Estimated Lab Time:
Approximately 20 minutes
Task 1: Set up your Visual Studio Team Services account
Push the application code to your Visual Studio Team Services account to use Team Build for the Continuous Integration HOL.
1. First, navigate to your Visual Studio Team Services account by typing the following into a browser:
https://{VSTS instance name}.visualstudio.com

-
If you do not have a Visual Studio Team Services (VSTS) account, you can sign up for a free account by going to http://www.visualstudio.com. Then, under Visual Studio Team Services, click on Get Started for free
-
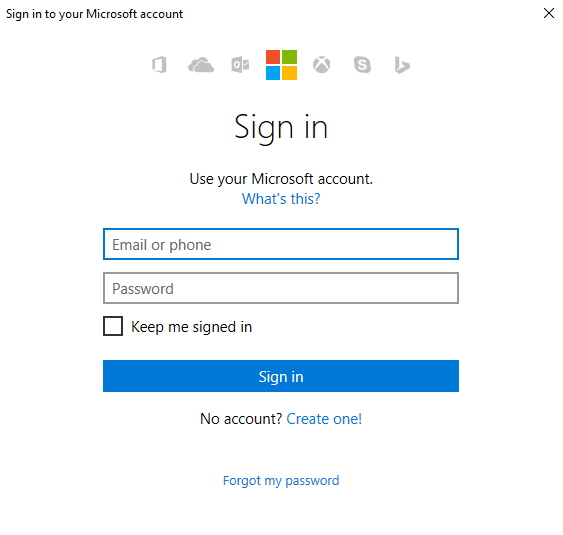
Sign in with your Microsoft account. If you do not have a Microosft account, you can create one by clicking on No account? Create one! and following the steps.

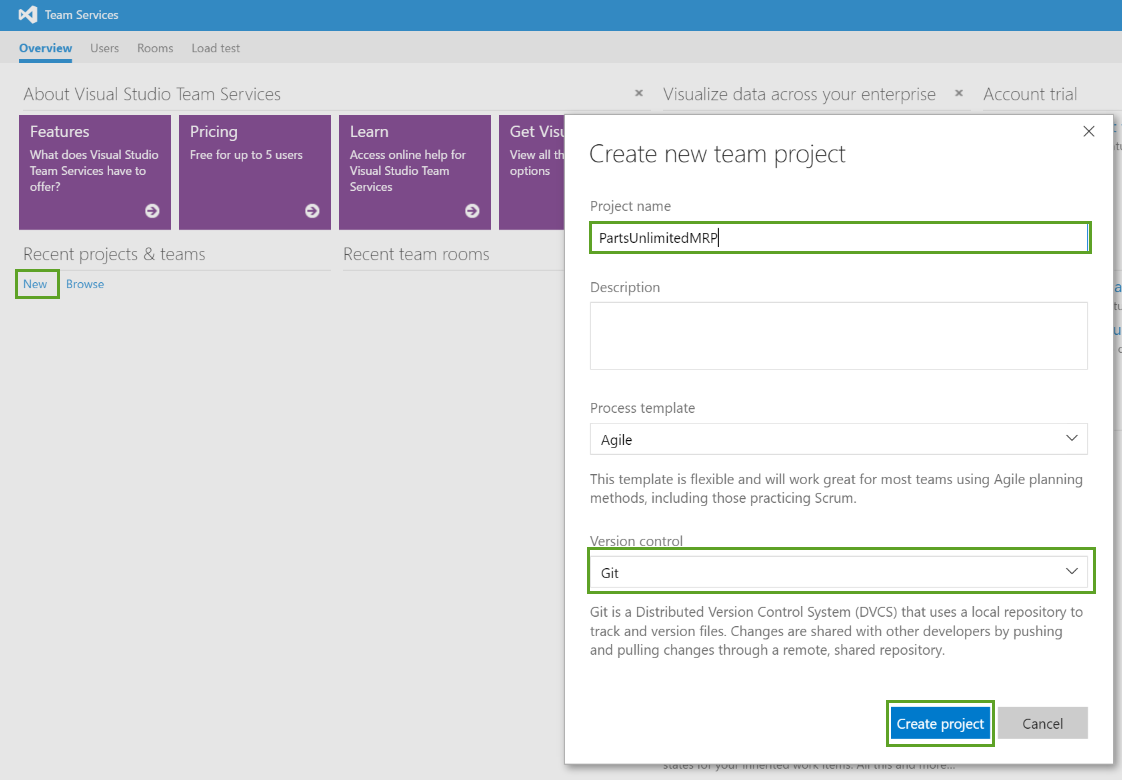
2. Once you are signed in to your Visual Studio Team Services account, create a new PartsUnlimitedMRP team project by clicking on the New button under Recent projects & teams. Type in the project name as PartsUnlimitedMRP and select git as the version control, then click on Create project.
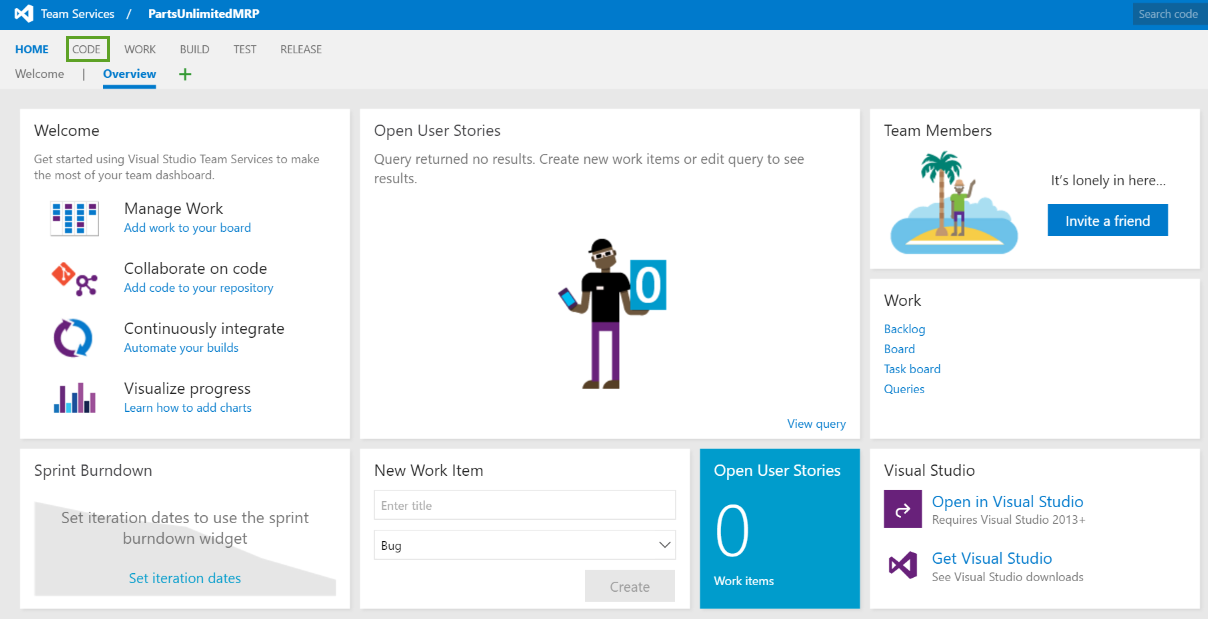
3. After the wizard creates your new team project, navigate to the PartsUnlimitedMRP team project and click on the Code tab on the upper-left.
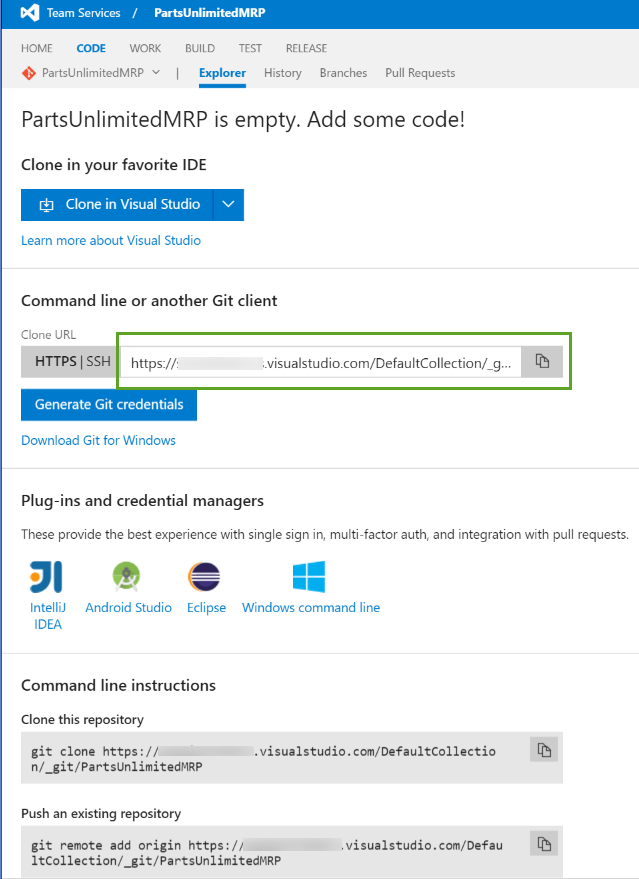
4. The PartsUnlimitedMRP git repository will be empty, so copy the Clone URL of the VSTS repository to your clipboard and paste it into a text document for later use.
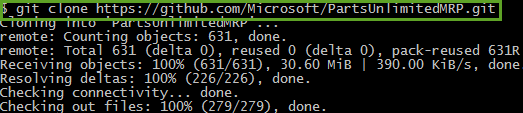
5. Clone the PartsUnlimitedMRP git repository located in GitHub onto your local machine, open your command line tool, and type :
git clone https://github.com/Microsoft/PartsUnlimitedMRP.git
NOTE: If you are running Linux on your local workstation, install git:
sudo apt-get install git
NOTE: If you are running Windows, you have to install the git client from here:
6. Add the Clone URL of your Visual Studio Team Services repository as a new remote called vsts (The URL previously copied in step 4) and push to it to your Visual Studio Team Services account.
cd PartsUnlimitedMRP/

git remote add vsts <url_to_repository>

git push -u vsts --all
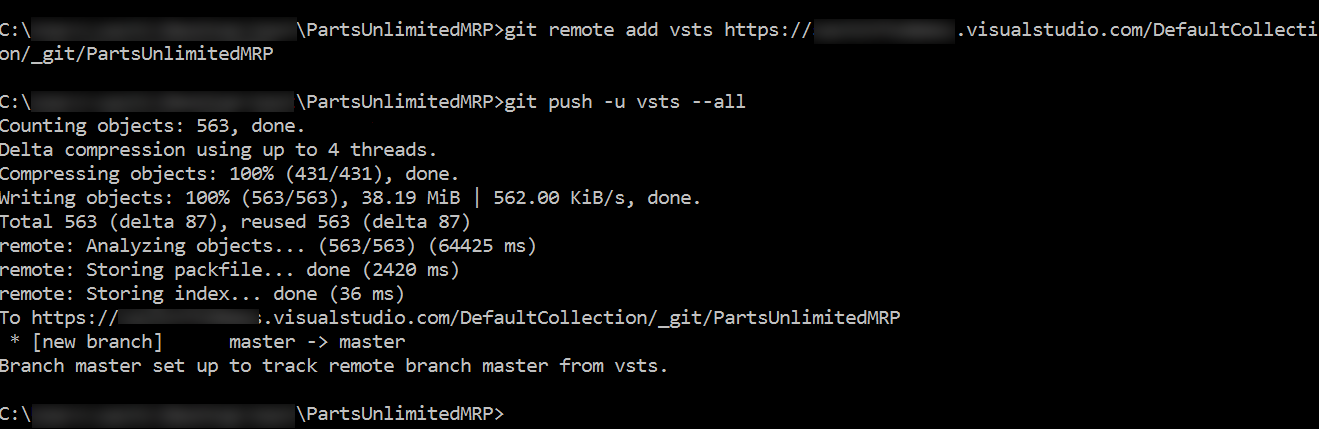
NOTE: If this is the first time that you are using your Visual Studio Team Services subscription, it will ask you to be authenticated.
NOTE: We added the Visual Studio Team Services repository as a remote named vsts, so we need to push to that remote in the future for our changes to appear in our Visual Studio Team Services repository.
7. If you refresh your CODE section page, your Visual Studio Team Services account should now have a copy of the PartsUnlimitedMRP application:

Next steps
In this lab, you learned how to set up the PartsUnlimitedMRP team project in Visual Studio Team Services. As next steps you could continue with the following labs:
Continuous Feedback
Issues / Questions about this HOL?
Thanks