
TIP
💡 Learn more : Azure Virtual Network (opens new window).
# Use VNET peering to connect existing VNETs
Recently a question came up about how to securely connect existing VNETs. This got me thinking about how I have VMs deployed in their own VNETs.
Often when I set up a VM for a demo, I’ll use the default settings, which creates a VNET for each VM. In this post, I’ll walk you through how to set up a hub-spoke network topology (opens new window) to connect existing VNETs.
# My requirements
- Connect three VNETs, one of which has a Point-to-Site gateway configured
- No public IPs attached to VM network interfaces
- Ability to connect to all VMs
# How I connect three existing VNETs
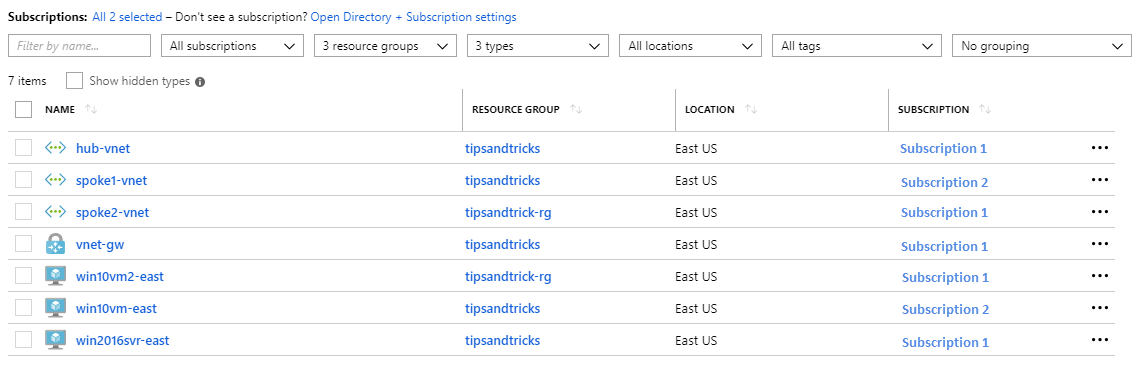
I am starting with these resources:
Subscription 1:
- hub-vnet – the VNET with the Point-to-Site VPN configured
- vnet-gw – the VNET gateway
- win2016svr-east – VM inside the VNET with no public IP (Windows Server 2016 DataCenter (opens new window))
- spoke2-vnet – second VNET with no gateway o win10vm2-east – VM inside the VNET with no public IP (Windows 10 image (opens new window)) Subscription 2:
- spoke1-vnet – VNET in another subscription (but same Azure Active Directory) o win10vm-east – VM inside the VNET with no public IP (Windows 10 image (opens new window))
Part 1:
- In the Azure portal, I go to the hub-vnet virtual network, select Peerings, and click the Add button.

- I give the peering the name hub-spoke2-peer and select the subscription and virtual network. Then I check the • I give the peering the name hub-spoke2-peer and select the subscription and virtual network. Then I check the Allow gateway transit and click the OK button. and click the OK button.
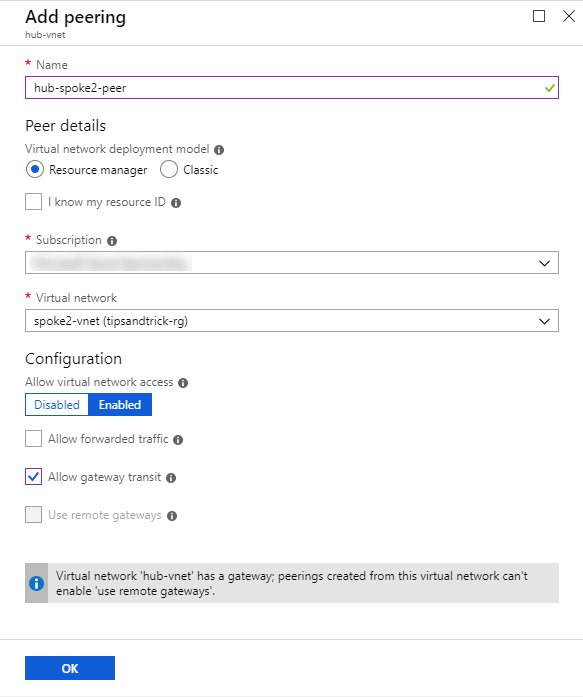
Note: Allow gateway transit is needed to make the Point-to-Site connection. Otherwise I would need to use a jumpbox.
Once this side of the peering is ready, it will show the status as Initiated.

- I repeat the above steps and add the peering for the hub-spoke1-peer.
That sets up the hub side of the peering. The next step is the spoke side.
Part 2:
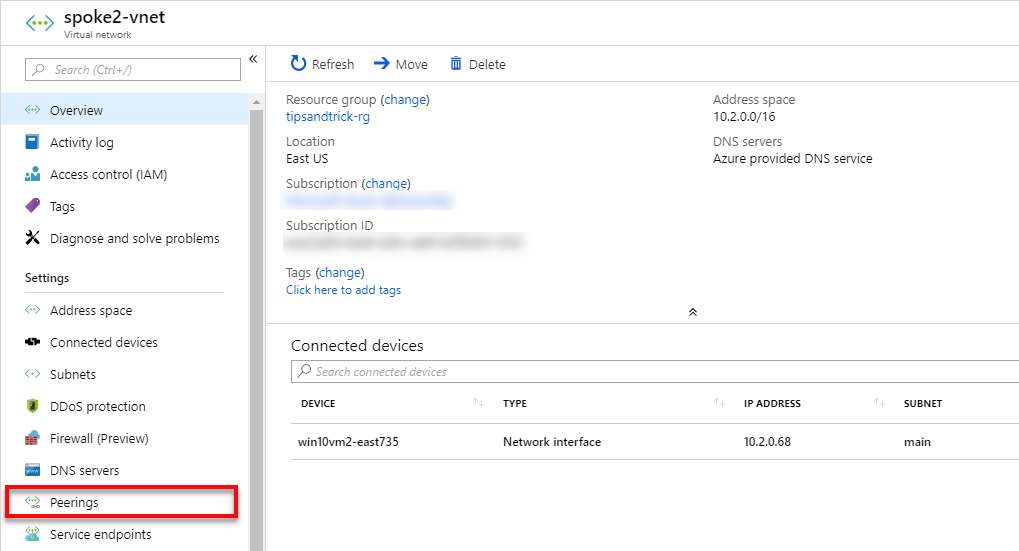
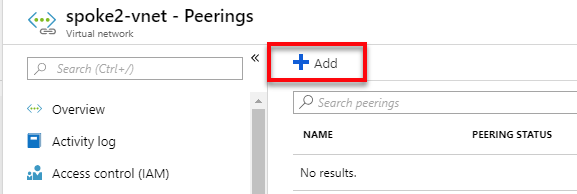
- In the Azure portal, I select Virtual Networks, select the spoke2-vnet, then select Peerings.
- Click the Add button.
- I give the peering the reverse name spoke2-hub-peer, select the subscription and virtual network of hub-vnet, and check the Use remote gateway. Then I click OK to create the peering.
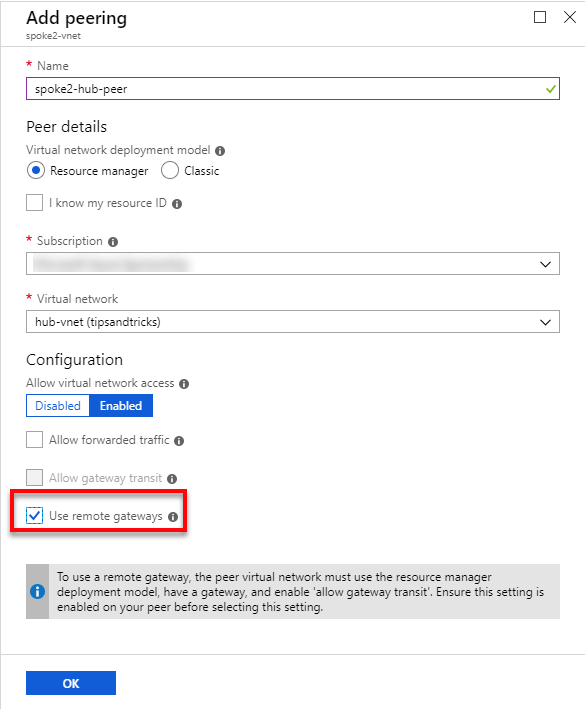
Note: Use remote gateways is the reverse setting of the one that allows the usage of the gateway in hub-vnet.
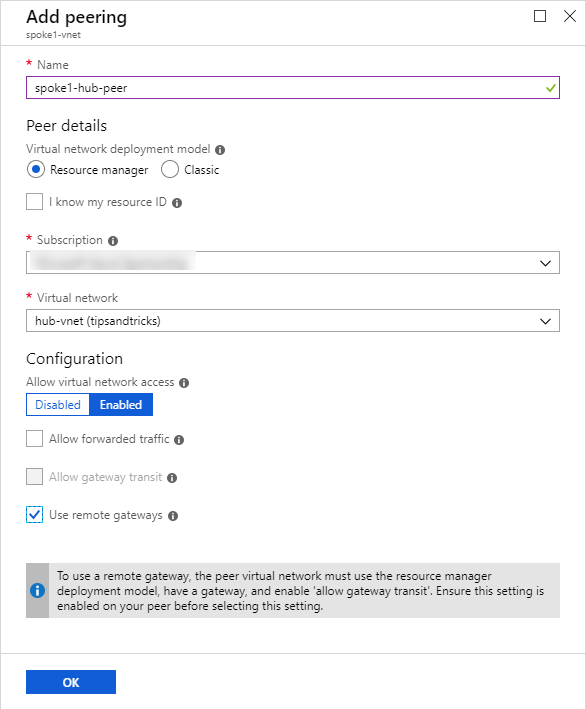
- Now I go back to my virtual networks list and repeat for spoke1-vnet.
I now have the VNET peerings shown below:
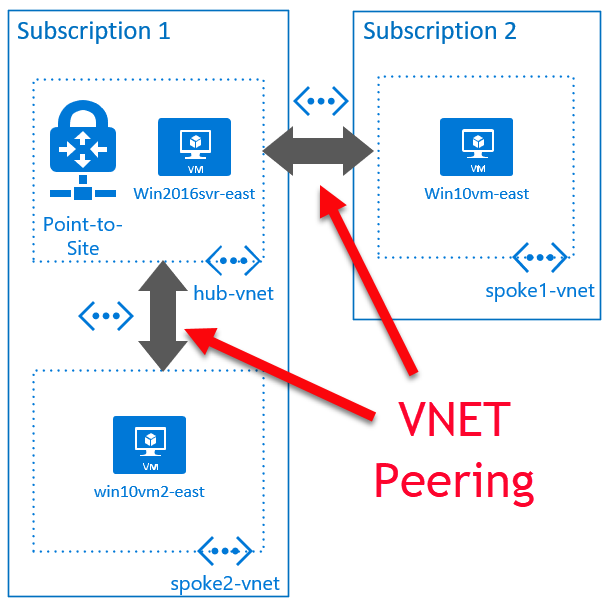
Part 3:
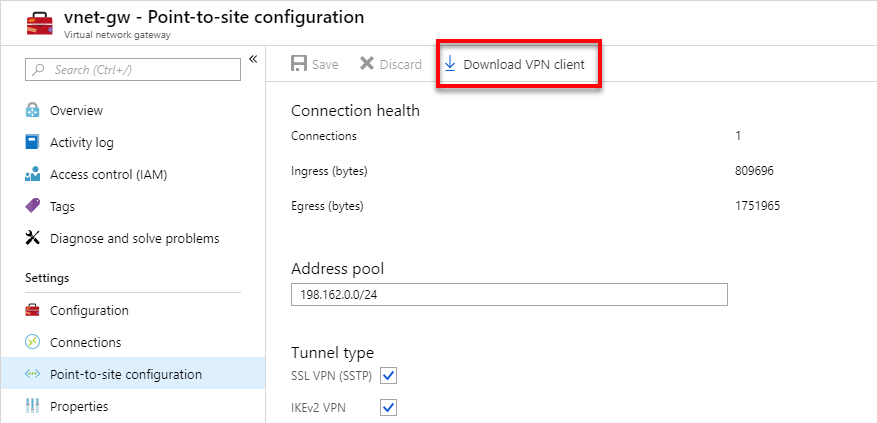
To test that I can connect to each of the VMs, I first need to download the VPN client again.
- In the Azure portal, I search for vnet-gw and select it from the results, and then select Point-to-site configuration.
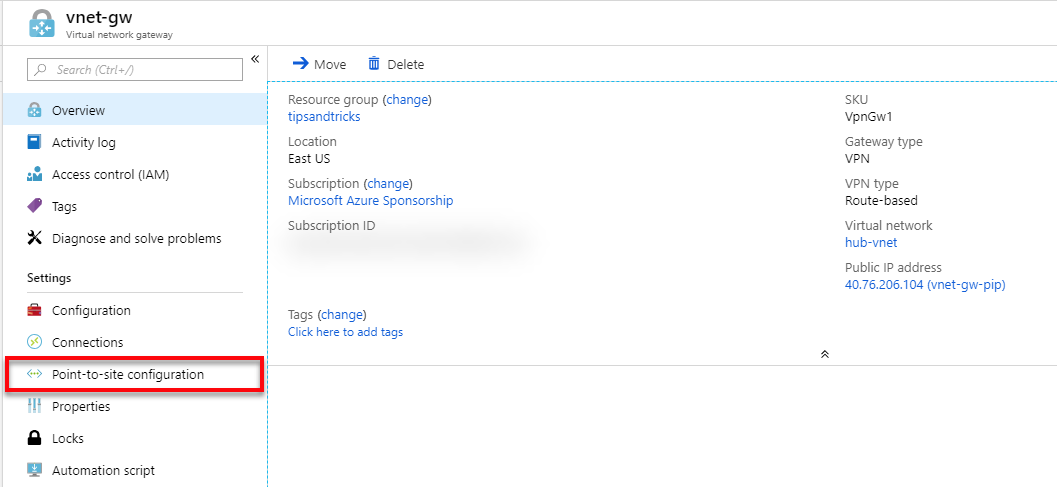
- Then I click Download VPN client and reinstall it once it downloads.
Once I have it reinstalled, I connect the VPN.
- I open remote desktop (type mstsc at the command prompt or make sure you read Quickly Connect to Windows VMs with RDP) and, one by one, I verify that I can connect to the private IPs for the VMs:
- Win2016svr-east: 10.0.0.36
- Win10vm-east: 10.1.0.68
- Win10vm2-east: 10.2.0.68
That’s all it takes to connect all three VNETs using VNET peering!
Read the full detail of how to Implement a hub-spoke network topology in Azure (opens new window) on the Azure Architecture site or watch Virtual Network (vNet) Peering (opens new window) on Azure Friday.