TIP
💡 Learn more : Accelerated Networking in Azure (opens new window)
This post was brought to you by Kumar Allamraju (opens new window).
# How to enable Accelerated Networking in existing Azure Virtual Machines
# What is Accelerated Networking?
Accelerated Networking provides consistent ultra-low network latency via Azure's in-house programmable hardware and technologies such as SR-IOV. By moving much of Azure's software-defined networking stack off the CPUs and into FPGA-based SmartNICs, compute cycles are reclaimed by end user applications, putting less load on the VM, decreasing jitter and inconsistency in latency.
Please double check the supported operating systems and VM sizes in the following documentation links to check the availability of this feature.
In 3 simple steps, we will learn to enable accelerated networking to an existing VM via Azure CLI. Please make sure Azure CLI is installed in your desktop/laptop. Otherwise use the Azure Cloud shell to execute the following steps.
First stop/deallocate the VM
- az vm deallocate --resource-group myRG --name myVM
Once stopped, enable Accelerated Networking on the NIC of your VM:
- az network nic update --name myNic --resource-group myRG --accelerated-networking true
Restart your VM. It's that simple, isn't it?
- az vm start --resource-group myRG --name myVM
Confirm the Mellanox VF device is exposed to the VM with the
lspcicommand. The returned output is similar to the following output:
0000:00:00.0 Host bridge: Intel Corporation 440BX/ZX/DX - 82443BX/ZX/DX Host bridge (AGP disabled) (rev 03)
0000:00:07.0 ISA bridge: Intel Corporation 82371AB/EB/MB PIIX4 ISA (rev 01)
0000:00:07.1 IDE interface: Intel Corporation 82371AB/EB/MB PIIX4 IDE (rev 01)
0000:00:07.3 Bridge: Intel Corporation 82371AB/EB/MB PIIX4 ACPI (rev 02)
0000:00:08.0 VGA compatible controller: Microsoft Corporation Hyper-V virtual VGA
0001:00:02.0 Ethernet controller: Mellanox Technologies MT27500/MT27520 Family [ConnectX-3/ConnectX-3 Pro Virtual Function]
2
3
4
5
6
- Check for activity on the VF (virtual function) with the ethtool -S eth0 | grep vf_ command. If you receive output similar to the following sample output, accelerated networking is enabled and working.
vf_rx_packets: 992956
vf_rx_bytes: 2749784180
vf_tx_packets: 2656684
vf_tx_bytes: 1099443970
vf_tx_dropped: 0
2
3
4
5
6
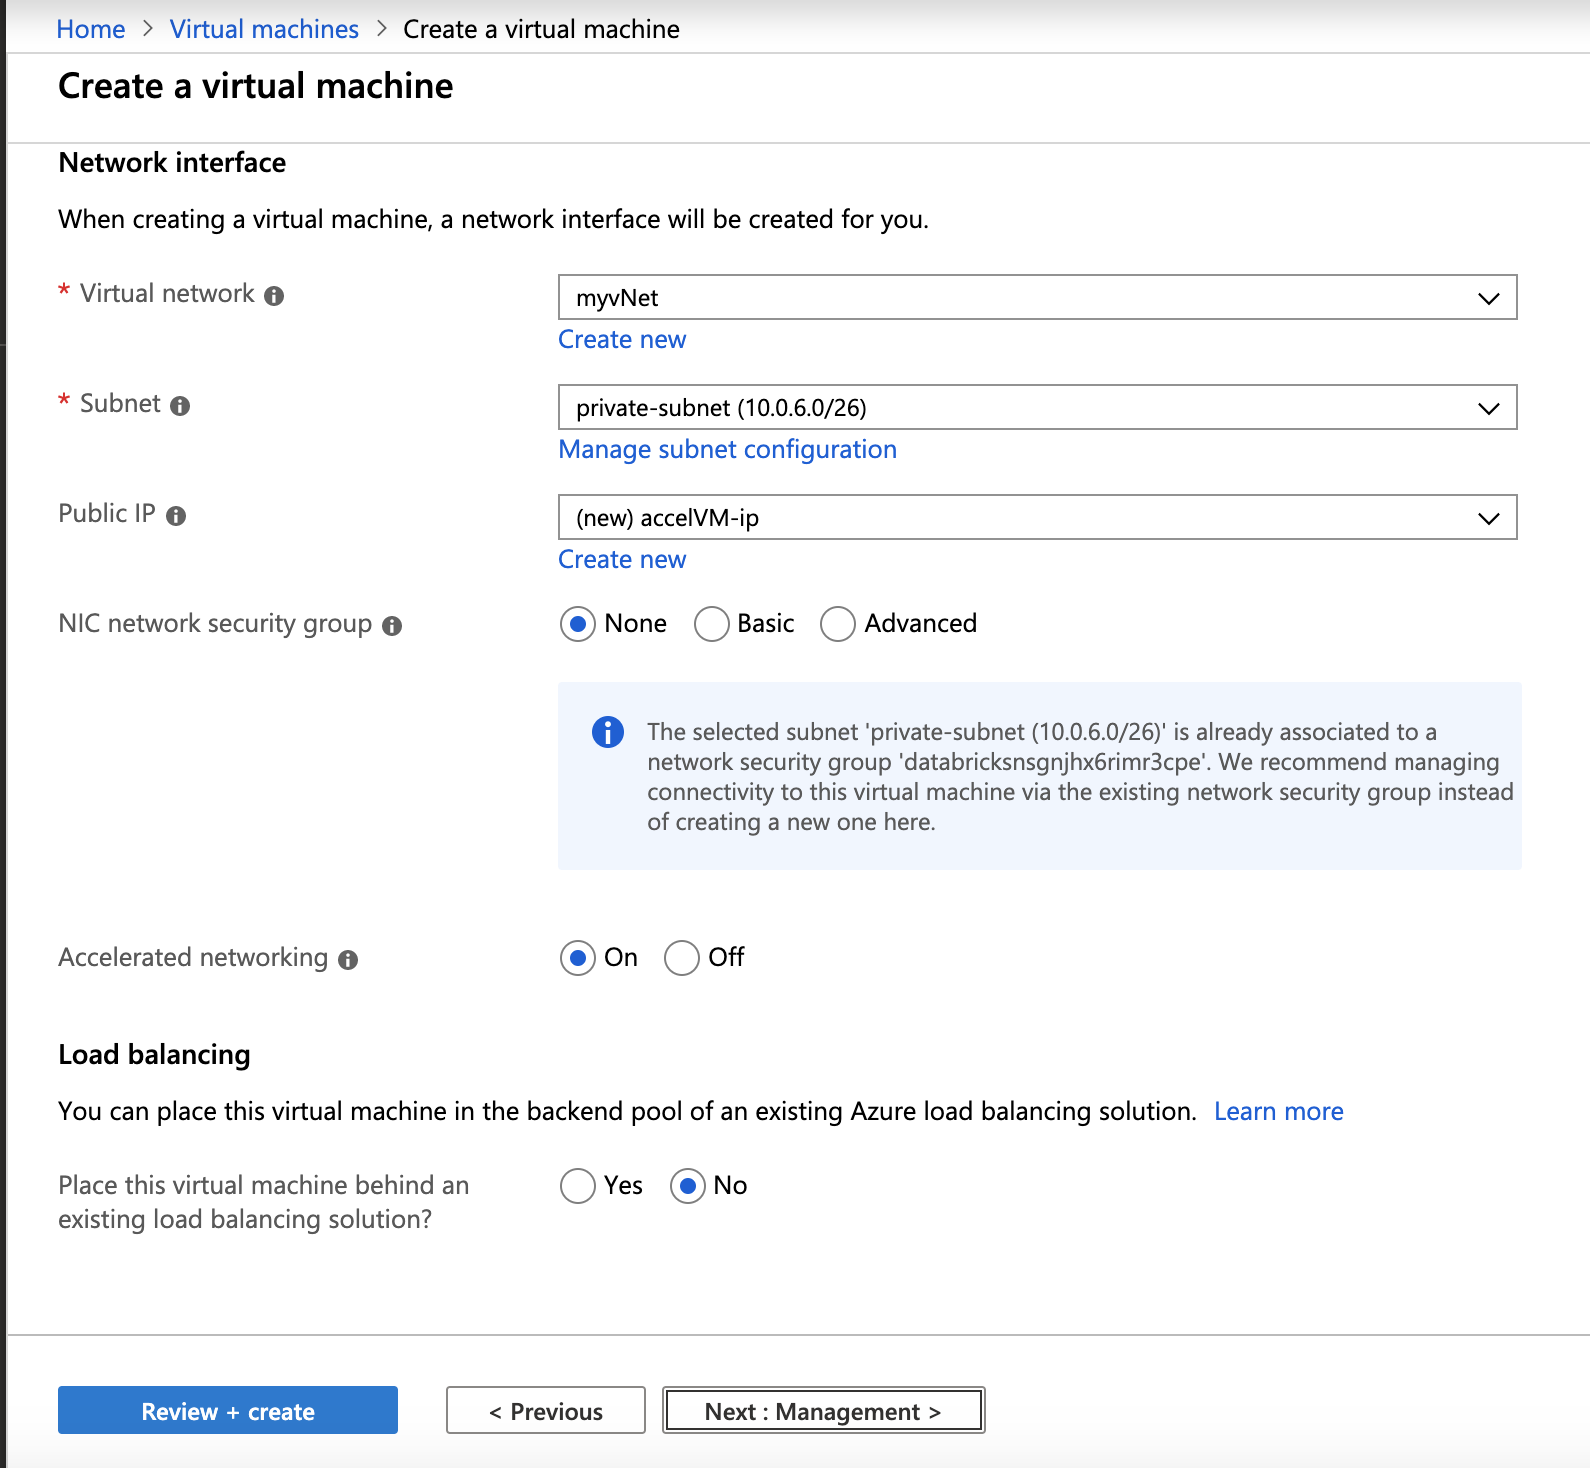
- To create a VM with accelerated networking from Azure Portal, just check the accelerated networking option in the Networking section of the VM wizard..

# Conclusion
Most workloads in Azure will probably never find networking to be the bottleneck. However, some workloads are extreme and need to be able to send or receive data at high speeds with reliable streaming and with lower CPU utilization. If that happens to be your use case, then you should consider enabling Accelerated Networking when creating Linux/Windows virtual machines.
