
TIP
🔥 Make sure you star the repo (opens new window) to keep up to date with new tips and tricks.
💡 Learn more : Configure Azure CNI networking in Azure Kubernetes Service (AKS) (opens new window).
📺 Watch the video : Secure traffic between pods using network policies in Azure Kubernetes Service (AKS) (opens new window)
# Secure traffic between pods using network policies in Azure Kubernetes Service (AKS)
# Securing components in your Azure Kubernetes Service (AKS)
By default, components in a Kubernetes cluster can receive traffic from anywhere. This is fine for a development scenario, but not when you run your services in production. To secure your Azure Kubernetes Service (AKS) (opens new window) cluster, you can implement a network policy that defines which components can receive traffic from which sources.
In this post, we'll secure traffic between Kubernetes pods using a network policy.
# Prerequisites
If you want to follow along, you'll need the following:
- An Azure subscription (If you don't have an Azure subscription, create a free account (opens new window) before you begin)
# Secure traffic between pods using network policies
To start securing your Kubernetes components, you need to implement a network policy.
Azure provides two ways to implement a network policy. You choose a network policy option when you create an AKS cluster. The policy option can't be changed after the cluster is created. You can choose between:
- Azure’s own implementation, called Azure Network Policies
- Calico Network Policies (opens new window), an open-source network and network security solution
You can learn more about the differences between these options here (opens new window).
So, to get started, we'll create a new AKS cluster with a network policy:
- We are going to use the Azure Cloud Shell (opens new window) to run our scripts. By using this, we make sure that we run the latest version of the Azure CLI. Go to https://shell.azure.com/ (opens new window)
- Run the following script in the Azure Cloud Shell. This creates a virtual network and subnet, an Azure AD Service principal and creates an AKS cluster with Azure Network Policy enabled a. Replace the values for the RESOURCE_GROUP_NAME, CLUSTER_NAME and LOCATION parameters at the top with your own values
RESOURCE_GROUP_NAME=akstips
CLUSTER_NAME=tipsAndTricksAKSCluster
LOCATION=eastus

# Create a resource group
az group create --name $RESOURCE_GROUP_NAME --location $LOCATION

# Create a virtual network and subnet
az network vnet create \
    --resource-group $RESOURCE_GROUP_NAME \
    --name myVnet \
    --address-prefixes 10.0.0.0/8 \
    --subnet-name myAKSSubnet \
    --subnet-prefix 10.240.0.0/16

# Create a service principal and read in the application ID
SP=$(az ad sp create-for-rbac --output json)
SP_ID=$(echo $SP | jq -r .appId)
SP_PASSWORD=$(echo $SP | jq -r .password)

# Wait 15 seconds to make sure that service principal has propagated
echo "Waiting for service principal to propagate..."
sleep 15

# Get the virtual network resource ID
VNET_ID=$(az network vnet show --resource-group $RESOURCE_GROUP_NAME --name myVnet --query id -o tsv)

# Assign the service principal Contributor permissions to the virtual network resource
az role assignment create --assignee $SP_ID --scope $VNET_ID --role Contributor

# Get the virtual network subnet resource ID
SUBNET_ID=$(az network vnet subnet show --resource-group $RESOURCE_GROUP_NAME --vnet-name myVnet --name myAKSSubnet --query id -o tsv)

# Create the AKS cluster and specify the virtual network and service principal information
# Enable network policy by using the `--network-policy` parameter
az aks create \
    --resource-group $RESOURCE_GROUP_NAME \
    --name $CLUSTER_NAME \
    --node-count 1 \
    --generate-ssh-keys \
    --network-plugin azure \
    --service-cidr 10.0.0.0/16 \
    --dns-service-ip 10.0.0.10 \
    --docker-bridge-address 172.17.0.1/16 \
    --vnet-subnet-id $SUBNET_ID \
    --service-principal $SP_ID \
    --client-secret $SP_PASSWORD \
    --network-policy azure
2
3
4
5
6
7
8
9
10
11
12
13
14
15
16
17
18
19
20
21
22
23
24
25
26
27
28
29
30
31
32
33
34
35
36
37
38
39
40
41
42
43
44
45
46
47
48
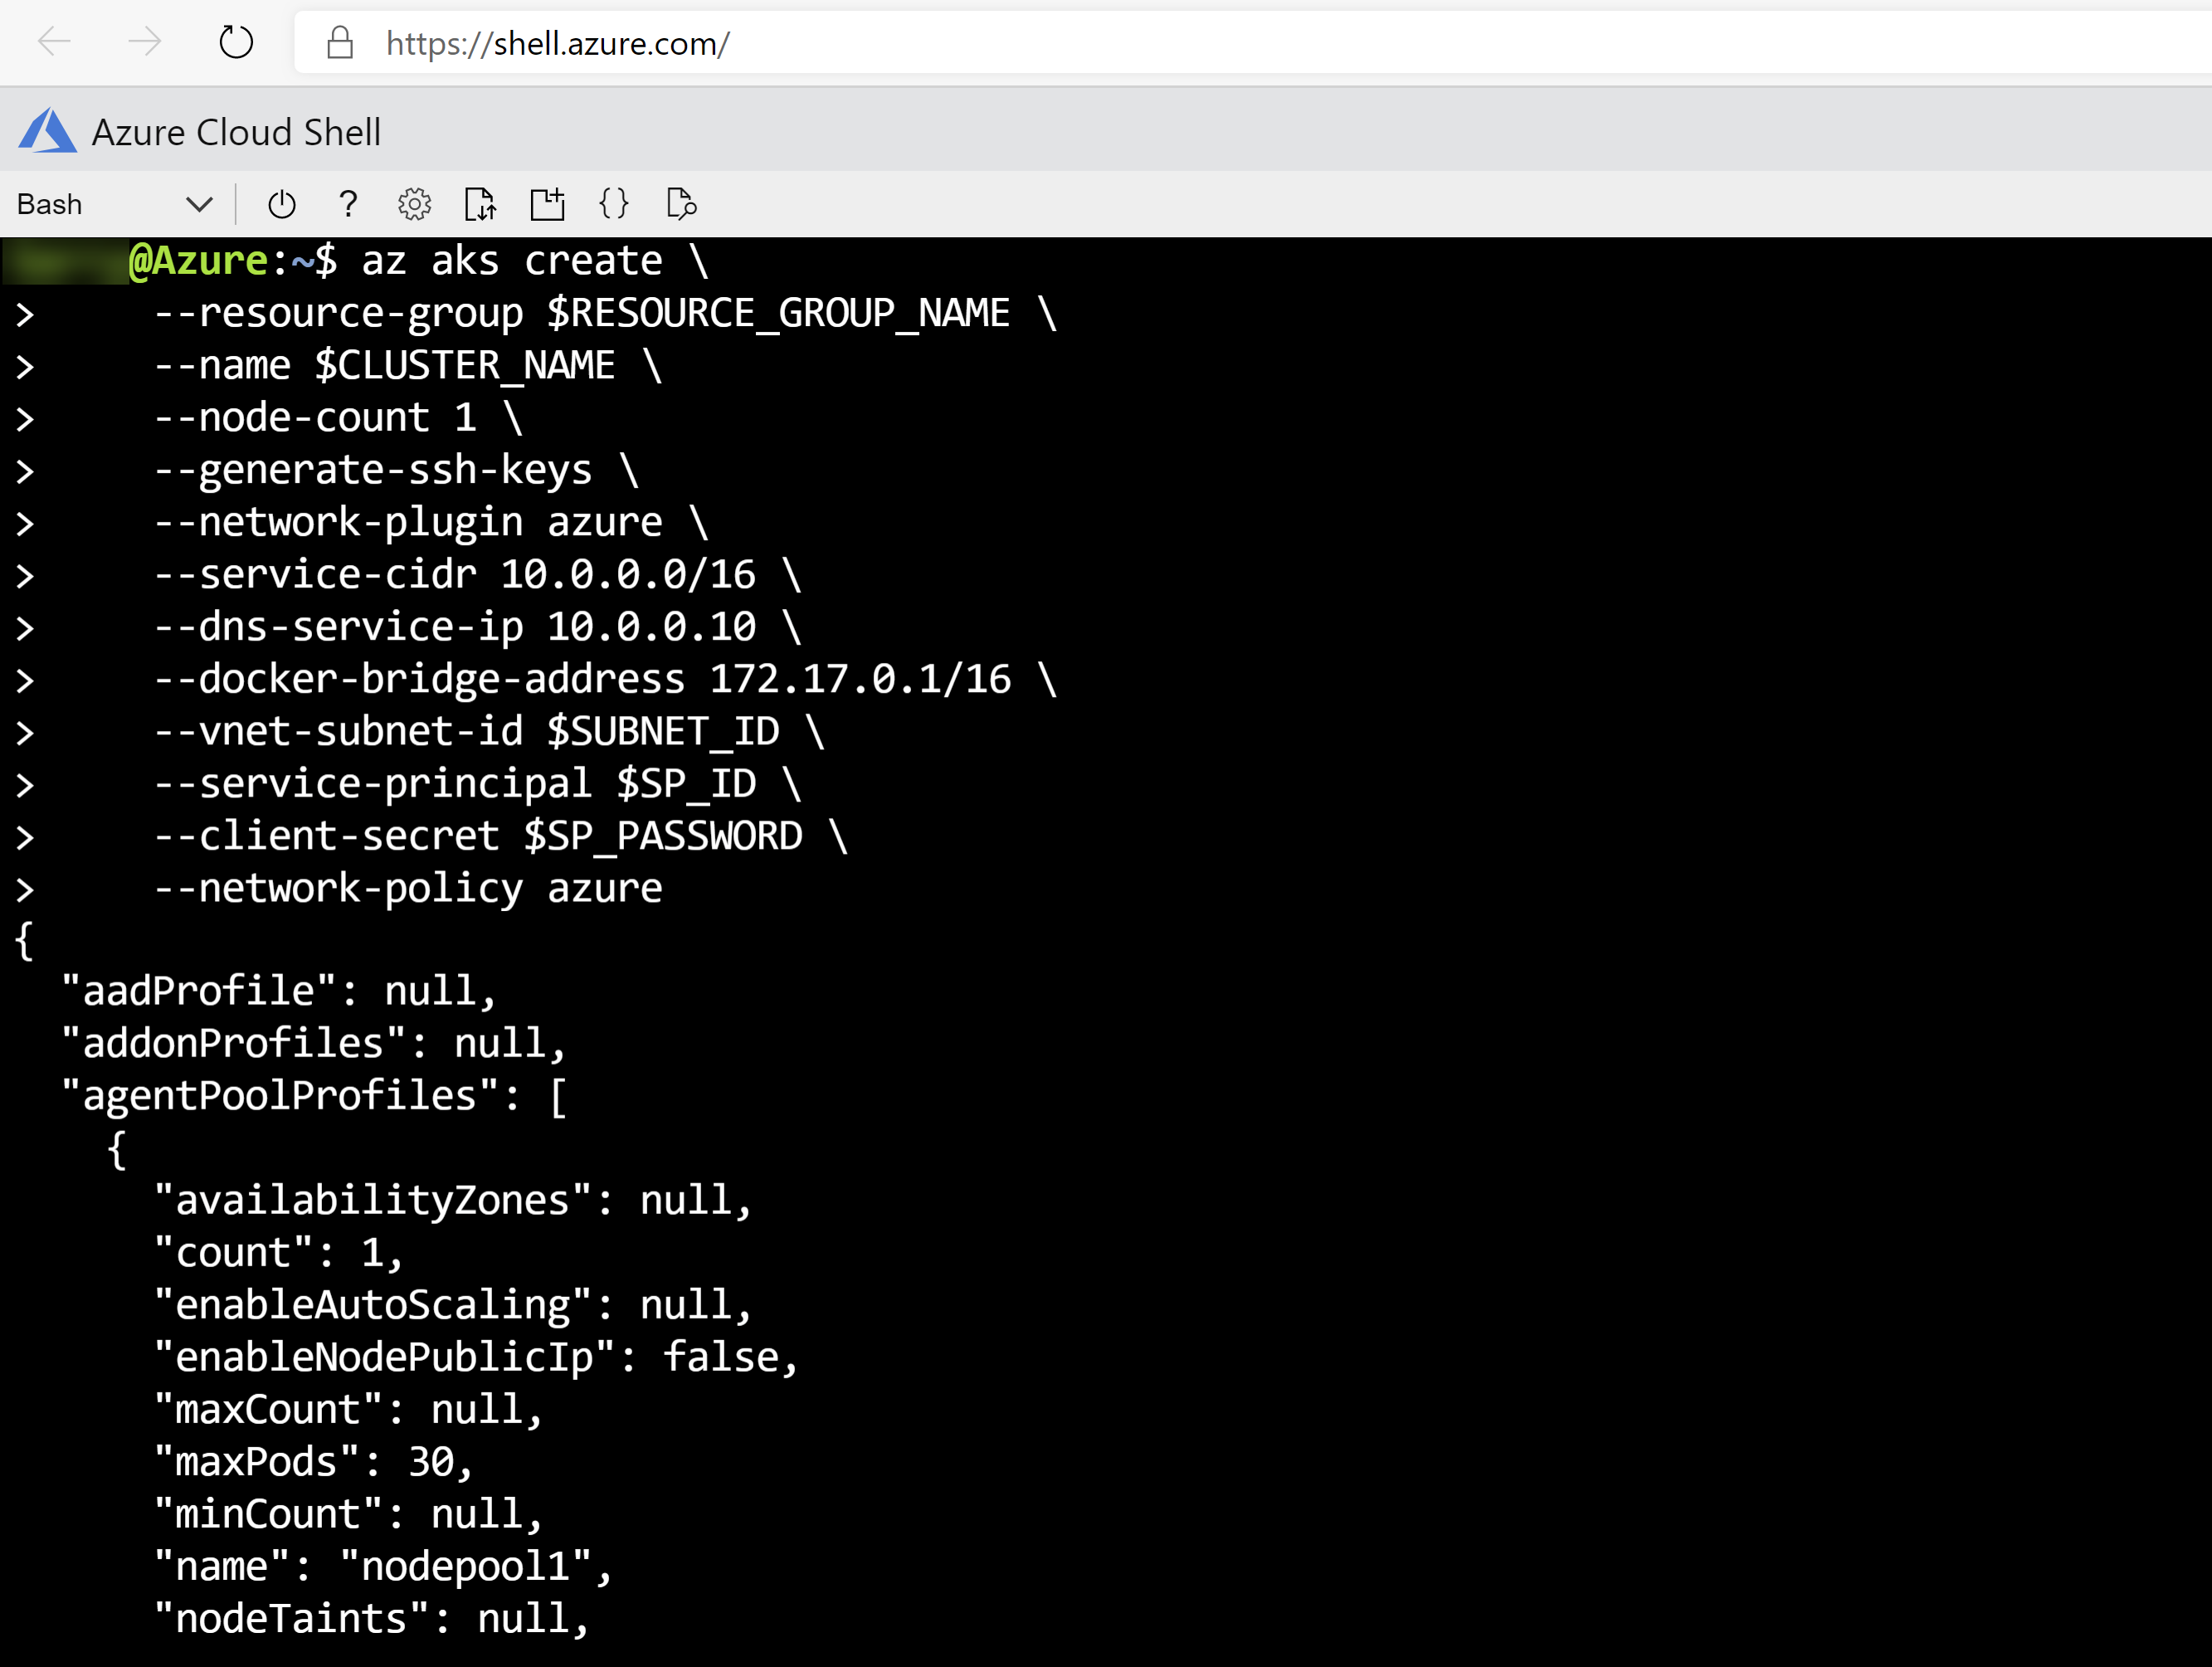
(AKS cluster successfully created in Azure Cloud Shell)
- When the AKS cluster is created, run the following command to configure kubectl to connect to your Kubernetes cluster:
az aks get-credentials --resource-group $RESOURCE_GROUP_NAME --name $CLUSTER_NAME
- Before we can run example pods to apply network policies to, we need to create a namespace. Run the following code to create a namespace called test:
kubectl create namespace test
kubectl label namespace/test purpose=test
2
- Now create an example back-end pod that runs NGINX (opens new window). We'll use this back-end pod to simulate a sample back-end web application. The following code creates the pod in the test namespace, and opens port 80 to serve web traffic. It also labels the pod with app=webapp,role=backend so that we can target it with a network policy in the next section:
kubectl run backend --image=nginx --labels app=webapp,role=backend --namespace test --expose --port 80 --generator=run-pod/v1
- Next, create another pod and attach a terminal session to it, to test that we can reach the NGINX webpage:
kubectl run --rm -it --image=alpine network-policy --namespace test --generator=run-pod/v1
- At the command prompt, run the following command to try and get the webpage from the other pod. The output should be the HTML of the NGINX pod.
wget -qO- http://backend
- Run the exit command to stop the terminal session
# Deny all traffic
- Remember that by default, all traffic is allowed. So, before we can allow specific network traffic between the pods, we have to create a network policy that denies all traffic. To do this, we start by creating a file that contains YAML code that defines the network policy. Create a new file on your computer called backend-policy.yaml and paste the following code into the file. This denies all inbound (ingress) traffic to the pod, because there are no rules defined for ingress.
kind: NetworkPolicy
apiVersion: networking.k8s.io/v1
metadata:
  name: backend-policy
  namespace: test
spec:
  podSelector:
    matchLabels:
      app: webapp
      role: backend
  ingress: []
2
3
4
5
6
7
8
9
10
11
- In the Azure Cloud Shell, upload the network policy document by clicking the Upload/Download files button and selecting the document

(Upload files in the Azure Cloud Shell)
- Now apply the network policy by running this command:
kubectl apply -f backend-policy.yaml
# Test that all traffic is denied
- Let's test the network policy. Run the following code to create another pod and attach a terminal to it:
kubectl run --rm -it --image=alpine network-policy --namespace test --generator=run-pod/v1
- Now run wget again to try and get the NGINX webpage. This command should result in wget: download timed out
wget -qO- --timeout=2 http://backend
- Exit out of the terminal by running the exit command
# Allow specific traffic
Now that all traffic is denied, we can start allowing specific traffic.
- Edit the backend-policy.yaml and paste the following, new code in. This only allows ingress traffic to pods that match the labels app:webapp and role: frontend
kind: NetworkPolicy
apiVersion: networking.k8s.io/v1
metadata:
  name: backend-policy
  namespace: test
spec:
  podSelector:
    matchLabels:
      app: webapp
      role: backend
  ingress:
  - from:
    - namespaceSelector: {}
      podSelector:
        matchLabels:
          app: webapp
          role: frontend
2
3
4
5
6
7
8
9
10
11
12
13
14
15
16
17
- Upload the new version of the file to the Azure Cloud Shell
- Apply the new policy by running the following code:
kubectl apply -f backend-policy.yaml
- Now run a pod that has the labels app=webapp,role=frontend and attach a terminal session with the following code:
kubectl run --rm -it frontend --image=alpine --labels app=webapp,role=frontend --namespace test --generator=run-pod/v1
- Test if we can get the HTML of the NGINX webpage with the wget command. This should work as the pod that we are using has the labels that are allowed by the network policy:
wget -qO- http://backend
- It works! Now exit the terminal by running the exit command
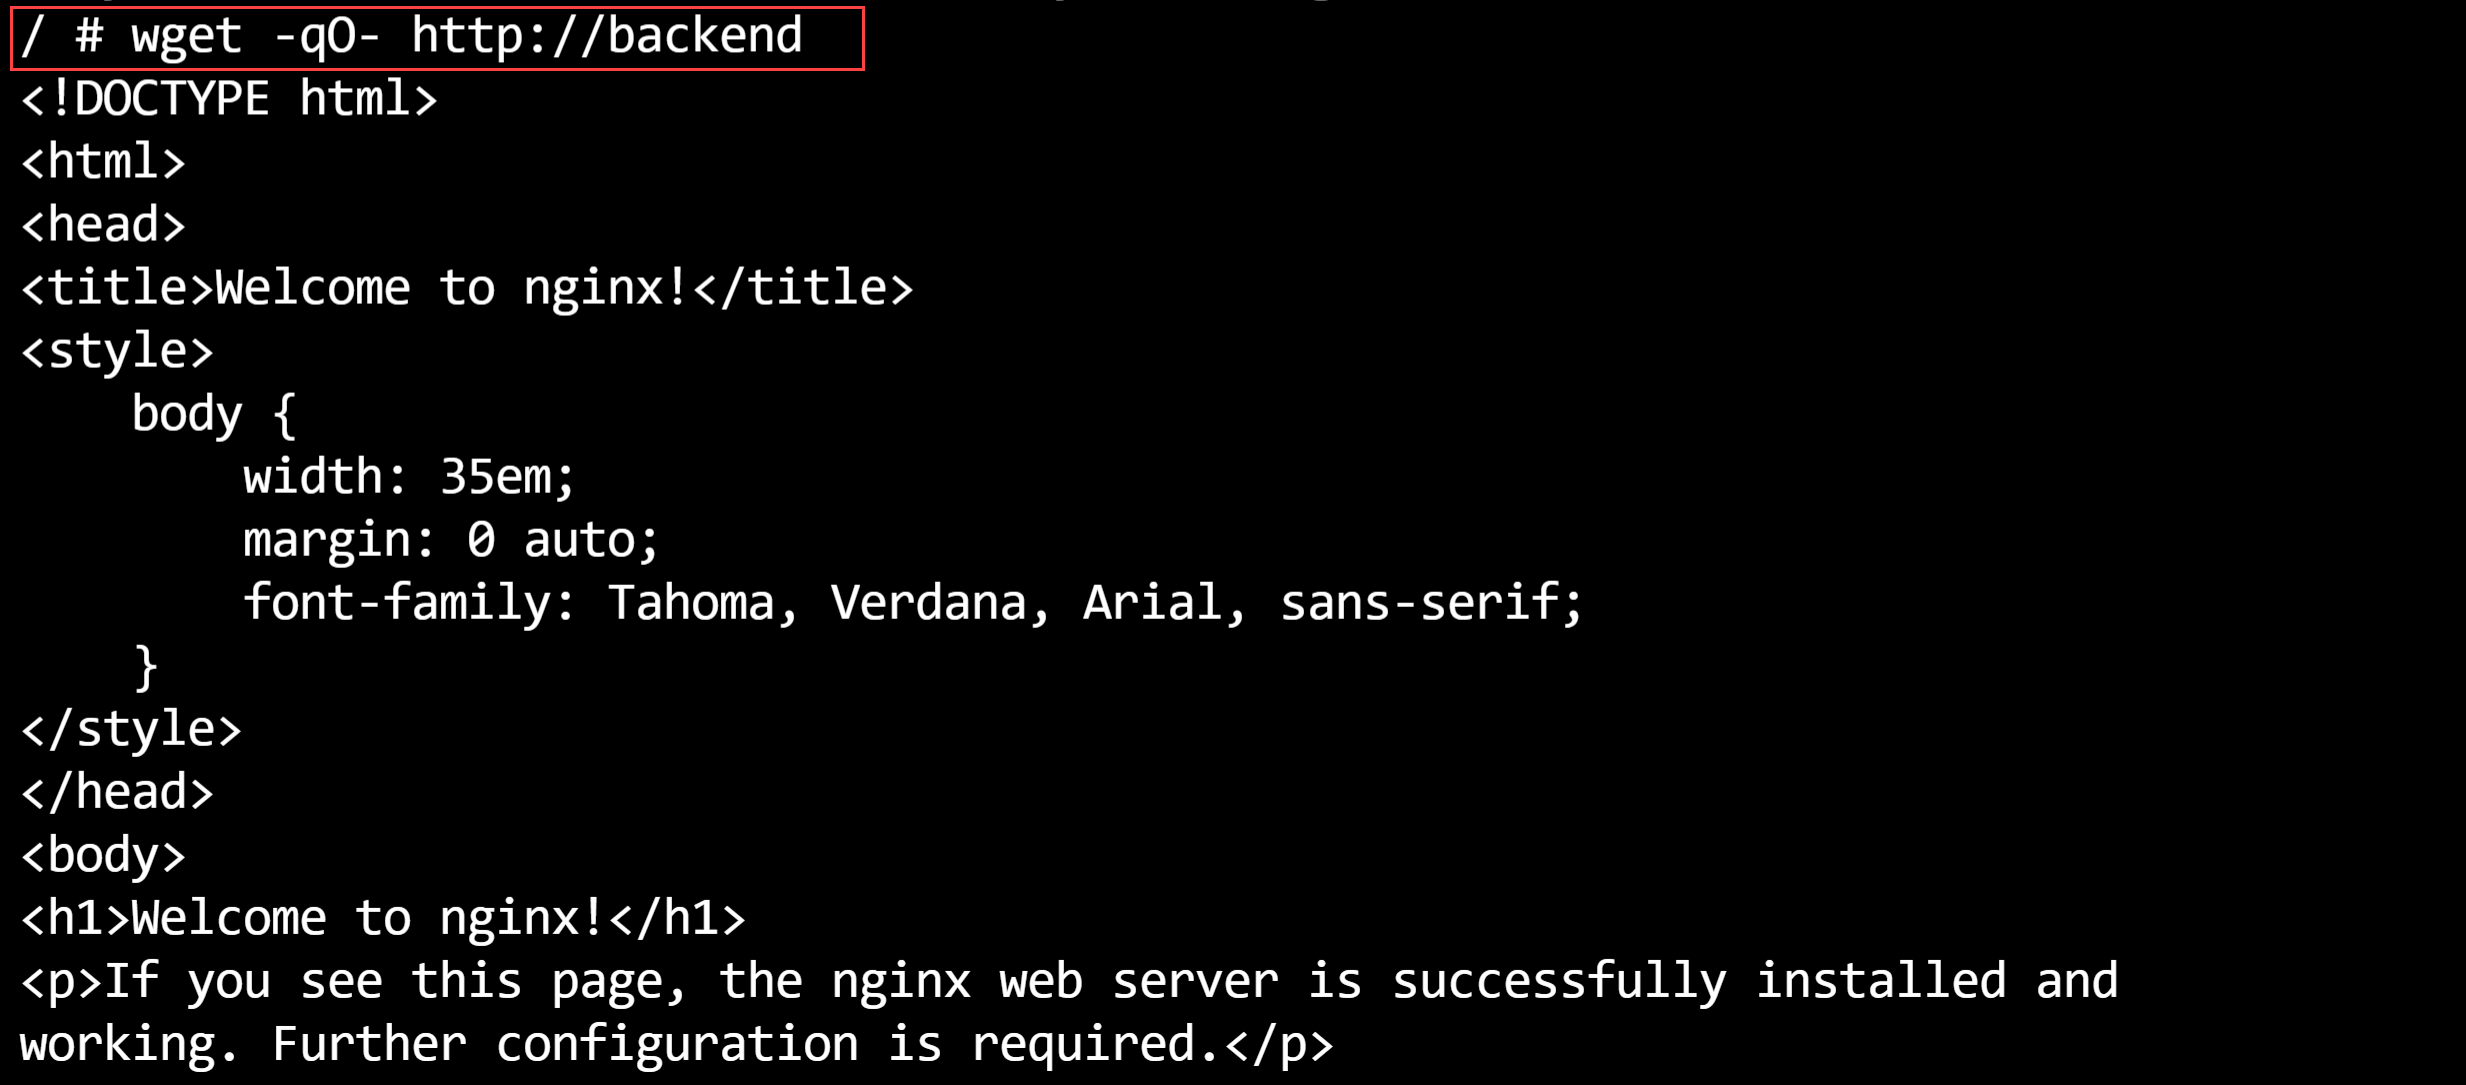
(Successful get of the NGINX webpage in the Azure Cloud Shell)
- Let's see if the network policy actually works. Let's create a pod that doesn't have the allowed labels and get the webpage from there:
kubectl run --rm -it --image=alpine network-policy --namespace test --generator=run-pod/v1

wget -qO- --timeout=2 http://backend
2
3
This doesn't work and times out. This means that the network policy is working.

(Failed get of the NGINX webpage in the Azure Cloud Shell)
- Exit the terminal with the exit command
# Conclusion
Securing traffic between components in your Kubernetes cluster is very important, especially when you are running a cluster in production. With the Azure (opens new window) and Calico (opens new window) network policies that AKS can use out-of-the-box, you can apply advanced security rules to control your traffic. Go and check it out!