
TIP
🔥 🔥 Download the FREE Azure Developer Guide eBook here (opens new window).
💡 Learn more : How Bridge to Kubernetes works (opens new window).
📺 Watch the video : How to debug and run code locally with Bridge to Kubernetes for VS Code (opens new window).
# How to debug and run code locally with Bridge to Kubernetes for VS Code
# Troubleshoot complex container solutions
You can use containers to run complex solutions that consist of multiple services, like an HTTP server, a database and a cache. To manage these containers, you can use Kubernetes as an orchestrator. In Azure, you would use Azure Kubernetes Service (opens new window) for this. Troubleshooting applications in such a complex solution seems difficult, but Bridge to Kubernetes (opens new window) can help. Bridge to Kubernetes allows you to run and debug code on your development computer for an application that runs in your Kubernetes cluster.
In this post, we'll use Bridge to Kubernetes (opens new window) in VS Code (opens new window) to debug a sample application that runs in Azure Kubernetes Service (opens new window).
# Prerequisites
If you want to follow along, you'll need the following:
- An Azure subscription (If you don't have an Azure subscription, create a free account (opens new window) before you begin)
- The latest version of VS Code (opens new window)
- An existing Azure Kubernetes Service cluster with a sample application running in it. You can follow this tutorial (opens new window) to set it up
- The latest version of Python (opens new window). You'll need this to debug the sample application (opens new window)
# Use Bridge to Kubernetes
This tutorial assumes that you have an Azure Kubernetes Service that is running the sample voting application (opens new window). This application has a frontend and backend, and you can find its source code here (opens new window).
We'll start by installing the Bridge to Kubernetes extension (opens new window) in VS Code.
- Open VS Code and open the folder with the source code of the sample application (opens new window)
- Click on the Extensions menu
- Search for "Bridge to Kubernetes". Select the result and click Install
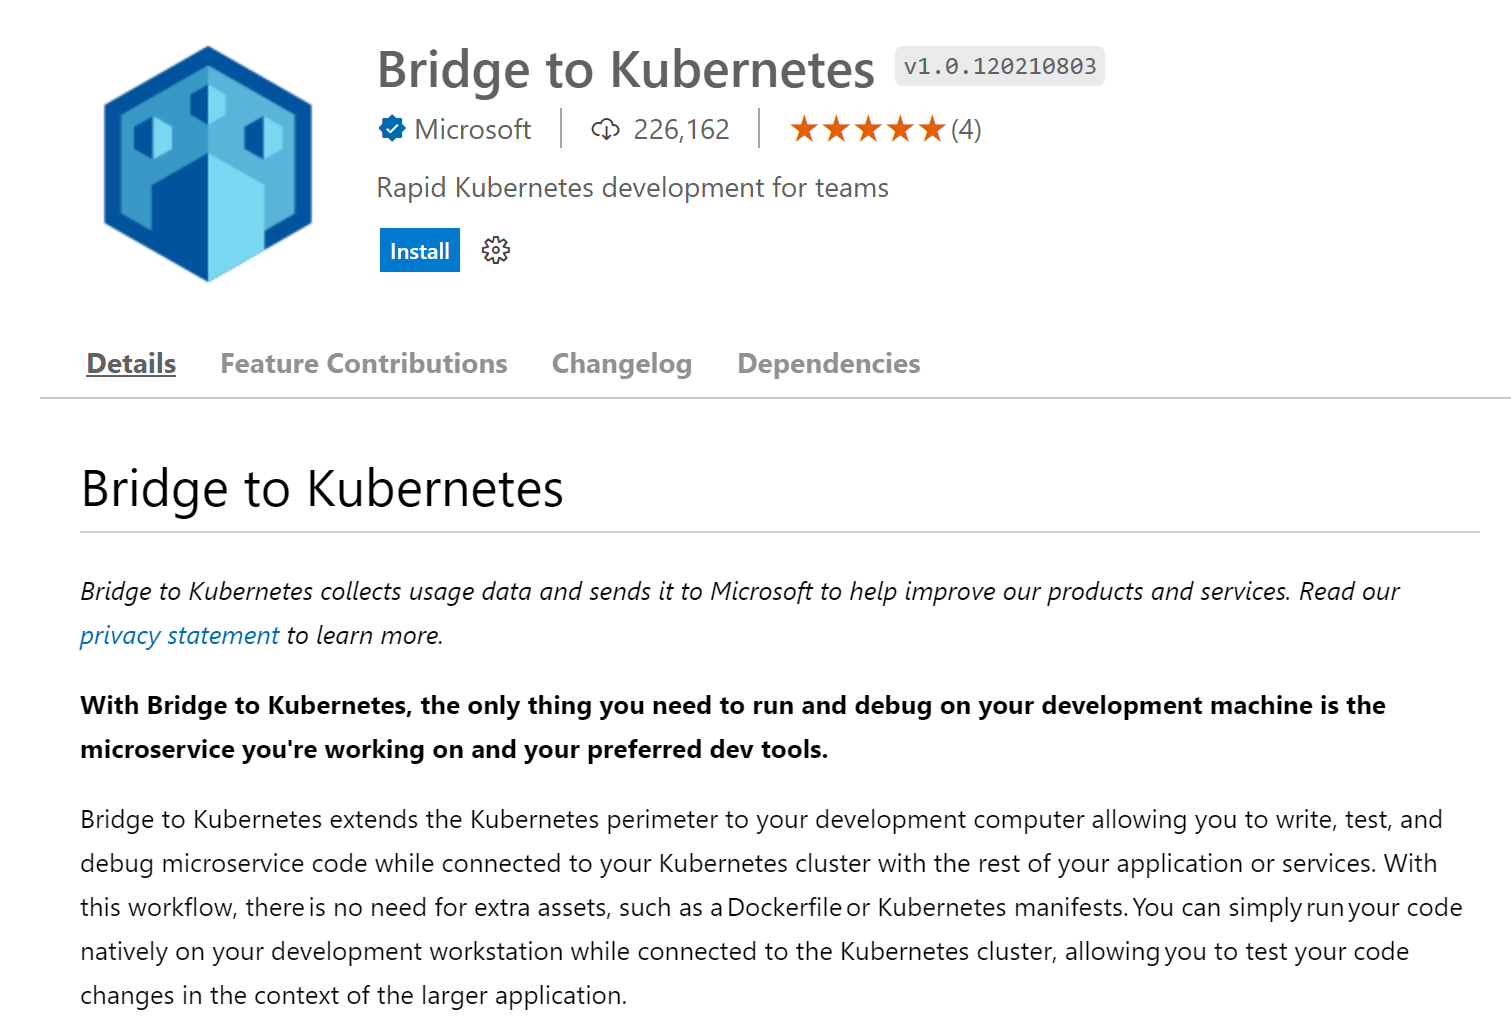
(Bridge to Kubernetes extension for VS Code)
- You might see messages in VS Code that tell you to install dependencies like the YAML extension and Kubectl. Install the dependencies that it asks for
- Assuming that you didn't connect your local development environment to AKS yet, VS Code will prompt you to "Set the current cluster and name". Click on the message, which will take you to the Kubernetes menu
- In the Clouds section of the Kubernetes menu, you'll see Azure. When you sign into your Azure account, you will see your AKS cluster. Right-click on it and select "Merge into Kubeconfig". Your local environment can now connect to the AKS cluster
- In VS Code, click the View menu and Command Palette
- In the Command Palette, type Bridge to Kubernetes and select "Bridge to Kubernetes: Configure" to set it up

(Configure Bridge to Kubernetes in VS Code)
- Next, choose the azure-vote-front service to redirect to your machine. This is the frontend of the sample application

(Redirect traffic from the frontend to your local machine)
- Enter a local port to redirect the traffic to, like 80
- And next, click "+ Create a new launch configuration"
- Select Python
- And select "Python file Debug the current active Python file". This creates a launch.json file, which you need for debugging in VS Code
- Finally, pick No for the question "Isolate your local version of azure-vote-front from other developers?". This will redirect all the traffic for the frontend to your local machine which is okay, as you are the only developer working on it right now
That's it! Let's start debugging the app.
- In the sample app in VS Code, open the azure-vote folder and open the main.py file
- Now click on the Run and Debug menu on the left
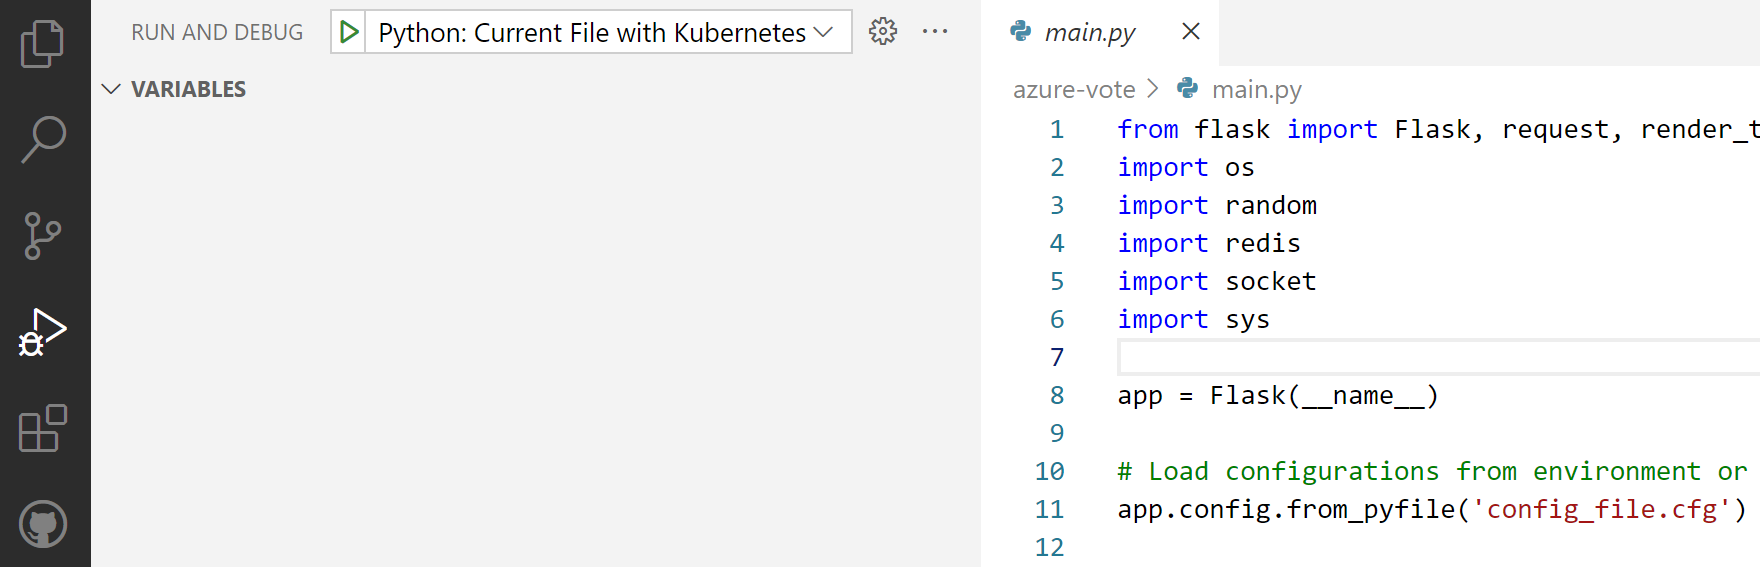
(Debug in VS Code)
- Click on the Run and Debug configuration "Python: Current File with Kubernetes". This will start debugging. As you are using Bridge to Kubernetes, all traffic that flows to the frontend will be redirected to your local machine. This will open a browser with the frontend running in it
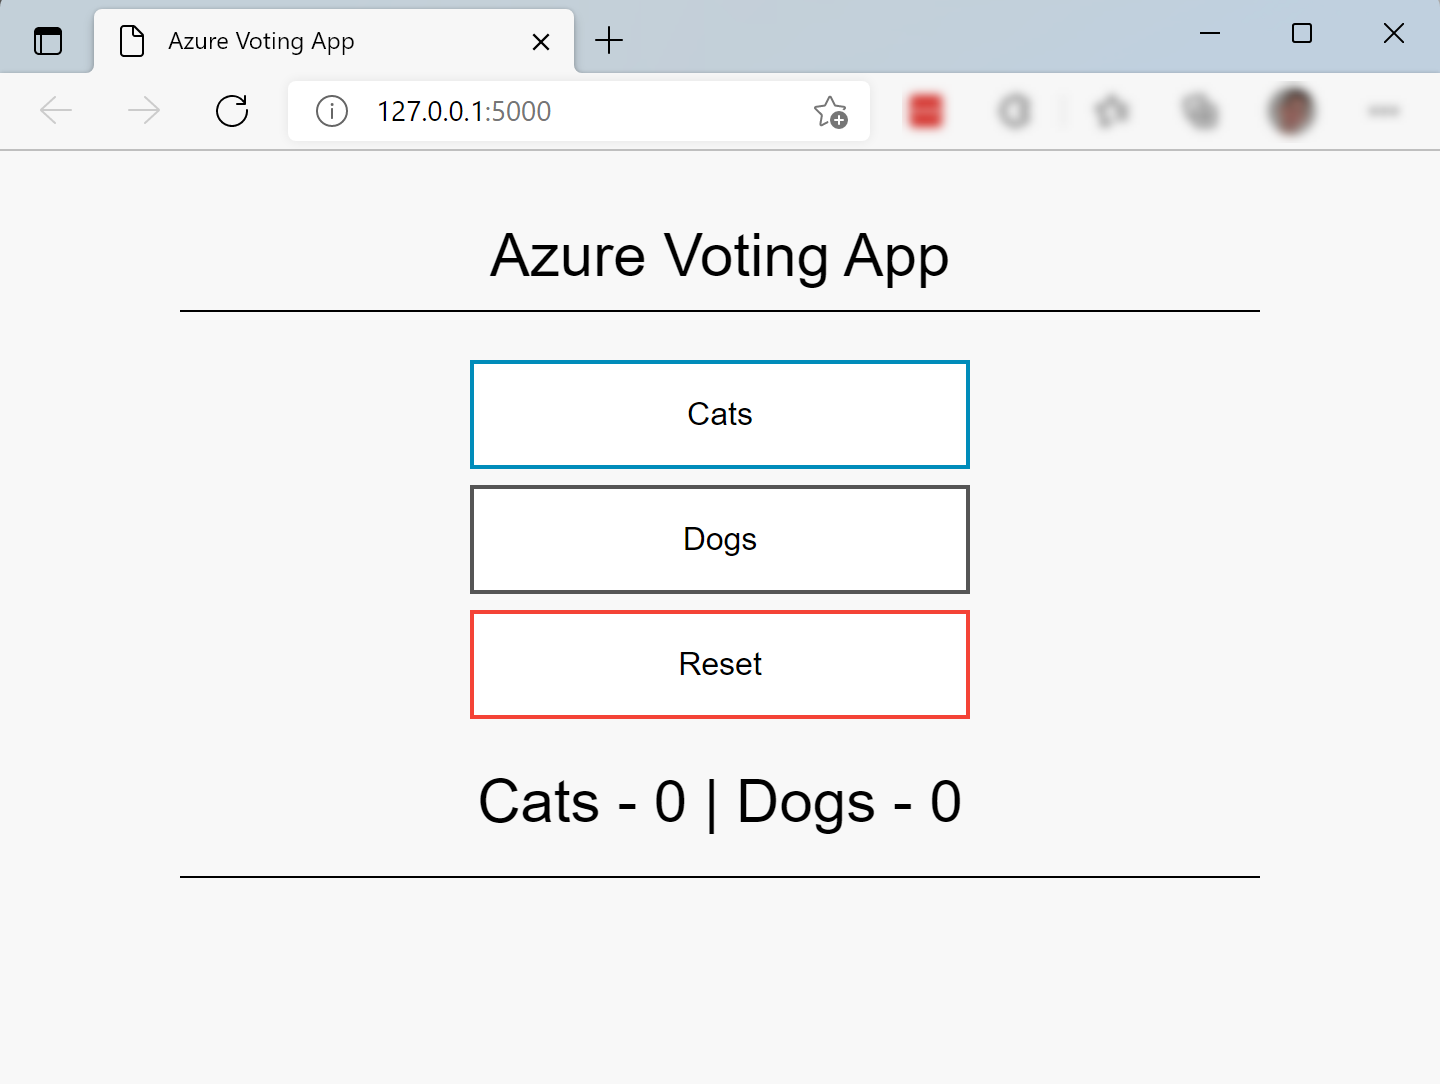
(The sample app, redirected to the local machine)
- In main.py, set a breakpoint at line 77 "vote = request.form['vote']"
- In the browser, click one of the voting buttons. This should trigger the breakpoint and allow you to debug the application, which is still running in the AKS cluster
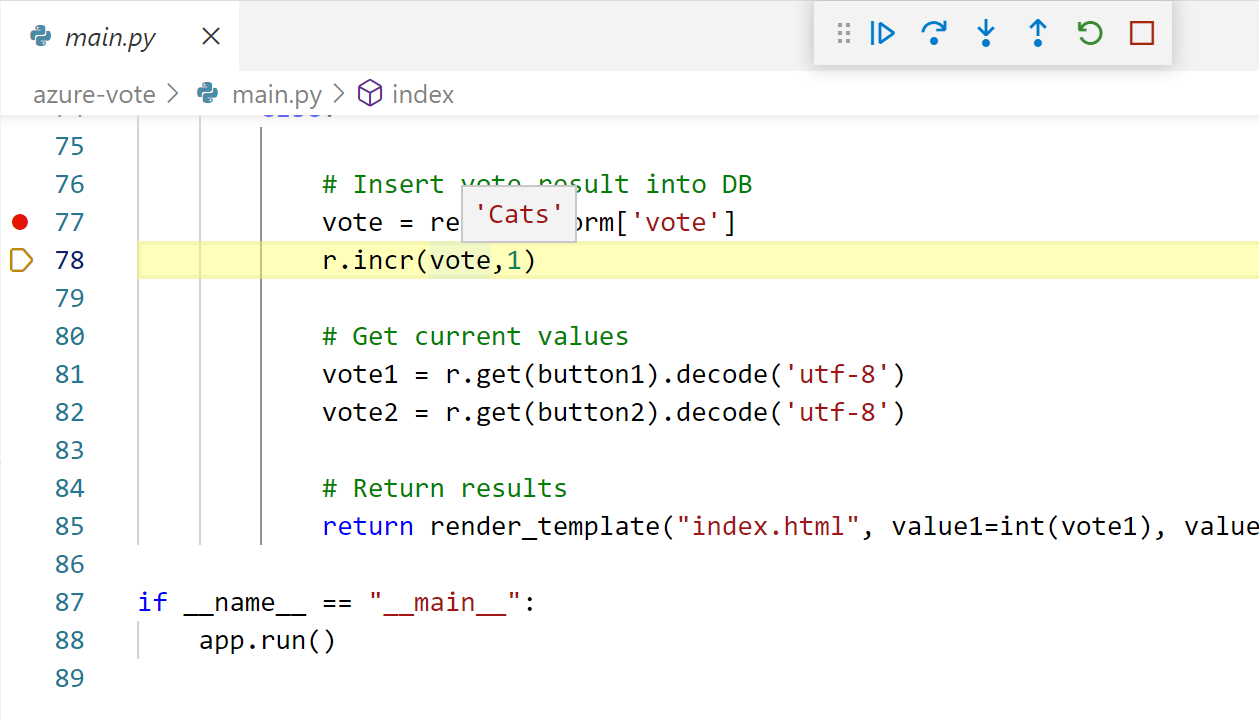
(Debugging the app locally)
# Conclusion
Bridge to Kubernetes (opens new window) makes it easy to debug code that runs in a Kubernetes cluster. It is easy to use with the VS Code extension (opens new window). You can use it alone or with a team of developers (opens new window) and configure it (opens new window) when needed. Go and check it out!