
TIP
🔥 Make sure you star the repo (opens new window) to keep up to date with new tips and tricks.
💡 Learn more : What is the Microsoft Power Platform CLI? (opens new window).
📺 Watch the video : How to work with your Power Apps directly from Visual Studio Code (opens new window).
# How to work with your Power Apps directly from Visual Studio Code
# Business users can rapidly develop applications
The Microsoft Power Platform (opens new window) enables businesses to create applications by dragging and dropping UI elements, and connecting those to data sources using the Power Apps Studio (opens new window). This facilitates rapid application development by business users, without the need for software developers. This is great for some applications, and often serves as a starting point for more advanced applications.
When business users need more complex functionality, developers can augment Power Apps by customizing code and introducing custom data connections. As developers are most productive in their native environments, like VS Code (opens new window), they can now work on Power Apps through the Power Platform VS Code Extension (opens new window).
In this post, we'll use the Power Platform VS Code Extension to change a Power Apps Portal (opens new window) application.
# Prerequisites
If you want to follow along, you'll need the following:
- The latest version of VS Code (opens new window)
- A Microsoft Power Apps account. Create one here for free (opens new window)
# Changing a Power Apps portal application in VS Code
The Power Platform offers several different application formats. One is Power Apps portals, which allows you to easily create and maintain a web-based application. We'll start by creating a Power Apps portal.
- Go to the Power Apps portal (opens new window)
- On the home page, click Make your own app > Portal from blank. This opens the Portal from blank page
- Type in a Name
- Fill in an Address. You use this to navigate to the portal website
- Select the portal Language
- Click Create. It can take several minutes for the portal to be ready
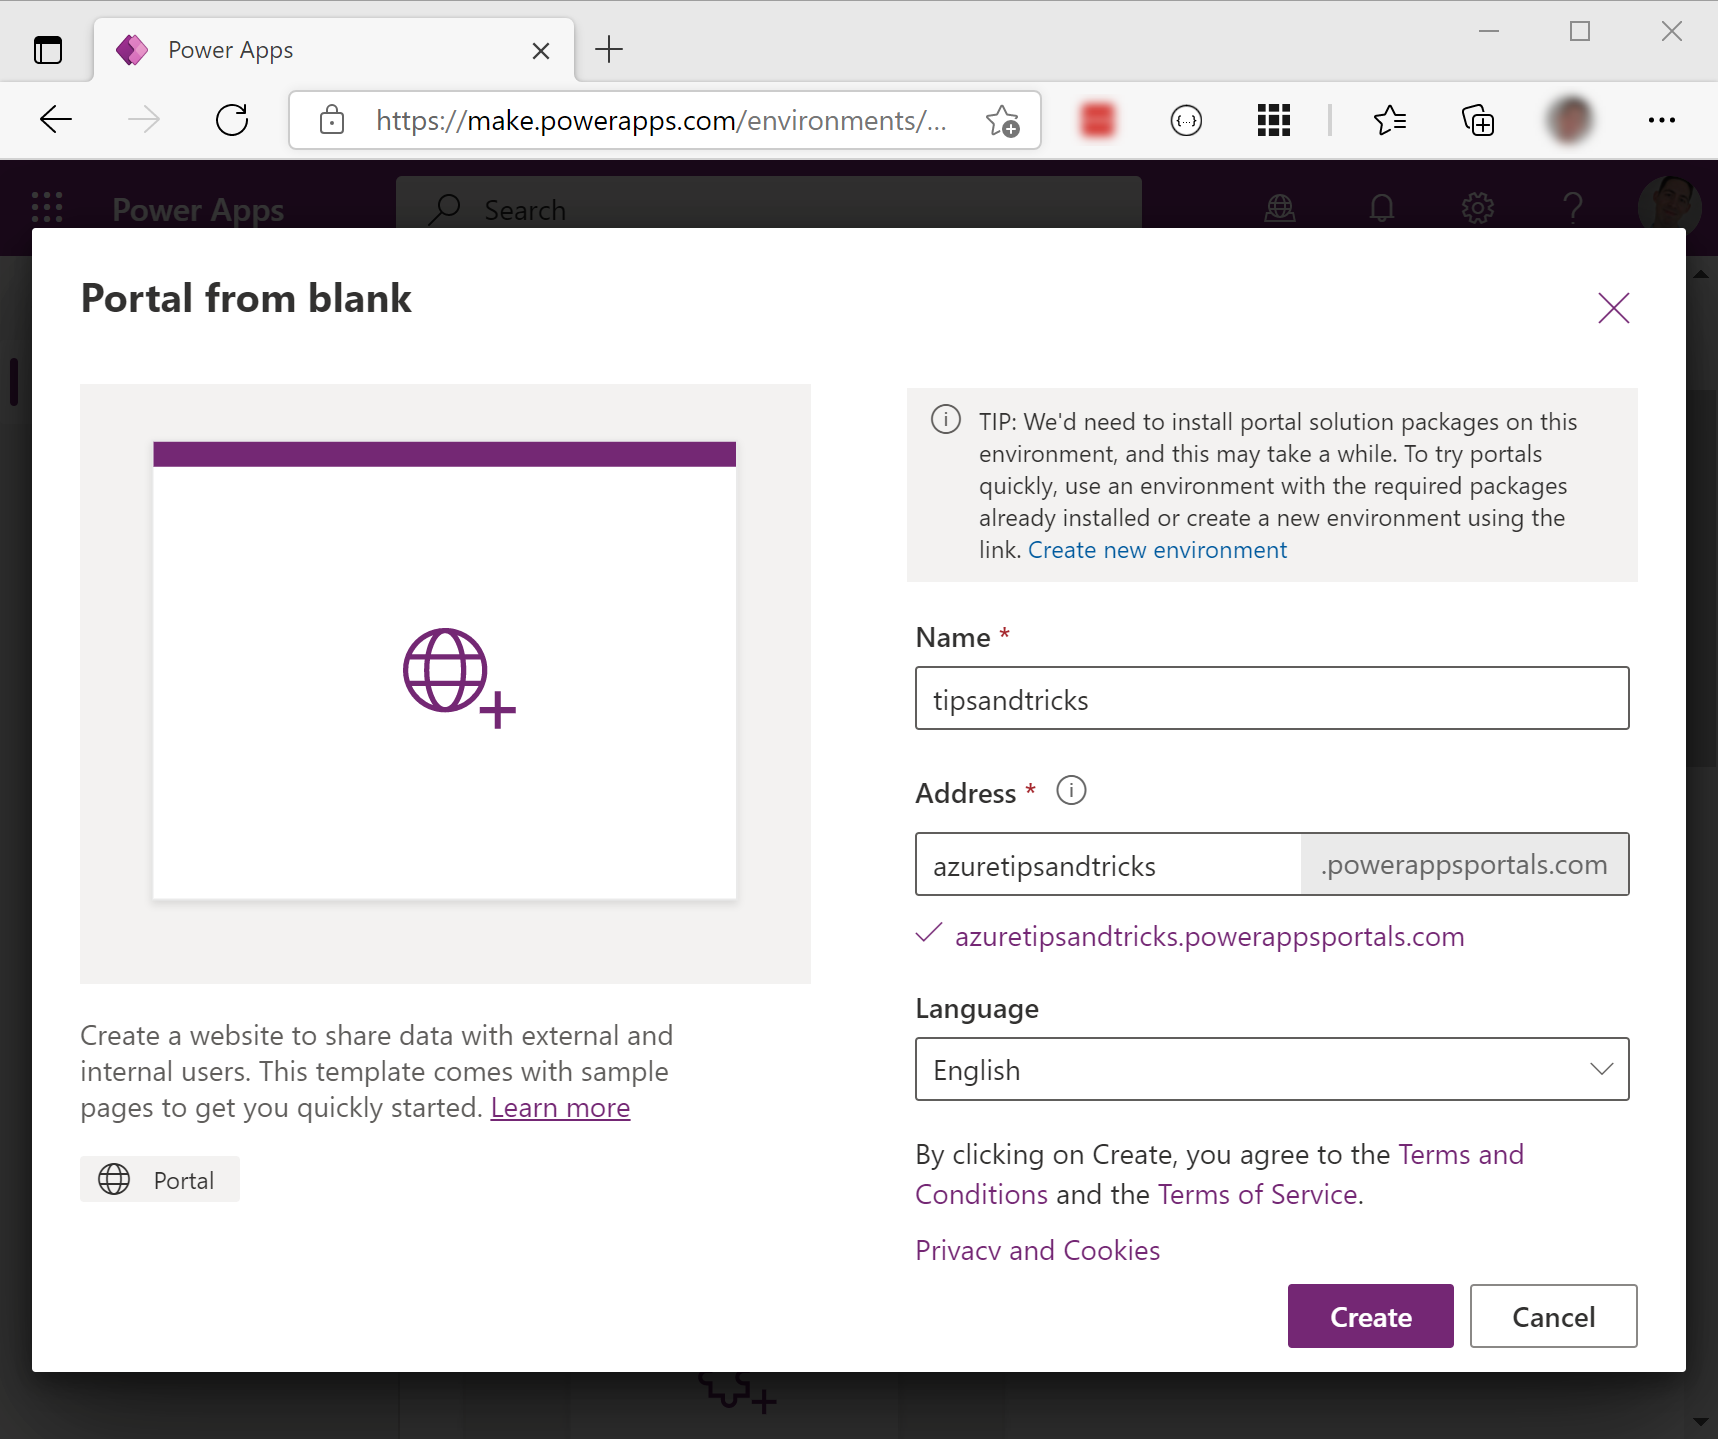
(Create a Power Apps portal)
You'll receive an email notification when the portal is ready. Once it is, you can navigate to it from the Power Apps portal home page. From there, you can edit the HTML, CSS and other aspects of the portal app. This is great for business users that can edit the portal app without the need for software development knowledge.
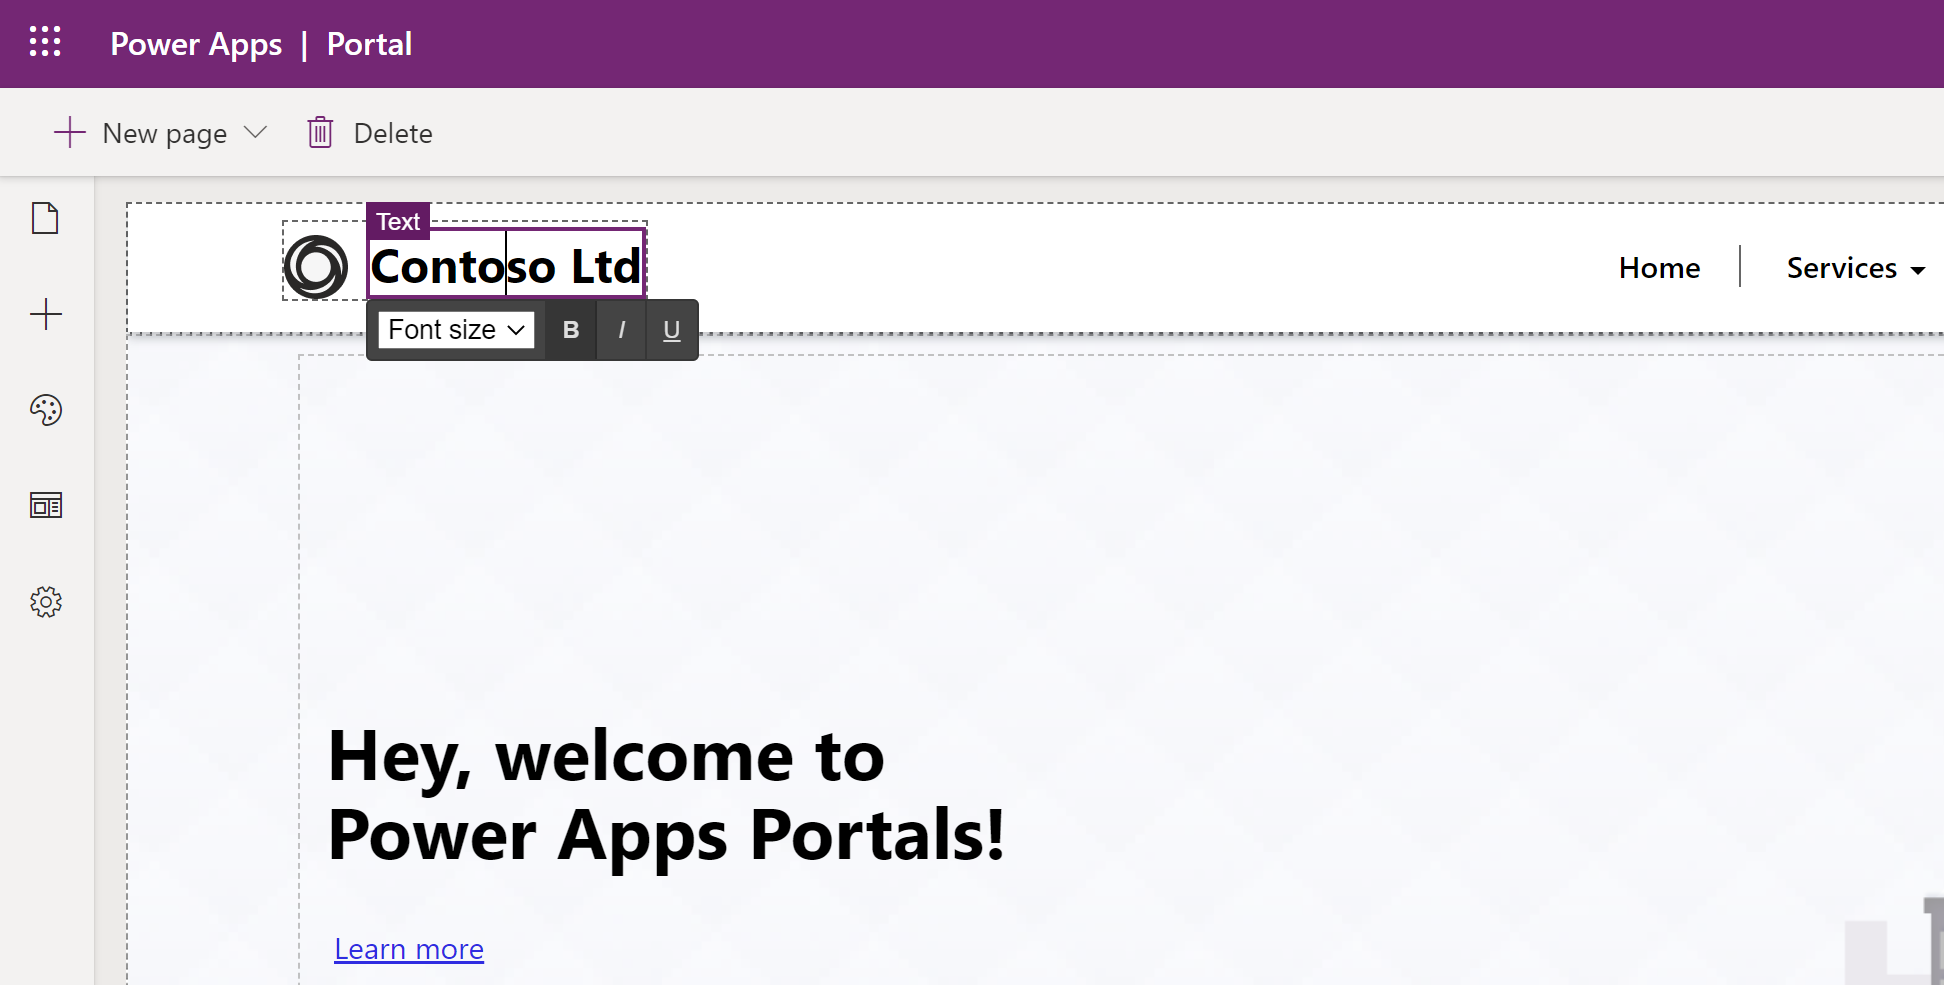
(Edit the portal application)
- In the portal editing experience, navigate to the settings menu on the left (the gear icon)
- Click "View more settings" to go to the admin center
- Copy the first part of the admin center URL. This is something like http://[yourorganization].crm4.dynamics.com. We'll need this info later on
Let's switch to VS Code to edit the portal app.
- Open VS Code
- Go to the Extensions menu
- Search for Power Platform VS Code Extension and click Install. This installs the extension
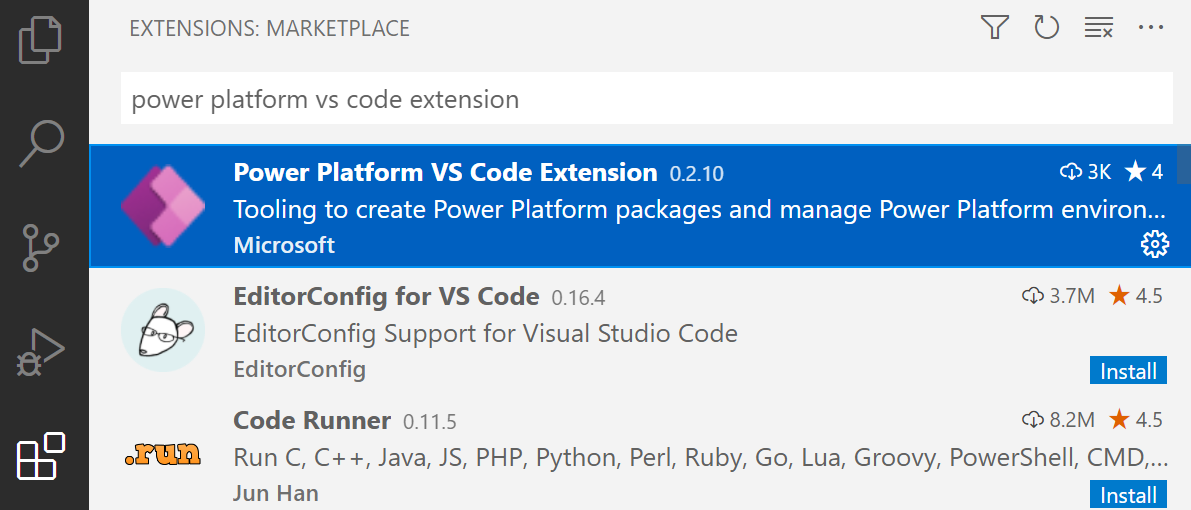
(Install the Power Platform VS Code Extension)
The Power Platform VS Code Extension enables you to develop Power Platform applications, including portal apps. It offers IntelliSense autocomplete, the Power Platform CLI (opens new window), and more. We'll use the Power platform CLI to download and upload the portal app.
- In VS Code, open the terminal window. In here, you can now use the pac command from the Power platform CLI. Type pac help to see what it can do
- To get started, we need to authenticate against a Microsoft Dataverse environment. Use the following command below, and use the Dataverse URL that we copied before. This will prompt you to log in with your Power Platform account
pac auth create -u https://org092fbc12.crm4.dynamics.com/
- Next, list the portal applications that you have in your environment with this command:
pac paportal list
- Now use the ID of the portal app from the previous command to download the contents of the portal app:
pac paportal download --path D:\pac -id f46b70cc-580b-4f1a-87c3-41deb48eb90d
- Open the portal app in VS Code. The folder name of your portal app will be different, so you should look it up in your file explorer
code -r D:\pac\starter-portal
- That's it. The portal app is now open in VS Code. This enables us to use all of the IDE tools that VS Code offers, including IntelliSense. Navigate to one of the HTML pages, and click the Preview icon on the top-right to see it in action. Now change some of the HTML and save the file
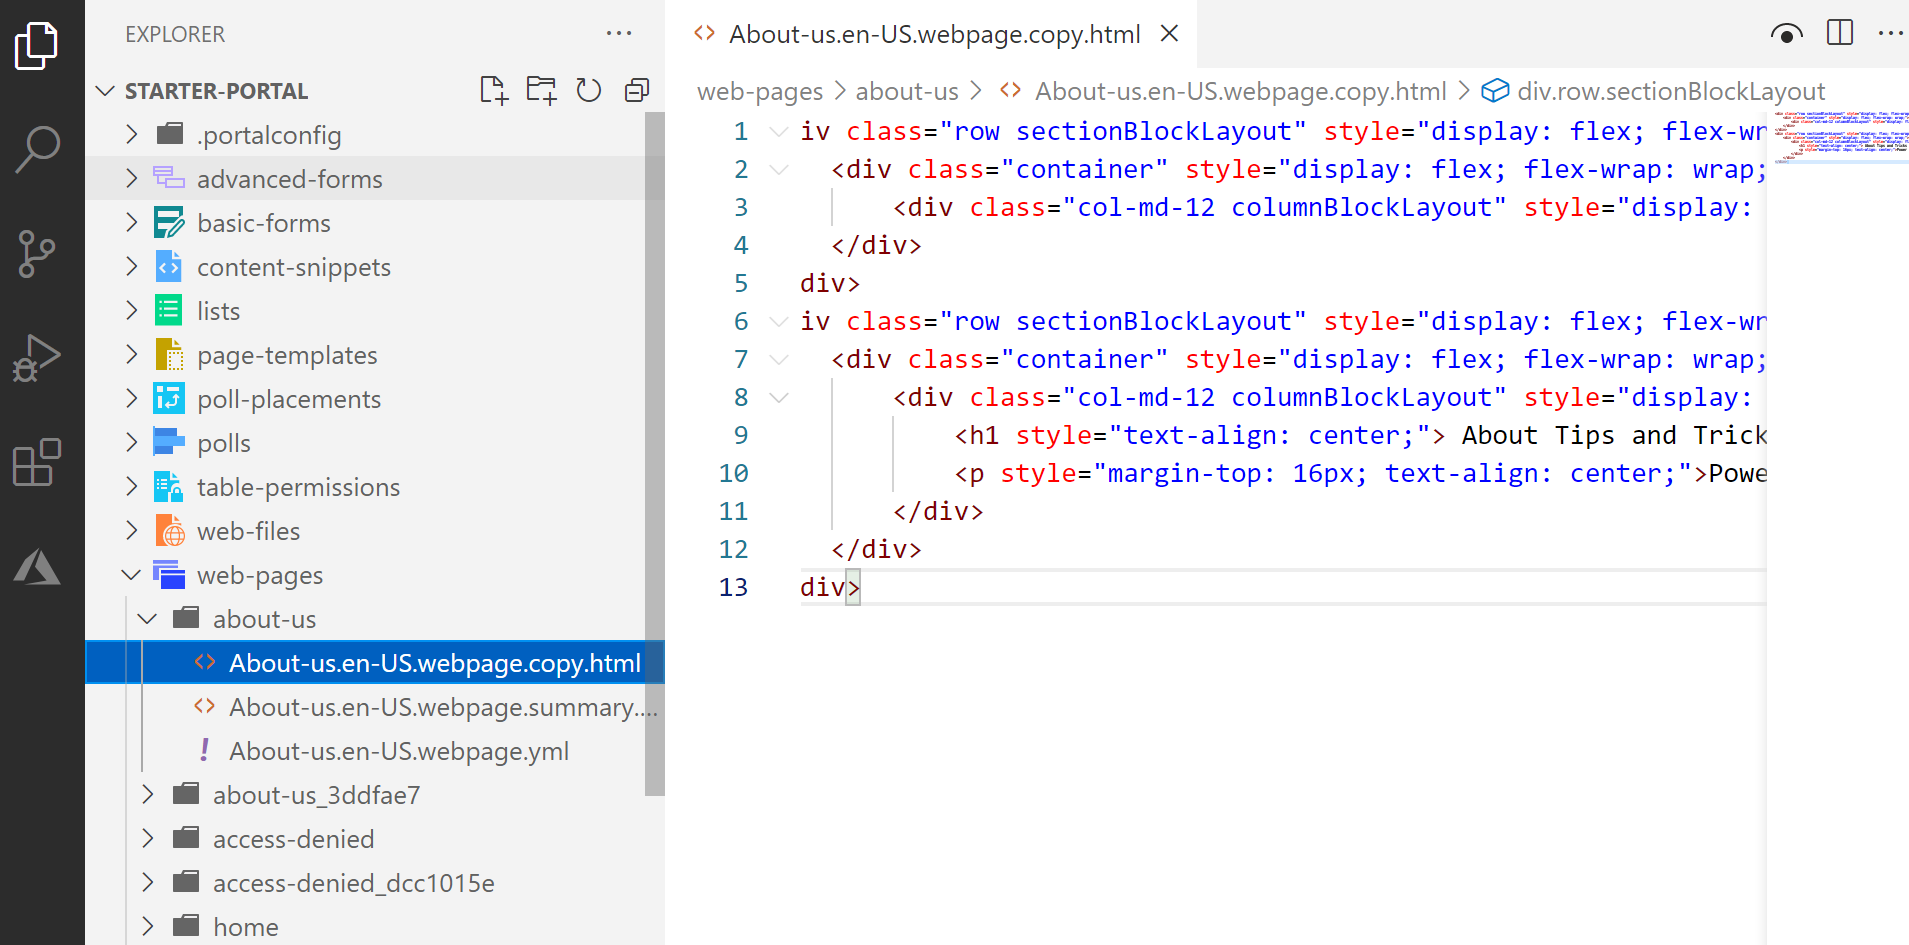
(Edit portal application files in VS Code)
- Now that we changed the app, we can upload it back to the Power Platform. Use the following command for that:
pac paportal upload --path D:\pac\starter-portal\
That's it! The changes that we've made are now live and can be seen when you use the portal website.

(The portal website in action)
# Conclusion
The Microsoft Power Platform (opens new window) enables business users to create applications with the Power Apps Studio (opens new window). And now, with the Power Platform VS Code Extension (opens new window), software developers can work on the same Power Apps, to extend and customize them. Go and check it out.