TIP
🔥 Help shape the future of Azure Tips and Tricks by telling what you'd like for us to write about here (opens new window).
💡 Learn more : API Management overview (opens new window).
📺 Watch the video : How to use Azure API Management from VS Code (opens new window).
# How to use Azure API Management from VS Code
# Expose APIs on your terms
When you expose an API that other people use, you want full control over who uses it and how they use it. You can use Azure API Management (opens new window) for that. You import API definitions into Azure API Management and create a facade API that users communicate with. This allows you to create products (opens new window) for your API, and monitor and manage API usage and access with policies (opens new window). API Management also enables you to manage versions (opens new window) of your API. It also allows you to design the API methods (opens new window) and documentation that you expose, so that it works for your users, regardless of what the original API looks like. And you can run API Management in several usage tiers (opens new window), including a consumption tier, which is billed per execution.
You typically manage Azure API Management through the Azure portal. And now, there is a new Visual Studio Code Extension for Azure API Management (opens new window) that enables you to do everything with API Management, straight from your development environment. In this post, we'll explore the Azure API Management extension for VS Code.
# Prerequisites
If you want to follow along, you'll need the following:
- An Azure subscription (If you don't have an Azure subscription, create a free account (opens new window) before you begin)
- The latest version of VS Code (opens new window)
# Use Azure API Management from Visual Studio Code
Let's try out the Azure API Management extension for VS Code.
- Open VS Code
- Navigate to the Extensions menu
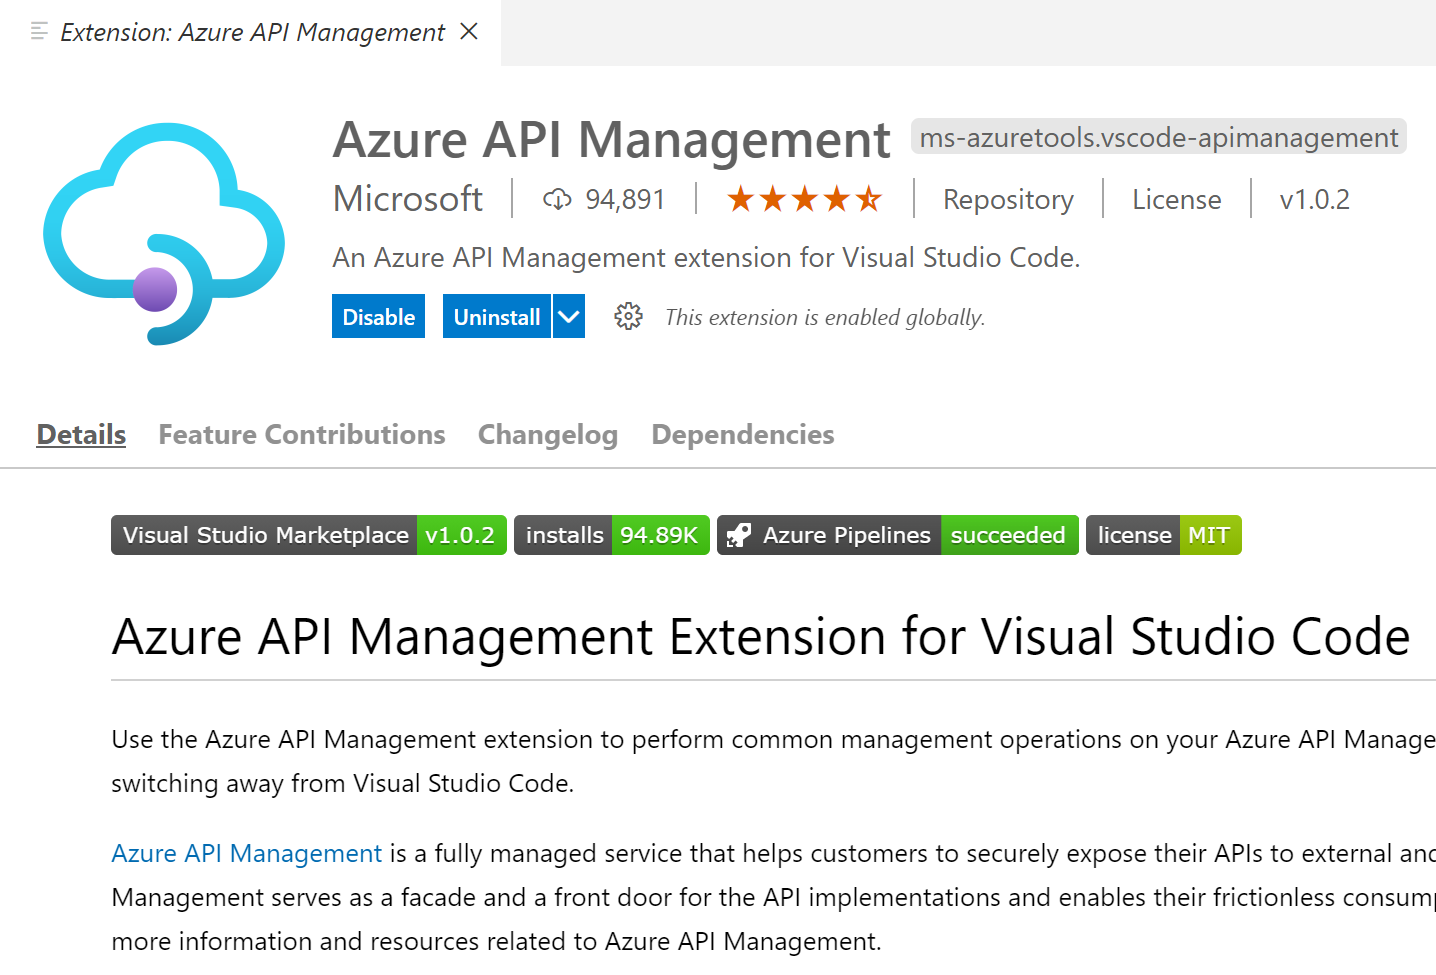
- Search for the "Azure API Management Extension" and select the result
- Click install to install the extension

(Azure API Management extension for VS Code)
- With the extension installed, you'll see an Azure menu item in VS Code. Navigate to it. If you aren't using any other Azure extensions yet, you might have to sign into Azure
- You can create an Azure API Management instance from VS Code. By default, the creation process will only ask for a name. And you can also change that to customize the creation. Let's do that. Go to the Settings menu of VS Code
- In Settings > Extensions > Azure API Management, check Azure API Management: Advanced Creation
- Go back to the Azure menu
- In the API Management Extension, right-click on your Azure subscription and select Create API Management in Azure
- Fill in a Name for the API Management instance
- Pick a usage tier. Consumption is fine
- Select a Resource Group
- Pick a Location
- Hit Enter to start creating the API Management instance

(Create API Management in VS Code)
When the API Management instance is created, we can import an API definition into it. This will create a facade that users can consume.
- Expand the API Management instance to see the APIs node
- Right-click on APIs and select Import from Azure Functions. You can also import an API from a URL like this sample API: https://conferenceapi.azurewebsites.net/?format=json
- Select your Azure Subscription
- Pick the Azure Function you'd like to use
- Select the API methods that you want to import
- And give the API facade a Name
- Hit Enter to import the API
When the API is imported, you can edit its facade definition. You can, for instance, change it to accept HTTP and HTTPS requests. And you can change its policy, or change the global policy that applies to all APIS. Let's change the API policy.
- Expand the node of the imported API. You'll see an Operations and Policy node
- Select the Policy node. This opens a cshtml file that describes the policy. Here, you can create an advanced policy that can do anything from changing HTTP headers to restricting the amount of API calls
- Change the outbound code for the policy into the code below. This adds an HTTP header called "Custom"
<outbound>
    <set-header name="Custom" exists-action="override">
            <value>"My custom value"</value>
    </set-header>
    <base />
</outbound>
2
3
4
5
6
- Save the policy file. VS Code will prompt you to upload the changes to API Management. Click Upload to do that
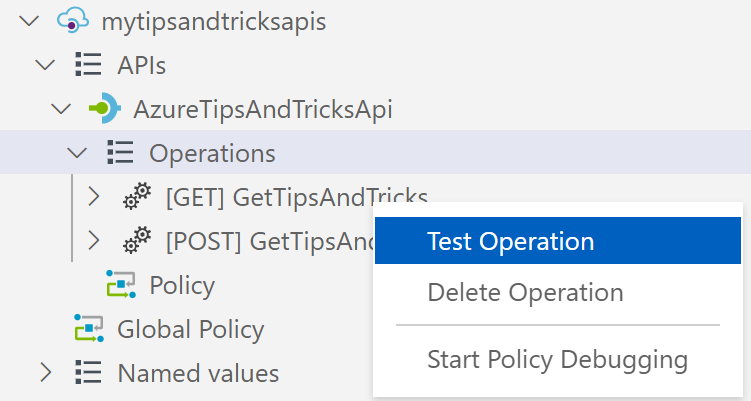
- Let's try it out. Expand the Operations node
- Right-click on the Operation that you want to test and select Test Operation. This opens a test file

(Test API operation in VS Code)
- As we are going to call an operation of the API Management facade, we need to add the API Management subscription key to the request. Right-click on the API Management instance and select Copy Subscription Key
- Paste the subscription key over the value NaN
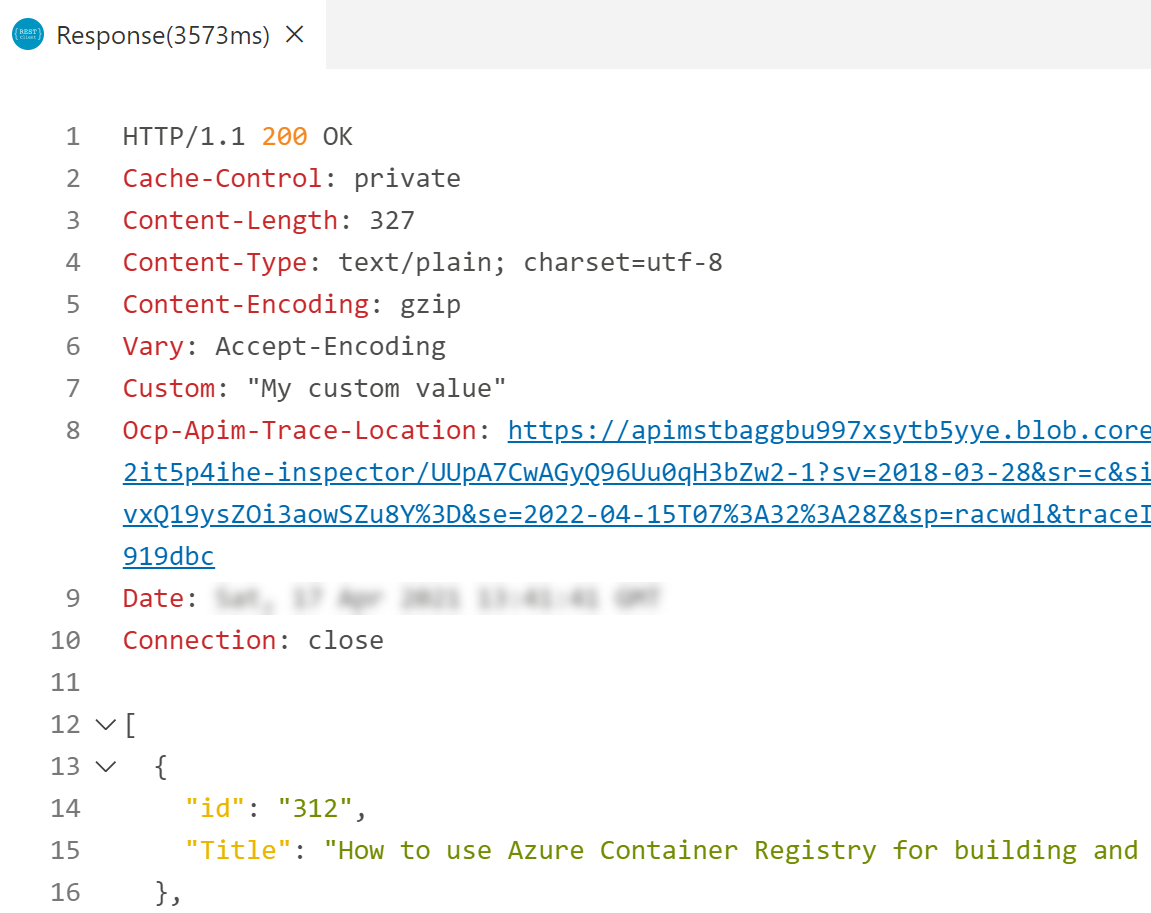
- Click Send request to test the operation. You'll get a response back, which includes the HTTP header called "Custom"

(API response in VS Code)
# Conclusion
Azure API Management (opens new window) is a powerful service that enables you to expose and manage APIs to customers. And now you can manage it without leaving VS Code (opens new window). Go and check it out!
