Task 01: Prepare the environment
Introduction
Establishing a Managed Instance link is crucial for Adatum Corporation to ensure high availability and disaster recovery for their eBook store, Adatum Books. This process involves creating an Azure SQL Managed Instance and verifying the deployment of an Azure SQL VM to enable replication between the on-premises SQL VM and the Azure SQL Managed Instance. This setup is essential for maintaining business continuity and preventing disruptions to their eBook shopping services.
Description
In this task, you’ll set up the environment for a Managed Instance link, enabling replication between SQL Server (on Windows or Linux) and an Azure SQL Managed Instance. You’ll create an Azure SQL Managed Instance, verify the deployment of an Azure SQL VM, and access the virtual machine to configure SQL Server settings.
Success criteria
- You successfully created an Azure SQL Managed Instance.
- You verified the deployment of an Azure SQL VM.
- You accessed the virtual machine and configured SQL Server settings.
- You enabled replication between the on-premises SQL VM and the Azure SQL Managed Instance.
- You ensured the setup supported high availability and disaster recovery for Adatum Corporation’s eBook store, Adatum Books.
Learning resources
- Prepare your environment for a link - Azure SQL Managed Instance
- Create an Azure SQL Managed Instance
- Verify the deployment of an Azure SQL VM
- SQL Server Configuration Manager
Key tasks
01: Create the target SQL managed instance
Expand this section to view the solution
-
Open Microsoft Edge, go to Azure Portal, then sign in with your lab credentials:
Item Value Username Your Azure usernamePassword Your Azure password -
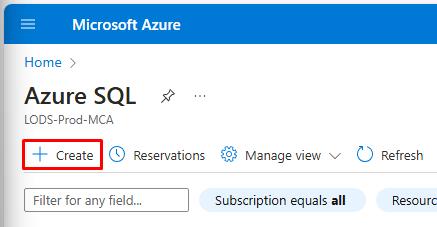
In the top global search bar, enter and select Azure SQL.

-
Select Create on the top command bar.
-
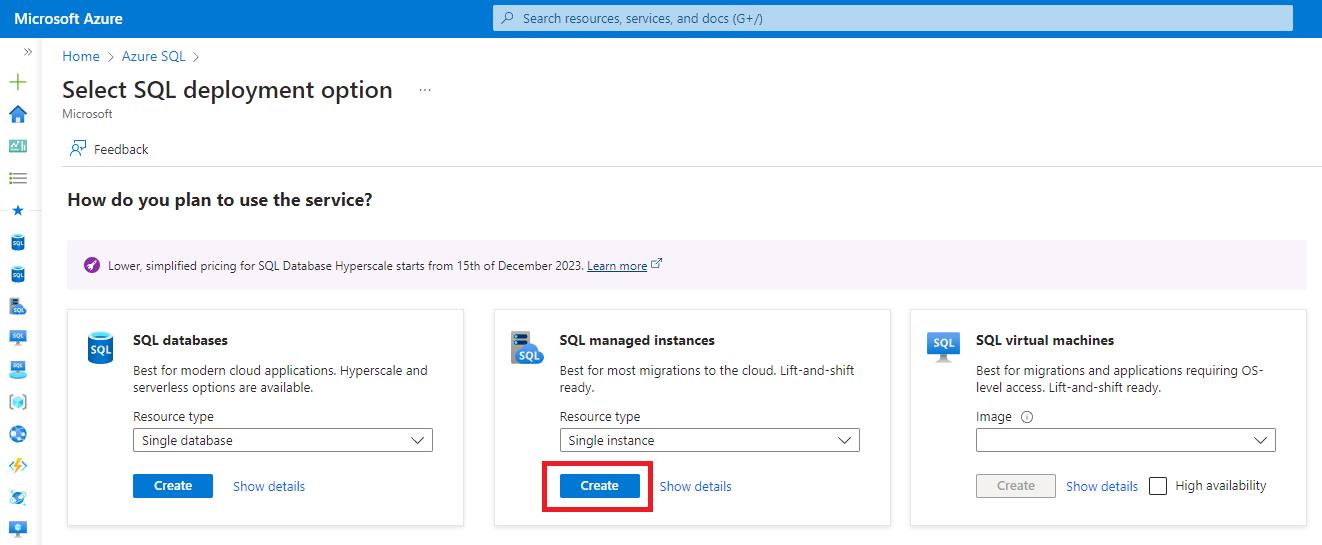
Under SQL managed instances, select Create.
-
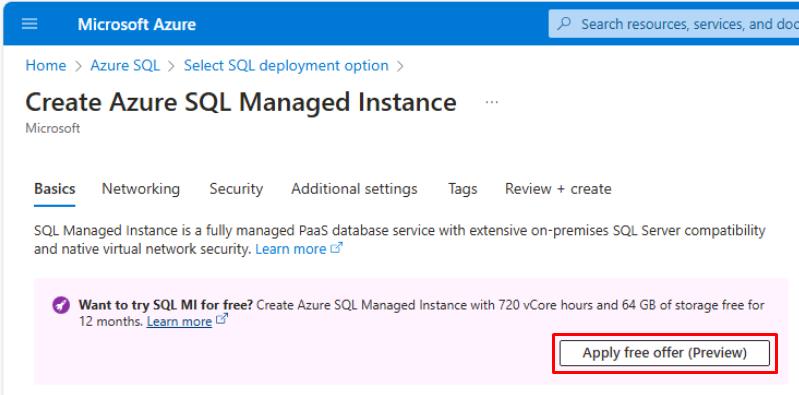
In the Want to try SQL MI for free? banner, select Apply free offer to use the free trial.
-
Use the following information to fill out the Basics tab:
Item Value Resource group your resource group name Region the Azure region of your resource group Authentication method Use SQL authentication Managed instance admin login MILab Password your Azure password (used for SQL/MI authentication) 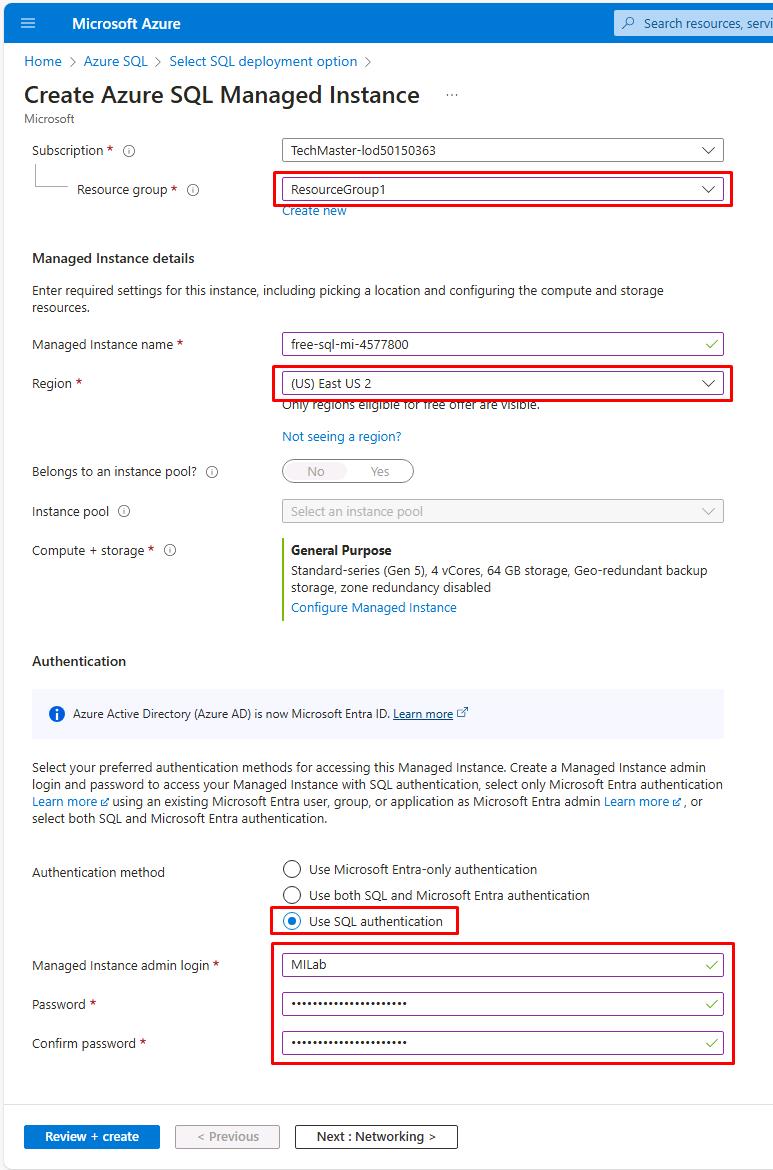
Region Code Portal UI eastus (US) East US eastus2 (US) East US 2 southcentralus (US) South Central US westus2 (US) West US 2 -
Select Next: Networking > at the bottom.
-
Select the Virtual network / subnet dropdown, then select the existing subnet: SQLMI-VNET/ManagedInstanceSubnet.

You’re using the same virtual network as the VM that’ll be the primary replica for the SQL database.
-
Next to Public endpoint (data), select Disable.
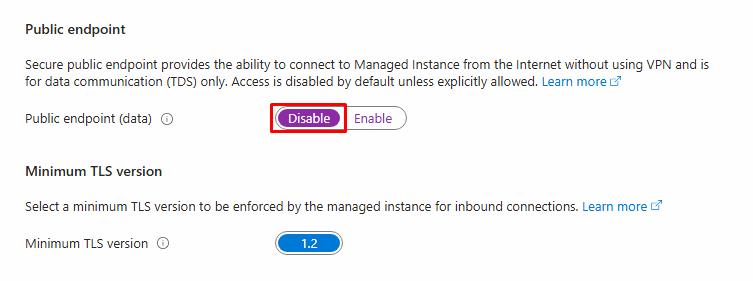
-
Select Review + create at the bottom to review the settings, but do not create.
Do not create. A Managed Instance with these configurations is already being deployed.
A Managed Instance may take up to 6 hours to deploy, unless it meets the various requirements for fast provisioning, which can take under 30 minutes.
02: Verify the Azure SQL VM deployment
Expand this section to view the solution
At the start of this lab, an Azure VM with the resources you’ll need for this exercise, began deployment. You’ll need to verify its completion.
-
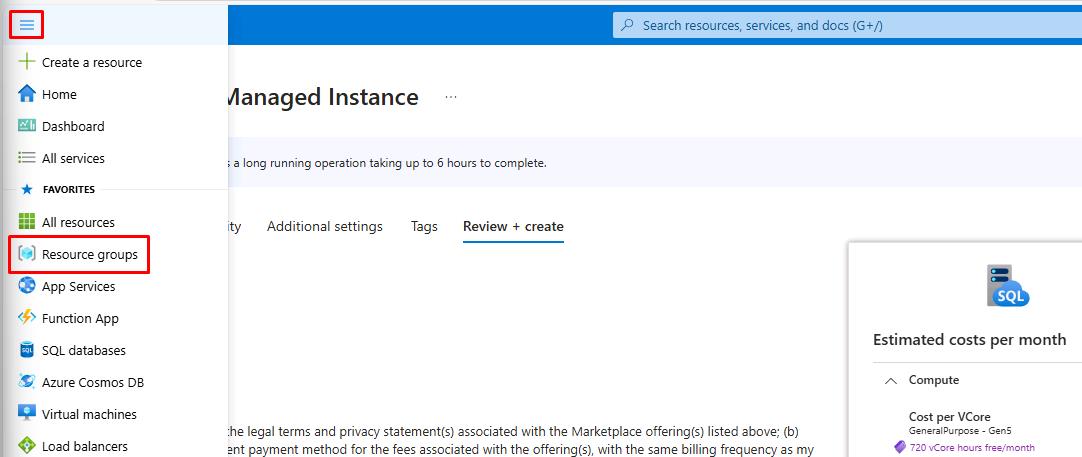
In the same tab, expand the portal menu by selecting the menu icon in the upper left, then select Resource Groups.
-
Select OK to discard the unsaved edits.
-
Select your recently created resource group.
-
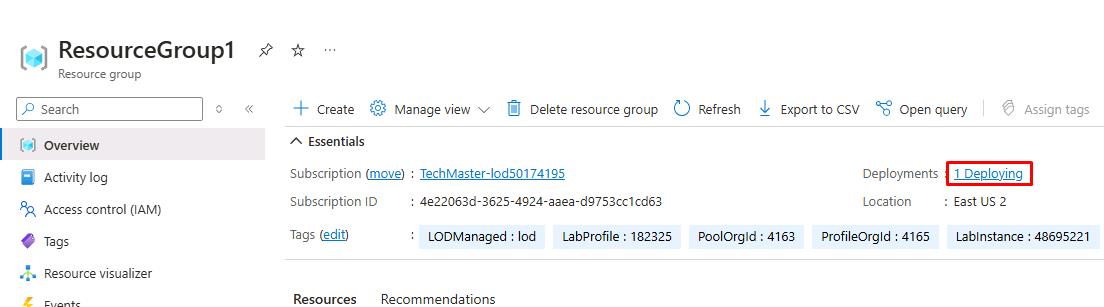
Next to Deployments, if it still shows 1 Deploying, select it.
-
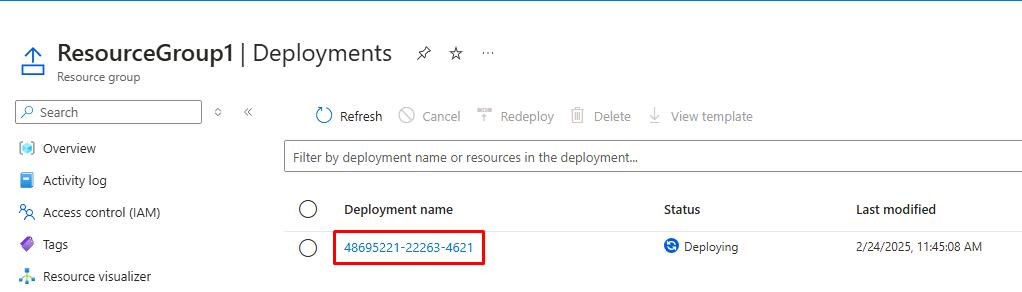
Select the numbers listed under Deployment name.
-
Under the Resource column, wait until SQLVM1/CustomScriptExtension shows a checkmark.
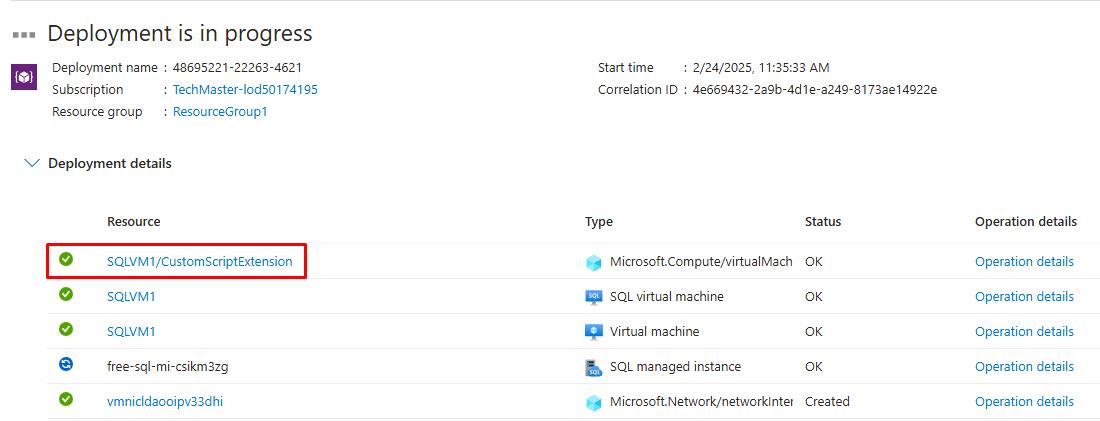
This may take 5-10 minutes to complete. You do not need to wait for the SQL managed instance deployment at this time. You’ll return to this tab at a later step to verify completion.
03: Access the Azure SQL VM
Expand this section to view the solution
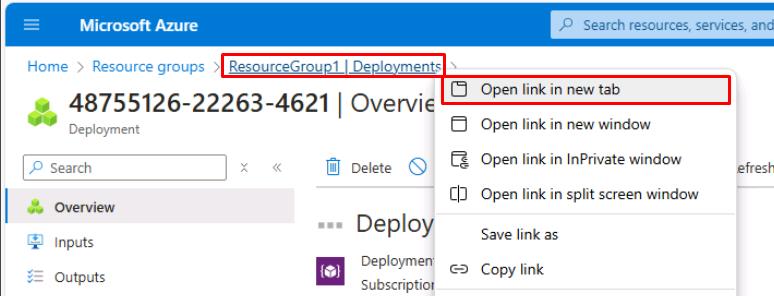
-
In the upper left, right-click the ResourceGroup1 - Deployments breadcrumb link, then select Open link in new tab to go to your recently created resource group.
-
Under your Resources, copy and paste the name of your SQL managed instance in a notepad document for future use.
It will be formatted free-sql-mi-[random]. This value will continue to be referenced throughout this lab.
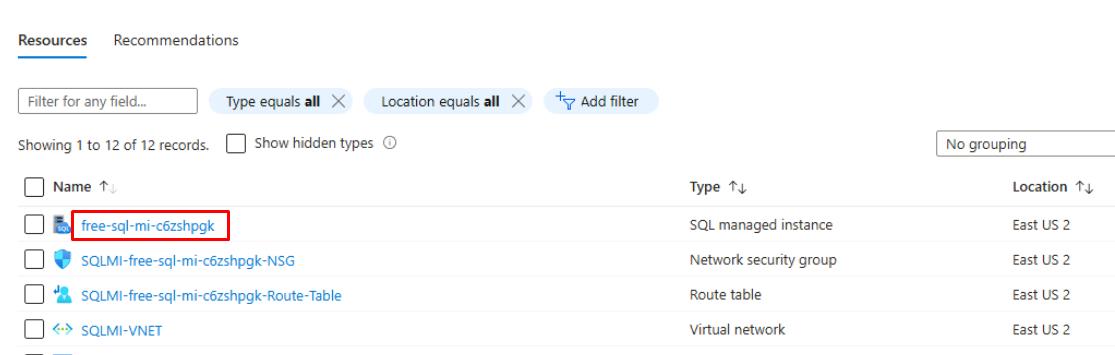
Do not enter the value from the screenshot.
-
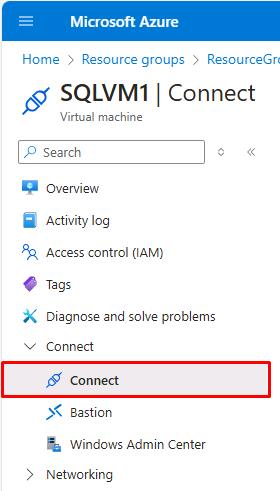
Select the SQLVM1 Virtual machine.
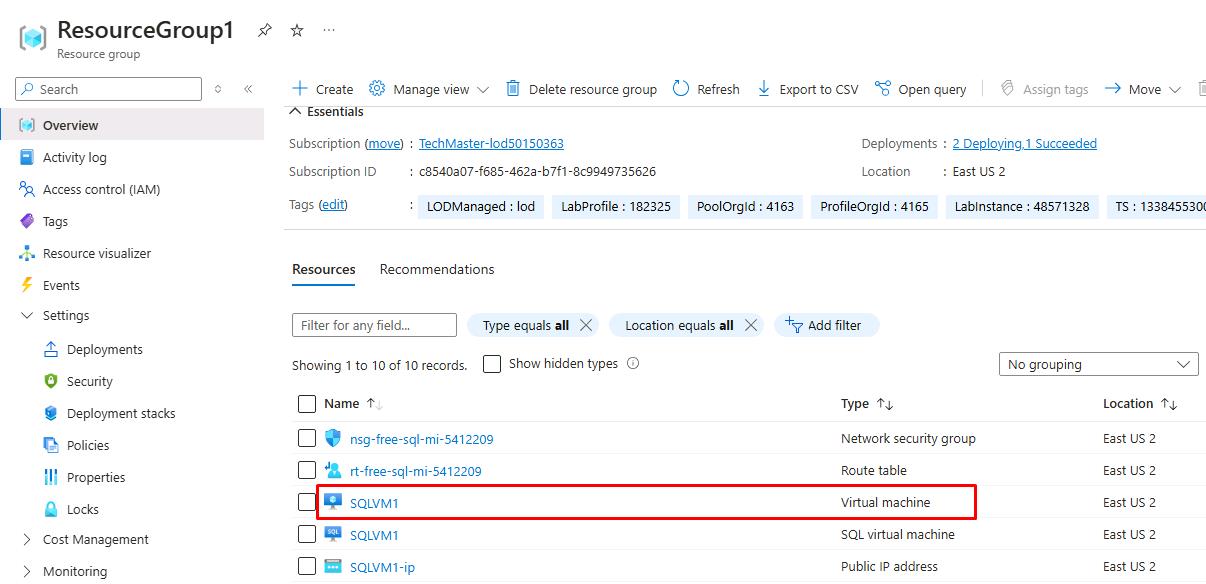
This is a Windows Server 2019 VM with SQL Server 2019.
-
On the left service menu, select Connect, then select Connect.
-
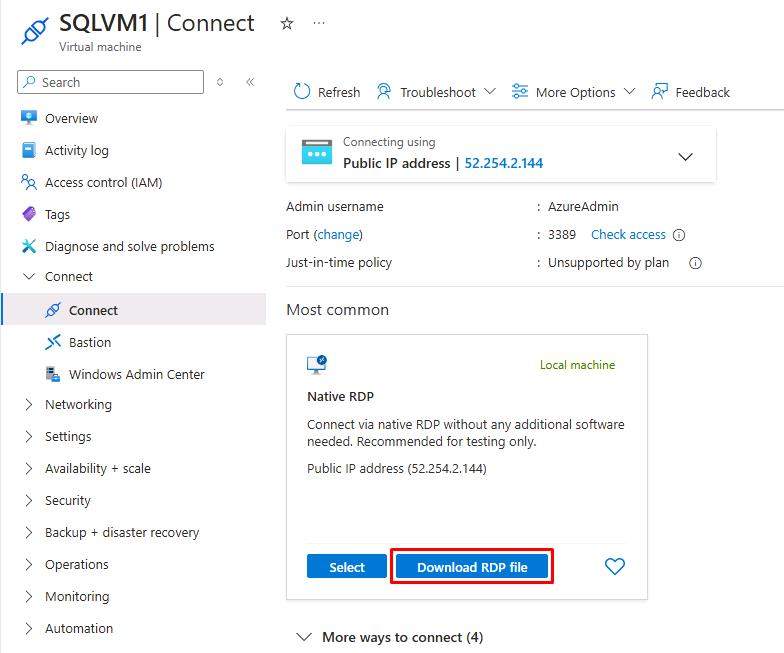
In the Native RDP tile, select Download RDP file.
-
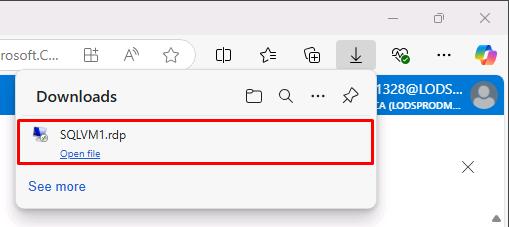
Select the file from the Edge Downloads to open. You can access it again from the Windows 11 Downloads folder.
-
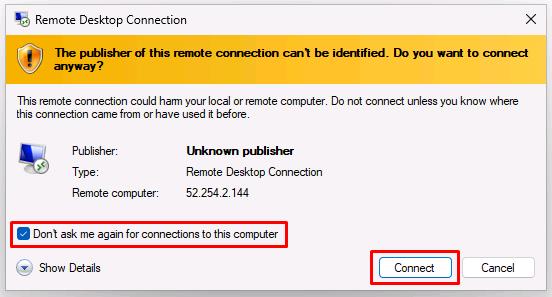
Select the checkbox for Don’t ask me again…, then select Connect.
-
Enter the Azure VM credentials, then select OK to connect.
Item Value Username VMLab Password your Azure password (used for SQL/MI authentication) -
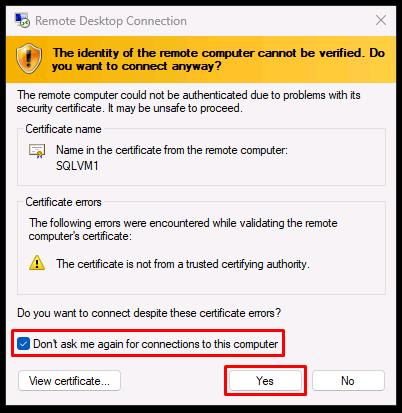
On the warning dialog, select the Don’t ask me again… checkbox, and select Yes.
04: Create a database master key
Expand this section to view the solution
You’ll need to create a database master key as part of the requirements to setup the Managed Instance link.
-
On the SQLVM1 desktop, open SQL Server Management Studio.
-
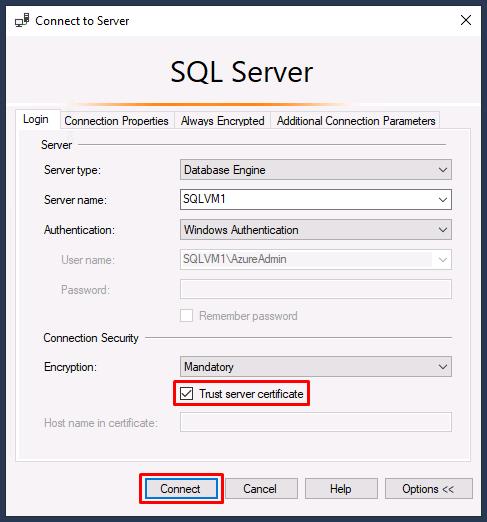
Select the Trust server certificate checkbox, then select Connect.
-
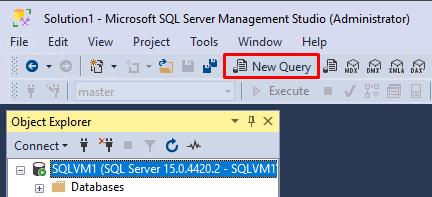
Select New Query on the toolbar.
-
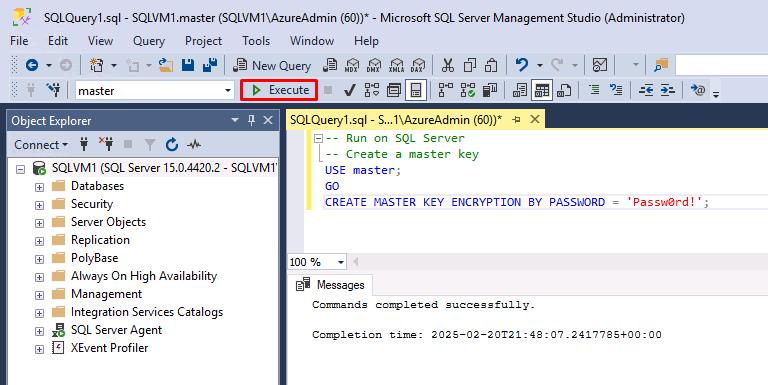
Create a database master key in the master database by pasting the following query:
 -- Run on SQL Server
 -- Create a master key
 USE master;
 GO
 CREATE MASTER KEY ENCRYPTION BY PASSWORD = '@lab.VirtualMachine(Workstation1).Password';
Replace ‘@lab.VirtualMachine(Workstation1)’ with the password of the machine you’re working on, be it the local machine or a Virtual Machine.
Selecting Copy on these code blocks and pasting will be much quicker than using Type.
-
Select Execute on the top toolbar.
05: Enable availability groups
Expand this section to view the solution
The Managed Instance link relies on the Always On Availability Groups feature of SQL Server, which is disabled by default.
For more information, see Enable the Always On availability groups feature.
-
Select the Windows start menu, then enter and select
SQL Server 2019 Configuration Manager.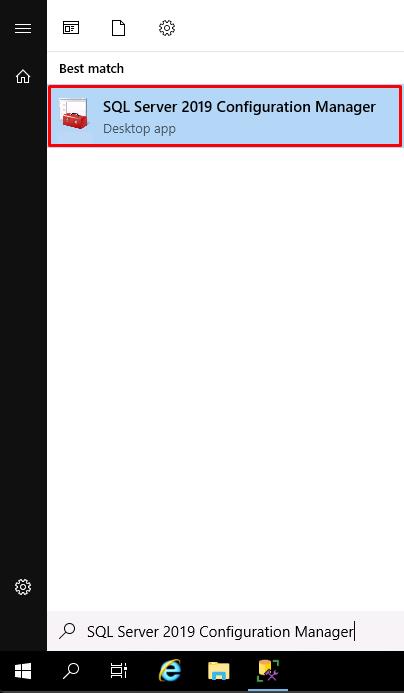
-
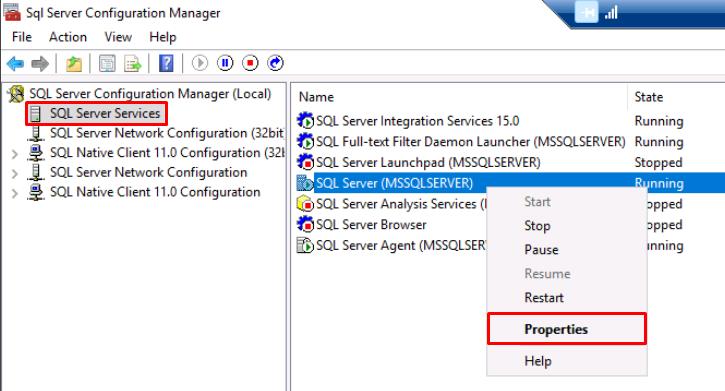
On the left menu, select SQL Server Services.
-
Right-click SQL Server (MSSQLSERVER), then select Properties.
-
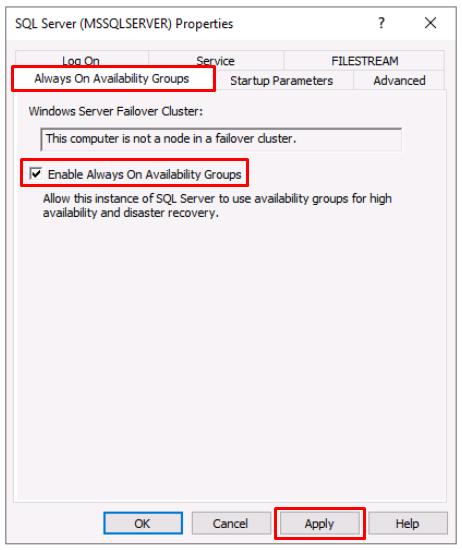
Select the Always On Availability Groups tab.
-
Select the Enable Always On Availability Groups checkbox, then select Apply.
-
Select OK on the Warning dialog. Keep the Properties window open.
06: Enable startup trace flags
Expand this section to view the solution
To optimize the performance of your link, it’s recommended to enable the following trace flags at startup:
-
-T1800: This trace flag optimizes performance when the log files for the primary and secondary replicas in an availability group are hosted on disks with different sector sizes, such as 512 bytes and 4 KB. If both primary and secondary replicas have a disk sector size of 4 KB, this trace flag isn’t required.
For more information, see KB3009974.
-
-T9567: This trace flag enables compression of the data stream for availability groups during automatic seeding. The compression increases the load on the processor but can significantly reduce transfer time during seeding.
-
Select the Startup Parameters tab.
-
Enter
-T1800, then select Add. -
Enter
-T9567, then select Add.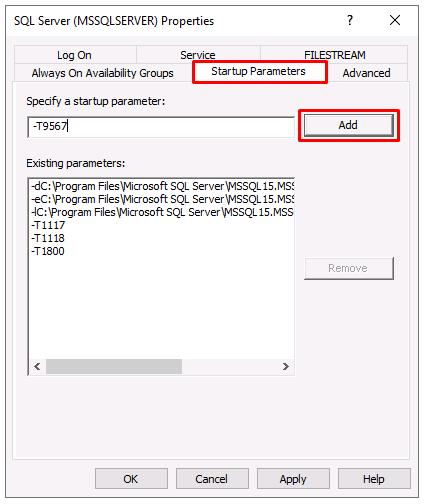
-
Select OK, then select OK on the Warning dialog.
-
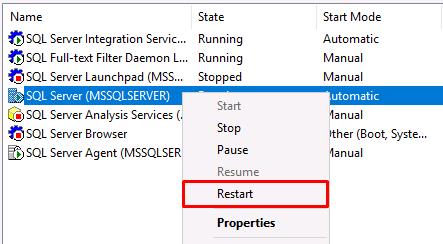
Restart SQL Server by right-clicking SQL Server (MSSQLSERVER), then select Restart.
For more information, see the syntax to enable trace flags.
07: Validate the configuration
Expand this section to view the solution
-
Go back to your open SQL Server Management Studio window.
-
Replace your previous query for setting the master key with the following:
-- Shows if the Always On availability groups feature is enabled SELECT SERVERPROPERTY ('IsHadrEnabled') as 'Always On enabled (1 true, 0 false)'; GO -- Lists all trace flags enabled on SQL Server DBCC TRACESTATUS; -
Select Execute on the top toolbar.
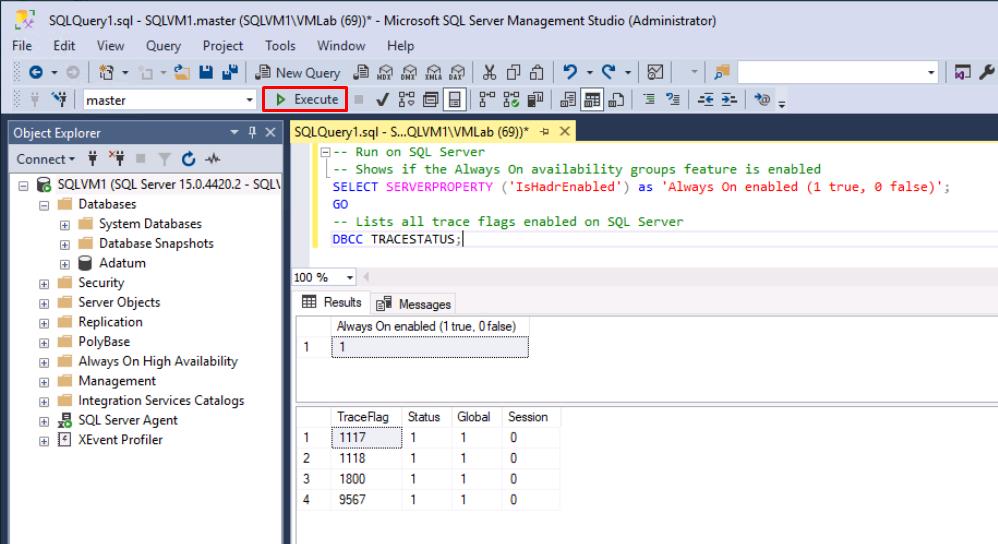
Always On enabled should be 1.
1800 and 9567 should be listed.
If not, restart SQL Server again from SQL Server Configuration Manager.
Congratulations! You’ve successfully completed this task.