Task 03: Configure link with SSMS
Introduction
Now that your environment is set up and network connectivity is confirmed, the next step is to create a Managed Instance link. This is crucial for Adatum Corporation’s recently launched eBook store, Adatum Books, to ensure high availability and disaster recovery.
This setup will help Adatum Corporation maintain business continuity and prevent disruptions to their eBook shopping services, ensuring that Adatum Books remain operational even in the event of a failure.
Description
In this task, you’ll create a Managed Instance link. This involves preparing the database for replication, setting up the link using SQL Server Management Studio (SSMS), and verifying that the database is successfully synchronized.
Success criteria
- You prepared the database for replication.
- You set up the Managed Instance link using SSMS.
- You verified that the database was successfully synchronized.
Learning resources
- Tutorial: Prepare the database for replication
- Configure link with SSMS - Azure SQL Managed Instance
- Validate Replicated Data
Key tasks
01: Prepare your database
Expand this section to view the solution
With SQL Server as your initial primary, you’ll need to set its Recovery Model to Full, then run a full backup to meet requirements.
-
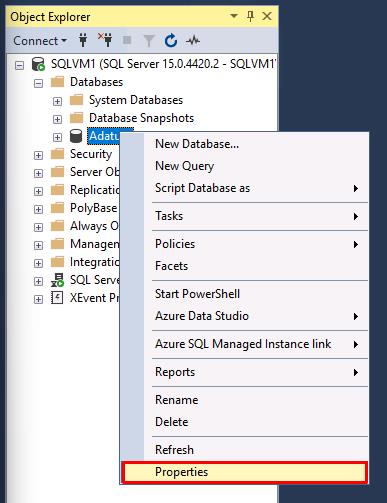
In SSMS’s left Object Explorer, right-click the Adatum database, then select Properties
-
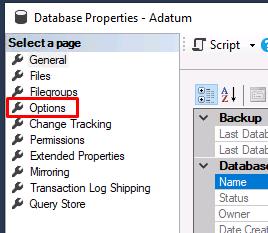
In the new window, select Options on the left.
-
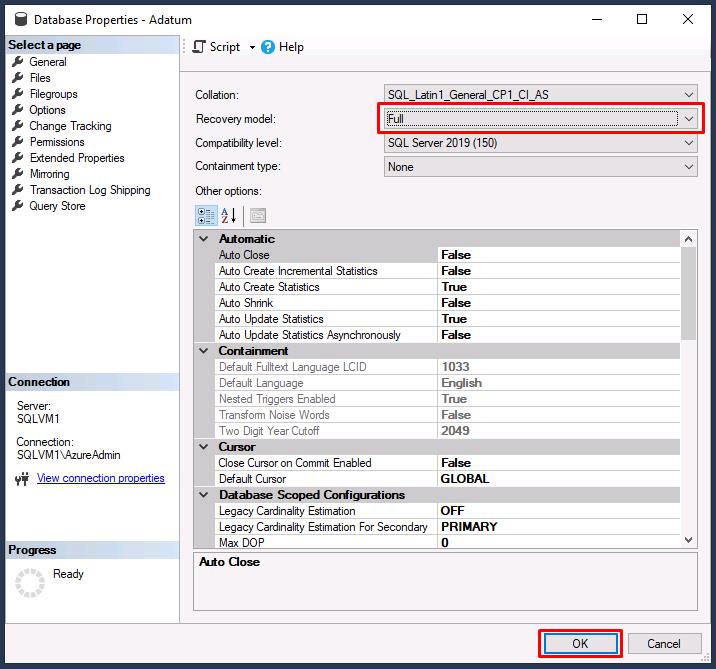
Select the dropdown next to Recovery model, select Full, then select OK.
-
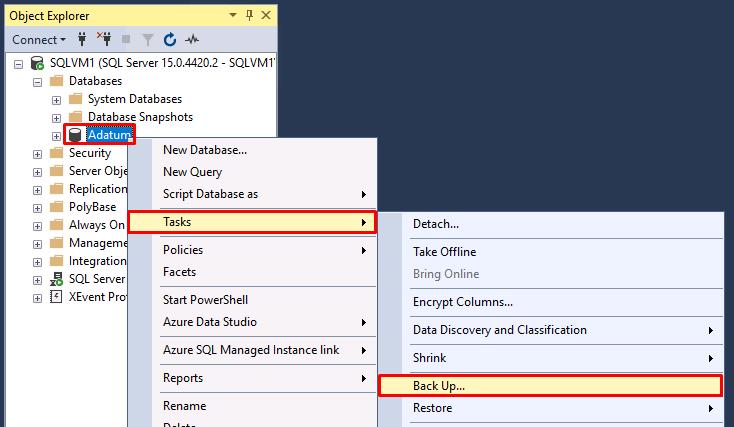
Right-click the Adatum database again, select Tasks, then select Back Up…
-
Backup type should be set to Full, then select OK.
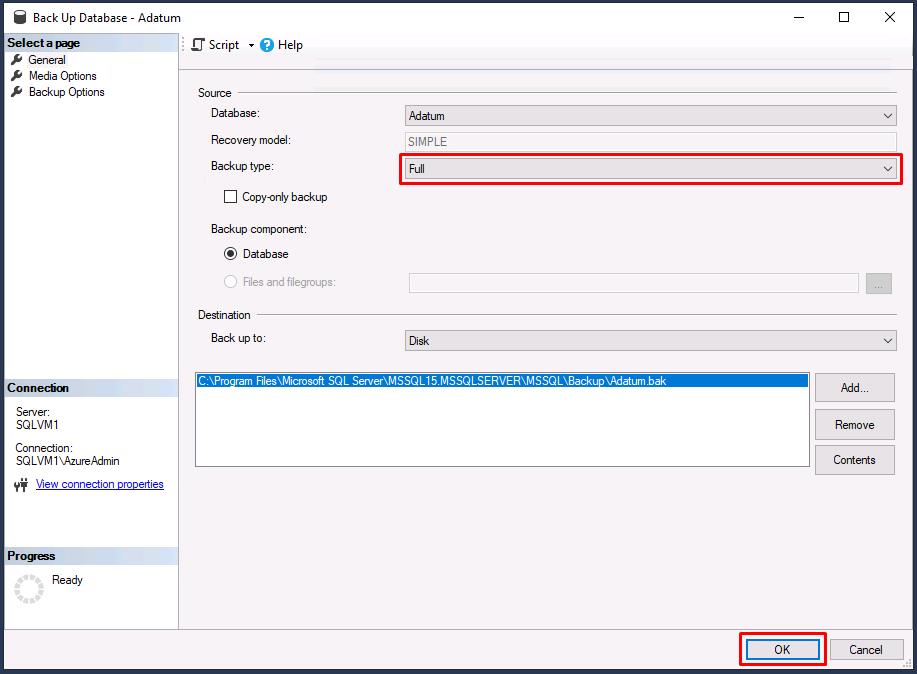
-
Select OK on the completion dialog.
The link supports replicating user databases only. Replication of system databases is not supported. To replicate instance-level objects (stored in master or msdb), script them out and run T-SQL scripts on the destination instance.
02: Create the link to replicate the Adatum database
Expand this section to view the solution
In this task, you’ll use the New Managed Instance link wizard in SSMS to create a link between your initial primary and your secondary replica.
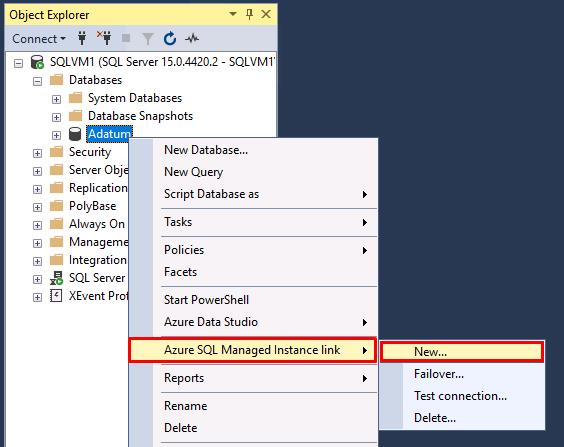
-
Right-click the Adatum database again, select Azure SQL Managed Instance link, then select New.
-
On the Introduction page, select Next.
-
Enter
AdatumLinkin the Name field, then select Next.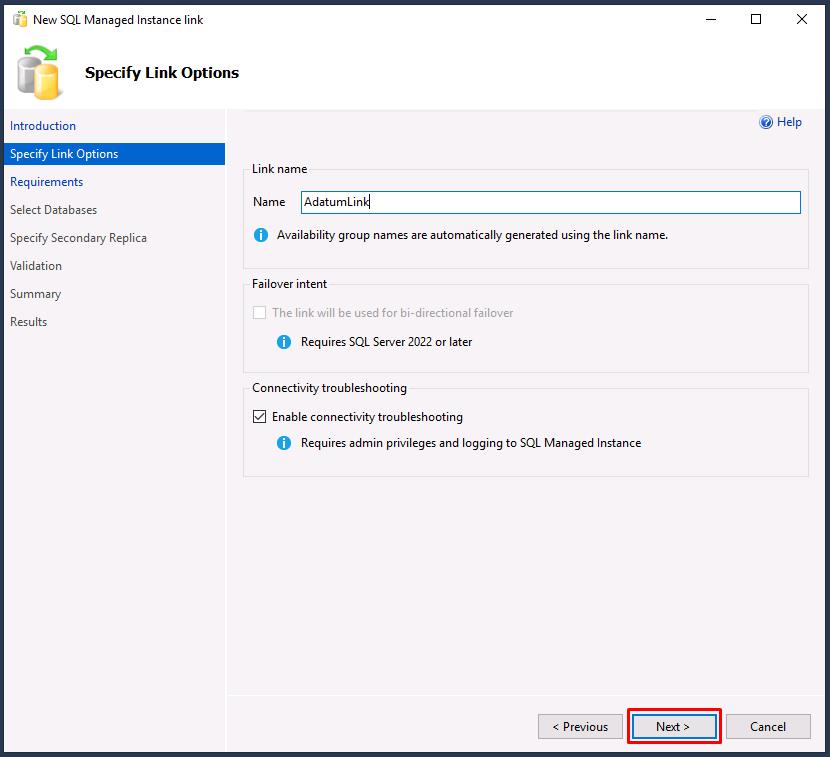
-
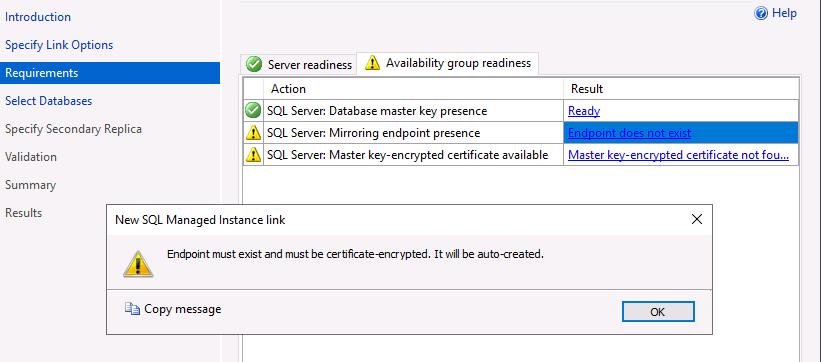
On SQL Server requirements, everything under the Server readiness tab will be Ready.
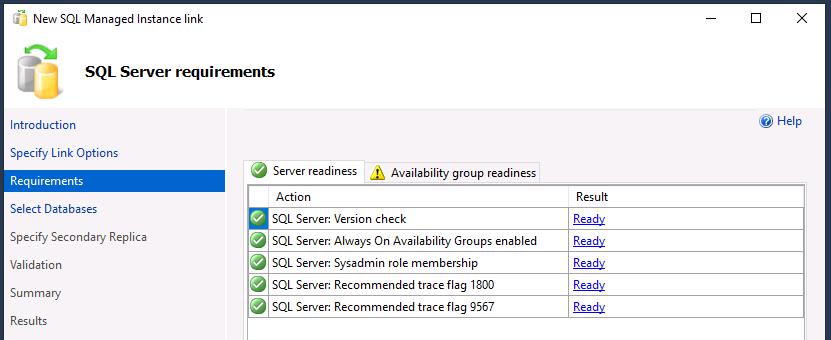
-
Select the Availability group readiness tab.
-
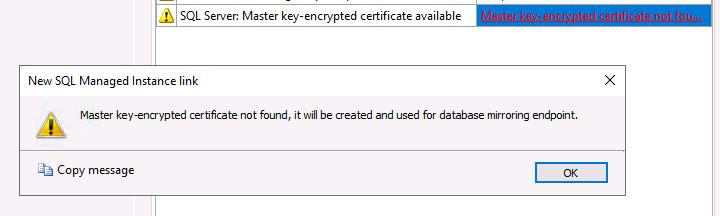
If you select the warnings under the Result column, you’ll see that both will automatically be created, so these are safe to ignore.
-
Select Next to proceed.
-
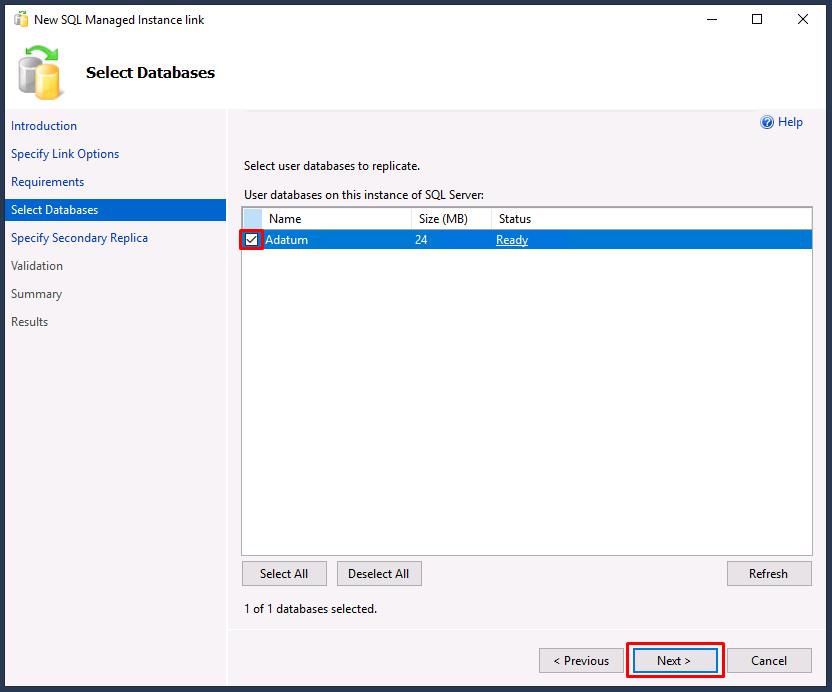
Select the checkbox next to Adatum, then select Next.
-
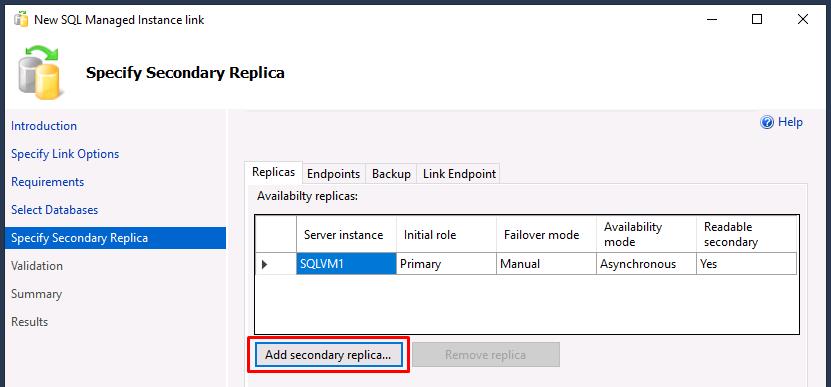
On Specify Secondary Replica, select Add secondary replica…
-
Select Sign In…, then sign in with your lab’s Azure credentials:
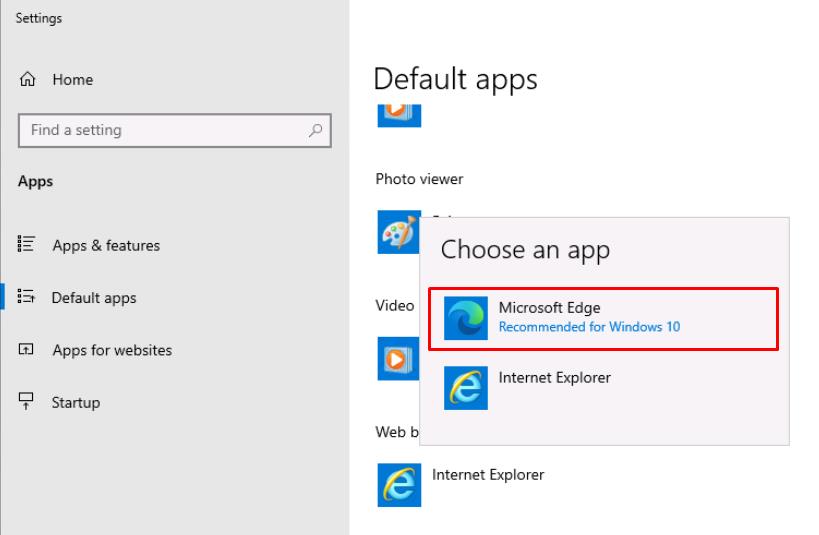
Item Value Username Your Azure portal username Password Your Azure portal password If Internet Explorer opens, change your default browser to Edge and try again. Select this box to expand for details.
- Select the Windows Start menu.
- Enter and select
Default apps. -
Under Web browser, select Internet Explorer, then select Microsoft Edge.
-
Once authenticated, close the browser window.
-
SSMS should automatically select:
- your Azure subscription name
- your resource group name
- the NSG name attached to your MI
If it does not find the SQL Managed Instance, you may have to restart the Managed Instance from the Azure portal.
-
Select Sign in…, under Sign in to selected SQL Managed Instance.
-
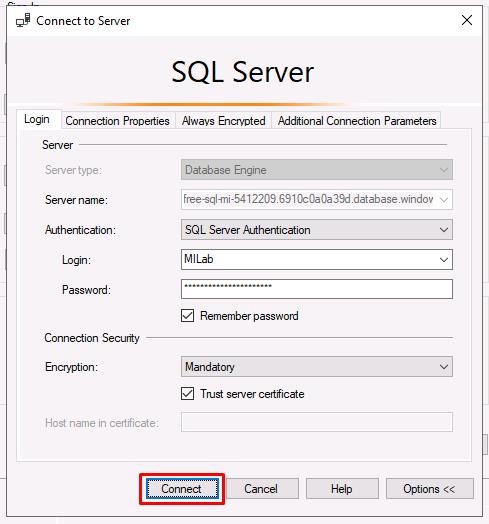
Use the following on the Connect to Server window:
Item Value Authentication SQL Server Authentication Login MILab Password your Azure password (used for SQL/MI authentication -
Select Connect.
-
Select OK on the Sign in window to close it.
-
You’ll leave the settings on the Specify Secondary Replica step as is. You can check the other tabs for Endpoints, Backup, and Link Endpoint, then select Next to proceed.
-
All validation results should show Ready. Select Next.
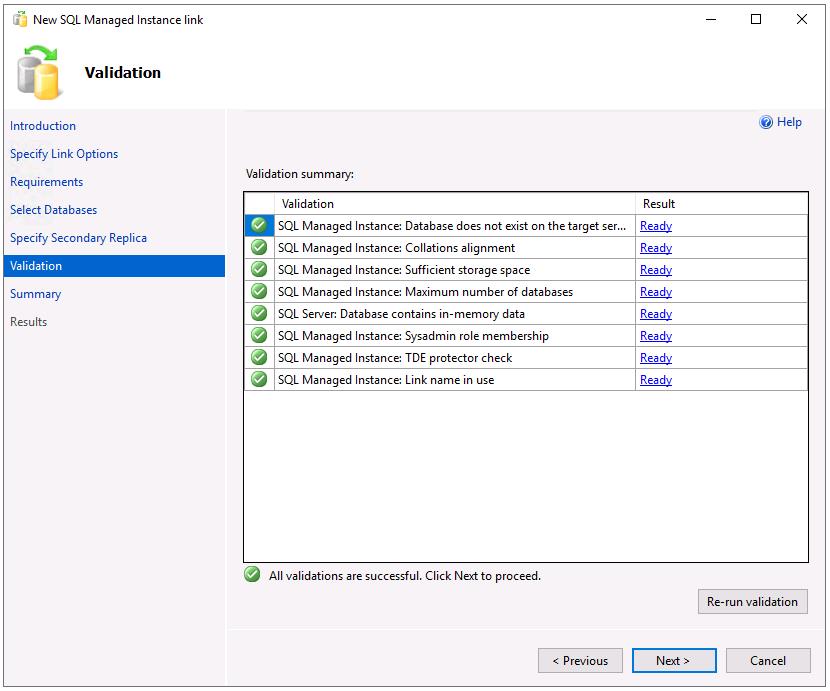
If you receive any errors, try selecting Re-run validation near the bottom right.
-
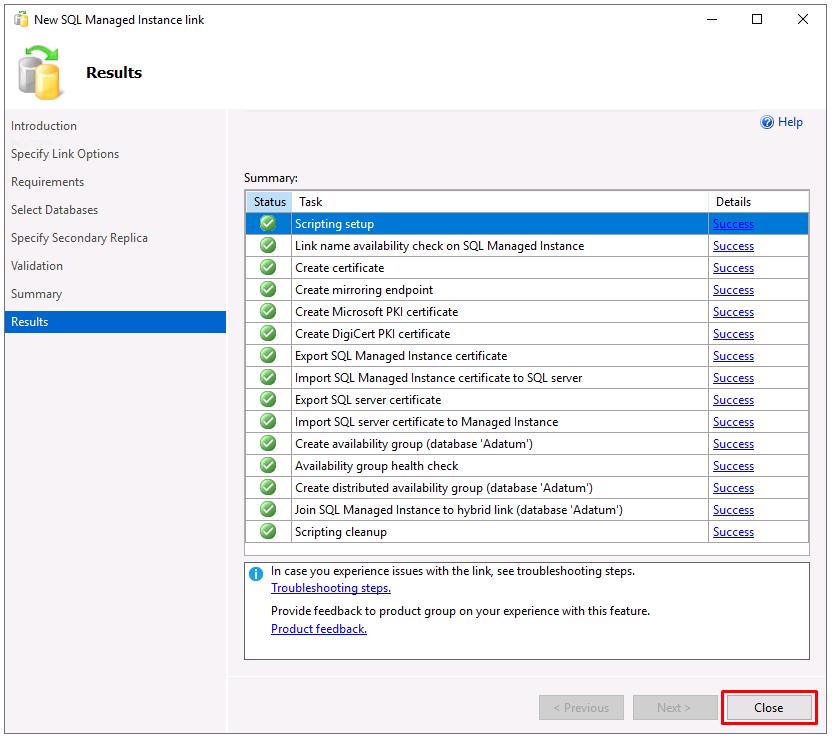
Select Finish to create the link.
-
All entries should show Success. Select Close.
03: View the replicated database
Expand this section to view the solution
After the link is created, your database is replicated to the secondary replica. Depending on database size and network speed, the database might initially be in a Restoring… state on the secondary replica. After initial seeding finishes, the database is restored to the secondary replica and ready for read-only workloads.
-
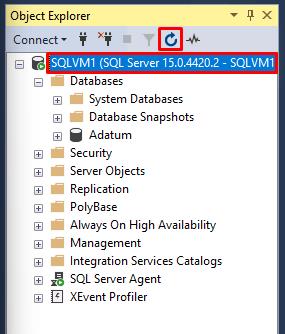
In SSMS’s Object Explorer, select SQLVM1, then select the refresh icon on the top controls of that pane.
-
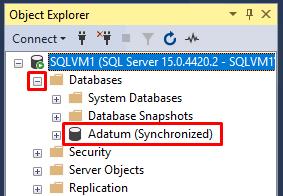
In Object Explorer, expand Databases. The Adatum database will now be appended with (Synchronized).
-
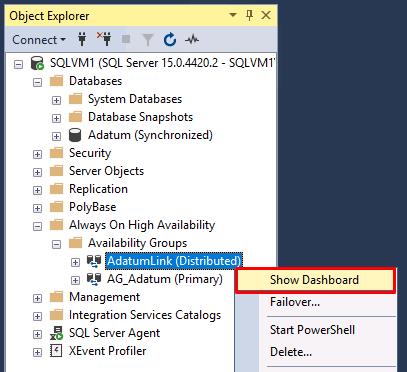
In Object Explorer, expand Always On High Availability, then expand Availability Groups to view the distributed availability group for your link.

-
Right-click AdatumLink (Distributed), then select Show Dashboard.
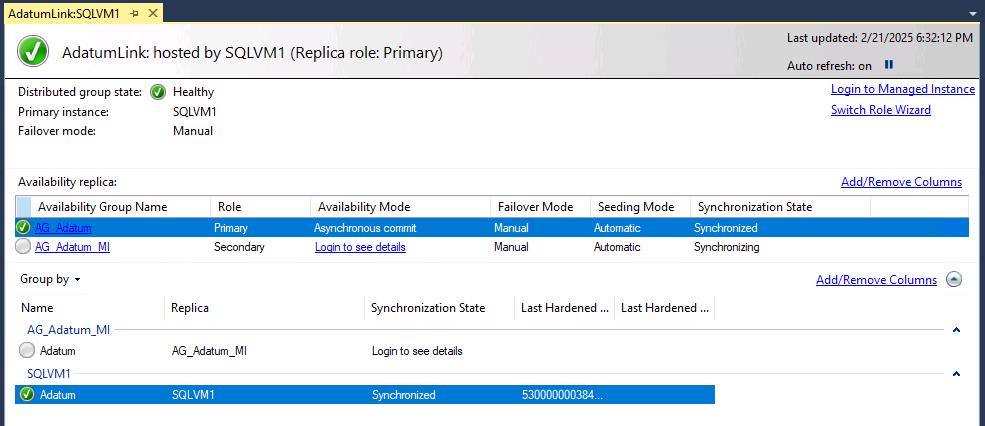
You can view the dashboard from either replica, which shows the status of the linked database in the distributed availability group.
-
Under Availability replica on the dashboard, the Synchronization state column should show:
- Synchronized for AG_Adatum.
- Synchronizing for AG_Adatum_MI.

04: Transaction log backup
Expand this section to view the solution
If SQL Server is your initial primary, it’s important to take the first transaction log backup on SQL Server after initial seeding completes, when the database is no longer in the Restoring… state on Azure SQL Managed Instance.
You should take SQL Server transaction log backups regularly to minimize excessive log growth while SQL Server is in the primary role.
-
In Object Explorer, under Databases, right-click the Adatum (Synchronized) database, select Tasks, then select Back Up….
-
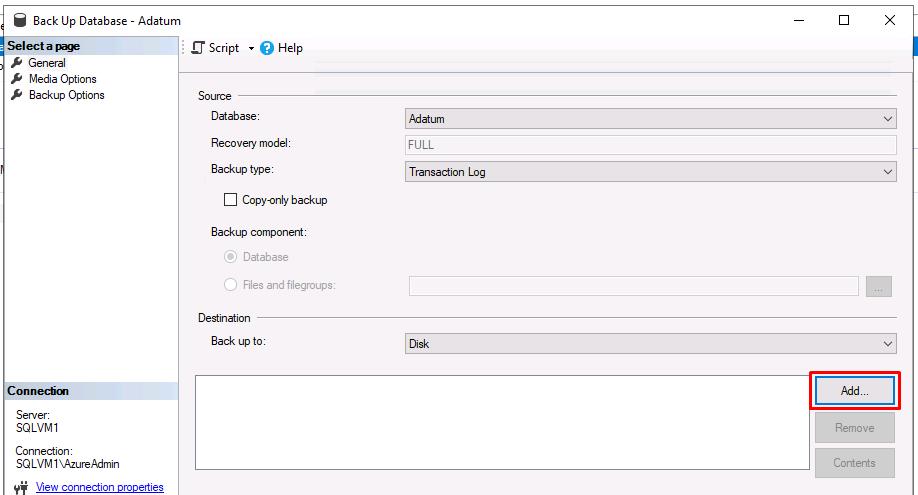
In the new window, next to Backup type, select Transaction Log from the dropdown.

-
Under Destination, select Add….
-
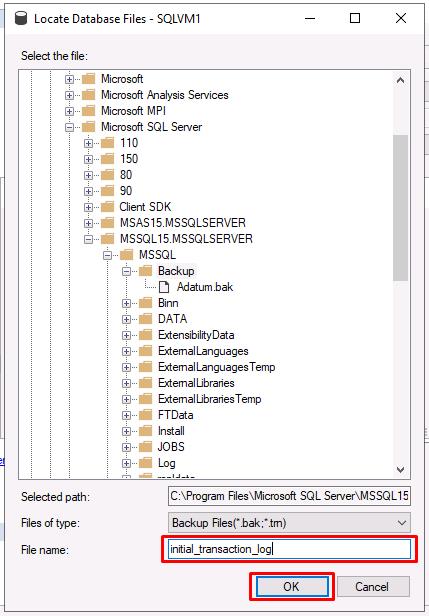
Select the ellipses for File name.
-
Enter initial_transaction_log for File name, then select OK.
-
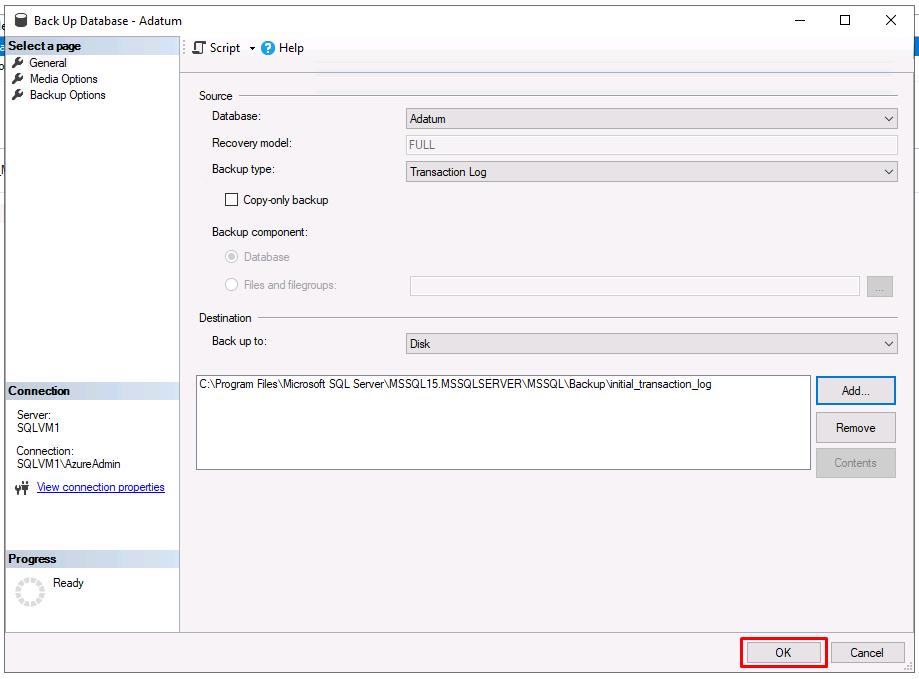
Select OK on the Select Backup Destination window.
-
Feel free to review the other pages for Media Options and Backup Options on the leftmost menu. You’ll leave everything as default in this lab.
-
Select OK to run the backup.
-
Select OK on the backup completion dialog.
Congratulations! You’ve successfully completed this task.