TIP
💡 Learn more : App Service Documentation (opens new window).
# Quickly Set Up Azure Active Directory with Azure App Services
A while ago, I did a post on Quick and Dirty User Authentication with Azure Web Apps and MVC5 (opens new window), where I created a simple web app that used forms authentication. Since then, I’ve been asked if I could address how to use the Settings -> Authentication / Authorization feature to turn on AAD for an existing web app. In this post, we’ll take a look at setting up Azure Active Directory with Azure App Services.
# My Requirements
- Any user on my AAD will be able to log in.
- I won’t write or add any code to my web app.
- I want to do this with the FREE Tier of Azure App Service Web Apps.
# How to Set Up Azure Active Directory with an App Service Web App
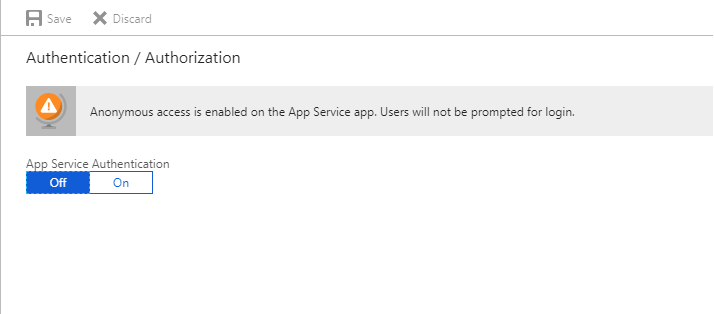
Go to the Azure portal and select my web app and click on Authentication / Authorization under Settings to get started.

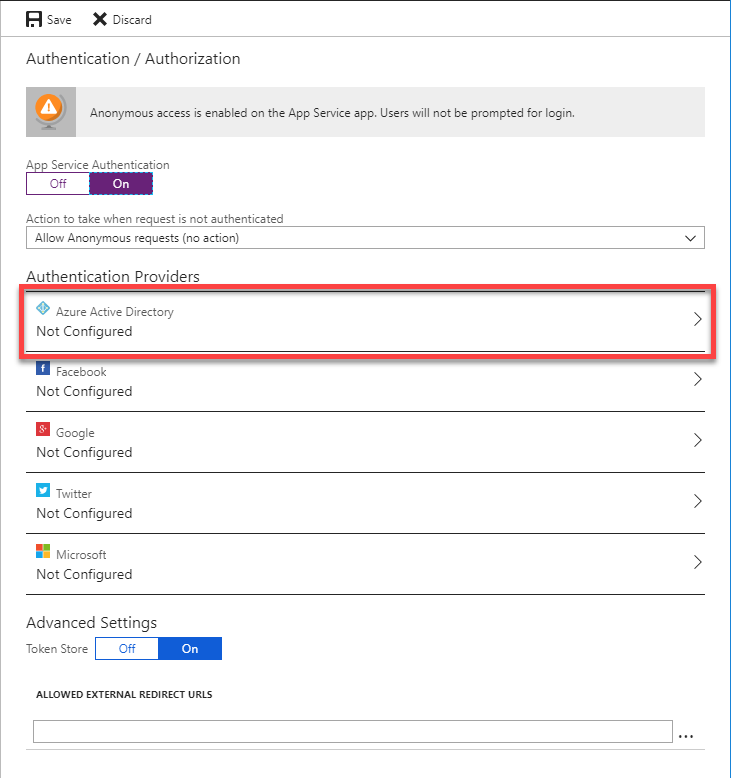
Click the On button to see the Authentication Provider list and then click Azure Active Directory in the list of providers.

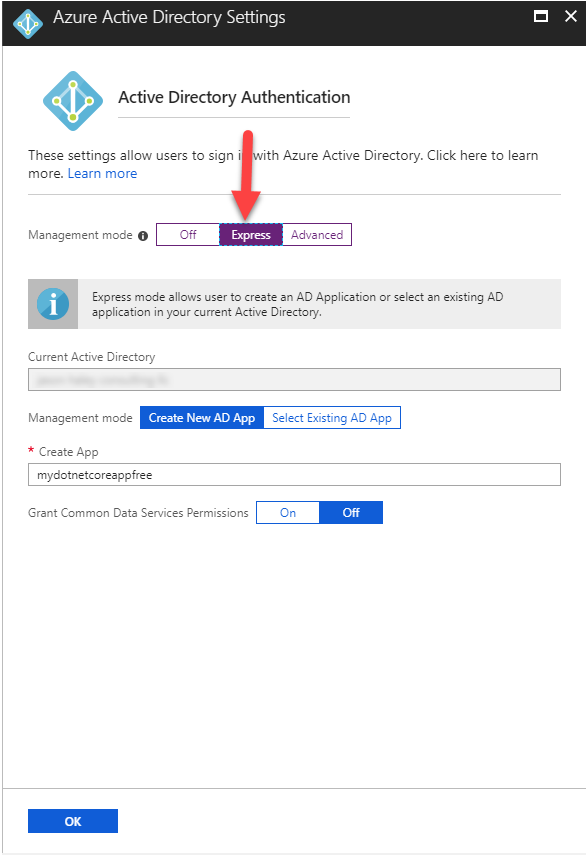
Great. Now click on the Express management mode button and click OK.

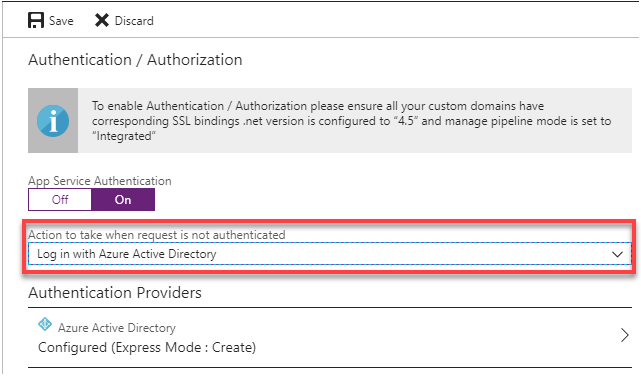
Now you’ll need to do one last thing before saving the Authentication / Authorization settings, which is to set the Action to take when a request is not authenticated. You’ll want to make sure that it is set to Log in with Azure Active Directory. This makes sure anyone visiting your site has been authenticated by AAD first. If you are following along and find that you want to use a different AAD tenant (not the Azure account you usually sign into), you can find those steps here: Manually configure Azure Active Directory with advanced settings.

Now you can click the Save button to have AAD added as your Authentication Provider.
