Task 01: Test the hosted MCP Server
Description
Before building your agent, you’ll verify that Zava’s hosted MCP server is reachable and functioning correctly. You’ll use the MCP Inspector - a browser-based testing tool - to connect to the server, list its available tools, and run a sample query against live claims data.
Success criteria
- You successfully launched the MCP Inspector and connected to the hosted MCP server.
- You listed all 15 available tools across the Claims, Inspections, Contractors, and Purchase Orders resource groups.
- You ran the
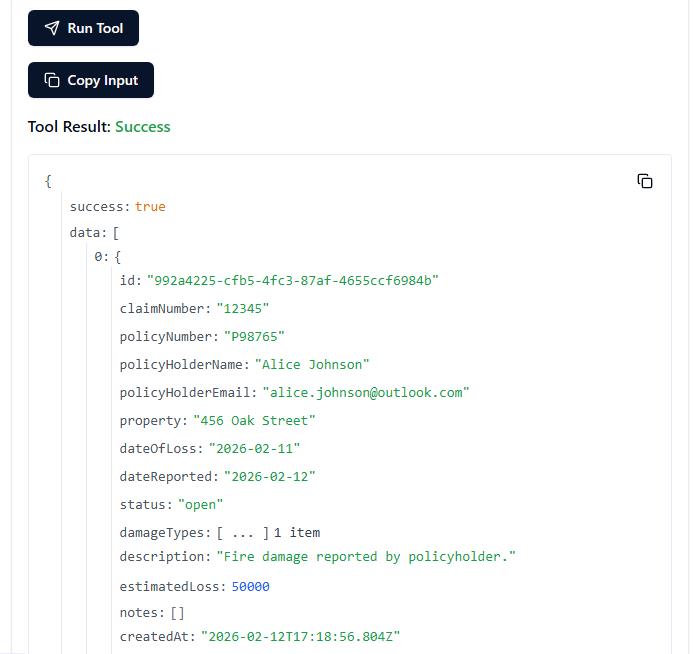
get_claimstool and received a valid JSON response containing at least one claim record.
Key steps
01: Launch MCP Inspector
-
Open Visual Studio Code.
-
On the upper bar, select Terminal, then New Terminal.

-
Run the following command:
npx @modelcontextprotocol/inspector --transport http --server-url https://claims-mcp-app.yellowcliff-c66c6908.eastus.azurecontainerapps.io/mcp/messages -
Enter
yto proceed with any installation.This opens a web interface to test the MCP server.
02: Explore available tools
-
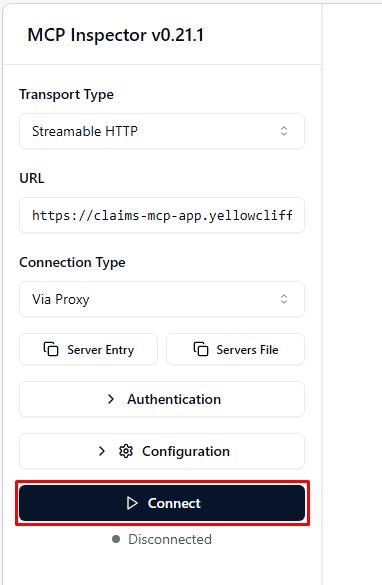
In the MCP Inspector’s leftmost pane, select Connect.
-
On the top bar, select Tools.

-
Select List Tools to get the list of tools exposed by the MCP server.
You’ll find 15 tools:
Resource Available Tools Claims get_claims, get_claim, create_claim, update_claim, delete_claim Inspections get_inspections, get_inspection, create_inspection, update_inspection Contractors get_contractors, get_inspectors Purchase Orders get_purchase_orders, create_purchase_order, update_purchase_order, delete_purchase_order
03: Test get claims tool
-
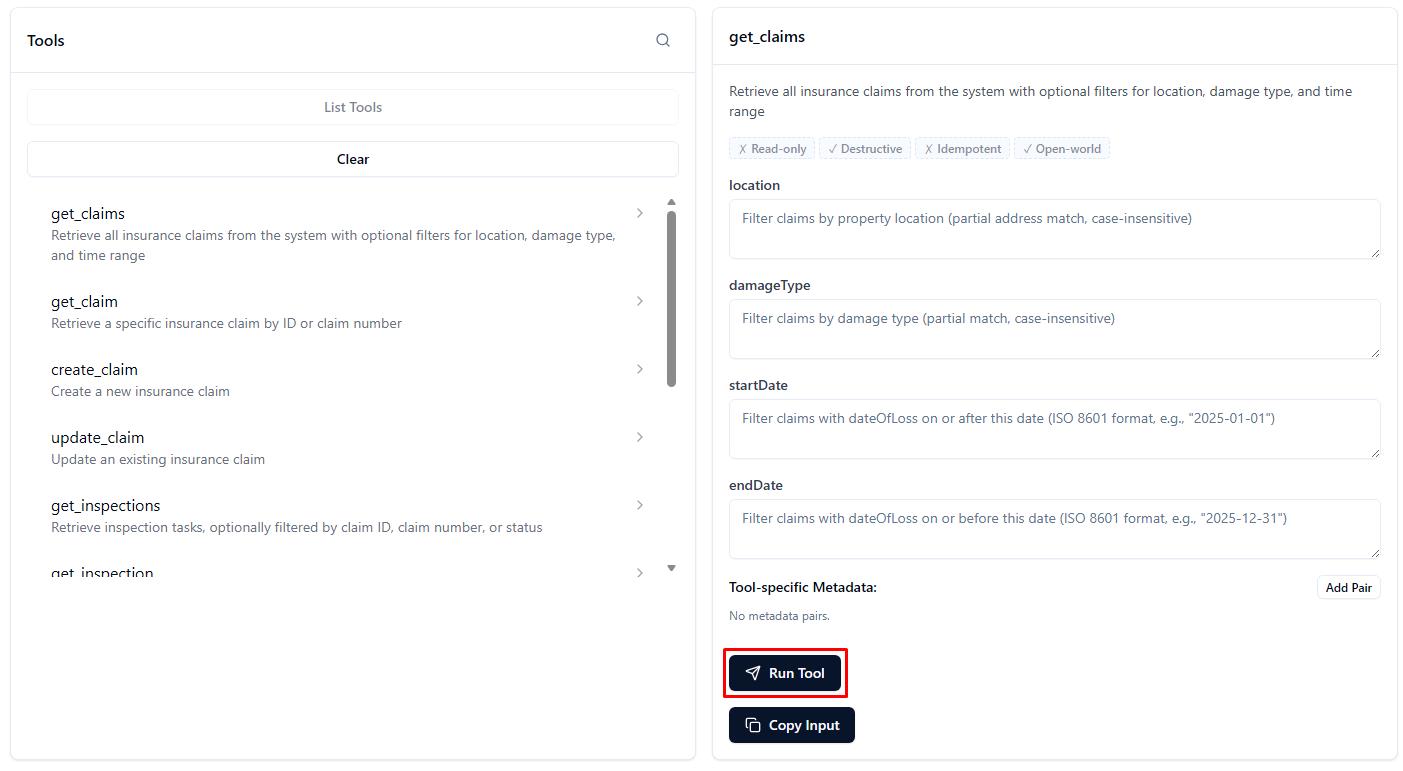
Select the get_claims tool from the list.
-
On the lower side of the get_claims pane, select Run Tool.
-
Scroll down in the pane to verify you receive JSON response with claims data (for example, claim CN202504990 for John Smith).
-
Close the browser.