Task 02: Create and add a client secret to an Azure Key Vault instance
Azure Key Vault is used to securely store and manage sensitive information such as passwords, encryption keys, and certificates. Key Vault provides a centralized and highly secure storage solution, safeguarding these critical assets from unauthorized access.
By using Azure Key Vault, organizations can enhance security practices by reducing the risk of exposing sensitive data within applications or configuration files. Key Vault integrates seamlessly with other Azure services, enabling easy access to stored secrets while enforcing robust access control policies and auditing capabilities for compliance purposes.
In this task, you’ll provision an Azure Key Vault instance.
{: .important } If you want to learn more about Azure Key Vault, go to Azure Key Vault basic concepts.
-
Return to the Azure Home page.
-
On the Azure Home page, in the search box, search for and select Key vaults.
-
Select kv-@lab.LabInstance.Id.
-
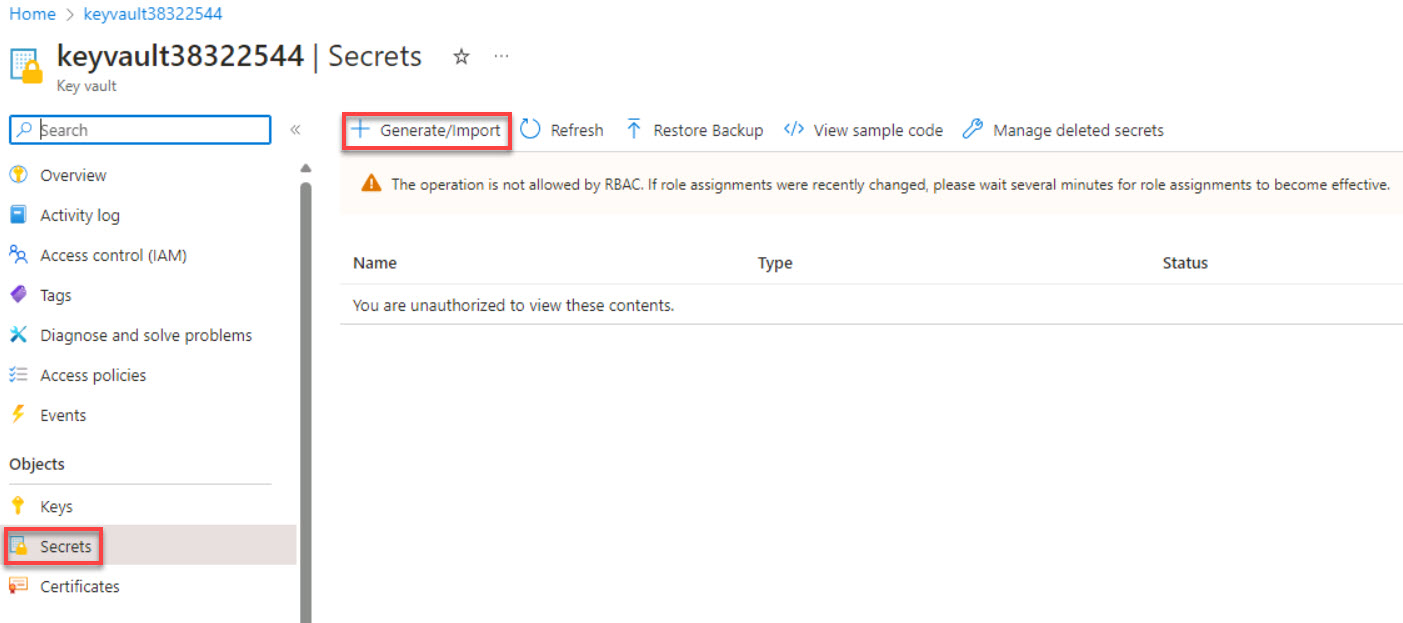
In the left menu, select Objects and then select Secrets.
-
On the menu, select + Generate/Import.
-
Configure the secret by using the following values:
Default Value Name [Your Secret Name] (e.g., appServiceRegistrationSecret) Secret value [Your Secret Value] {: .important } To access resources in your subscription, you must assign a role to the application. The process includes granting permissions by using Azure Key Vault. This ensures secure storage and retrieval of client secrets for authentication and authorization purposes.
-
Select Create.
-
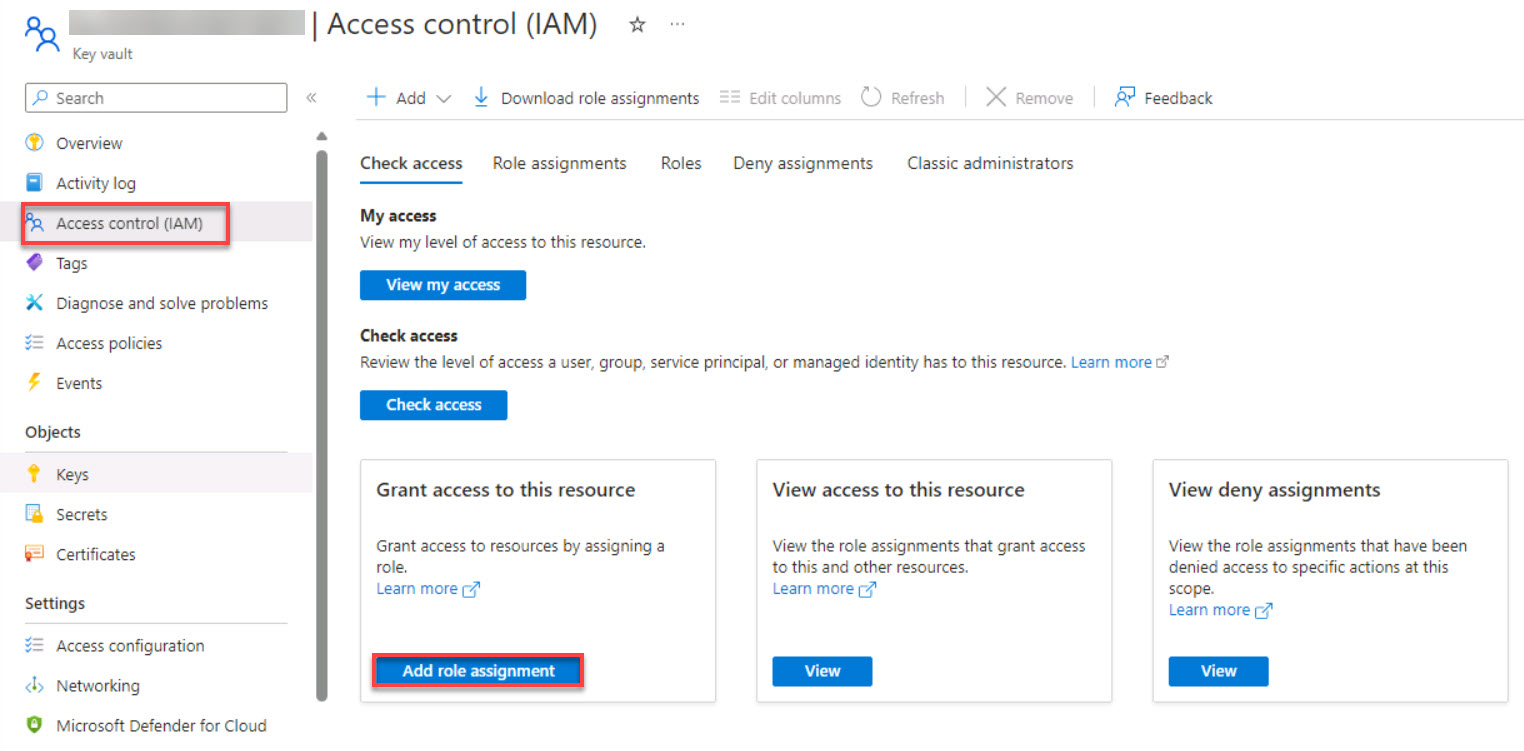
In the left menu pane for the Key vault secrets page, select Access control (IAM). In the Grant access to this resource tile, select Add role assignment.
-
In the search box, enter and select Key Vault Contributor, and then select Next.
You must select Key Vault Contributor from the list of search results before you select Next to ensure that you add members correctly to the role.
-
On the Members tab, in the Members section, select + Select members.
-
In the Select members window, enter and select the appropriate member (e.g., [Your Service Account Name]) from the list and then select Select.
-
Select Review + assign twice.