Task 03: Using data pipelines/data flow for data ingestion
There are multiple ways to ingest data into a Lakehouse, and in this exercise, Contoso focuses on using data pipelines and data flow to efficiently funnel diverse datasets into their system, setting the stage for advanced analytics and insights.
-
On the ContosoSales@lab.LabInstance.Id page, select + New item.
-
Scroll to the Get data section of the New item dialog and select Data pipeline.
-
In the dialog that displays, enter Azure SQL DB Pipeline for the pipeline name and then select Create.
-
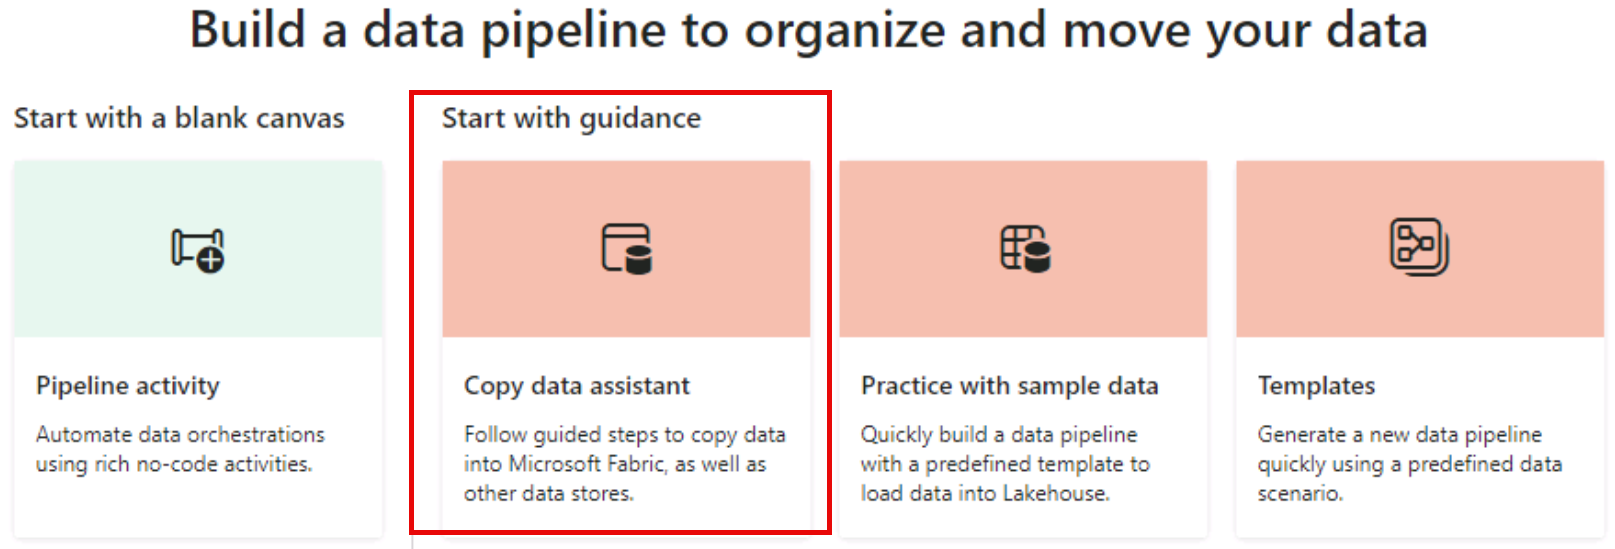
Select the Copy data assistant tile.
-
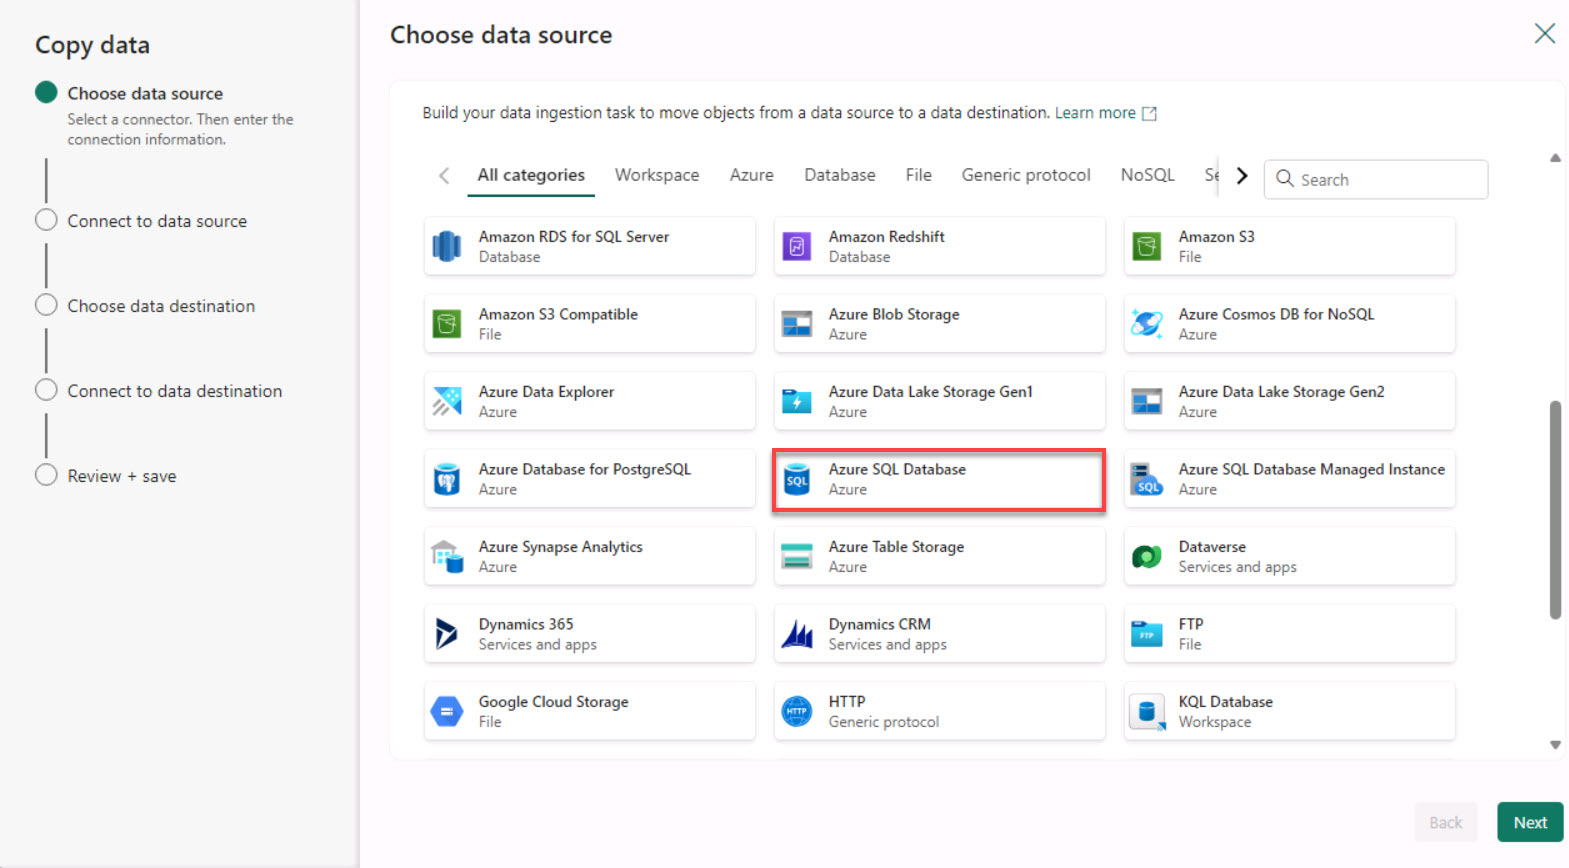
On the Choose data source page, select Azure SQL Database. You may need to scroll down to see the Azure SQL Database option.
-
Configure the connection by using the values in the following table. Leave all other settings at their default values.
If there’s no value listed for the Server setting, right-click the instructions pane in the lab environment and select Refresh.
Default Value Server sql@lab.LabInstance.Id.database.windows.net Database DB01 Authentication kind Basic Username azureadmin1 Password @lab.CloudPortalCredential(User1).Password 
-
Select Next. Close any pop-up windows that display and wait for the connection to be created.
-
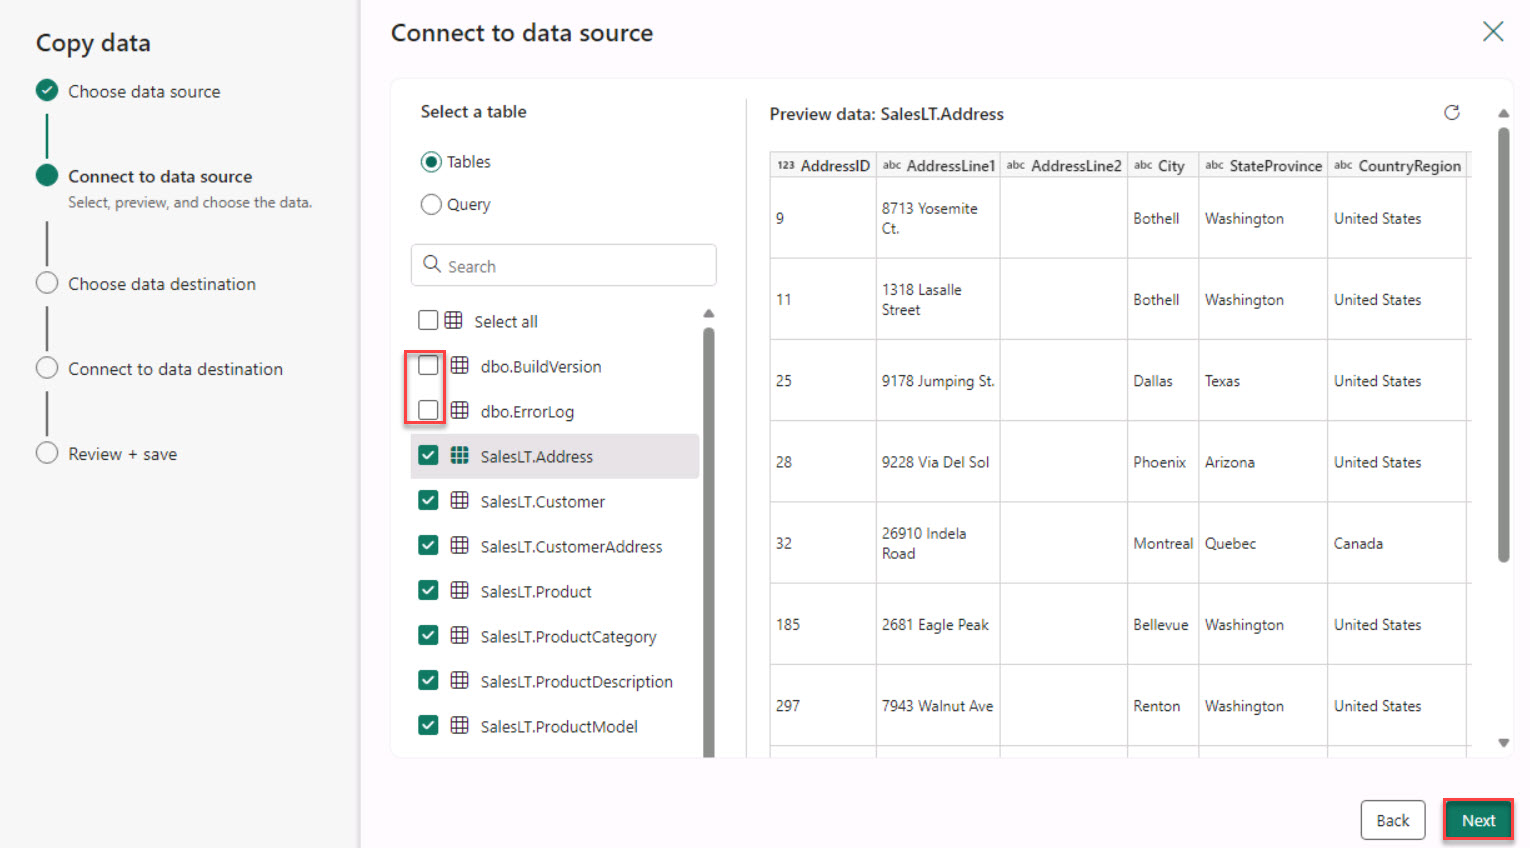
On the Connect to data source page, select Tables.
It may take 30-60 seconds to display the list of tables.
-
Select Select all, clear the dbo.BuildVersion and dbo.ErrorLog checkboxes, and then select Next.
-
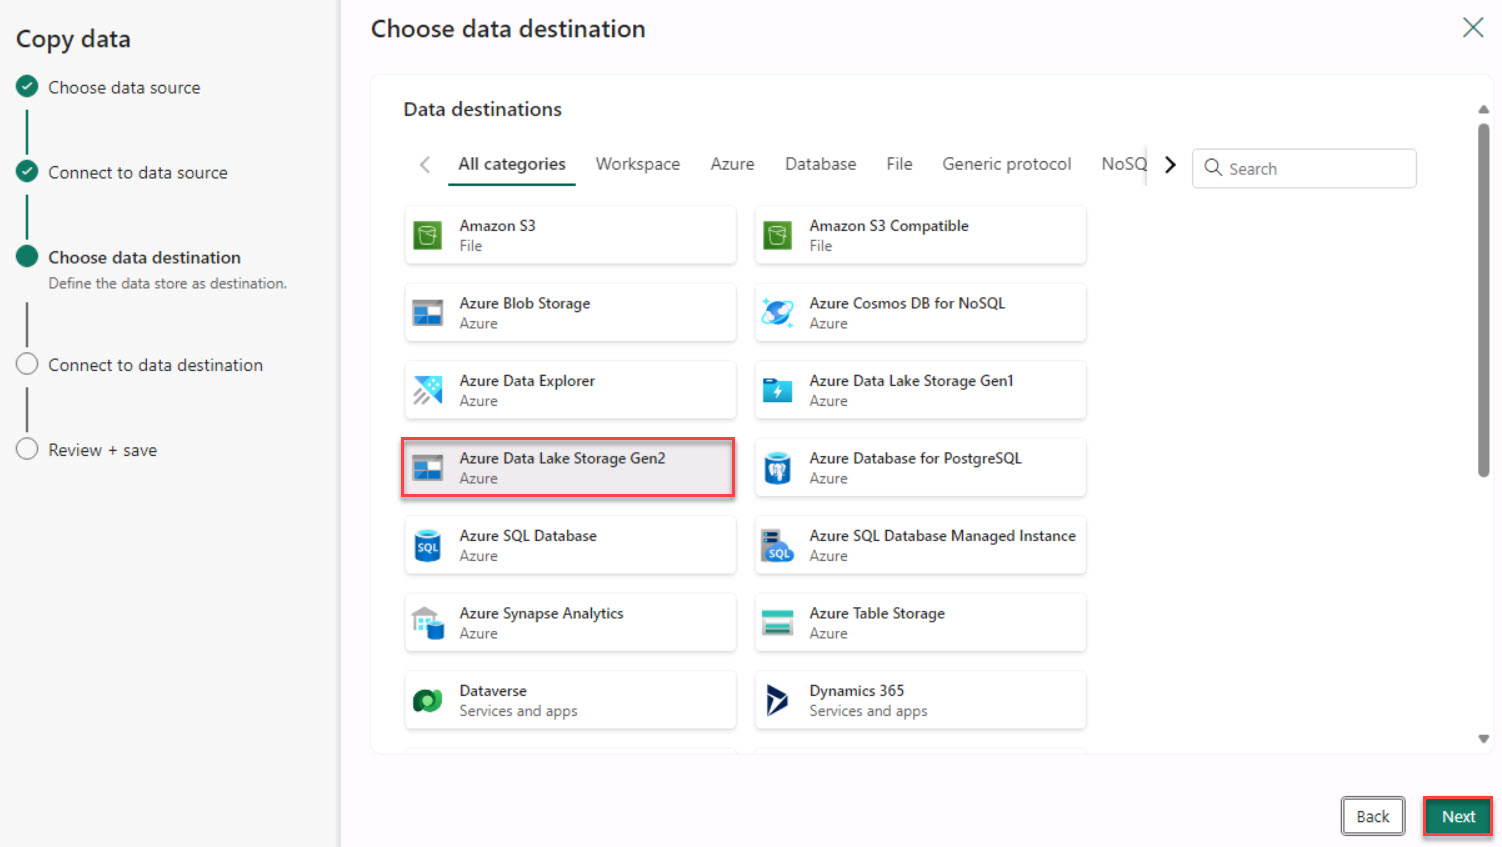
On the Choose data destinations page, search for and select +++Azure Data Lake Storage Gen2+++.
-
On the Connect to data destination page, enter the following to create a new connection:
Default Value URL https://sa@lab.LabInstance.Id.dfs.core.windows.net/ Authentication kind Organizational account <!– Tenant ID +++@lab.Variable(serviceDirectoryID_tenantID)+++ Service principal client ID +++@lab.Variable(serviceApplicationID_clientID)+++ Service principal Key +++@lab.Variable(secretDescription)+++ –> The connection URL for the Data Lake Storage account can be located here: Storage account > Settings > Endpoints > Data Lake Storage.

-
Select the account that’s already authenticated and then select Next.
-
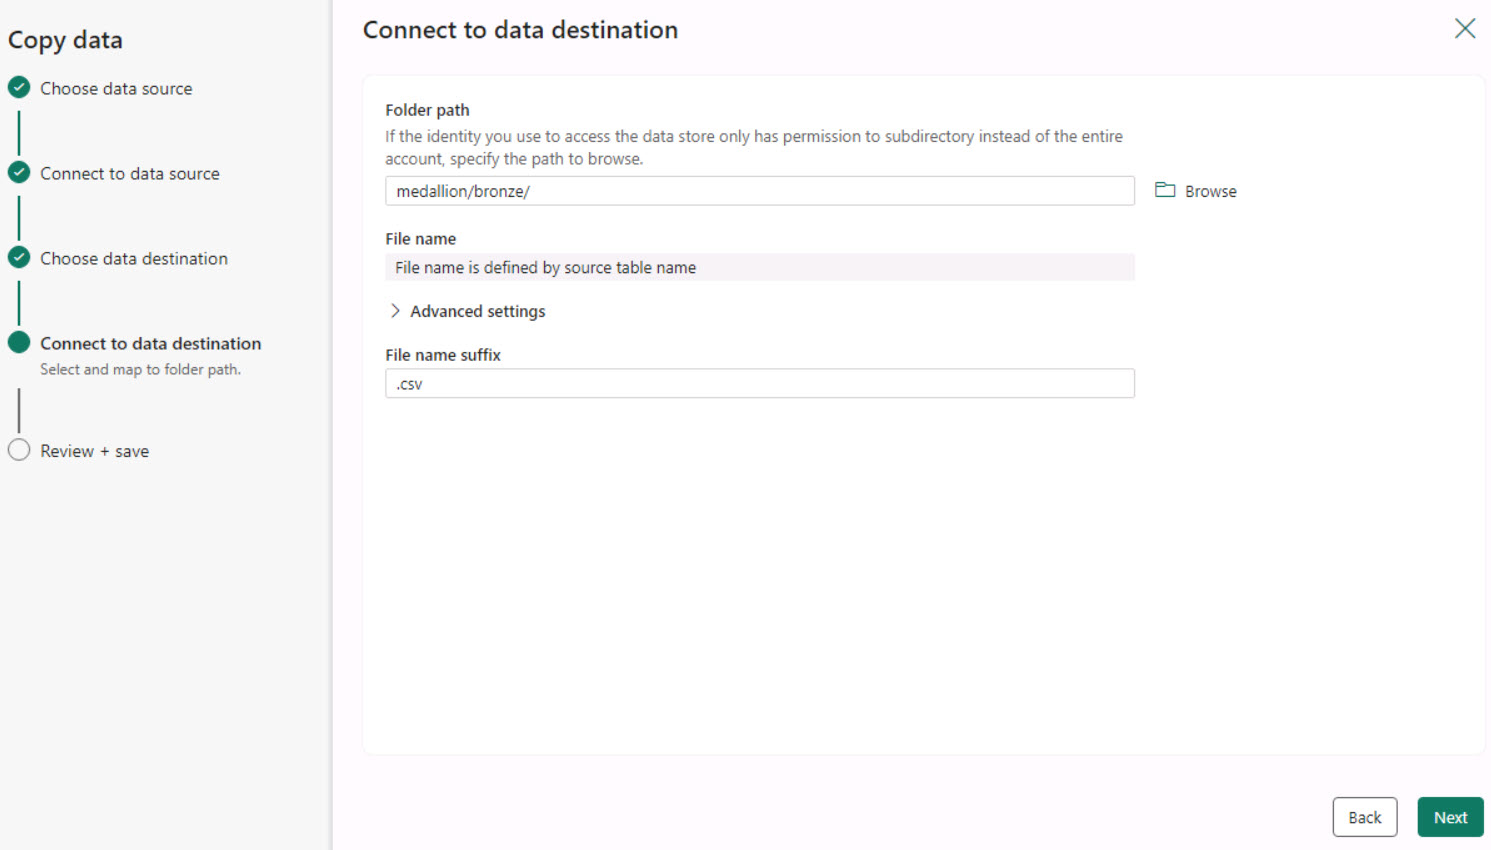
On the Connect to data destination page, next to the Folder path box, select Browse.
-
Select medallion > bronze and then select OK.
-
In the File name suffix box, enter .csv and then select Next to test the connection.
-
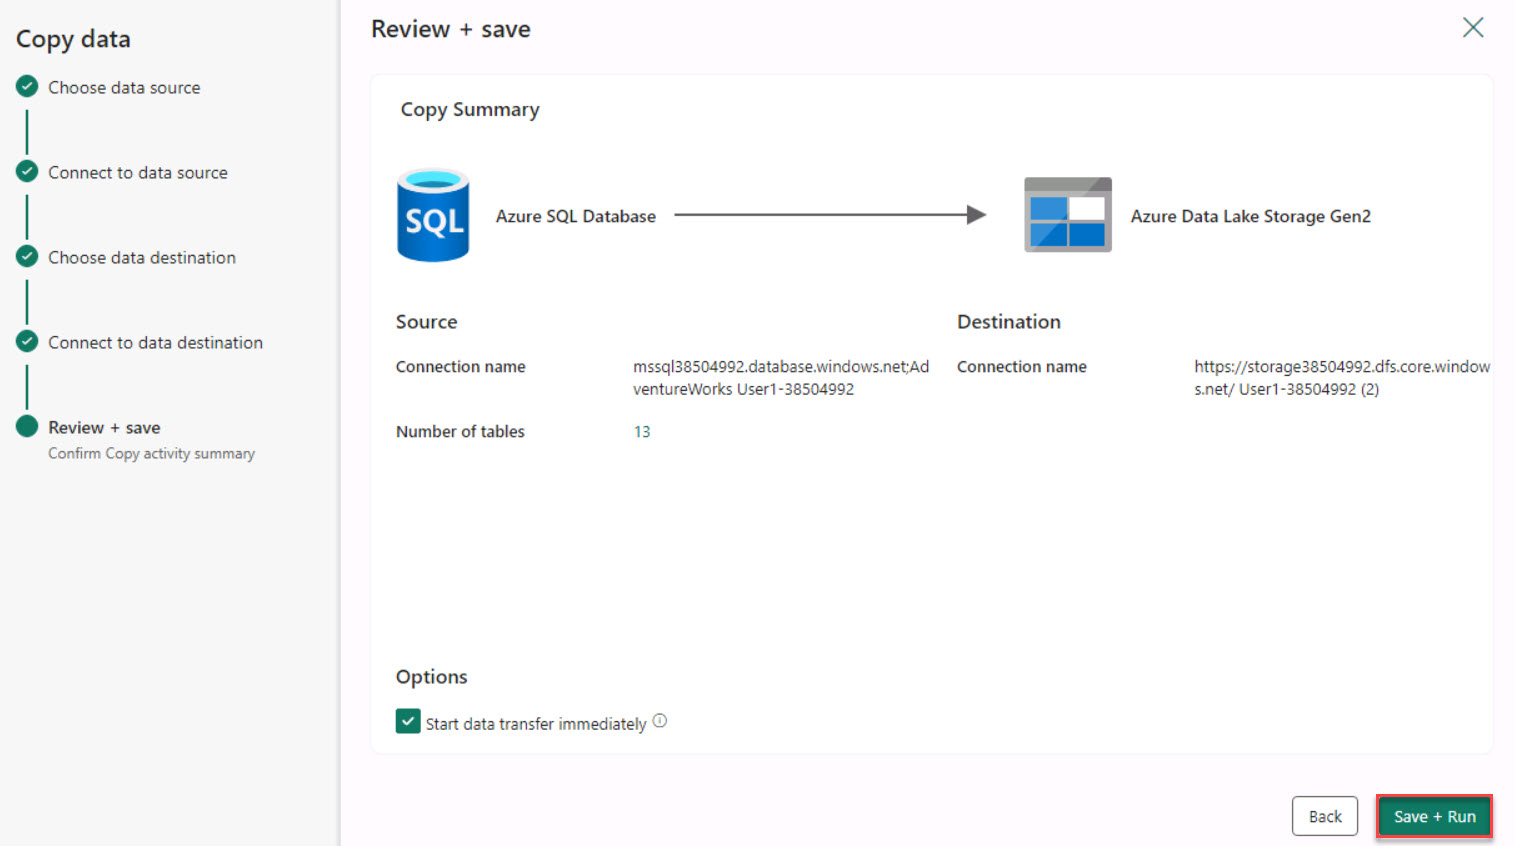
Select Next and then select Save + Run. After a brief delay, the Pipeline Run window displays.
-
In the Pipeline Run window, select OK. The pipeline will start processing.
-
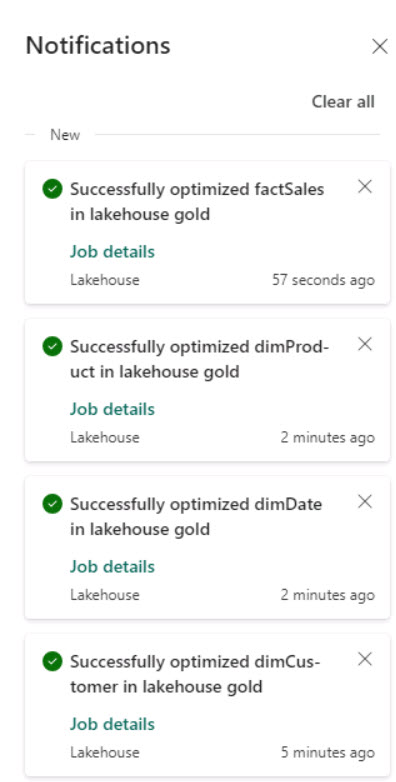
On the upper right of the page, select Notifications. You can use the Notifications area to monitor the pipeline.
-
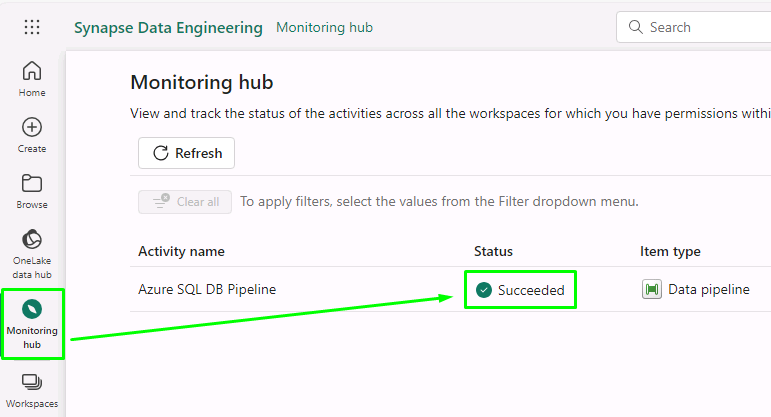
At the lower left of the page, above Data Factory, select the ellipses (…) icon and then select Monitor.
-
Verify that the value in the Status box for the pipeline is Succeeded.
Please wait for the pipeline to execute. If the notification continues to say it’s running after 10 minutes, check the monitoring hub for a succeeded status.
-
After the status shows Succeeded, your data has been transferred from Azure SQL Database to ADLS Gen 2.
