Task 01: Create a SharePoint site and document library
In this exercise you’ll create a SharePoint site and configure a SharePoint document library. Later in the lab you’ll use the document library as a knowledge source for your Copilot Studio agent, providing a foundation for the generative answers actions in your custom topics.
Key steps
01: Create a SharePoint site
-
Open a new browser tab, and go to lodsprodmslearnmca.sharepoint.com/_layouts/15/sharepoint.aspx.
-
If prompted, sign in by using the following credentials:
Item Value Username @lab.CloudPortalCredential(User1).UsernameTemporary Access Pass (TAP) token @lab.CloudPortalCredential(User1).AccessToken -
On the command bar, select Create site.
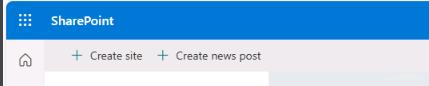
-
In the Create a site: Select the site type dialog, select Communication site.
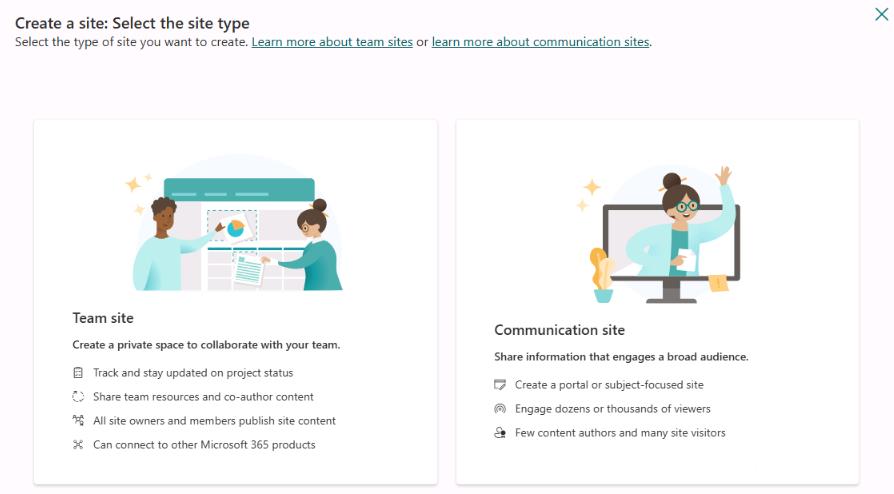
-
In the Select a Template dialog, select Standard communication.
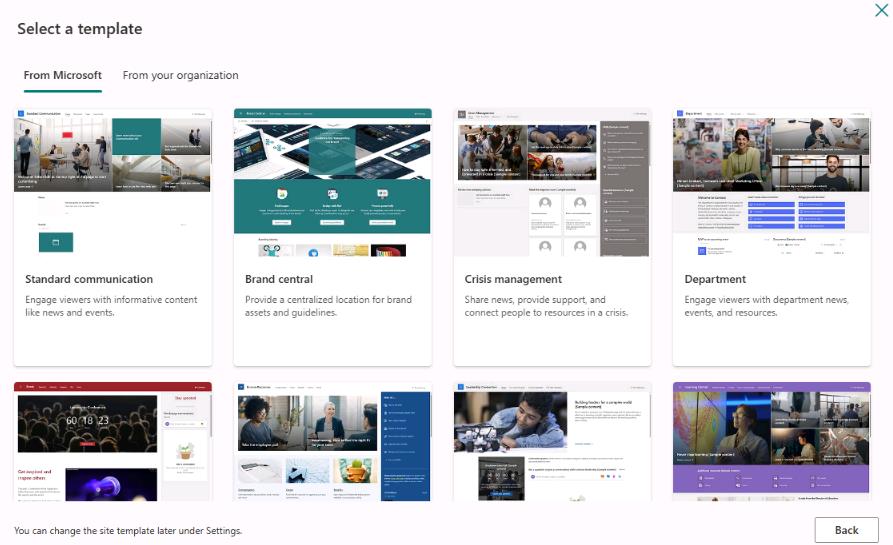
-
In the Preview and use… dialog, select Use template.
-
In the Give your site a name dialog, enter the following details and then select Next.
Item Value Site name Zava-Retail-DataSite description The central hub for company resources, documents, and operational information accessible to all employees.Site address suffix Zava-Retail-Data@lab.LabInstance.IdThe names of all resources that you create end with an eight-digit number. This number is the unique identifier for your lab instance.
The lab instance number in the screenshots will not match your lab instance number. The numbers from the screenshots represent the lab instance number in use when youcaptured screenshots.
-
Select Create site.
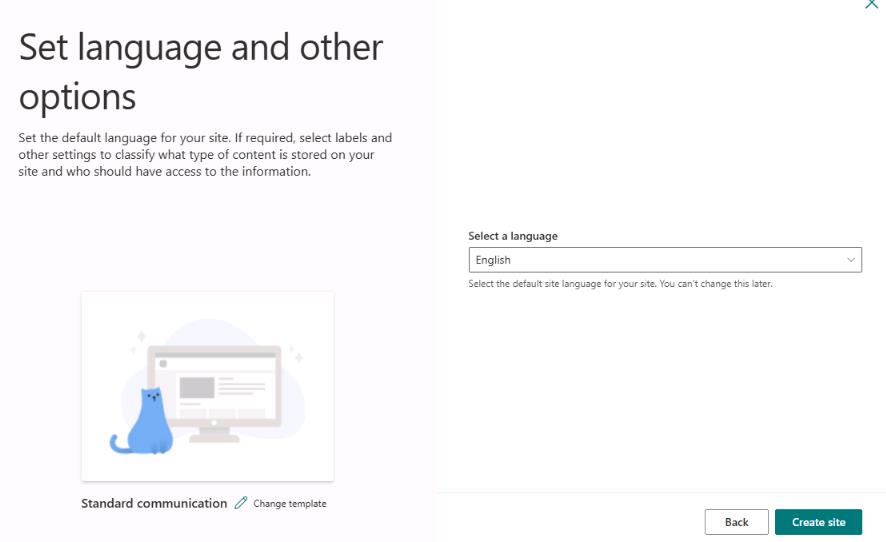
It may take a couple of minutes for the site to be created.
02: Upload documents to the document library
-
On the command bar for the site, select Documents.
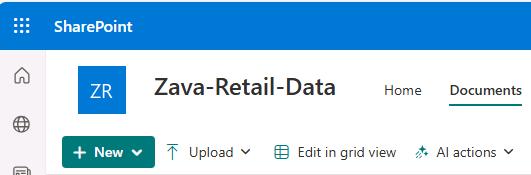
-
On the Documents page, on the command bar, select + Create or upload and then select Folder upload.
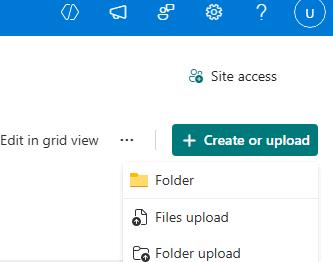
-
Go to
F:\LabFiles, and then select Upload.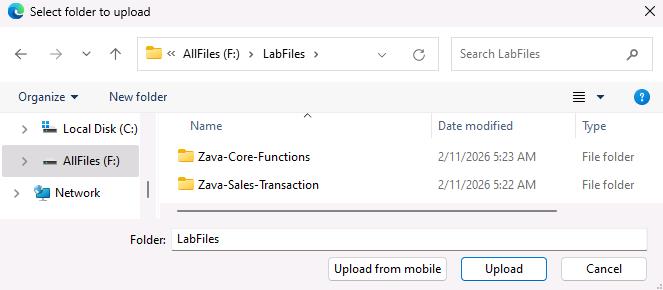
-
Wait until the confirmation dialog is displayed.

-
In the document library, select LabFiles. The two folders should now be visible.
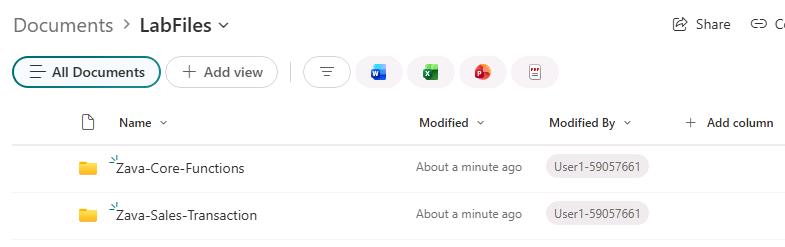
-
Open the Zava-Core-Functions folder. This will allow you to view the files you previously uploaded.
Folder Contents cashiers Point-of-sale operations data customers_loyalty Rewards program membership data marketing Campaigns and promotional assets rd Research and development data returnitems Product return workflows taxt_rule Tax configuration information and rule sets zavavision Analytics and visualization tools -
Navigate back to the LabFiles directory and open the Zava-Sales-Transaction folder to examine the files you uploaded.
Folder Contents Zava-Sales-Transactions Central repository for all sales, operations, and analytics data