Task 03: Create an agent by using Microsoft Foundry
Introduction
As Zava’s COE moves toward advanced agentic workflows, they need a safe way to introduce deeper reasoning and richer analysis without letting Copilot Studio improvise outside enterprise boundaries. A Foundry agent provides a controlled “specialist” that can be grounded in a specific dataset and invoked only when required.
Description
In this task, you’ll create a Foundry agent that uses a provided internal dataset for store banking reconciliation scenarios. You’ll deploy the model, attach the dataset as a vector index, validate the agent’s behavior with test prompts, and capture the project endpoint needed for integration with Copilot Studio.
Success criteria
- A Foundry agent is created with the attached dataset and produces grounded answers to a test prompt, and the project endpoint is captured for integration.
Key steps
01: Prepare Microsoft Foundry
-
Open Edge and go to Microsoft Foundry.
-
Sign in by using the following credentials:
Object Value Username @lab.CloudPortalCredential(User1).Username Tap @lab.CloudPortalCredential(User1).AccessToken -
At the top of the Foundry home page, set New Foundry to On.

-
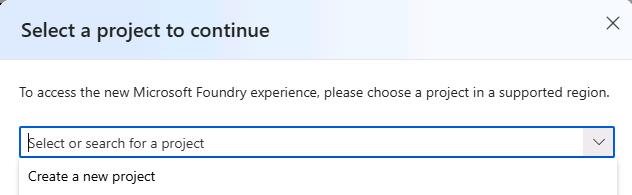
In the Select a project to continue dialog, Create a new project.
-
In the Project field, enter
Zava-Retail-Data@lab.LabInstance.Idand then select Create.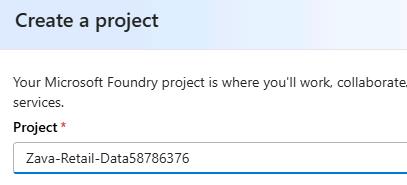
It may take up to 5 minutes to create the agent.
-
On the command bar, select Build.

You’ll configure permissions in the next task.
02: Configure Microsoft Foundry
In this section you will give the user account permissions for uploading files in Foundry.
-
In a new tab, go to the Azure portal.
-
If prompted, sign in by using the following credentials:
Object Value Username @lab.CloudPortalCredential(User1).Username Tap @lab.CloudPortalCredential(User1).AccessToken -
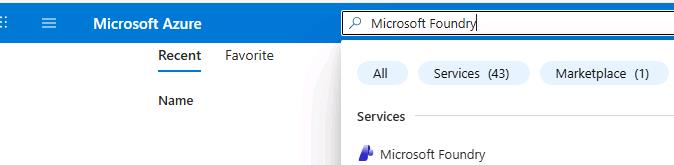
In the Search field, enter
Microsoft Foundry. -
In the list of search results, select Microsoft Foundry.
-
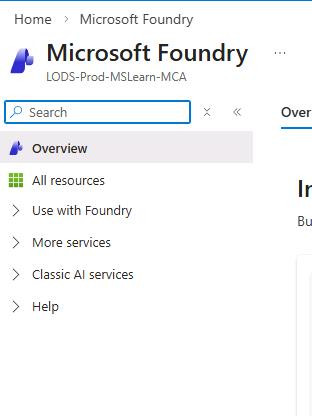
On the Microsoft Foundry page, in the left pane, select All resources.
-
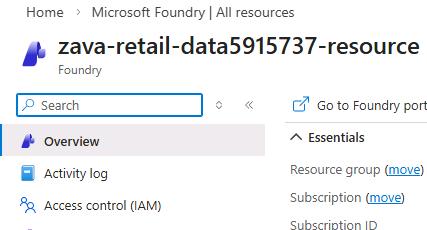
Select zava-retail-data@lab.LabInstance.Id-resource.
-
On the page for the resource, in the left pane, select Access control (IAM).
-
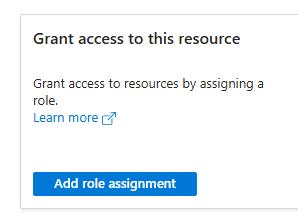
In the Grant access to this resource tile, select Add role assignment.
-
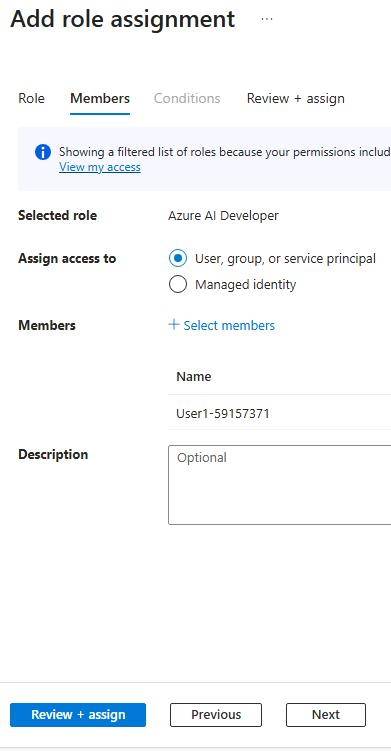
Search for and select the
Azure AI developerrole and then select Next.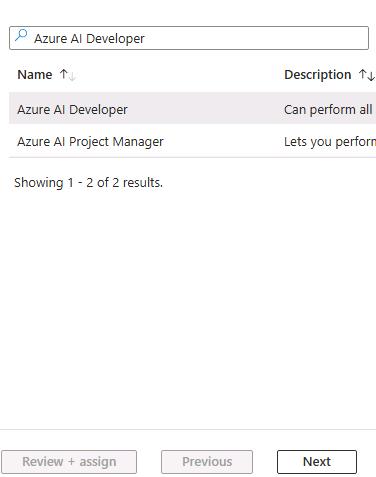
-
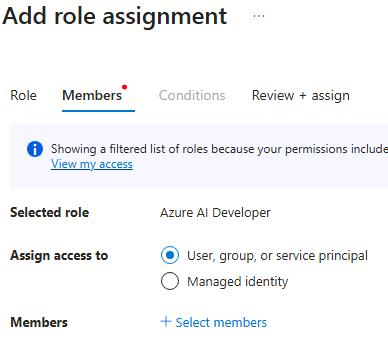
Select + Select members.
-
Search for and select
@lab.CloudPortalCredential(User1).Username.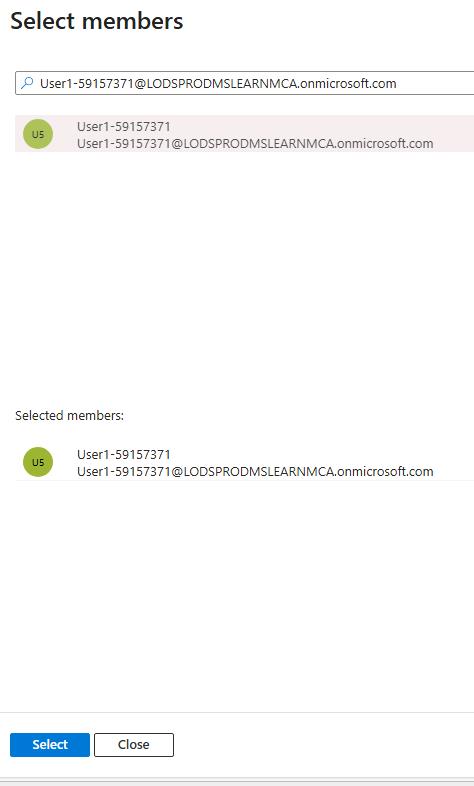
-
Select Review + assign twice.
03: Configure and deploy the agent
-
Return to the Foundry tab in Edge, and then select Models and then select Deploy a base model.

-
Search for and select
gpt-5.2-chat. -
Select Deploy and then select Default settings.

-
In the Instructions field, enter the following text:
 Use only the provided internal synthetic dataset to retrieve, analyze, and reconcile store‑level banking information. Always reference exact values for each store's balances, pending amounts, metadata, risk flags, snapshots, limits, and settlement times. Apply the global reconciliation rules strictly, including PendingThresholdHigh (12,000), AvailableMinBuffer (5,000), discrepancy tolerance (2 cents), and local‑currency evaluation.

 Do not infer missing data or use external sources. Convert currencies only when explicitly requested using the supplied FX rates. Identify threshold breaches, trend anomalies, and risk‑flag conditions exactly as defined. All outputs must be factual, deterministic, and grounded solely in the dataset.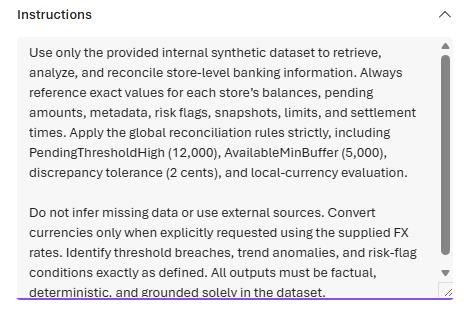
-
In the Tools section, select Upload files.
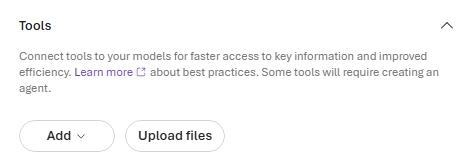
If the button is not enabled, wait 30 seconds and refresh the page. It can take some time for the permission you created in the earlier section to propagate.
-
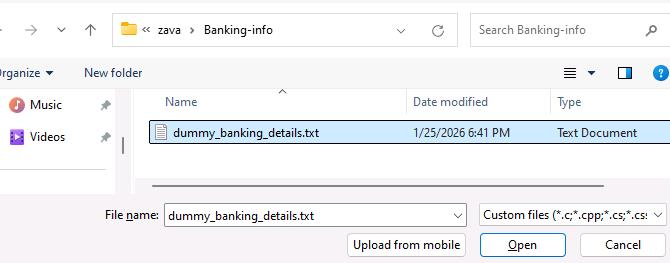
Select browse for files, go to
C:\zava\Banking-info\dummy_banking_details.txtAnd then select Open.
-
Set Vector index name to
Zava-Bank-Privacy-Details.
-
Select Attach.

-
On the command bar, select Save as agent.

-
In the Create an agent dialog, in the Agent name field, enter
zava-store-private-bank-detail-botand then select Create.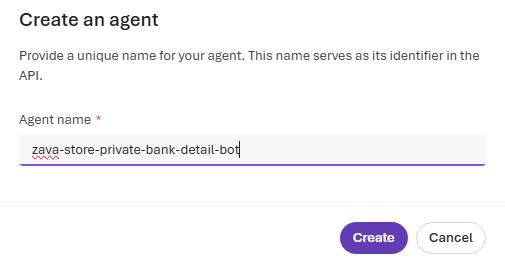
If it doesn’t take you to the agent page, refresh the page.
-
Submit the following prompt:
What is the pending amount for BOS‑POP‑009, and does it exceed the global PendingThresholdHigh? -
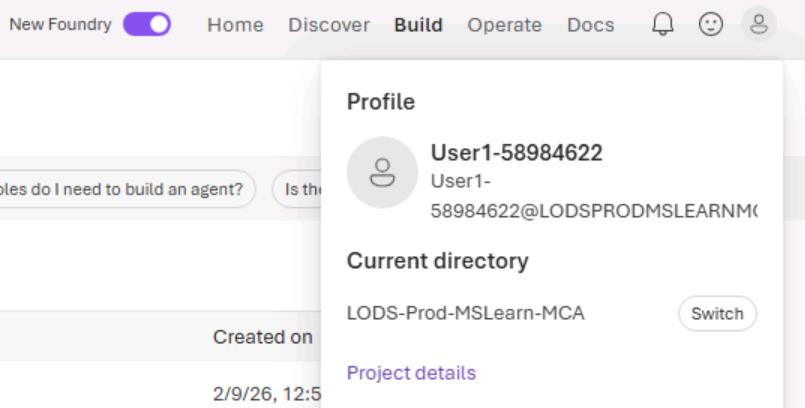
On the command bar, select the avatar icon and then select Project details.
-
Copy the Endpoint value.
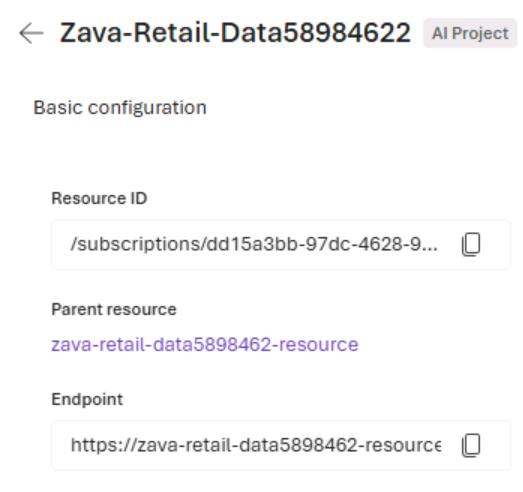
-
Paste the value into a notepad file. You will need the value for the following task.
@lab.TextBox(FoundryProjectEndpoint)