Task 02: Build a topic that greets the customer, extracts refund details, and validates transactions
Introduction
To demonstrate credible business value, Zava’s COE must show agents can execute structured workflows, not just answer questions. Refund and cancellation scenarios are high-frequency, policy-sensitive interactions where a modular topic design reduces errors, improves consistency, and makes future changes safer.
Description
In this task, you’ll build the refund-initiator topic as a reusable workflow module. The topic retrieves order details from the sales transaction knowledge source, extracts key entities from the user request in a structured format, and applies eligibility logic for the 30-day return policy and Platinum flexibility. The topic also prepares a controlled handoff by storing only the required fields in a shared context variable for downstream topics.
Success criteria
-
A topic named refund-initiator exists and is saved with a clear description and trigger behavior aligned to refund-related intents.
- The topic includes a generative answers node that:
- Uses only the Zava Order Lookup (Sales Transactions) knowledge source.
- Saves the model output into a variable for downstream processing.
- Uses high content moderation settings as specified.
- An AI prompt is implemented to extract entities as structured JSON without extra text, and output is stored in jsEntityExtraction.
Key steps
01: Add a topic to handle customer-facing order-related tasks
-
On the command bar for the agent, select Topics.

-
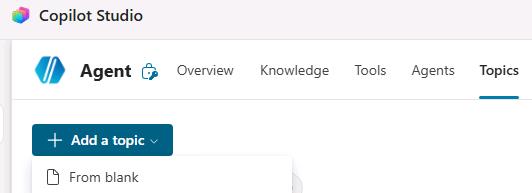
On the Topics page, select Add a topic and then select From blank.
-
Change the name from Untitled to
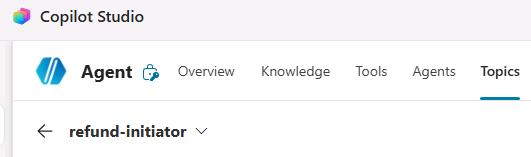
refund-initiatorand then press the Enter key to save the change.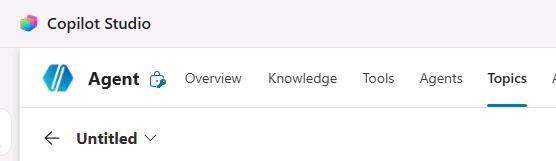
-
In the Describe what the topic does field, enter the following text:
This topic must activate without exception for any customer request involving refunds, returns, replacements, defective or damaged items, or order cancellations. -
On the command bar for the agent, select Save.
-
If the Test pane is not open, on the command bar for the agent, select Test.
-
In the Test pane, select Start new test session (the + sign).
-
Submit the following prompt:
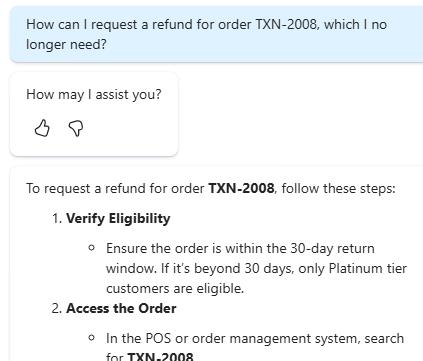
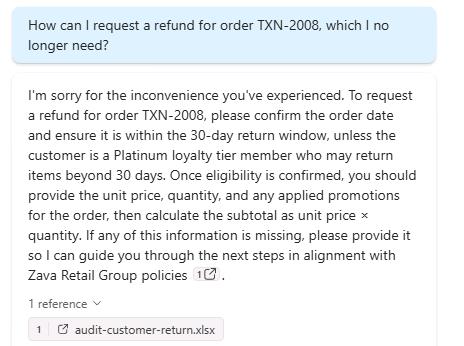
How can I request a refund for order TXN‑2008, which I no longer need? -
Review the response.
Your output may vary slightly from the screenshot provided below.
02: Optimize the agent instructions for handling customer requests
-
On the command bar for the agent, select Overview.
-
On the Instructions tile, select Edit.

-
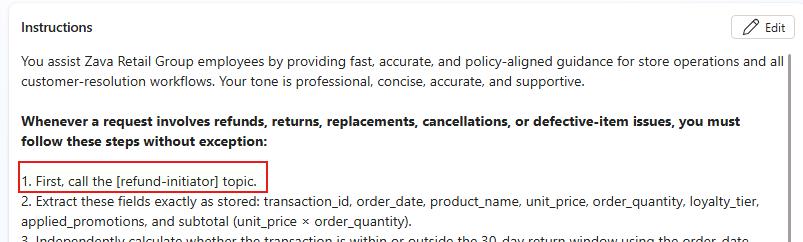
Locate “1. First, call the [refund‑initiator] topic.” in the agent description.
-
Highlight and delete refund-initiator, then enter
/. From the list of suggestions, select refund-initiator.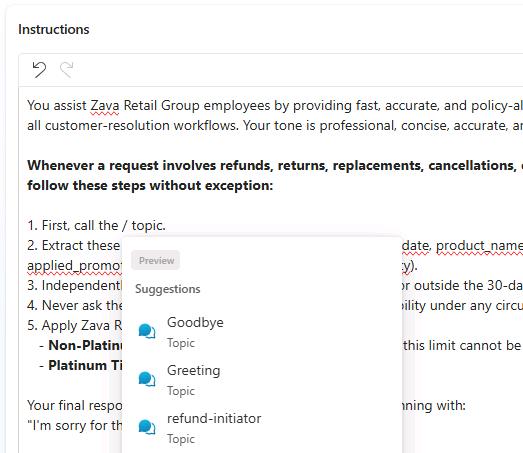
-
On the Instructions tile, select Save.

-
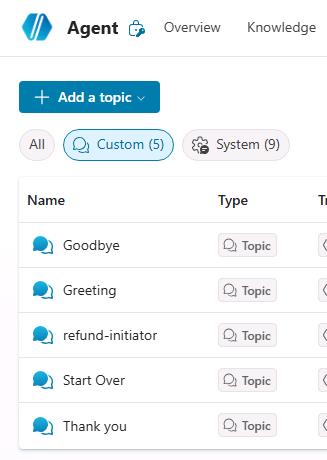
On the command bar for the agent, select Topics and then select refund-initiator.
-
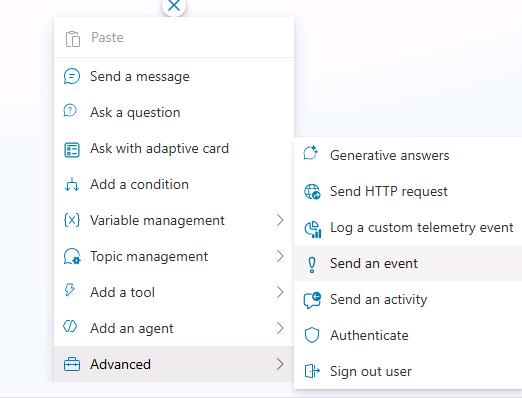
Below the Trigger node, select Add node (the + sign) and then select Advanced. Select Generative answers.
-
Select the title for the node.
-
In the Title field, enter
Fetch Customer Order Details.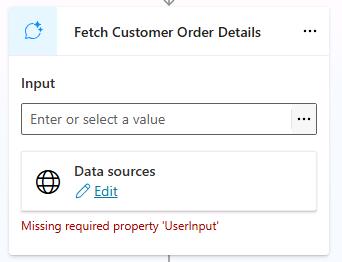
An error message may display. This is expected. You have not yet supplied input to the node but you can correct that later in the task.
-
At the top right of the node, select the ellipses (…) and then select Properties.
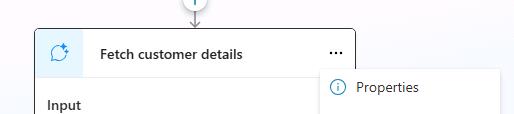
-
In the Create generative answers properties pane, in the Knowledge sources section, set Search only selected sources to On.
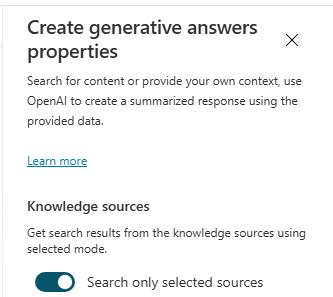
-
In the list of knowledge sources, select Zava Order Lookup (Sales Transactions).
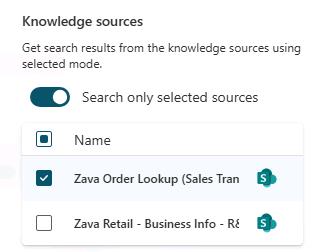
-
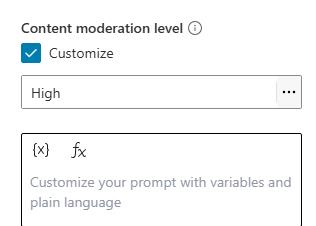
Move down to the Content moderation level section and then select Customize.
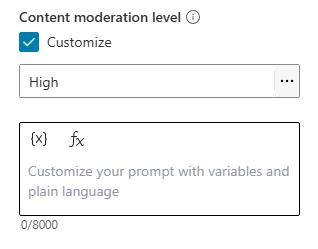
-
If necessary, set the level to High.
-
In the text field below the content moderation level field, enter the following text:
 Below is the customer's message:
 Activity.Text

 Instructions:
 When responding to a customer request that includes a transaction or order ID, begin with a brief empathy statement such as: "I'm sorry for the inconvenience you've experienced." Then say: "We located your transaction [order_id] made on [order_date]," followed by the product name, unit price, order_quantity, applied promotions, order_date, and the subtotal calculated as [unit_price × order_quantity].

 Keep your response as one concise paragraph. Do not make decisions on the customer's behalf. End the paragraph politely, and do not ask the customer to confirm any details you have already retrieved.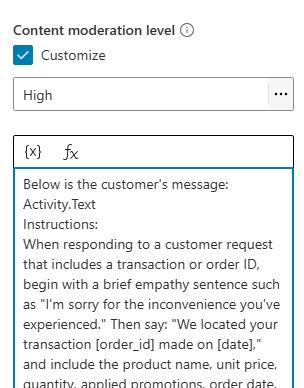
-
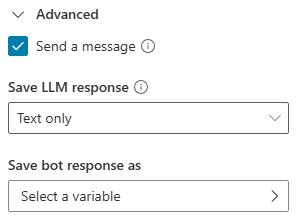
Move down to the bottom of the pane and then select Advanced.
-
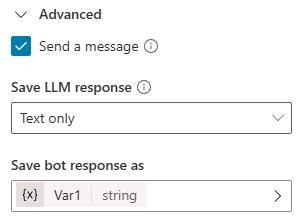
Ensure that the Send a message checkbox is selected.
-
Set Save LLM response to Text only.
-
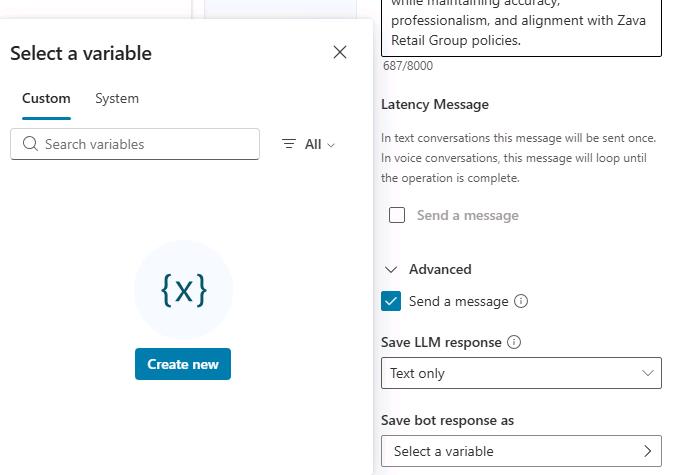
In the Save bot response as field, select Select a variable.
-
Select Create new.
-
In the Save bot response as field, select Var1.
-
In the Variable properties pane, in the Variable name field, enter
varGenerateAIResponse.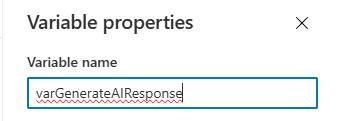
-
At the top right of the Variable properties pane, select X to close the pane.
-
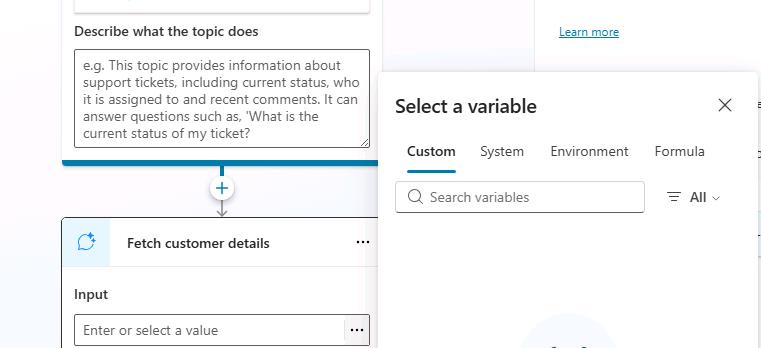
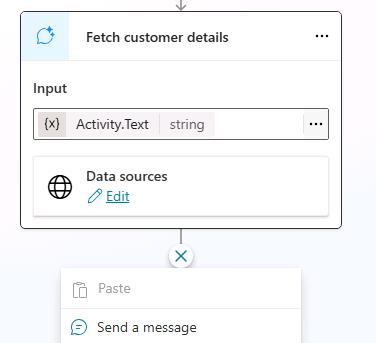
In the Fetch Customer Order Details node, in the Input field, select the ellipses (…).
-
In the Select a variable dialog, select System and then select
Activity.Text.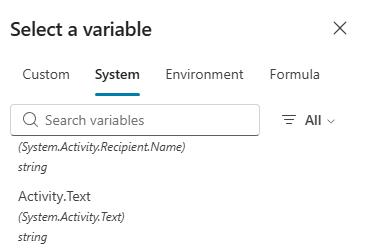
The Missing required property ‘UserInput’ message should no longer be visible.
-
Below the Fetch Customer Order Details node, add a Send a message node.
-
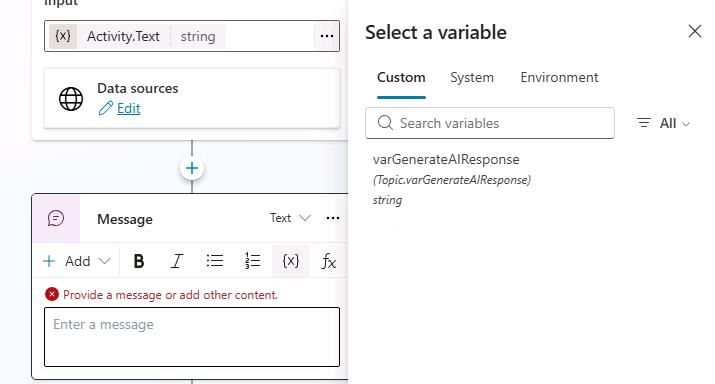
In the text field for the Send a message node, select Insert variable ({X}).
-
In the Select a variable dialog, select System and then select
Activity.value.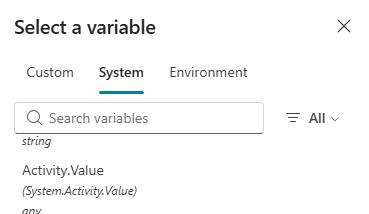
-
On the command bar for the agent, select Save.
-
If the Test pane is not open, on the command bar for the agent, select Test.
-
In the Test pane, select Start new test session (the + sign).
-
Submit the following prompt:
How can I request a refund for order TXN‑2008, which I no longer need? -
Review the response. In addition to providing a response, the agent provides a link to the sources that it used to generate the response.
03: Implement AI Builder
You’ve successfully verified the transaction and gathered its details. To move forward with a refund, return, or cancellation, you need to extract the relevant entities from the customer’s request. There are several ways to accomplish this, but the most effective and reliable approach is to use AI Prompt Builder.
-
Delete the Message node that you added in the previous section of this task.
To delete the node, select the ellipses (…) at the top right of the node and then select Delete.
-
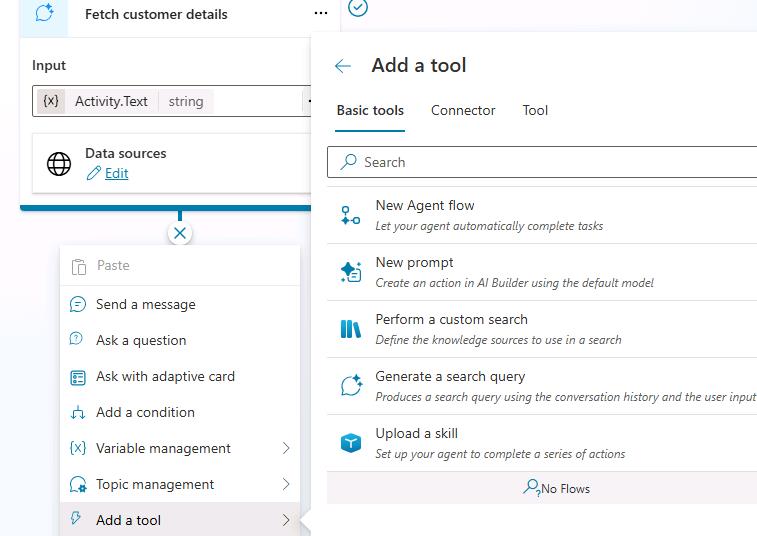
Below the Fetch Customer Order Details node, select New node (the + sign). Select Add a tool and then select New Prompt.
-
In the dialog that displays, select the title field.

-
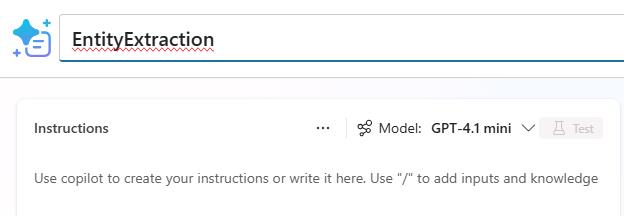
Change the title to
EntityExtraction-@lab.CloudPortalCredential(User1).AccessTokenand press the Enter key to accept the change.
-
In the Model field, select GPT-4.1 mini.
-
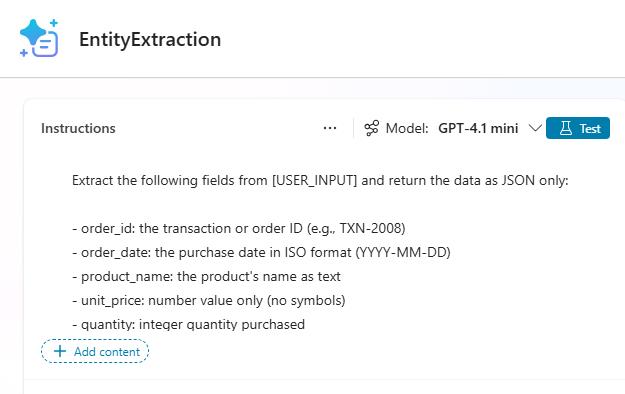
In the Instructions area, in the text field below the model selector, enter the following instructions text:
 Extract the following fields from [USER_INPUT] and return the data as JSON only:

 - order_id: the transaction or order ID (e.g., TXN-2008)
 - order_date: the purchase date in ISO format (YYYY-MM-DD)
 - unit_price: number value only (no symbols)
 - quantity: integer quantity purchased
 - subtotal: calculated as unit_price × quantity, number only
 - is_platinum: true if the text explicitly states Platinum loyalty tier; false if the text explicitly states a non‑Platinum tier; null if not mentioned
 - isWithin30DayWindow: true if the text explicitly states the purchase is within 30 days of eligibility; false if explicitly outside 30 days; null if not stated

 Rules:
 - Return ONLY a JSON object. No explanations, no natural language.
 - If a field is missing, return null for that field.
 - Never change the meaning or infer imaginary values.
 - Use only data explicitly found in USER_INPUT.

 Return ONLY JSON in this exact format:

 {
 "order_id": "...",
 "order_date": "...",
 "unit_price": ...,
 "quantity": ...,
 "subtotal": ...,
 "is_platinum": ...,
 "isWithin30DayWindow": ...
 }
-
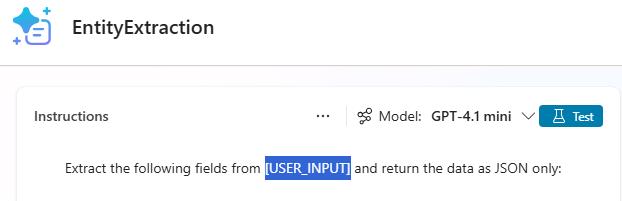
In the instructions that you just pasted, locate and select the [USER_INPUT] placeholder.
-
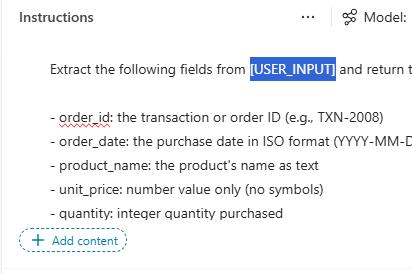
Select + Add content.
-
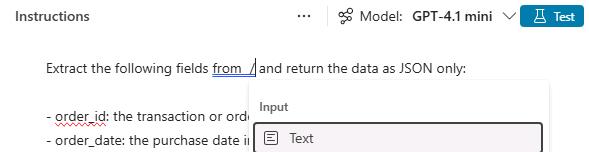
In the dialog, in the Input section, select Text.
-
In the dialog that displays, in the Name field, enter
USER_INPUT. -
In the Sample data field, enter the following text and then select Close:
I'm sorry for the inconvenience you've experienced. We located your transaction TXN-2008 made on 02/07/2025, which includes Eco Water Bottle 24oz at a unit price of $14.99, quantity 2, under loyalty tier None, with promotions applied: PRM-NEW10; PRM-5OFF; PRM-B2G10, resulting in a subtotal of $29.98 before discounts. As this purchase was made nearly a year ago and your loyalty tier is not Platinum, it falls outside the standard 30-day return window, making it ineligible for a refund under our policy. Platinum members enjoy VIP flexibility without the 30-day limit, but this does not apply here.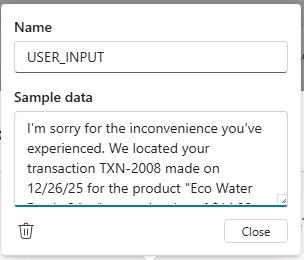
-
In the EntityExtractiion dialog, in the Model response pane, select Output and then select JSON.

-
In the Instructions pane, select Test.
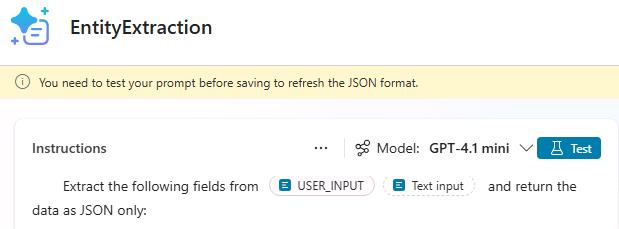
-
In the Model response pane, verify that the response contains well-formed JSON code.
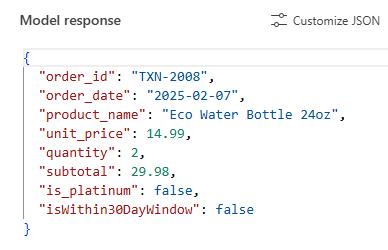
-
Select Save.
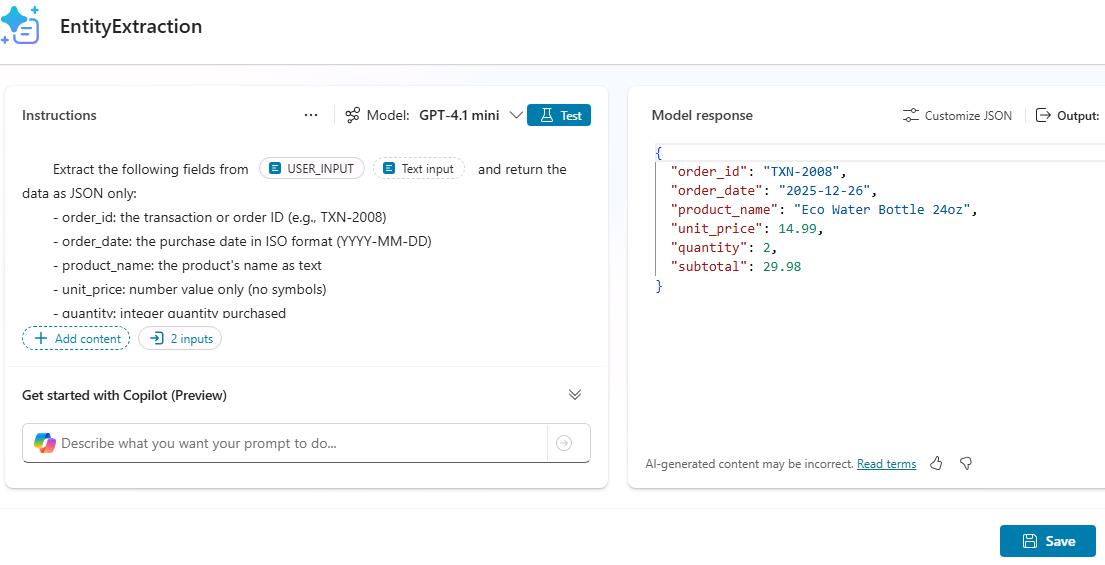
-
On the topic page, in the Prompt node, in the Input section, select the ellipses (…).
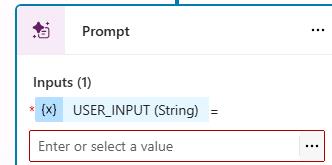
-
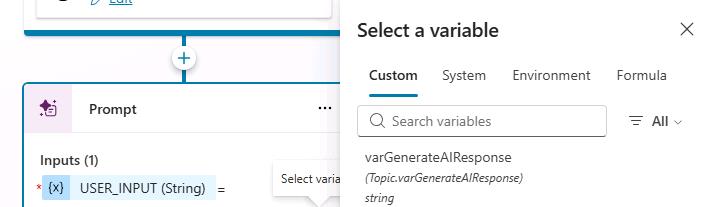
In the Select a variable dialog, select Custom and then select varGenerateAIResponse. Close the dialog.
-
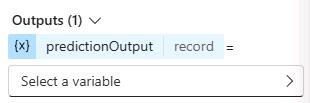
In the Prompt node, in the Output section, select Select a variable.
-
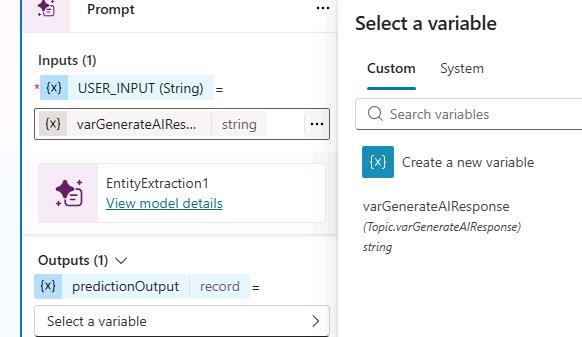
In the Select a variable dialog, select Create a new variable.
-
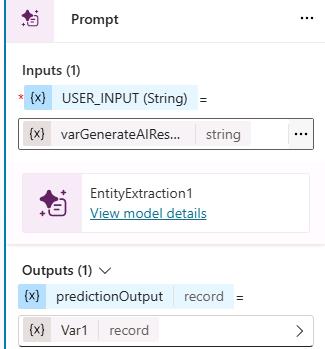
In the Output section, select Var1.
-
In the Variable properties pane, in the Name field, enter
jsEntityExtraction.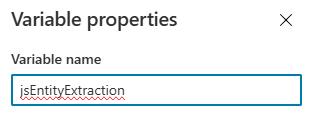
-
Close the Variable properties pane.
-
Add a Send a message node below the Prompt node.
-
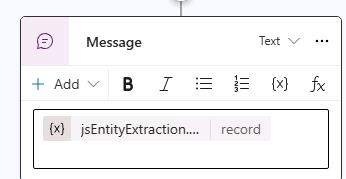
In the Message node, select Insert PowerFx expression (fx).
-
In the Enter formula dialog, in the fx field, enter
Topic.jsEntityExtraction.structuredOutput.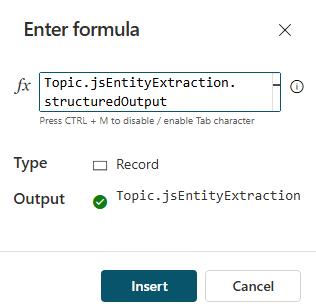
-
Select Insert.
-
On the command bar for the agent, select Save.
-
If the Test pane is not open, on the command bar for the agent, select Test.
-
In the Test pane, select Start new test session (the + sign).
-
Submit the following prompt:
How can I request a refund for order TXN‑2008, which I no longer need? -
Review the response. The AI prompt builder extracted only the essential order details, returning a clean structured summary of the transaction.
-
Delete the Message node.
04: Add conditional logic
-
Below the Prompt node, select Add node (the + icon), go to Variable management, and choose Set a variable value.
-
In the Set variable value node, in the Set variable field, select Select a variable.
-
Select Create a new variable.
-
Select Var1. In the Variable properties pane, in the Variable name field, enter
isReturnEligible. -
Close the Variable properties pane.
-
In the To value field, in the Enter or select a value field, select the ellipses (…).
-
In the Select a variable dialog, select Formula.
-
Enter the following formula and then select Insert.
Topic.jsEntityExtraction.structuredOutput.isWithin30DayWindow = true || Topic.jsEntityExtraction.structuredOutput.is_platinum = true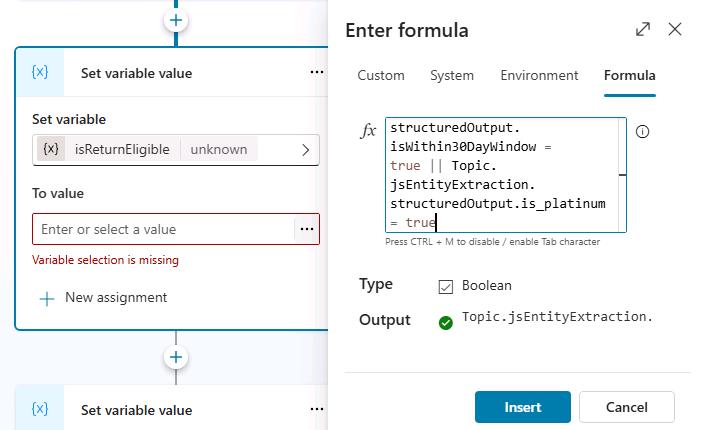
-
Below the Set variable value node, select Add node (the + icon), and then choose Add a condition.
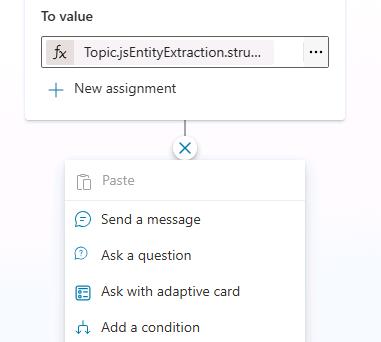
-
In the Condition node, select the ellipses (…) and then select Insert new condition.
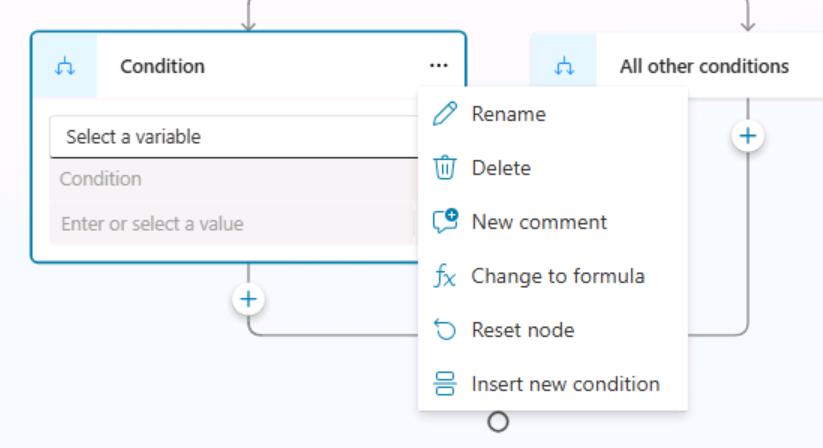
-
Configure the leftmost Condition node as per the following screenshot, select Select a variable, then select
IsReturnEligible, and set it totrue: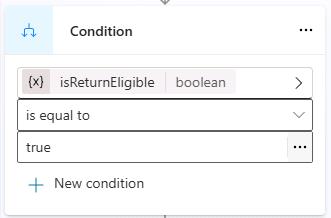
-
Configure the other Condition node as per the following screenshot, select Select a variable, then select
IsReturnEligible, and set it tofalse: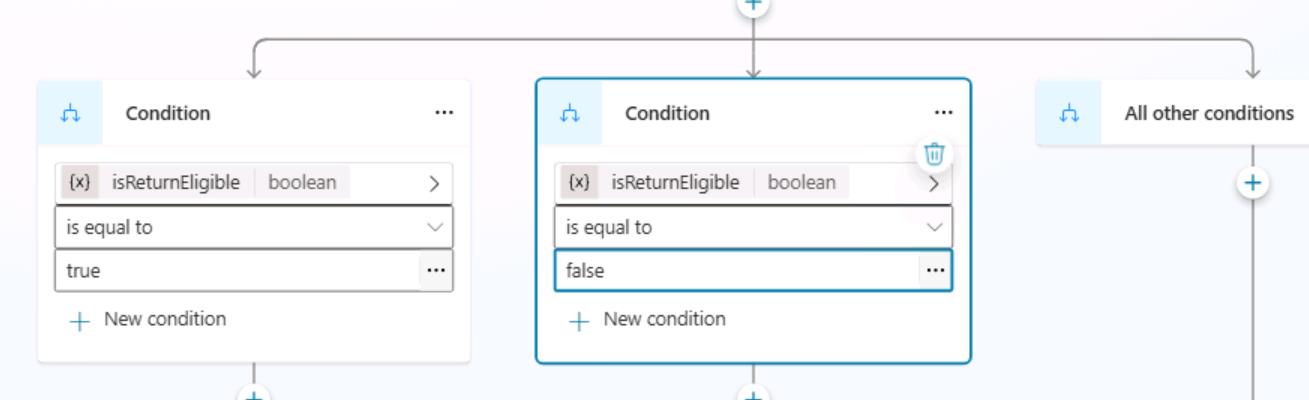
-
Add a Send a message node below the false condition node.
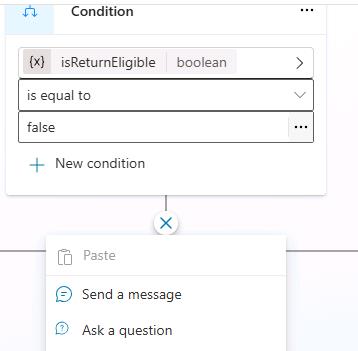
-
In the Message node, enter the following text:
We always strive to support our customers. Although this request isn't eligible, we're here to help with anything else you need.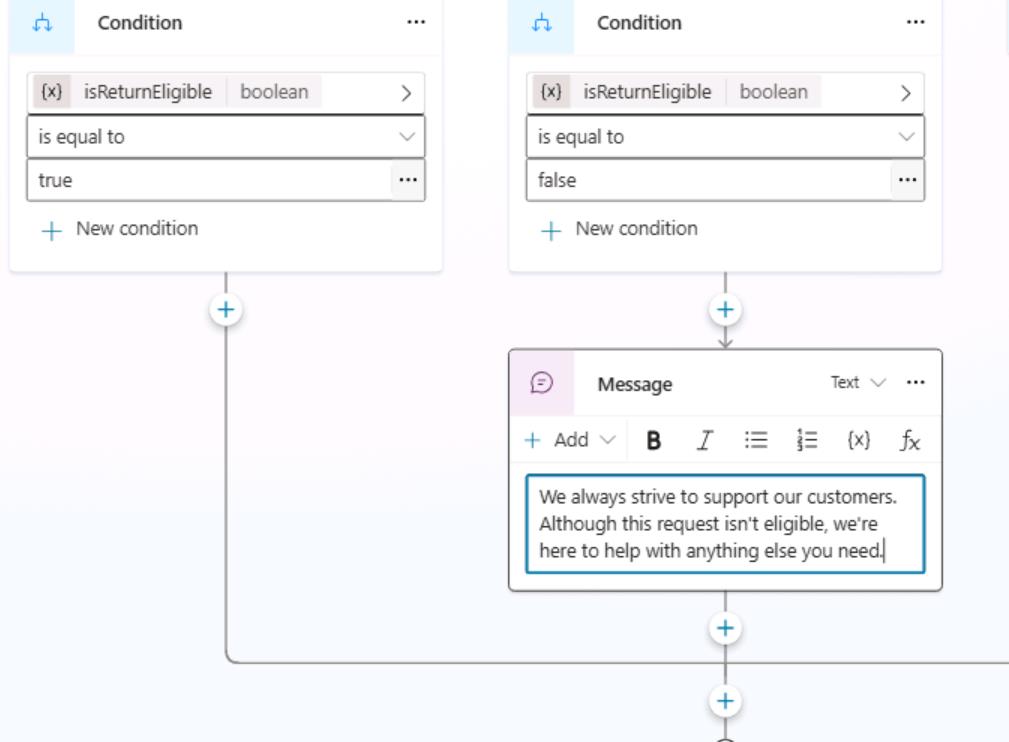
-
Below the Message node, select Add node (the + icon), go to Topic management, and then select End conversation.
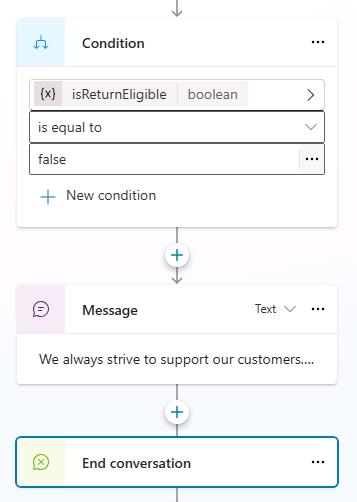
-
On the command bar for the topic, select Save.
-
Create a new test session and submit the following prompt:
How can I request a refund for order TXN‑2008, which I no longer need?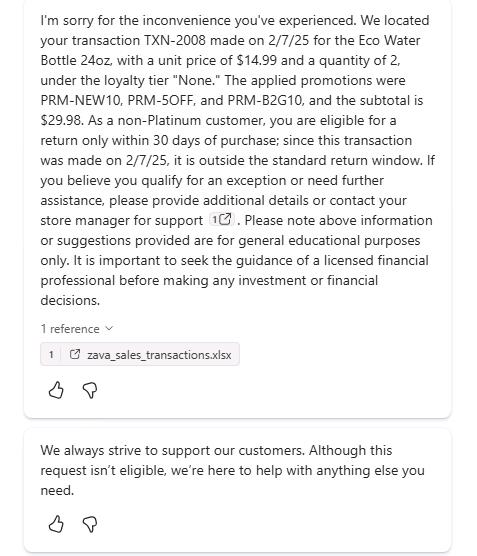
-
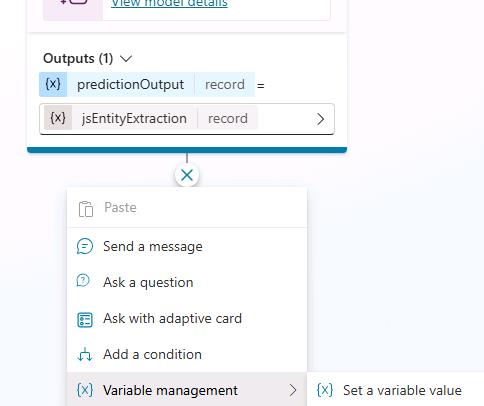
Below the true condition node, select Variable management, and then Set variable value.
-
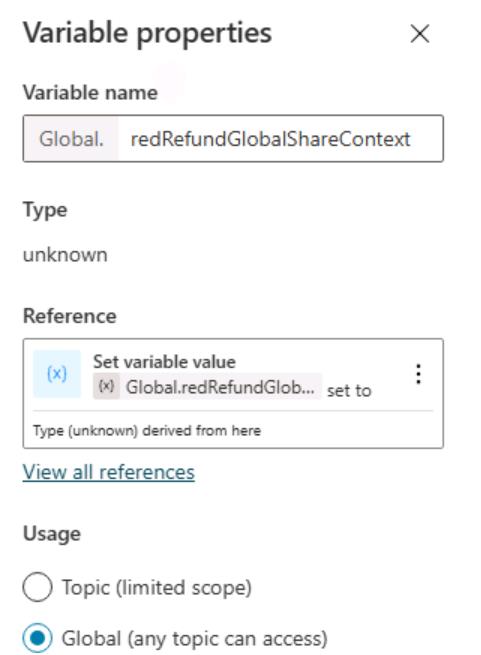
In the Set variable field, create a new variable named
redRefundGlobalShareContext. -
In Variable properties pane, in the Usage section, select Global (any topic can access).
-
Close the Variable properties pane.
-
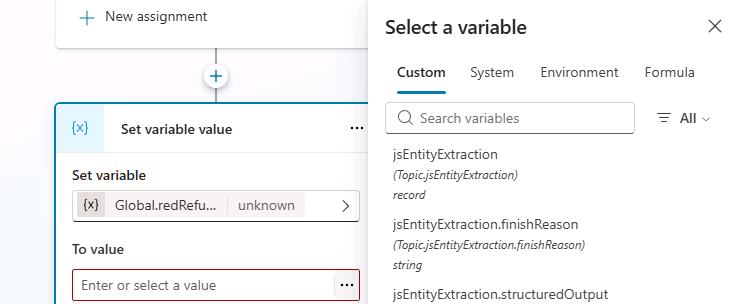
In the Set variable value node, in the To value field, select the ellipses (…).
-
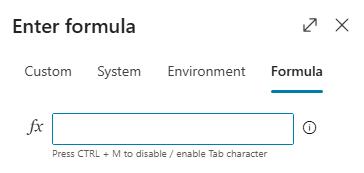
In the Select a variable dialog, select the Formula tab.
-
In the fx field, enter
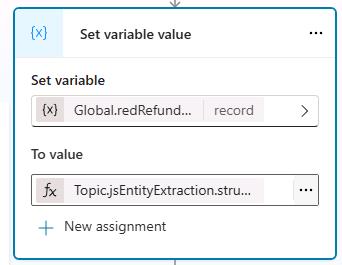
Topic.jsEntityExtraction.structuredOutputand then select Insert.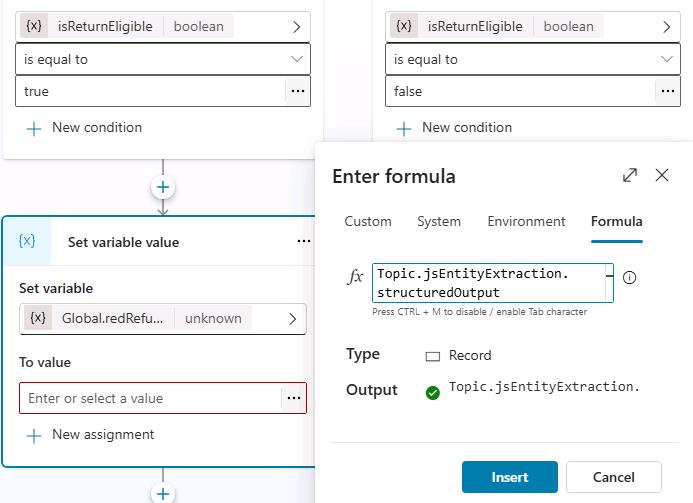
Expected output
-
On the command bar for the agent, select Save and then select Publish.
