Task 05: Review telemetry and document approval
01: Assess the agent’s functionality
In this step, you’ll assess the agent’s functionality and verify compliance with the established governance policies, using telemetry insights from Purview and PPAC.
-
Switch to Copilot Studio: in thew browser, select the Security - Zava International Location tab.
-
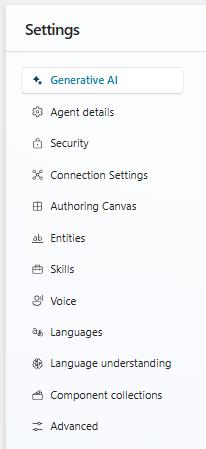
You’re in the security settings of the Zava International Location Advisor agent. In the left Settings menu, select Generative AI.
-
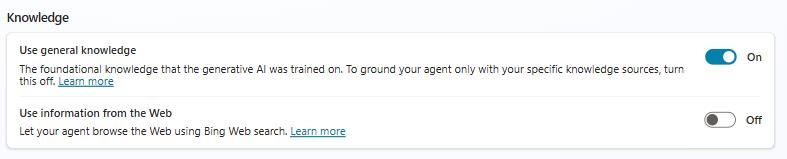
Under Knowledge make sure Use general knowledge is disabled. Do not forget to Save your change before exit.
-
Close the Settings window, by selecting the X in the upper right side of the page.
-
In the right test panel, type this prompt: Who is the cashier associated with ID NYC-FLG-001-EMP-001? and then select the Send icon.
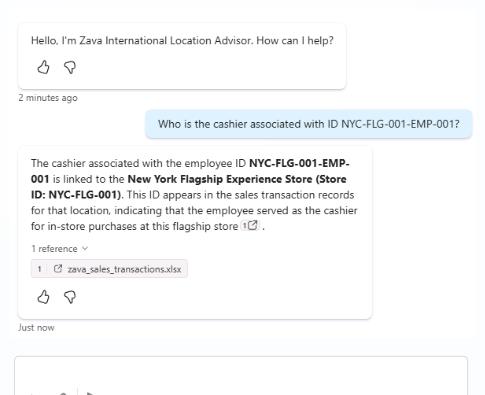
Notice that even though we put in place many rules and policies, Copilot Studio still wasn’t able to classify the citation. The reason is that Copilot Studio relies entirely on existing Microsoft Purview sensitivity labels.
If a document has no label applied, Copilot Studio simply treats it as General or Unlabeled, because it does not classify or label the file on its own. Copilot Studio has no way to determine that your file should be “Highly Confidential” unless you have already labeled it in Purview-for example, in Office apps, SharePoint, or via auto‑labeling policies.
-
To change the label of the knowledge source, you’ll need to switch to the SharePoint. From the browser tab bar, select the Zava-Retail-Data - Documents tab.
-
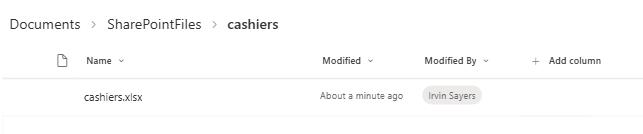
Select the cashiers.xlsx file to open it in the browser.
-
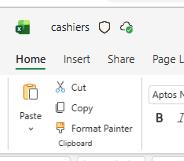
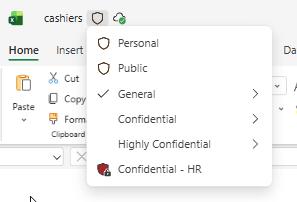
In the excel file, at the very top left, notice a policy icon next to the file name. Select it, and pick Confidential - HR.
-
Go back to the Topics - Zava International Location Advisor tab and select New test session to clear the chat.

-
Type the same prompt again, Who is the cashier associated with ID NYC-FLG-001-EMP-001? and select Send.
-
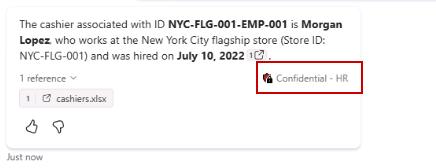
Notice how the citation you modified earlier is now marked as Confidential - HR.
02: View Types of sensitivity labels downgraded - Steps
Remember you’ve changed the Cashiers label in excel to Confidential - HR. Next, you’ll track it.
To begin, start by logging into Microsoft 365 Purview portal with your admin credentials:
-
In the browser tab bar, select the **Policies Microsoft Purview** tab. -
From the left side menu, select Solution then Information Protection.
-
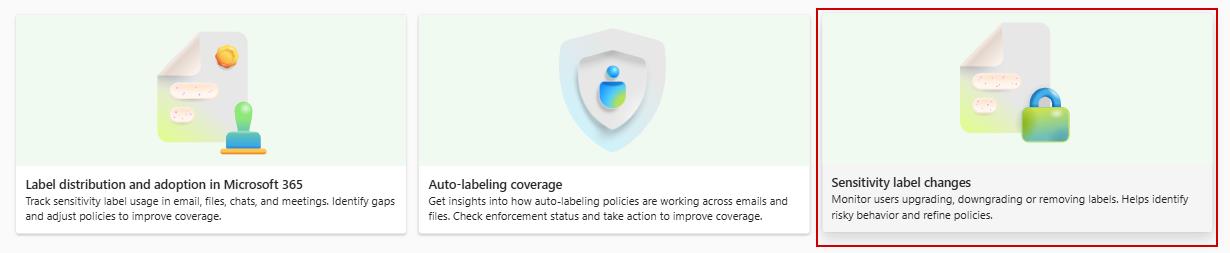
Select Reports then Sensitivity label changes.
-
Under Types of sensitivity labels downgraded, select View details.
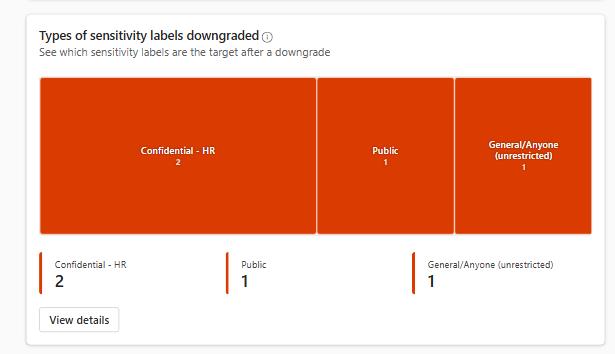
- Notice how one file downgraded from your HR policy we created to Public. Surch insights are important.
Reviewing Types of sensitivity labels downgraded is critical for business risk management because downgraded labels can directly weaken your organization’s data protection posture. When a file like the Cashiers Excel workbook is changed from Confidential - HR to Public, it becomes significantly more exposed. This increases the risk of unauthorized access, accidental sharing, and misuse of HR data.
Monitoring downgrade events helps the business quickly identify misclassification, prevent sensitive information from being handled incorrectly, and maintain compliance with internal policies and regulatory requirements. In short, this step ensures the company protects high‑risk data and avoids costly security gaps caused by improper label changes.
03: Review AI Interaction Telemetry in Activity Explorer - Steps
-
From the left side menu, select Solutions then DSPM for AI (classic).
-
Select Reports, then scroll down until Data and under Sensitive interactions per AI app, select View details.
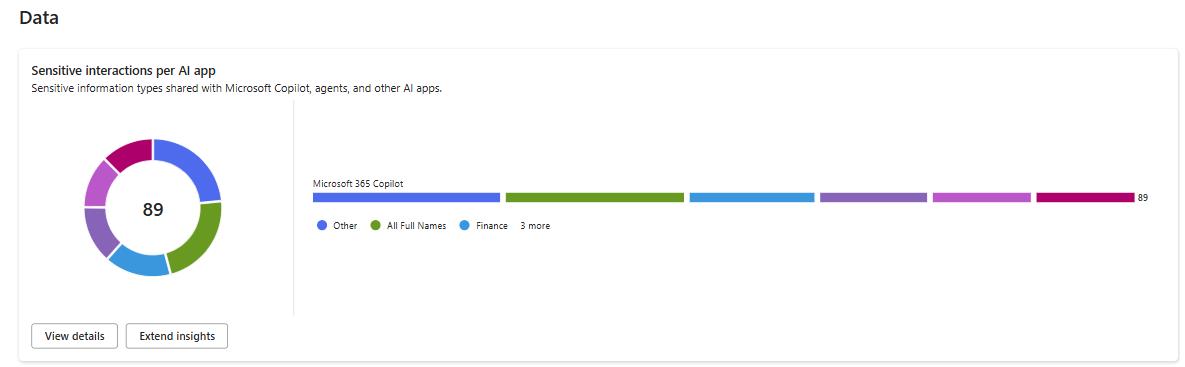
-
Select Sensitivity label: Any and filter by Confidential-HR.
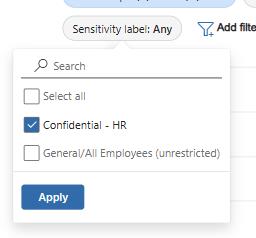
-
Select Apply to confirm the filter choice.
-
Select the second item, Ai Interaction, you may not have permission to see the prompt but you can clearly see cashiers.xlsx files we modified and CCopilot Studio returned it as a citation when we prompted Who is the cashier associated with ID NYC-FLG-001-EMP-001?

This step is important because Activity Explorer provides verifiable, item‑level evidence of how Copilot interacts with sensitive data. By reviewing which files-such as the Cashiers HR‑labeled workbook-were accessed by the agent, the business can confirm that AI activity aligns with governance policies, detect any inappropriate access early, and demonstrate compliance to auditors. This visibility protects the organization from data‑handling risks, ensures HR information remains properly controlled, and supports regulatory and internal security requirements.
Congratulations
You’ve completed this exercise!