Task 01: Deploy an MCP Server
In this task, you will deploy an MCP server. Later in the workshop, you will connect an agent to the MCP server.
Key tasks
01: Explore the MCP server components (optional)
-
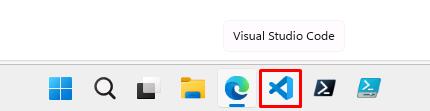
On the VM’s taskbar, open Visual Studio Code.
-
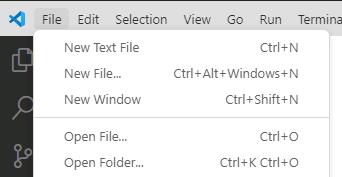
On the menu bar, select File and then select Open Folder.
-
Go to
C:\, select labs, then select Select Folder.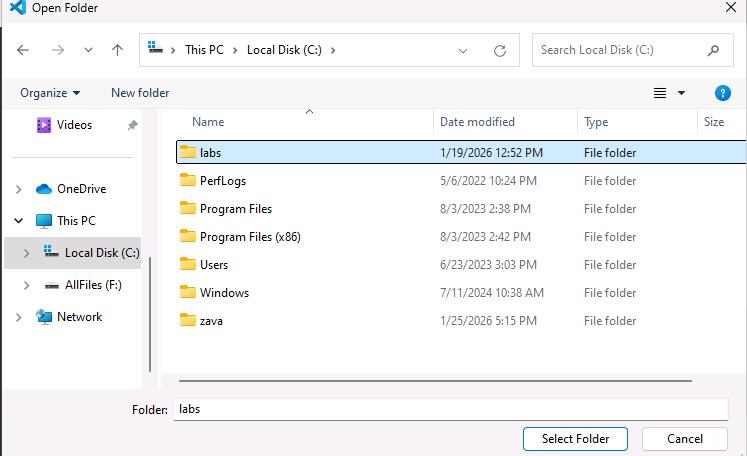
-
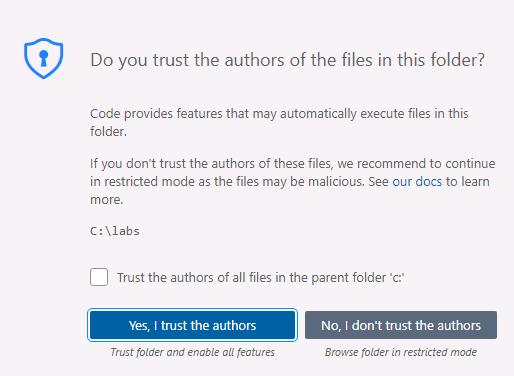
In the dialog that displays, select Yes, I trust the authors.
-
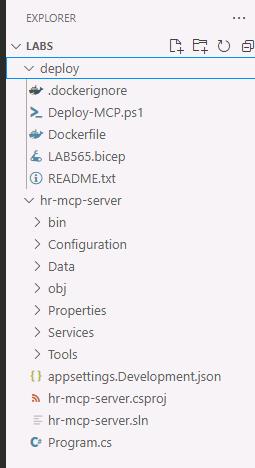
Expand the hr-mcp-server folder.
-
Explore the files in the following folder:
- Data: hr-mcp-server\Data\candidates.json
- Services: hr-mcp-server\Services
- Tools: hr-mcp-server\Tools
Select any file to view the file contents.
-
Close Visual Studio Code.
02: Deploy and configure the MCP server
-
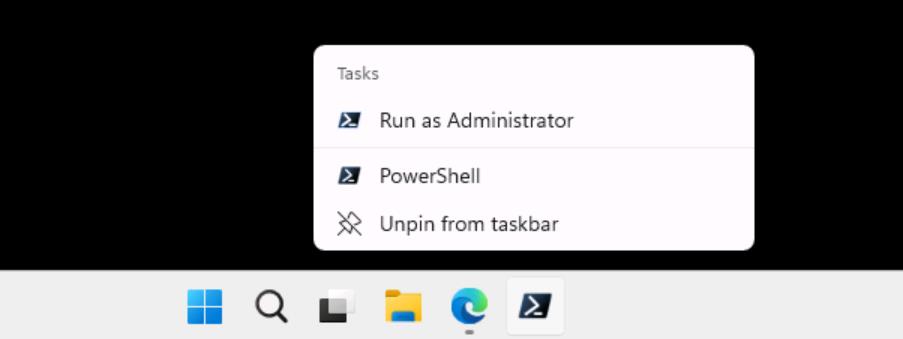
In the @lab.VirtualMachine(Win11).SelectLink virtual machine, on the Windows taskbar, right-click Windows PowerShell and select Run as administrator.
-
At the PowerShell prompt, enter the following command:
cd C:\labs\deploy -
At the PowerShell prompt, enter the following command:
pwsh -File C:\labs\deploy\Deploy-MCP.ps1
-
When prompted, sign in by using the following credentials:
Object Value Username +++@lab.CloudPortalCredential(User1).Username+++ Tap +++@lab.CloudPortalCredential(User1).AccessToken+++ -
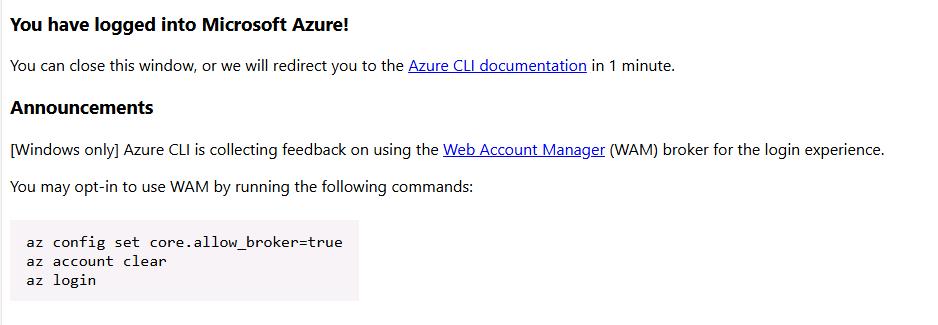
Close the confirmation web page and return to PowerShell.
After a couple of minutes, you will start to see activity in the PowerShell window.
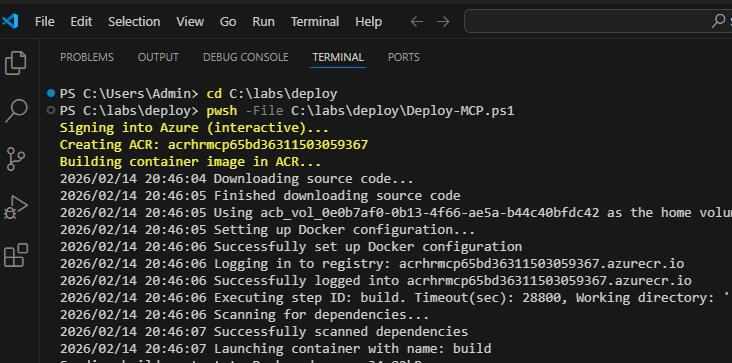
-
Leave the PowerShell window open.
It may take up to 10 minutes for the system to deploy the MCP server.
You can safely continue with other tasks in this exercise while you wait for the MCP server to get ready. Check back later to ensure that the process has completed.
When the process is complete, the following actions will occur:
-
The PowerShell window will display the message Deployment complete. MCP_Info.txt written to Desktop.

-
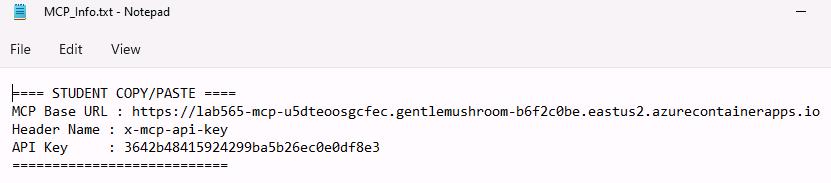
A file named MCP_Info.txt is added to the desktop. This file contains the information that you will need to connect to the MCP server.
-
-
Double-click MCP_Info.txt.
-
Review the file contents. The file contents should resemble the following screenshot: