Task 04: Apply Purview protections and retest
01: Classify and label the data with sensitivity labels
-
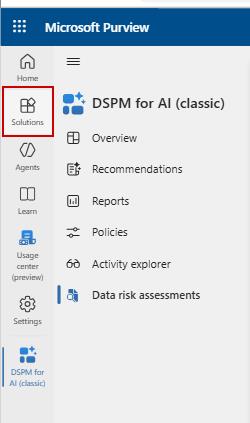
From the left side menu, select Solutions, then select Information Protection.
-
Select Sensitivity labels, then + Create, then select Label in the dropdown menu.
-
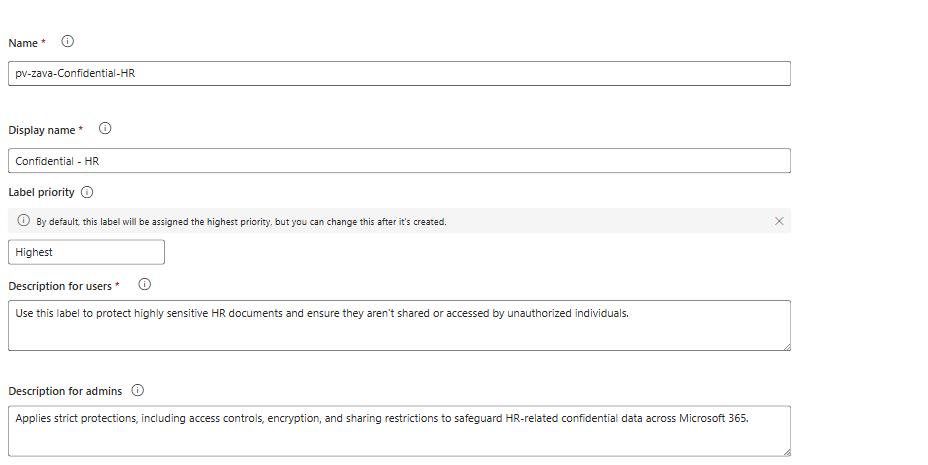
In the New sensitivity label wizard, provide the following info:
- Name: pv-zava-Confidential-HR
- Display name: Confidential - HR
- Label priority: -
(leave the default value) - Description for users: Use this label to protect highly sensitive HR documents and ensure they aren’t shared or accessed by unauthorized individuals.
- Description for admins: Applies strict protections, including access controls, encryption, and sharing restrictions to safeguard HR-related confidential data across Microsoft 365.
- Label color: Choose the burgundy red button (recommended), since it universally signals high sensitivity / restricted content.
-
Select Next.
-
Leave the default values for Define the scope for this label and select Next.
The ideal scope for pv‑zava‑Confidential‑HR is to enable files and other data assets since HR documents contain highly sensitive information such as PII, payroll, and performance data; enable Emails because HR frequently exchanges confidential attachments; optionally enable Meetings when HR discusses sensitive topics that require protecting agendas and preventing forwarding; enable Groups and sites only when you need to label and secure entire HR SharePoint sites or Teams; and include Azure/Fabric data assets only if HR stores or processes structured data within those environments.
-
Enable Control access and Apply content marking by checking their respective checkboxes, then select Next.
For a Confidential‑HR label, you should enable Control access to strictly limit who can open and view protected HR items, and enable Apply content marking if you want visible indicators like headers, footers, or watermarks to remind users the data is highly sensitive; Protect Teams meetings and chats is optional and only needed if HR regularly conducts sensitive meetings in Teams-and note that it requires a Teams Premium license to activate.
Configure Configure access control settings: This enables encryption and permissions enforcement.
- To ensures HR files are automatically protected whenever labeled. Set Assign permissions now or let users decide? to Assign permissions now
- For internal HR labels, set User access to content expires to Never to ensure authorized HR staff retain continuous access to protected content without interruption, unless your organization’s policy requires otherwise.
- Set Allow offline access to Always so HR users can open encrypted files even when they’re not connected to the network, unless your organization’s security policies require stricter restrictions.
-
Select Assign permissions under Assign permissions to specific users and groups.
-
Select Add all users and groups in your organization then Save.
when you select Assign permissions, Purview opens a panel where you can precisely control who is allowed to open, view, edit, or share content protected by this HR label. You can narrow access by selecting one or more of the following options:
- Add all users and groups in your organization - broad access (not recommended for HR).
- Add any authenticated users - grants access to anyone signed in (never use for HR).
- Add users or groups - the best option for HR labels, where you can restrict access to specific security groups such as “HR Department,” “HR Managers,” or “HR Leadership.”
- Add specific email addresses or domains - used only for tightly controlled external collaboration, if allowed by policy.
Once users or groups are added, you can select Choose permissions to assign specific rights (like View, Edit, Save, Print, Copy, Reply, etc.), ensuring the HR label encrypts the content and limits access only to the intended individuals.
Optional settings:
- Dynamic watermarking → ON if your org wants visible “Confidential - HR” watermarks.
- Double Key Encryption → Only if your org requires the highest protection level (very rare, usually regulatory).
-
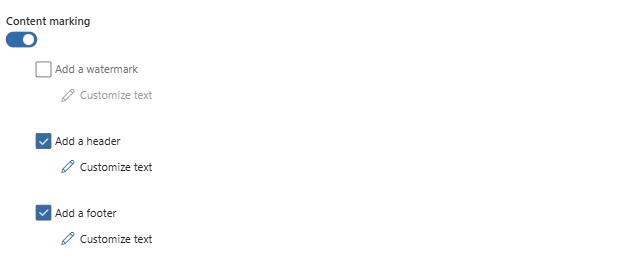
Select Next, then enable Content marking.
-
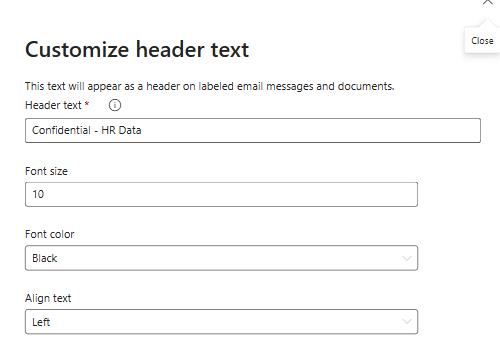
Check Add a header, then on Customize text, set Header text to Confidential - HR Data then Save.
-
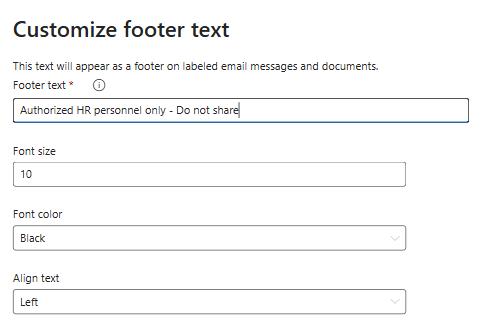
Under Add a footer, select Customize text, and set Footer text to Authorized HR personnel only - Do not share, then select Save.
-
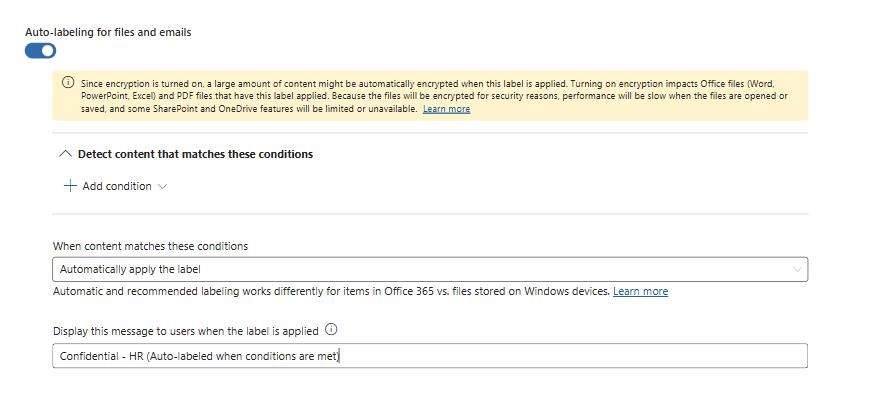
Under Auto-labeling for files and emails, turn on Auto-labeling for files and emails.
-
Under Display this message to users when the label is applied type Confidential - HR (Auto‑labeled when conditions are met).
-
Select Next.
-
On Define protection settings for groups and sites, leave the default values and select Next.
Define protection settings for groups and sites: These settings let you control how Teams, SharePoint sites, and Microsoft 365 Groups behave when this HR label is applied. You can restrict privacy and external user access to ensure only authorized internal members can join; control external sharing and Conditional Access to prevent HR sites from being shared outside the organization; and manage private teams discoverability and shared channel settings so confidential HR teams remain hidden from search and cannot be invited into shared channels.
-
Select Create label.
-
In the Sensitivity labels list, select the new label: Confidential - HR.
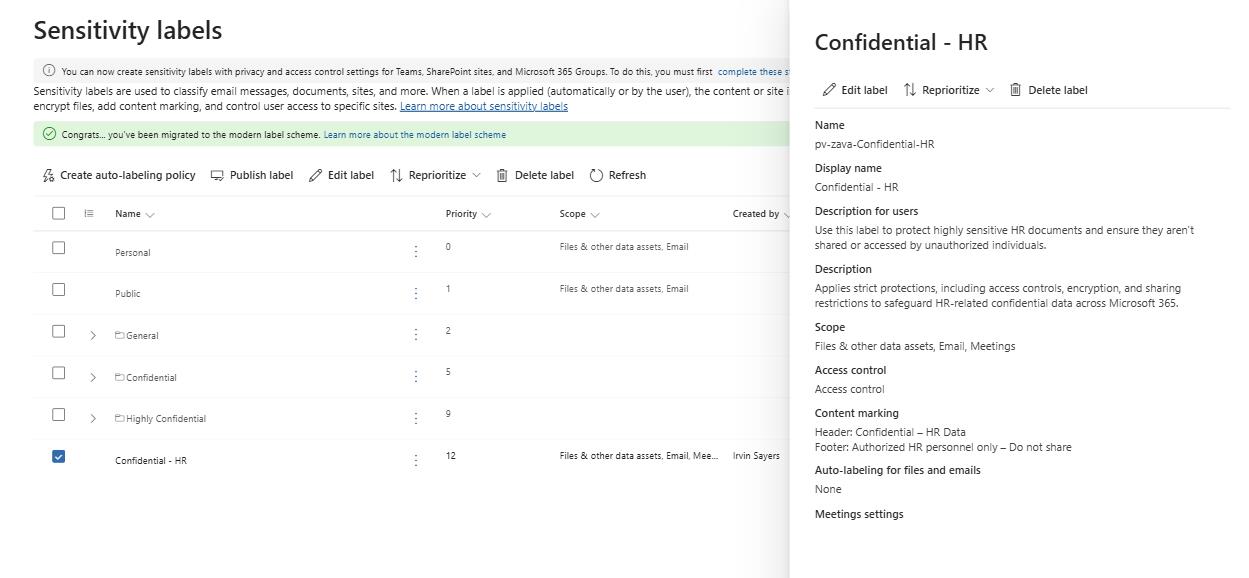
In a real environment, you’d need to wait a few minutes for the label to be created.
In the real environment, if you see a message like:
Your organization has not turned on the ability to process content in Office online files that have encrypted sensitivity labels applied and are stored in OneDrive and SharePoint.You can turn on here, but note that additional configuration is required for Multi-Geo environments. Select Turn on now if you see above warning message
02: Create DLP policies for Copilot and the agent
-
From the left side menu, select Solution, then Data Loss Prevention.
-
Select Policies, then + Create policy.
-
Select Enterprise applications & devices.
-
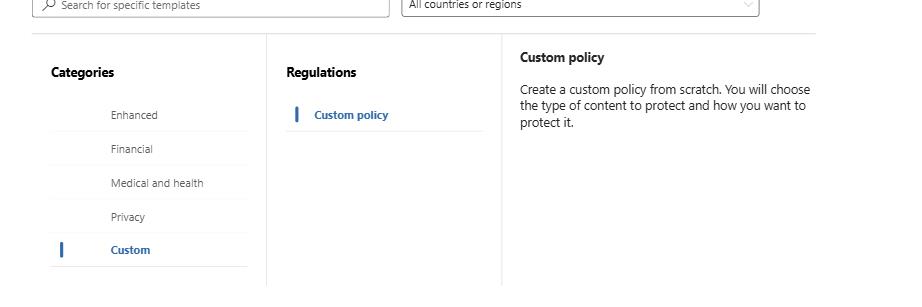
Select Custom then Custom policy, and then Next.
-
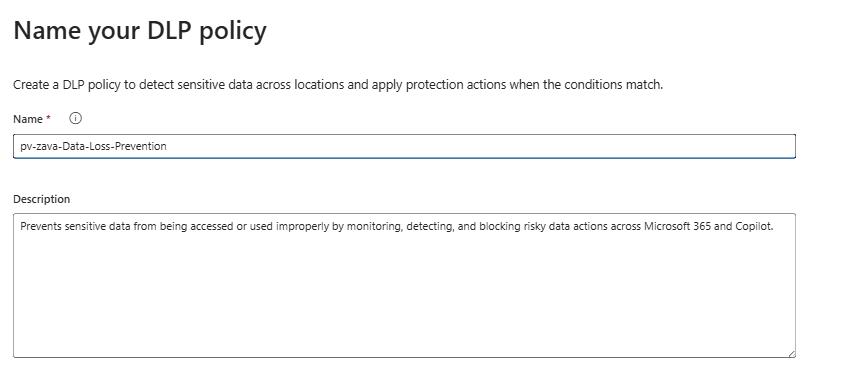
In the Name yor DLP policy section, fill in these fields:
- Name: pv-zava-Data-Loss-Prevention
- Description: Prevents sensitive data from being accessed or used improperly by monitoring, detecting, and blocking risky data actions across Microsoft 365 and Copilot.
-
Select Next twice.
-
In the Choose where to apply the policy section, choose Microsoft 365 Copilot and Copilot Chat and then Next.

-
Make sure Create or customize advanced DLP rules is selected then select Next.
-
Select + Create rule and provide the following details:
- Name: Block Copilot from processing Confidential‑HR content**
- Description: Prevents Copilot and Copilot Chat from using or summarizing files labeled Confidential‑HR and all unrestricted users.
-
Select the + Add condition dropdwon, then select Content contains.

-
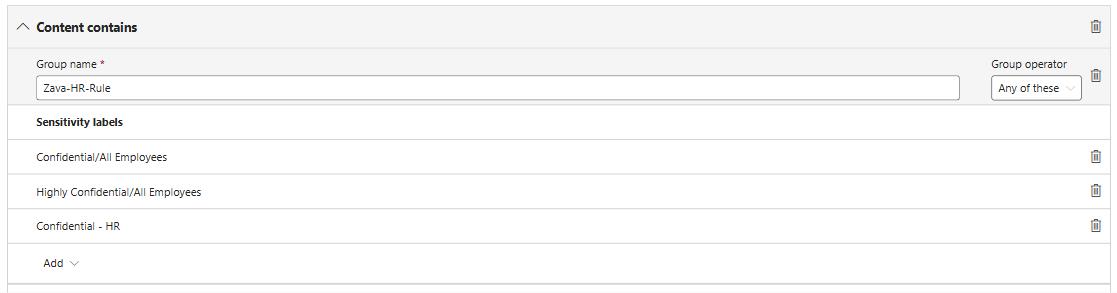
In the Group name field, type: Zava-HR-Rule, then select Add.

-
Select Sensitivity lables, then check the following options:
- All Employees - Confidential/All Employees
- All Employees - Highly Confidential/All Employees
- Confidential-HR - Confidential-HR
-
Select Add.
-
Under Actions, select + Add an action, then select Restrict Copilot from processing content.

-
Check the box for Accessing knowledge sources.

-
Leave the rest of the settings as default, select Save, then Next.
-
In the Policy mode section, select Turn the policy on immediately, then select Next and Done.

In a real environment, this process may take up to 2 hours.