Deploy a flow using Docker#
There are two steps to deploy a flow using docker:
Build the flow as docker format.
Build and run the docker image.
Build a flow as docker format#
Use the command below to build a flow as docker format:
pf flow build --source <path-to-your-flow-folder> --output <your-output-dir> --format docker
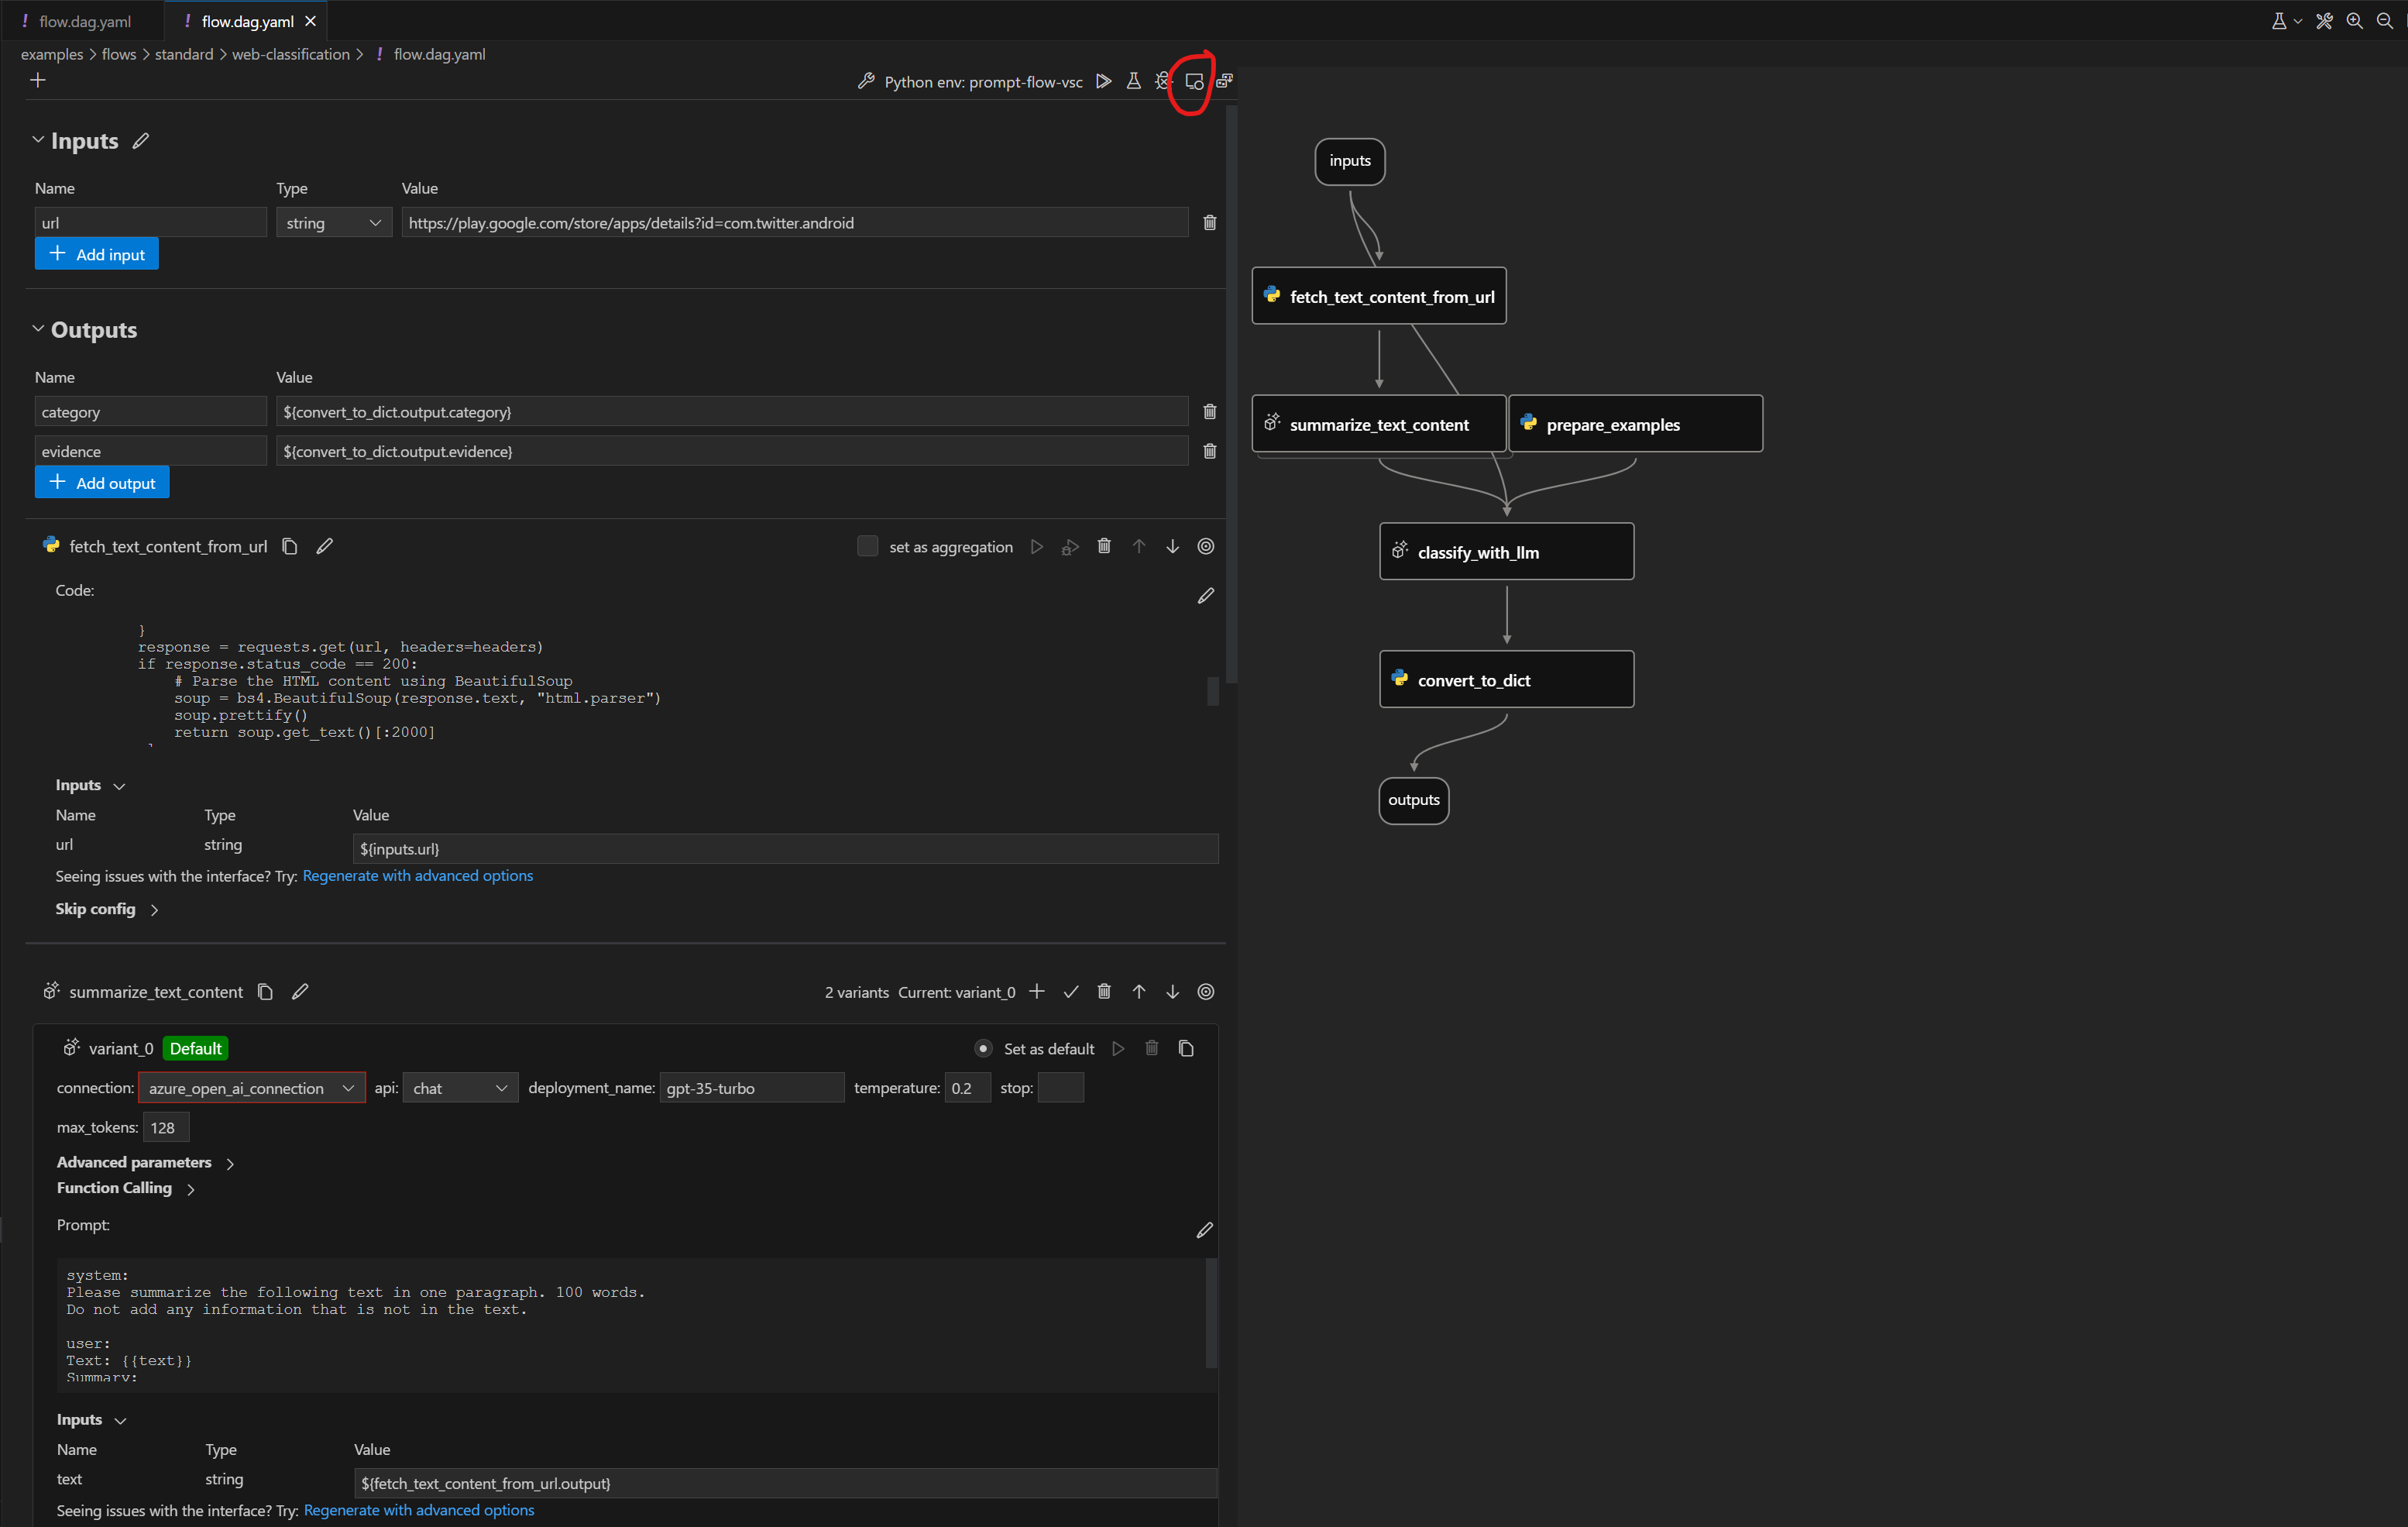
In visual editor, choose:
 Click the button below to build a flow as docker format:
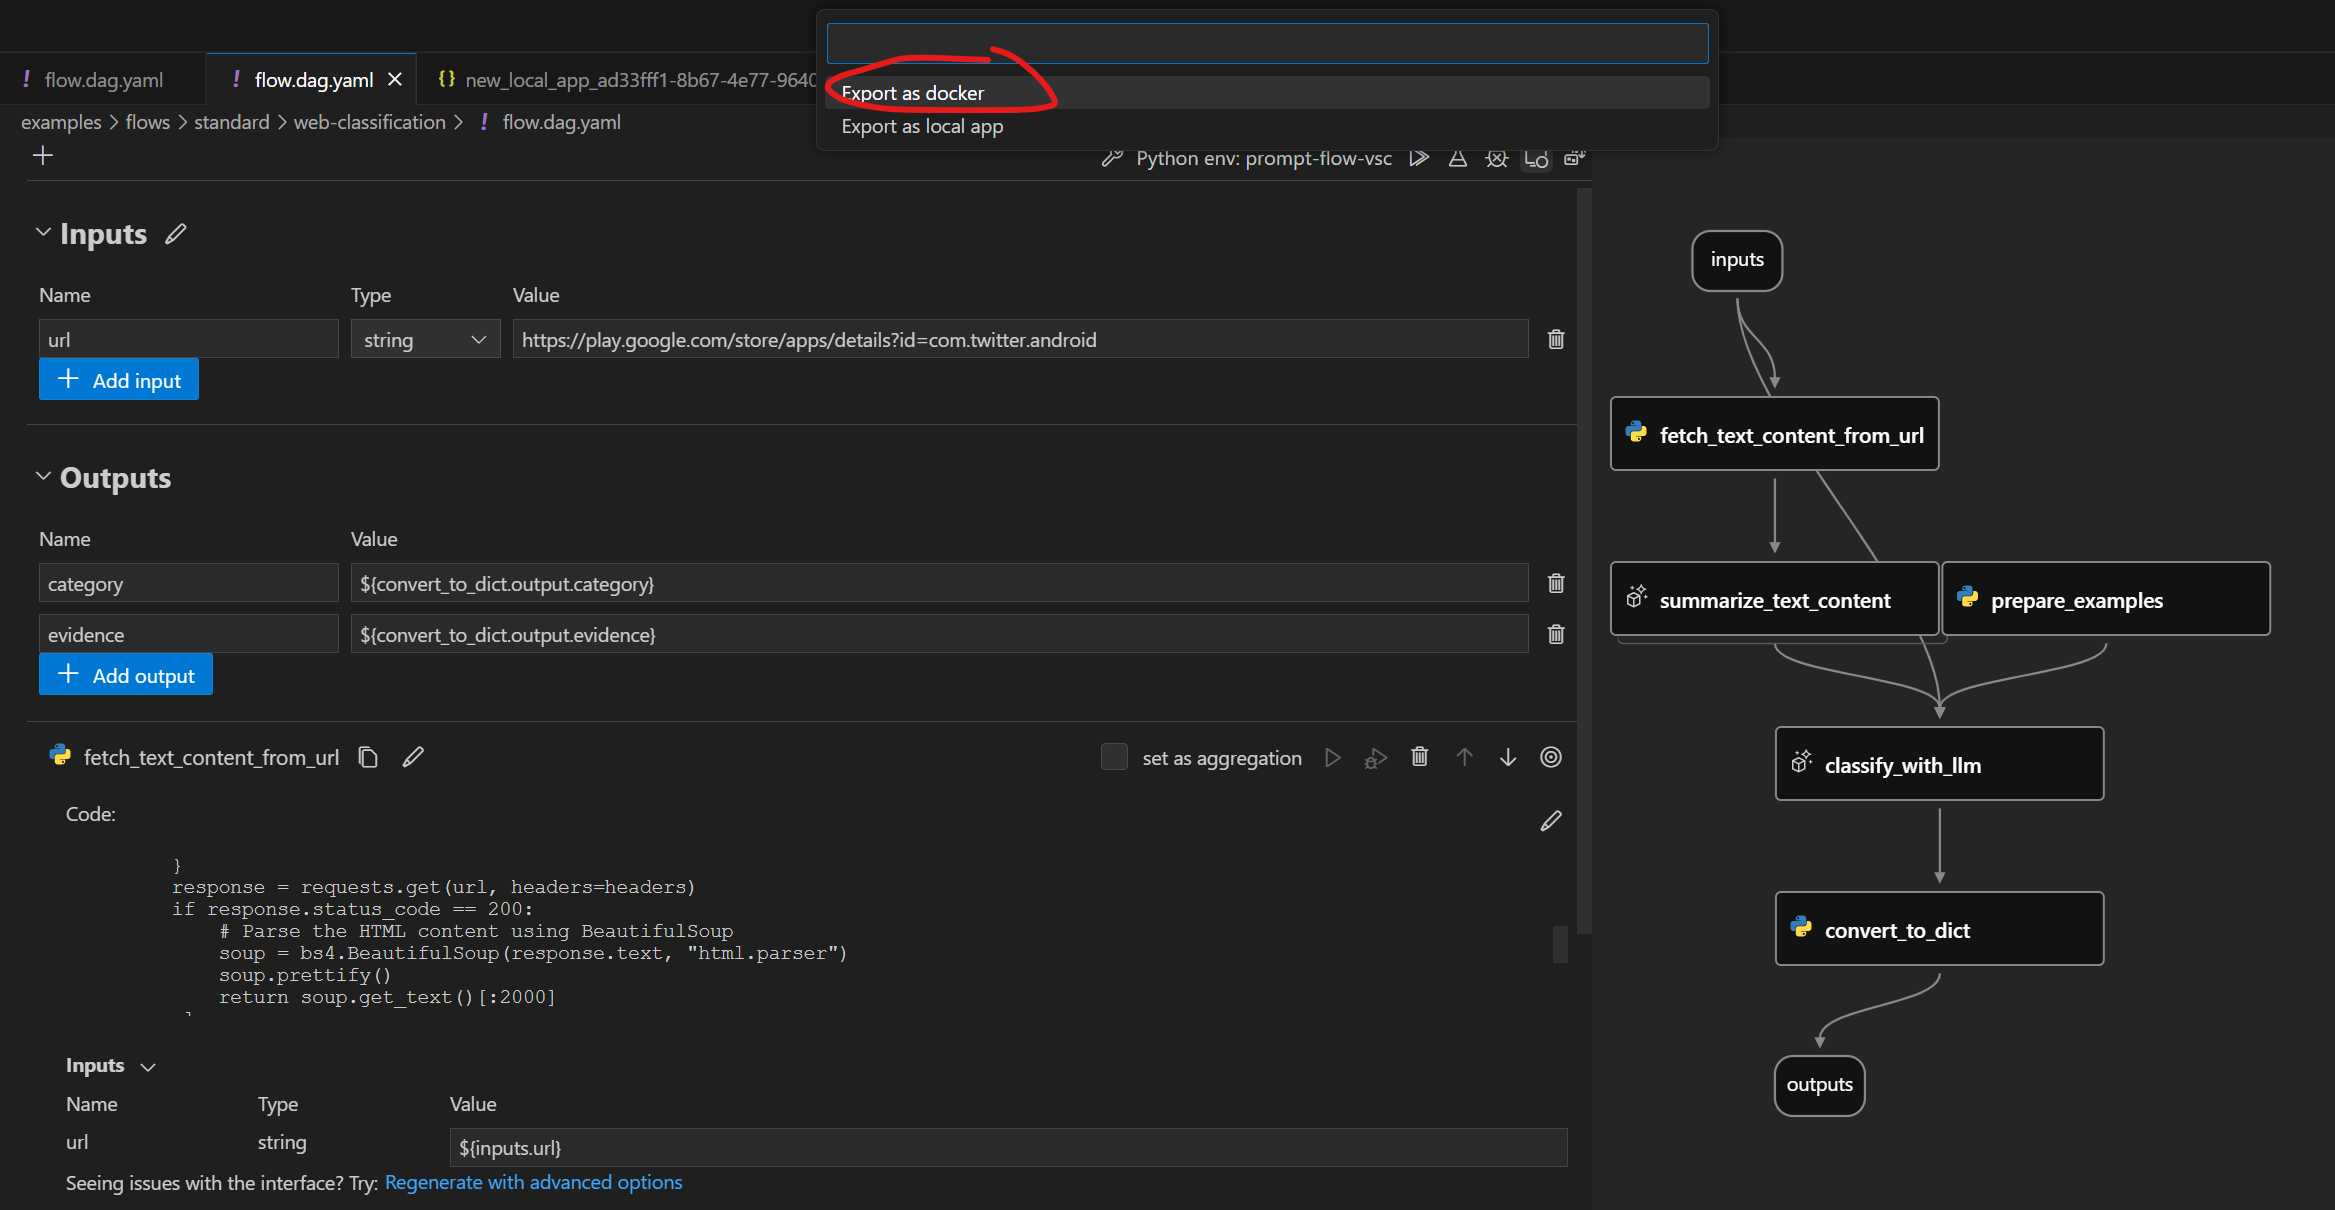
Note that all dependent connections must be created before exporting as docker.
Docker format folder structure#
Exported Dockerfile & its dependencies are located in the same folder. The structure is as below:
flow: the folder contains all the flow files
…
connections: the folder contains yaml files to create all related connections
…
Dockerfile: the dockerfile to build the image
start.sh: the script used in
CMDofDockerfileto start the servicerunit: the folder contains all the runit scripts
…
settings.json: a json file to store the settings of the docker image
README.md: Simple introduction of the files
Deploy with Docker#
We are going to use the web-classification as an example to show how to deploy with docker.
Please ensure you have create the connection required by flow, if not, you could refer to Setup connection for web-classification.
Build a flow as docker format app#
Use the command below to build a flow as docker format app:
pf flow build --source ../../flows/standard/web-classification --output dist --format docker
Note that all dependent connections must be created before exporting as docker.
Build Docker image#
Like other Dockerfile, you need to build the image first. You can tag the image with any name you want. In this example, we use web-classification-serve.
Run the command below to build image:
docker build dist -t web-classification-serve
Run Docker image#
Run the docker image will start a service to serve the flow inside the container.
Connections#
If the service involves connections, all related connections will be exported as yaml files and recreated in containers. Secrets in connections won’t be exported directly. Instead, we will export them as a reference to environment variables:
$schema: https://azuremlschemas.azureedge.net/promptflow/latest/OpenAIConnection.schema.json
type: open_ai
name: open_ai_connection
module: promptflow.connections
api_key: ${env:OPEN_AI_CONNECTION_API_KEY} # env reference
You’ll need to set up the environment variables in the container to make the connections work.
Run with docker run#
Run with flask serving engine#
You can run the docker image directly set via below commands, this will by default use flask serving engine:
# The started service will listen on port 8080.You can map the port to any port on the host machine as you want.
docker run -p 8080:8080 -e OPEN_AI_CONNECTION_API_KEY=<secret-value> -e PROMPTFLOW_WORKER_NUM=<expect-worker-num> -e PROMPTFLOW_WORKER_THREADS=<expect-thread-num-per-worker> web-classification-serve
Note that:
PROMPTFLOW_WORKER_NUM: optional setting, it controls how many workers started in your container, default value is 8.PROMPTFLOW_WORKER_THREADS: optional setting, it controls how many threads started in one worker, default value is 1. this setting only works for flask engine
Run with fastapi serving engine#
Starting from pf 1.10.0, we support new fastapi based serving engine, you can choose to use fastapi serving engine via below commands:
# The started service will listen on port 8080.You can map the port to any port on the host machine as you want.
docker run -p 8080:8080 -e OPEN_AI_CONNECTION_API_KEY=<secret-value> -e PROMPTFLOW_SERVING_ENGINE=fastapi -e PROMPTFLOW_WORKER_NUM=<expect-worker-num> web-classification-serve
Note that:
PROMPTFLOW_WORKER_NUM: optional setting, it controls how many workers started in your container, default value is 8.PROMPTFLOW_SERVING_ENGINE: optional setting, it controls which serving engine to use in your container, default value isflask, currently only supportflaskandfastapi.
Test the endpoint#
After start the service, you can use curl to test it:
curl http://localhost:8080/score --data '{"url":"https://play.google.com/store/apps/details?id=com.twitter.android"}' -X POST -H "Content-Type: application/json"
Next steps#
Try the example here.
See how to deploy a flow using kubernetes.