Deploy a flow using Kubernetes#
There are four steps to deploy a flow using Kubernetes:
Build the flow as docker format.
Build the docker image.
Create Kubernetes deployment yaml.
Apply the deployment.
Build a flow as docker format#
Note that all dependent connections must be created before building as docker.
# create connection if not created before
pf connection create --file ../../../examples/connections/azure_openai.yml --set api_key=<your_api_key> api_base=<your_api_base> --name open_ai_connection
Use the command below to build a flow as docker format:
pf flow build --source <path-to-your-flow-folder> --output <your-output-dir> --format docker
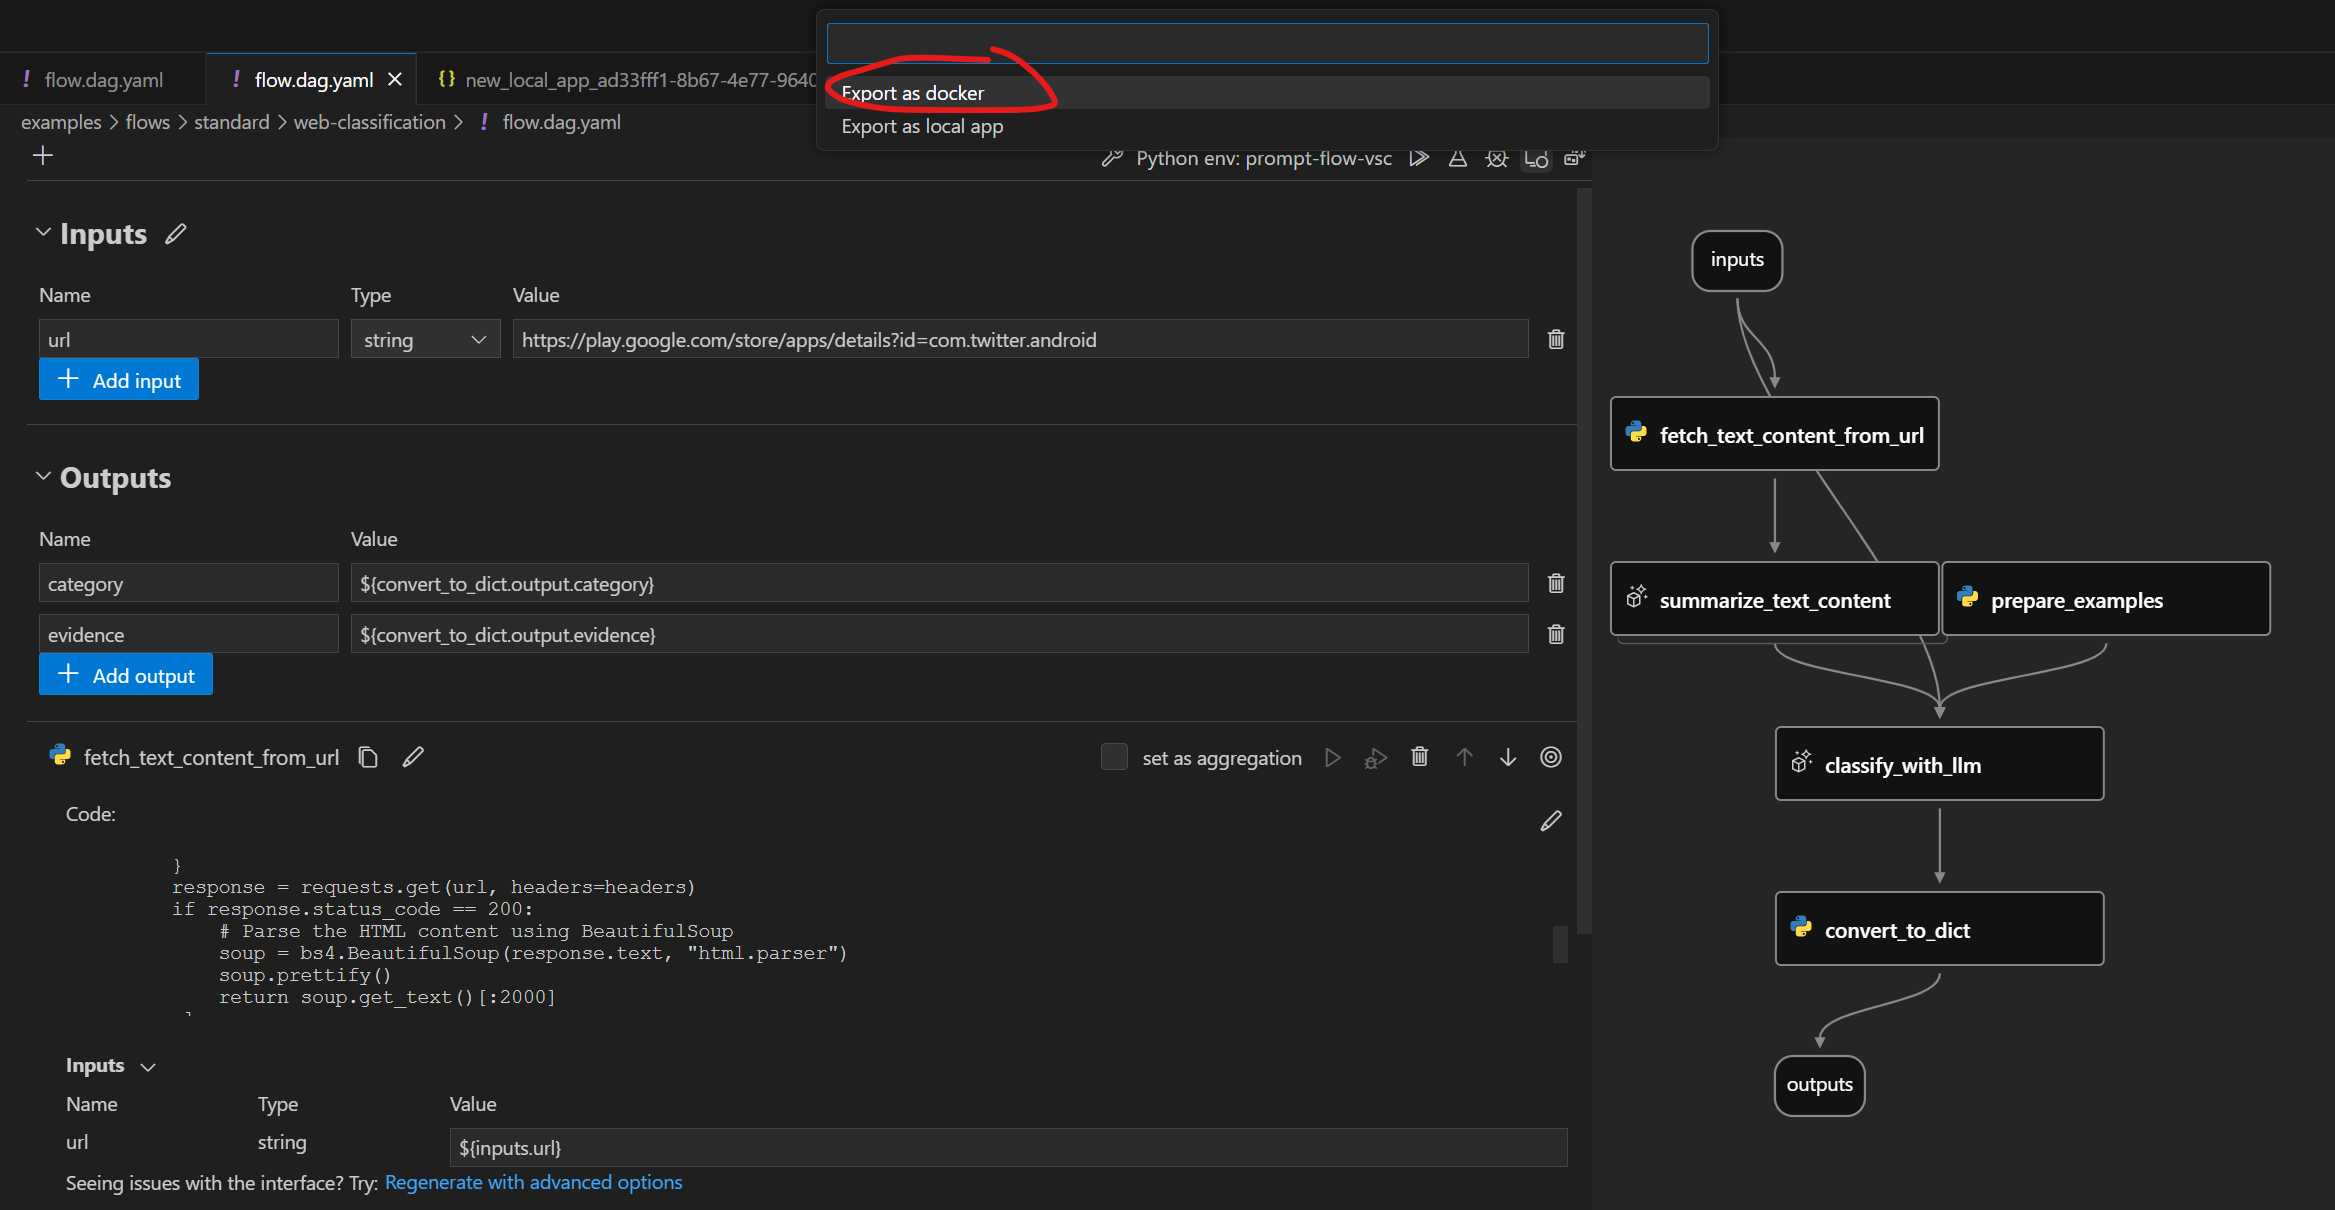
Click the button below to build a flow as docker format:
Note that all dependent connections must be created before exporting as docker.
Docker format folder structure#
Exported Dockerfile & its dependencies are located in the same folder. The structure is as below:
flow: the folder contains all the flow files
…
connections: the folder contains yaml files to create all related connections
…
Dockerfile: the dockerfile to build the image
start.sh: the script used in
CMDofDockerfileto start the servicerunit: the folder contains all the runit scripts
…
settings.json: a json file to store the settings of the docker image
README.md: Simple introduction of the files
Deploy with Kubernetes#
We are going to use the web-classification as an example to show how to deploy with Kubernetes.
Please ensure you have create the connection required by flow, if not, you could refer to Setup connection for web-classification.
Additionally, please ensure that you have installed all the required dependencies. You can refer to the “Prerequisites” section in the README of the web-classification for a comprehensive list of prerequisites and installation instructions.
Build Docker image#
Like other Dockerfile, you need to build the image first. You can tag the image with any name you want. In this example, we use web-classification-serve.
Then run the command below:
cd <your-output-dir>
docker build . -t web-classification-serve
Create Kubernetes deployment yaml.#
The Kubernetes deployment yaml file acts as a guide for managing your docker container in a Kubernetes pod. It clearly specifies important information like the container image, port configurations, environment variables, and various settings. Below, you’ll find a simple deployment template that you can easily customize to meet your needs.
Note: You need encode the secret using base64 firstly and input the <encoded_secret> as ‘open-ai-connection-api-key’ in the deployment configuration. For example, you can run below commands in linux:
encoded_secret=$(echo -n <your_api_key> | base64)
---
kind: Namespace
apiVersion: v1
metadata:
  name: <your-namespace>
---
apiVersion: v1
kind: Secret
metadata:
  name: open-ai-connection-api-key
  namespace: <your-namespace>
type: Opaque
data:
  open-ai-connection-api-key: <encoded_secret>
---
apiVersion: v1
kind: Service
metadata:
  name: web-classification-service
  namespace: <your-namespace>
spec:
  type: NodePort
  ports:
  - name: http
    port: 8080
    targetPort: 8080
    nodePort: 30123
  selector:
    app: web-classification-serve-app
---
apiVersion: apps/v1
kind: Deployment
metadata:
  name: web-classification-serve-app
  namespace: <your-namespace>
spec:
  selector:
    matchLabels:
      app: web-classification-serve-app
  template:
    metadata:
      labels:
        app: web-classification-serve-app
    spec:
      containers:
      - name: web-classification-serve-container
        image: <your-docker-image>
        imagePullPolicy: Never
        ports:
        - containerPort: 8080
        env:
        - name: OPEN_AI_CONNECTION_API_KEY
          valueFrom:
            secretKeyRef:
              name: open-ai-connection-api-key
              key: open-ai-connection-api-key
Apply the deployment.#
Before you can deploy your application, ensure that you have set up a Kubernetes cluster and installed kubectl if it’s not already installed. In this documentation, we will use Minikube as an example. To start the cluster, execute the following command:
minikube start
Once your Kubernetes cluster is up and running, you can proceed to deploy your application by using the following command:
kubectl apply -f deployment.yaml
This command will create the necessary pods to run your application within the cluster.
Note: You need replace <pod_name> below with your specific pod_name. You can retrieve it by running kubectl get pods -n web-classification.
Retrieve flow service logs of the container#
The kubectl logs command is used to retrieve the logs of a container running within a pod, which can be useful for debugging, monitoring, and troubleshooting applications deployed in a Kubernetes cluster.
kubectl -n <your-namespace> logs <pod-name>
Connections#
If the service involves connections, all related connections will be exported as yaml files and recreated in containers. Secrets in connections won’t be exported directly. Instead, we will export them as a reference to environment variables:
$schema: https://azuremlschemas.azureedge.net/promptflow/latest/OpenAIConnection.schema.json
type: open_ai
name: open_ai_connection
module: promptflow.connections
api_key: ${env:OPEN_AI_CONNECTION_API_KEY} # env reference
You’ll need to set up the environment variables in the container to make the connections work.
Test the endpoint#
Option1:
Once you’ve started the service, you can establish a connection between a local port and a port on the pod. This allows you to conveniently test the endpoint from your local terminal. To achieve this, execute the following command:
kubectl port-forward <pod_name> <local_port>:<container_port> -n <your-namespace>
With the port forwarding in place, you can use the curl command to initiate the endpoint test:
curl http://localhost:<local_port>/score --data '{"url":"https://play.google.com/store/apps/details?id=com.twitter.android"}' -X POST -H "Content-Type: application/json"
Option2:
minikube service web-classification-service --url -n <your-namespace>runs as a process, creating a tunnel to the cluster. The command exposes the service directly to any program running on the host operating system.The command above will retrieve the URL of a service running within a Minikube Kubernetes cluster (e.g. http://
:<assigned_port>), which you can click to interact with the flow service in your web browser. Alternatively, you can use the following command to test the endpoint: Note: Minikube will use its own external port instead of nodePort to listen to the service. So please substitute <assigned_port> with the port obtained above.
curl http://localhost:<assigned_port>/score --data '{"url":"https://play.google.com/store/apps/details?id=com.twitter.android"}' -X POST -H "Content-Type: application/json"
Next steps#
Try the example here.