Task 02: Prepare the environments and solution
Key tasks
01: Create Power Platform environments
-
In a new tab, go to Power Platform admin center .
This will open the Power Platform admin center.
-
In the leftmost pane, select Manage.
You’ll create three environments.
-
Wait until the environments list loading error goes away.
This may take 15-20 minutes following the launch of the lab to finish provisioning your account in Power Platform.
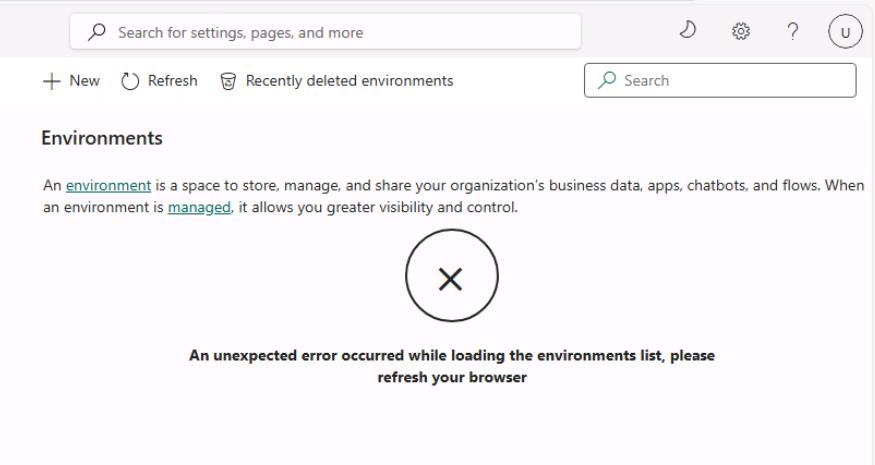
Periodically refresh the page.
-
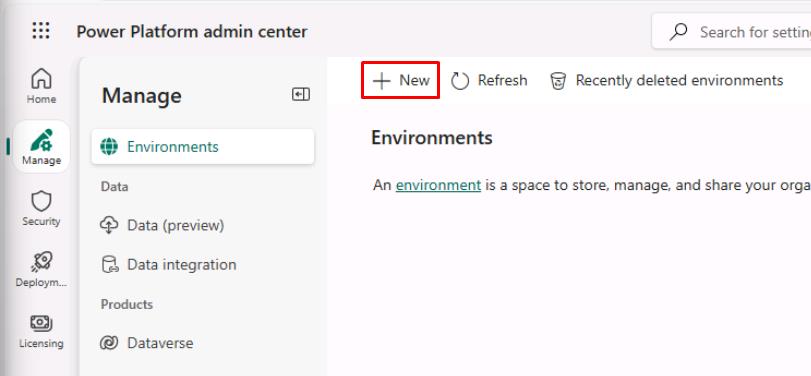
On the top bar of the Environments page, select New.
-
In the flyout pane:
-
Enter the following details:
Item Value Name Zava Retail - DevRegion United States Type Developer 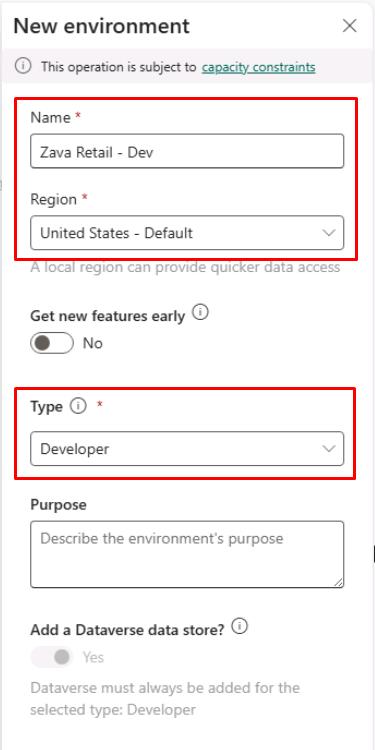
-
At the bottom of the flyout pane, select Next.
-
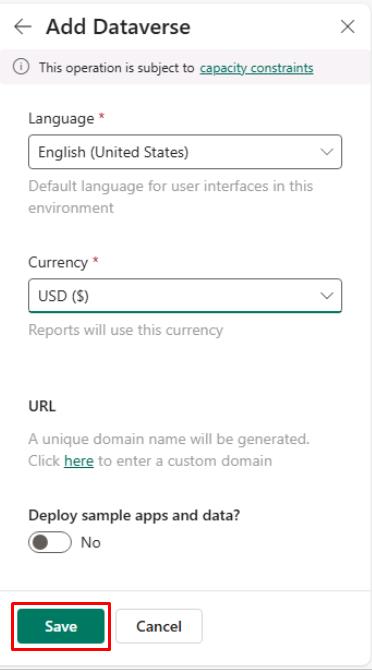
Keep the defaults, then select Save.
-
-
On the top bar, select New again.
-
In the flyout pane:
-
Enter the following details:
Item Value Name Zava Retail - UATRegion United States Type Developer -
Select Next.
-
Select Save.
You could also use Sandbox instead of Developer in a real-world environment.
-
-
On the top bar, select New again.
-
In the flyout pane:
-
Enter the following details:
Item Value Name Zava Retail - ProdRegion United States Type Developer -
Select Next.
-
Select Save.
Use Production instead of Developer in a real-world environment.
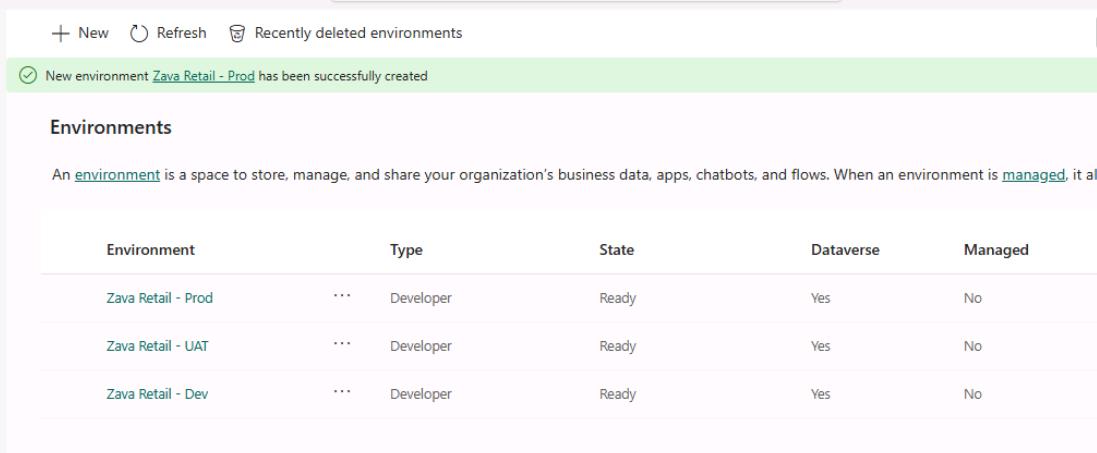
-
-
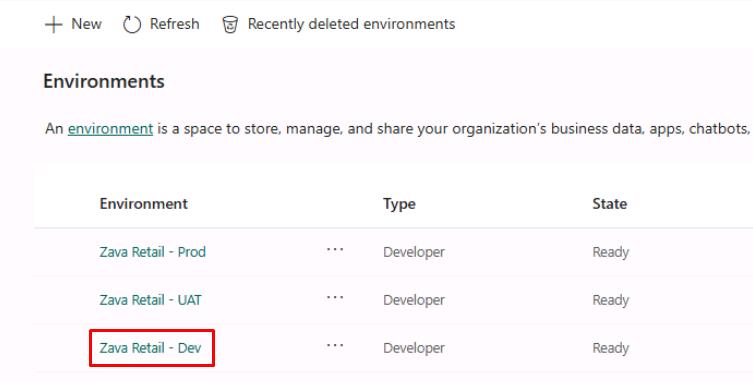
Select Zava Retail - Dev.
-
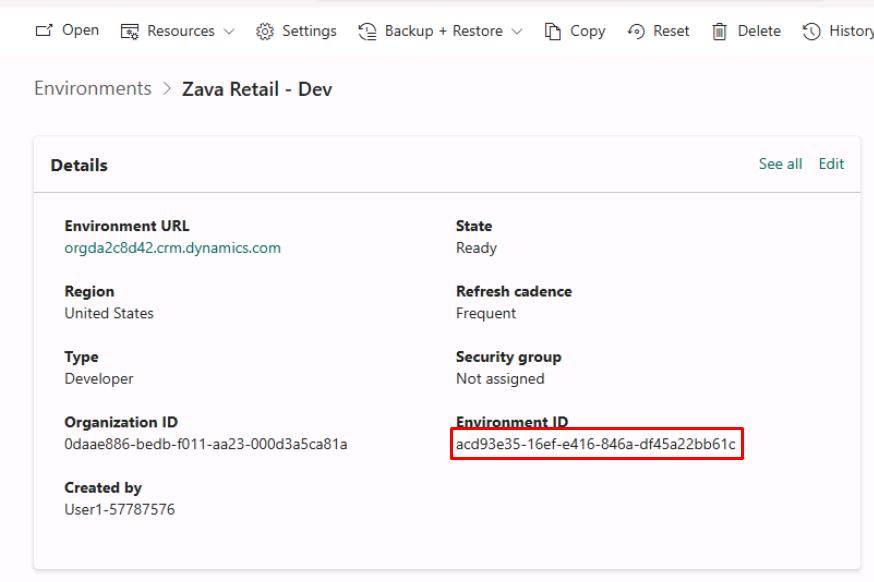
Under Environment ID, copy and paste the value into a notepad for later use.
Delete any leading or trailing spaces from the text box.
-
Go back to the Environments page, then paste the Environment ID of the other two environments in the notepad.
Item Value UAT @lab.TextBox(uat) Prod @lab.TextBox(prod) These values will be used for reference in future instructions and must be filled in.
Delete any leading or trailing spaces from the text box.
02: Set environments as Managed
-
On the VM’s taskbar, open Windows PowerShell ISE.
-
In PowerShell ISE, select File > New.
-
In the top pane, enter the following:
Select Copy in the following block, then paste with Ctrl+V.
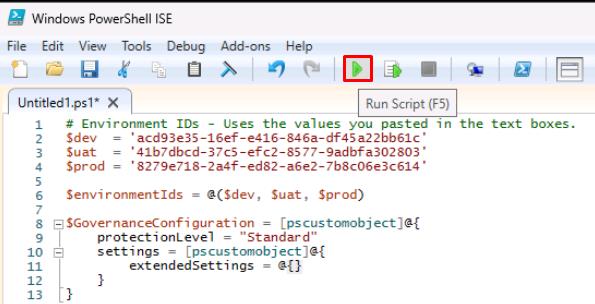
# Environment IDs - Uses the values you pasted in the text boxes. $dev = '@lab.Variable(dev)' $uat = '@lab.Variable(uat)' $prod = '@lab.Variable(prod)' $environmentIds = @($dev, $uat, $prod) $GovernanceConfiguration = [pscustomobject]@{ protectionLevel = "Standard" settings = [pscustomobject]@{ extendedSettings = @{} } } foreach ($envId in $environmentIds) { # Skip placeholders (optional safety) if ([string]::IsNullOrWhiteSpace($envId) -or $envId -eq "placeholder") { Write-Host "Skipping envId='$envId' (placeholder/empty)" -ForegroundColor Yellow continue } Write-Host "Applying governance config to environment: $envId" -ForegroundColor Cyan Set-AdminPowerAppEnvironmentGovernanceConfiguration ` -EnvironmentName $envId ` -UpdatedGovernanceConfiguration $GovernanceConfiguration }$dev, $uat, and $prod use the values entered in the prior text boxes.
-
On the top bar, select Run Script (
 ).
).
-
In the dialog, sign in with your lab credentials.
-
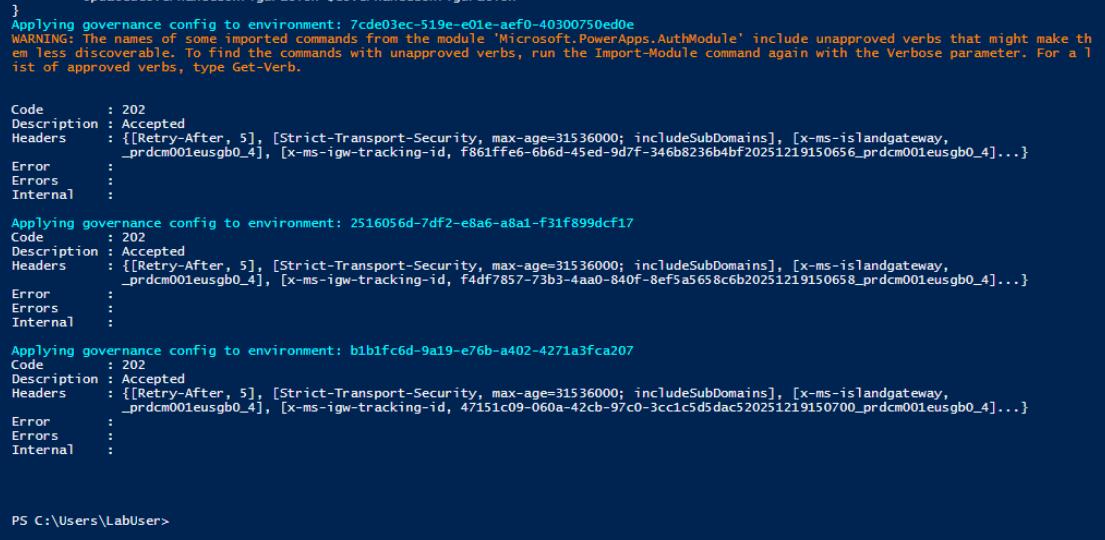
The output in the bottom pane should show Code: 202 and Accepted for all three environments.
-
Go back to your tab for the Power Platform admin center.
-
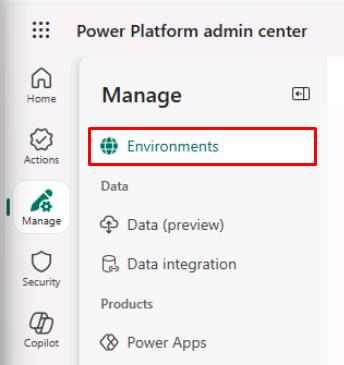
Under the Manage menu, select Environments.
-
Refresh the page.
-
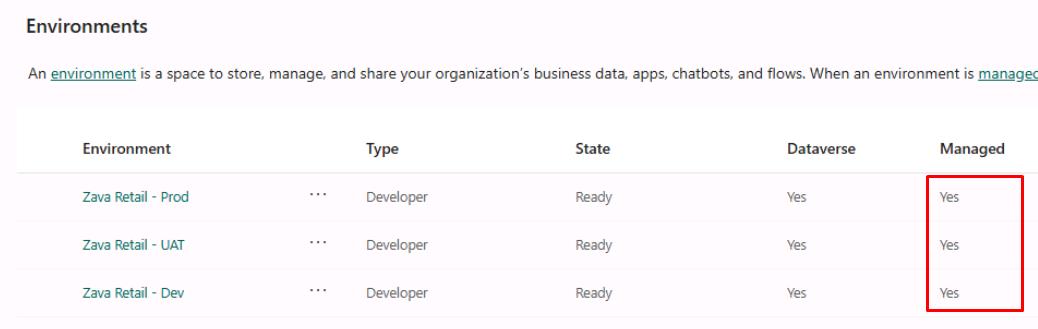
The Managed column should show Yes for all three environments.
-
Close PowerShell ISE without saving.
03: Change environments
-
In a new browser tab, go to the PowerApps homepage.
-
In the dialog, select Get started.
-
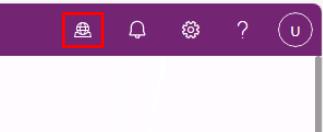
Near the upper-right corner of the page, select Environment, then select Zava Retail - Dev.
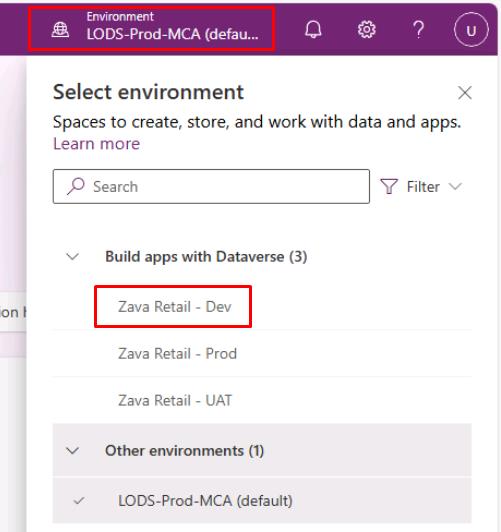

Depending on screen resolution, you may need to select the globe icon to open the Select environment pane.
04: Import the retail service solution
-
In the leftmost pane of Power Apps, select Solutions.
-
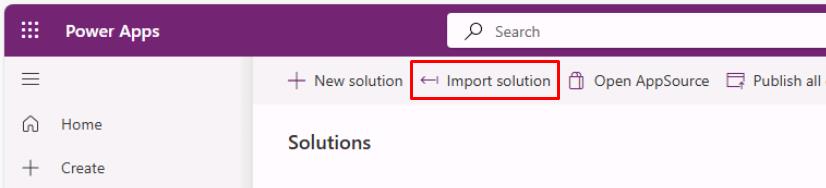
On the top bar, select Import solution.
-
In the flyout pane, select Browse.
-
In the Open window, in
C:\LabFiles, select ZavaGlobalServiceDesk_@lab.LabInstance.Id_1_0_0_0, then select Open.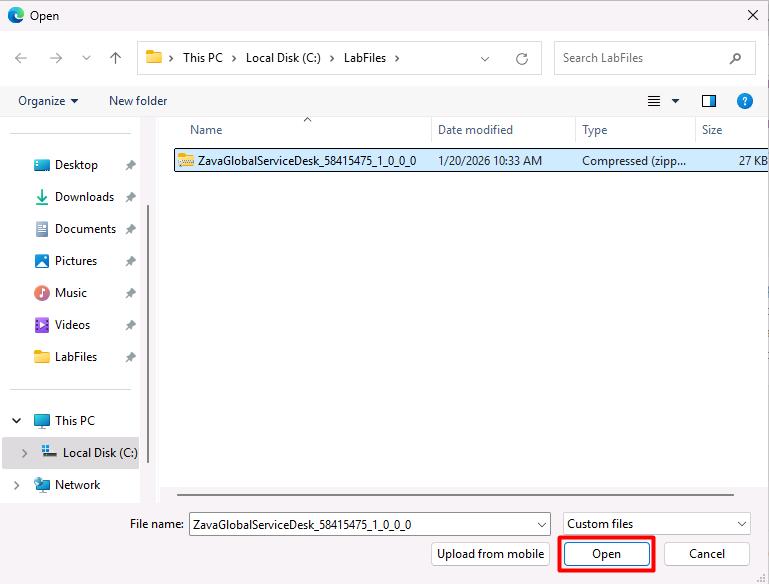
-
At the bottom of the flyout pane, select Next.
-
Select Import.
-
Wait until the top banner shows the solution imported successfully.


This may take 5-10 minutes.
If waiting longer than 10 minutes, refresh the page. If you see an error like the following, try importing again:
- Solution “Zava Global Service Desk” failed to import: Cannot start another [Import] because there is a previous [Import] running at this moment…
05: Import data into the tables
-
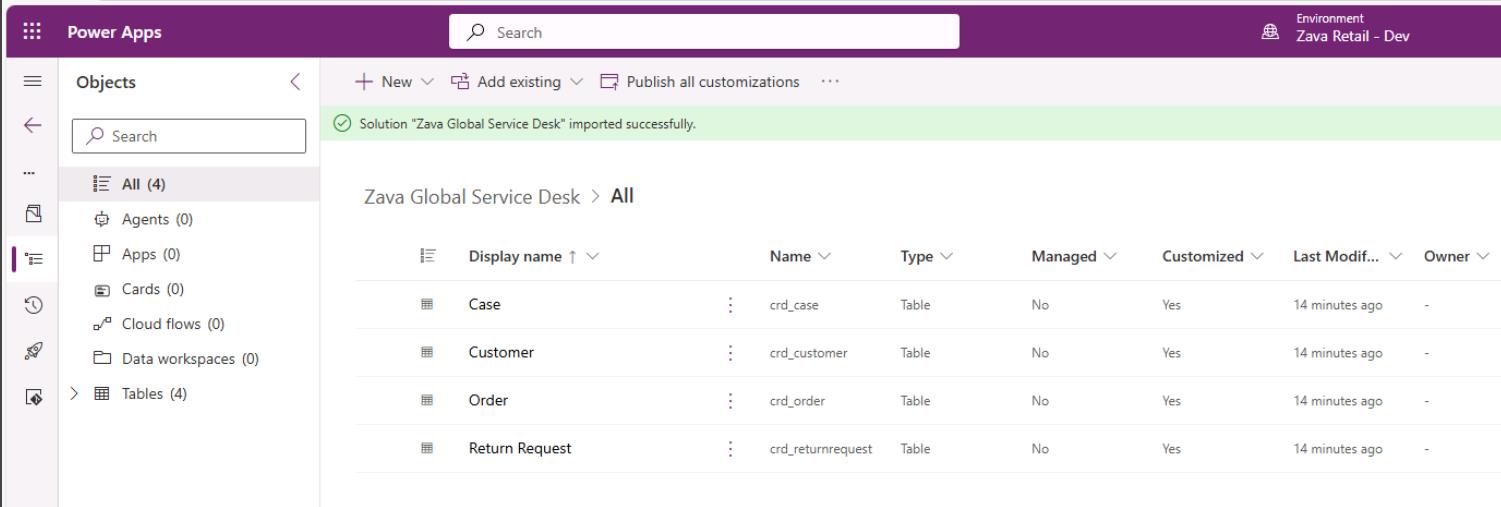
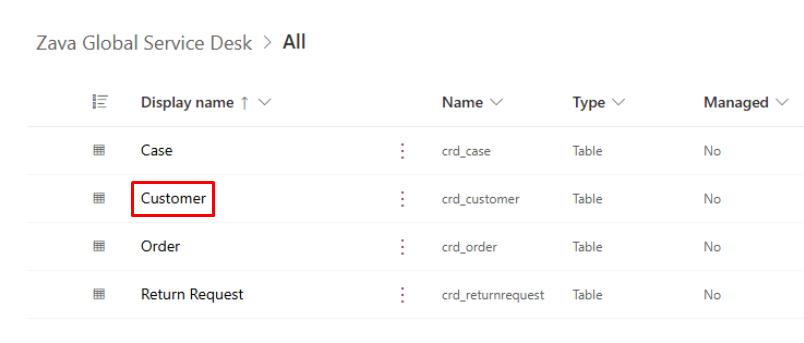
Select the new Zava Global Service Desk solution.
There are four tables included in the solution, which you’ll import sample data to.
-
Select Customer.
-
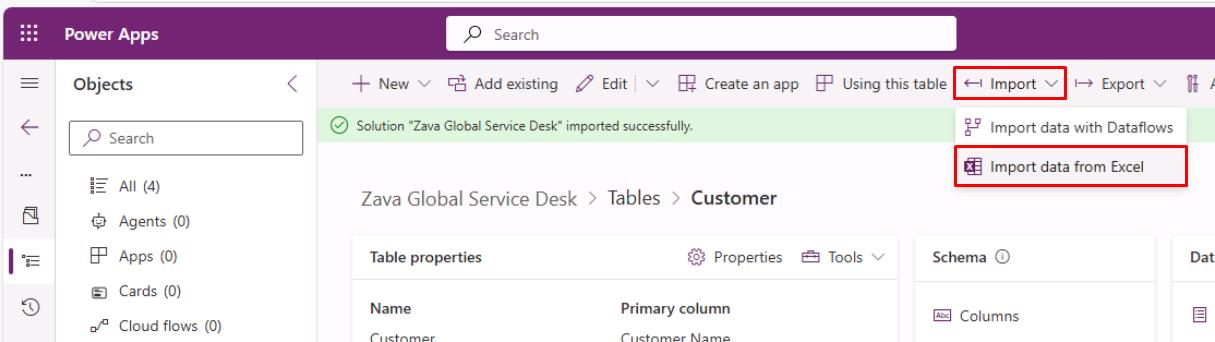
On the top bar, select Import > Import data from Excel.
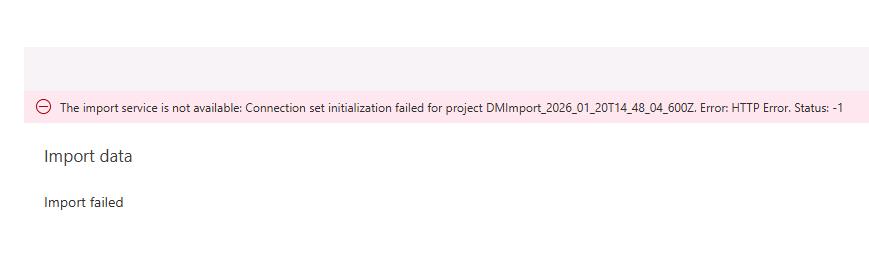
If you see the following error, close the flyout pane, refresh the page, then try again.
-
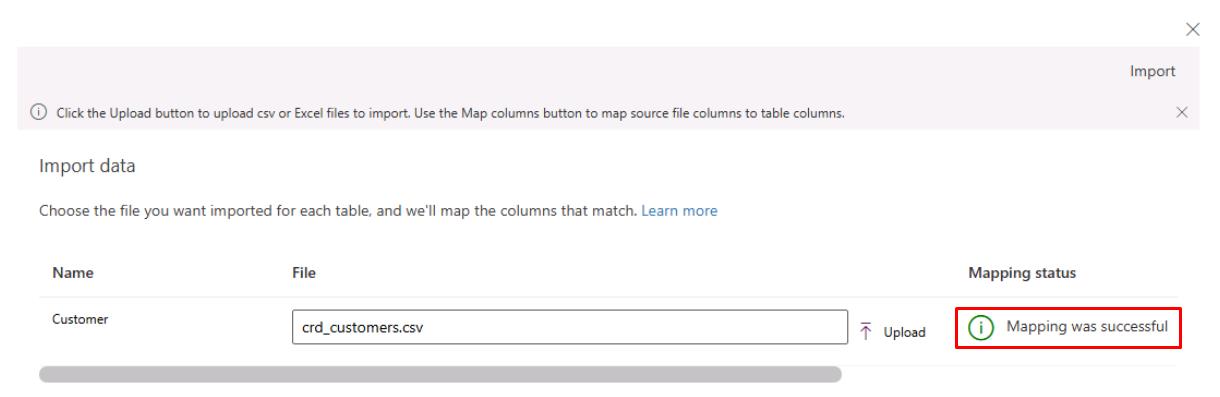
In the flyout pane:
-
Select Upload.
-
In
C:\LabFiles, select crd_customers, then select Open. -
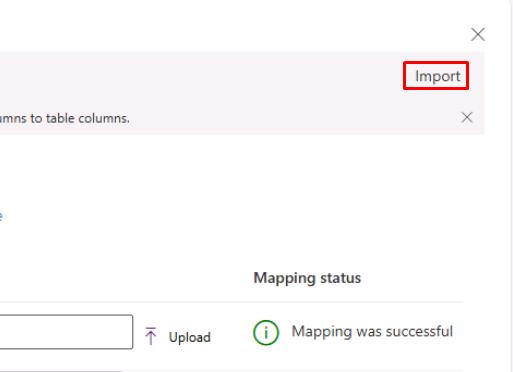
Wait until Mapping status shows Mapping was successful.
-
In the upper-right corner of the flyout pane, select Import.
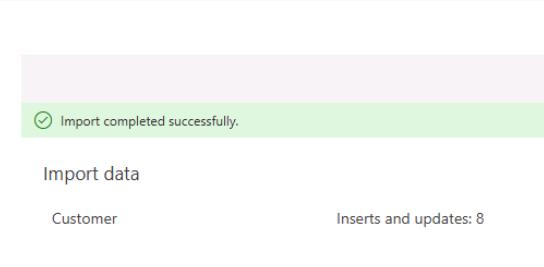
If you see Import failed with Status: -1, refresh the page to see if the data imported successfully, as it’s likely a transient error.
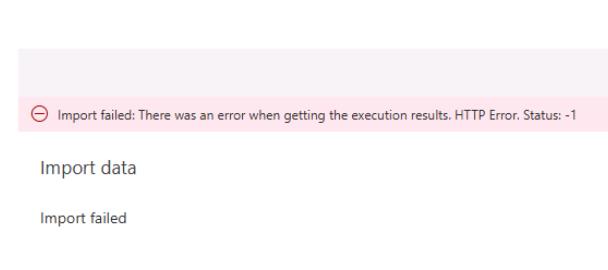
For any other errors, refresh the page then try the import again.
-
Once imported, close the flyout pane.
-
-
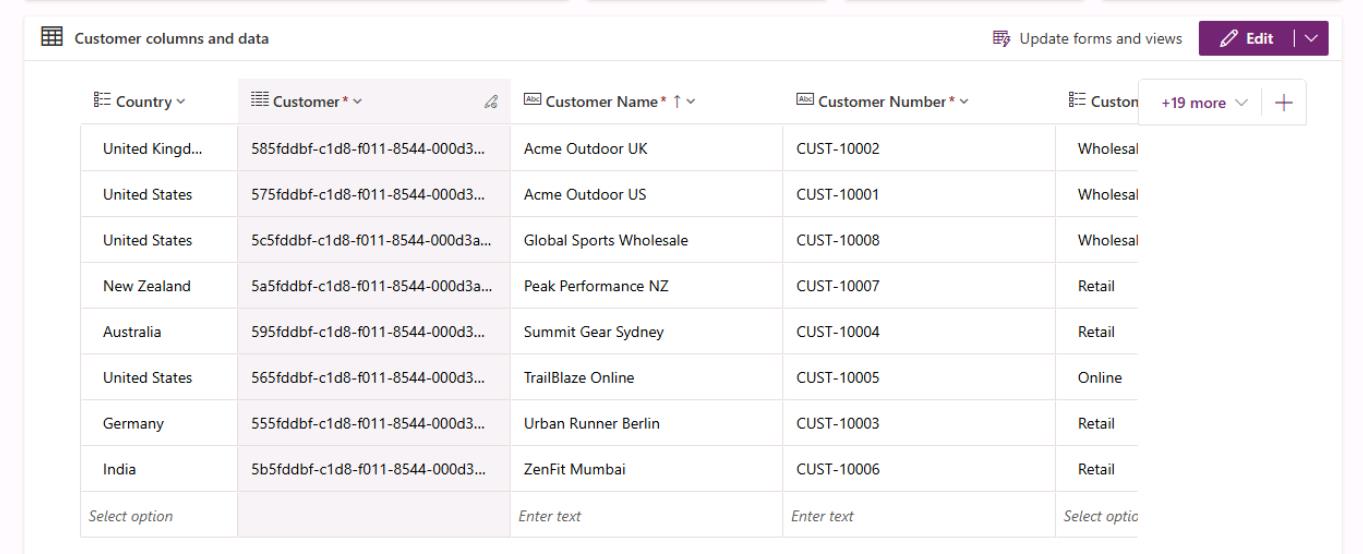
Refresh the page to see the imported data.
-
Below the page’s top bar, select the Tables breadcrumb link.
-
Repeat the same upload steps for the following tables, in this order:
-
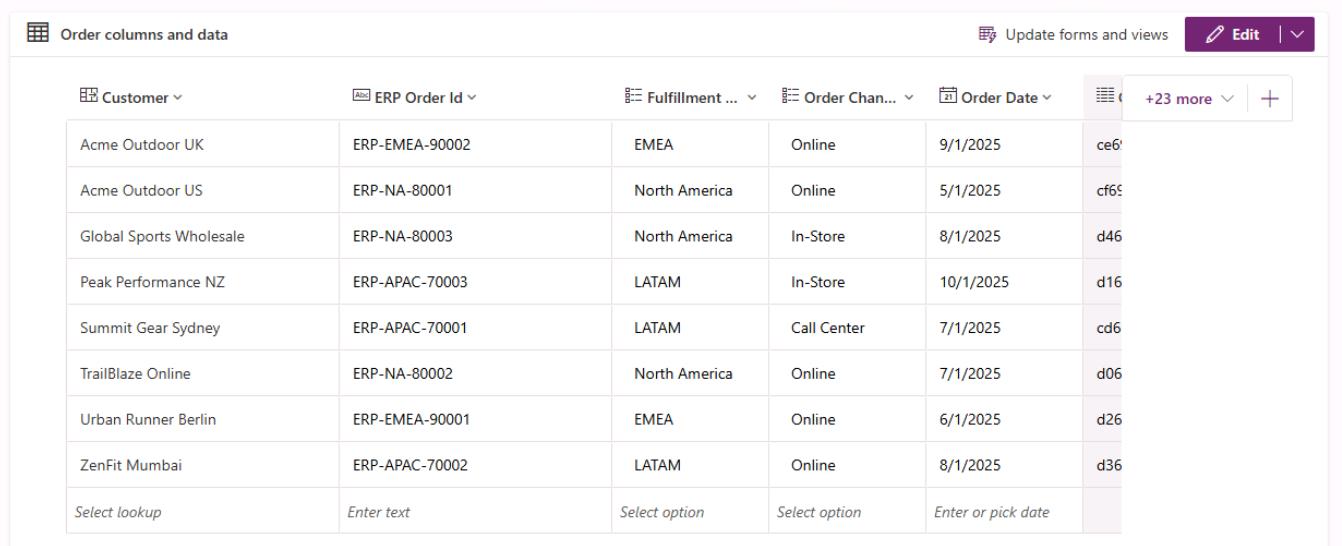
Order - Using crd_orders.
-
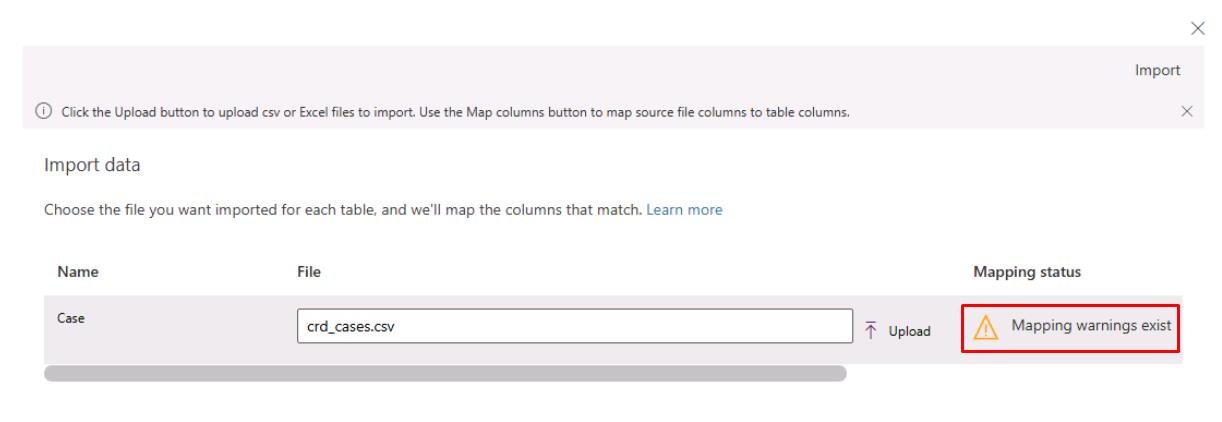
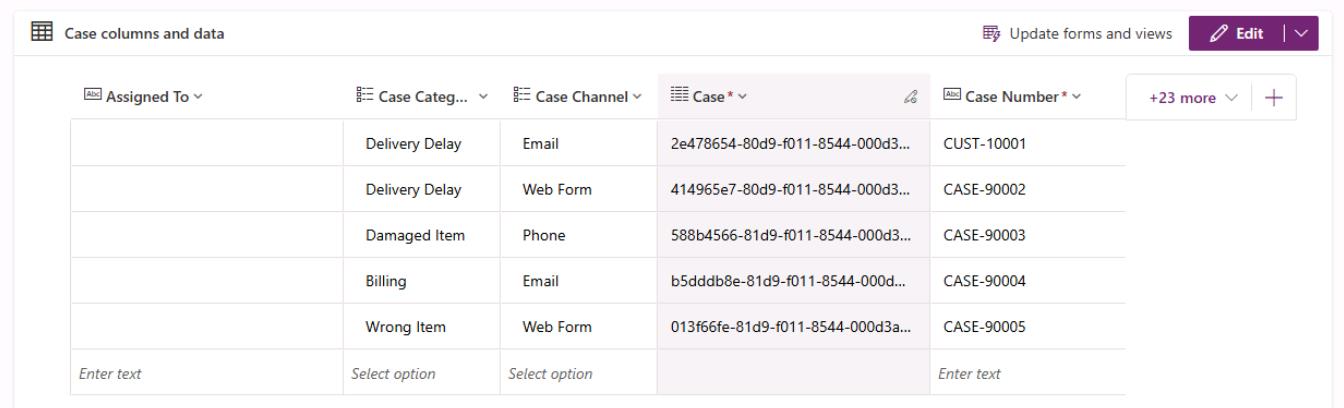
Case - Using crd_cases.
Mapping warnings exist can be ignored.
-
Return Request - Using crd_returnrequests.
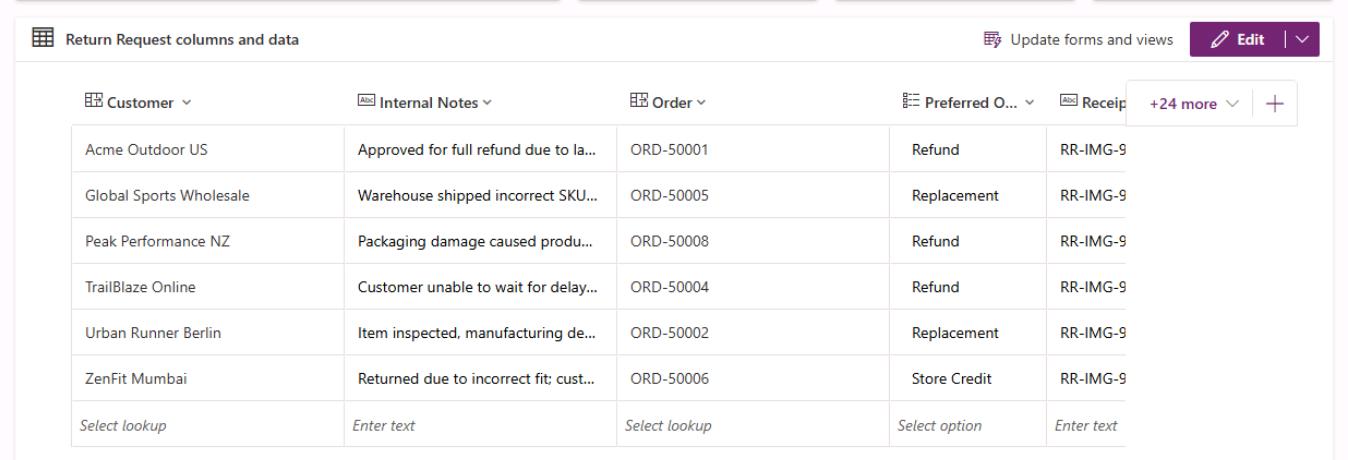
If you see Import failed with Status: -1, refresh the page to see if the table data imported successfully, as it’s likely a transient error.
For any other errors, refresh the page then try the import again.
-
-
Confirm you see the imported data in the tables.