Task 02: Add knowledge sources to the assistant
Key tasks
01: Connect Zava’s return and exchange policy PDF as a knowledge source
-
On the top bar of the agent page, select the Knowledge tab.
-
Select Add knowledge.
-
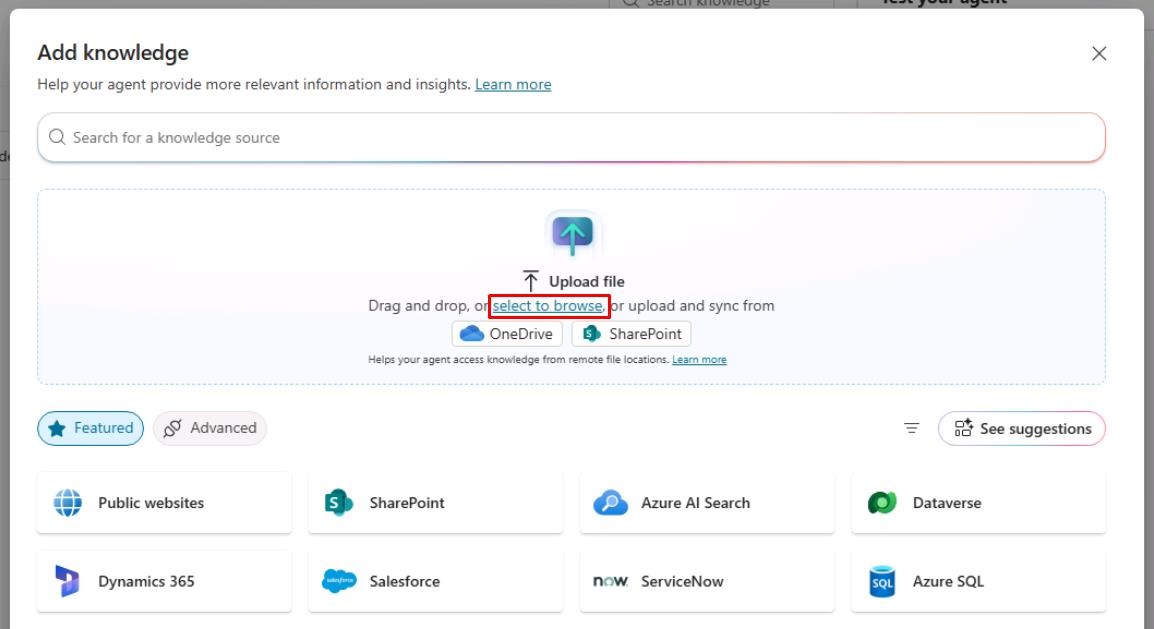
In the dialog, select select to browse.
-
Go to
C:\LabFiles, select ZavaReturnsPolicy, then select Open.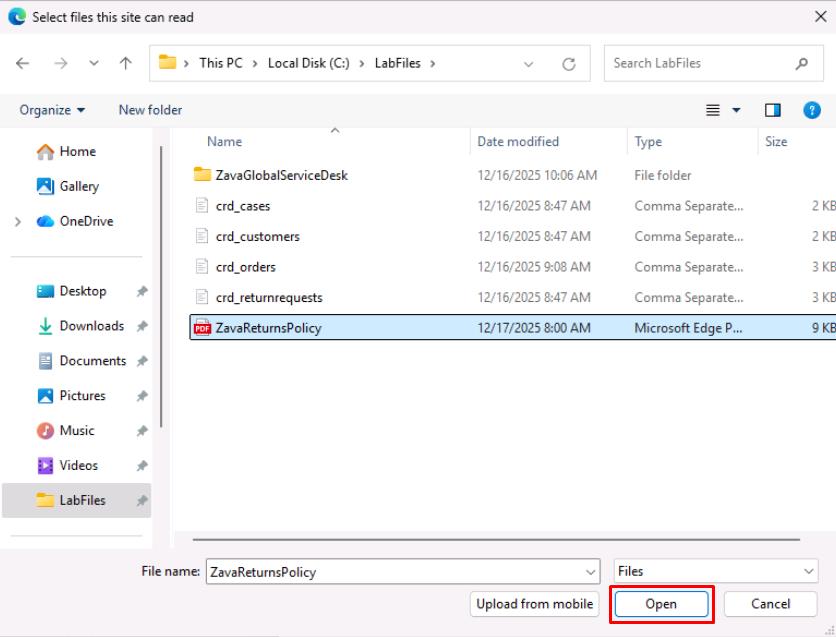
-
In the lower-right corner of the dialog, select Add to agent.
02: Add Dataverse MCP server as a tool
-
On the top bar of the agent page, select the Tools tab.

-
Select Add a tool.
-
In the dialog:
-
In the search box, enter and select
Microsoft Dataverse MCP Server.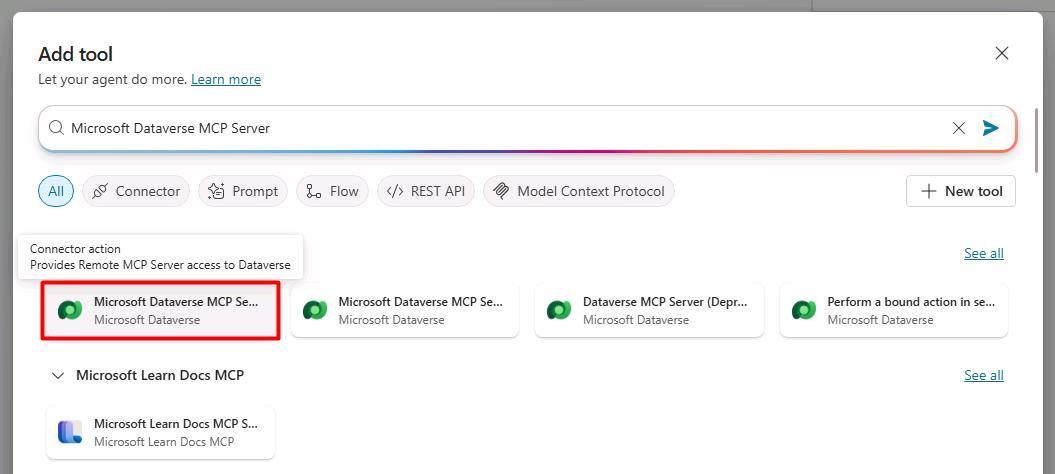
-
In the lower-right corner of the pane, select Add and configure.
This will redirect you to the tool configuration page.
This will use your lab user account for the connection. In a real-world production environment, you should change the Connection to use a service account or Service Principal.
-
-
Update Name to
Get Data from Dataverse.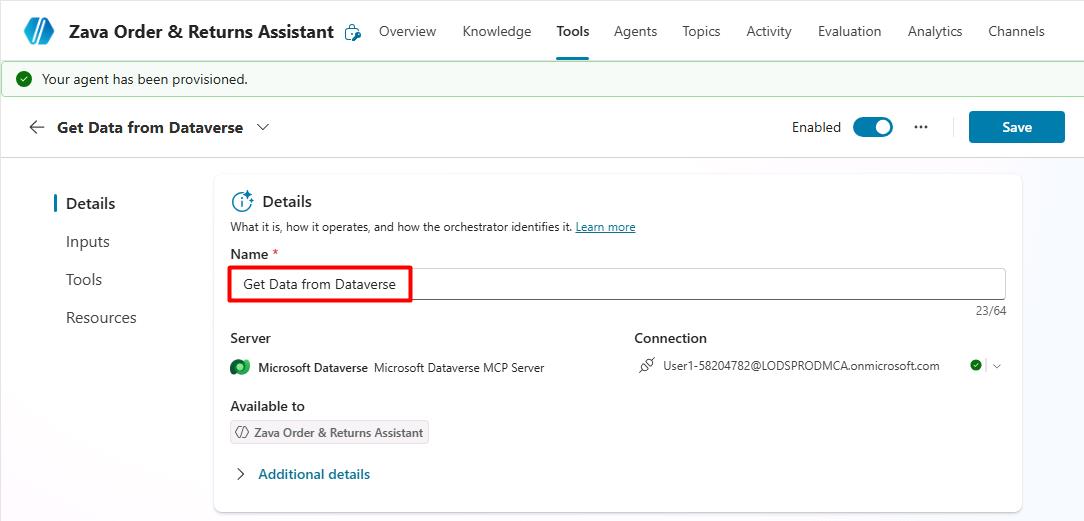
-
At the bottom of the Details section, expand Additional details.
-
Under the Credentials to use dropdown menu, select Maker-provided credentials.
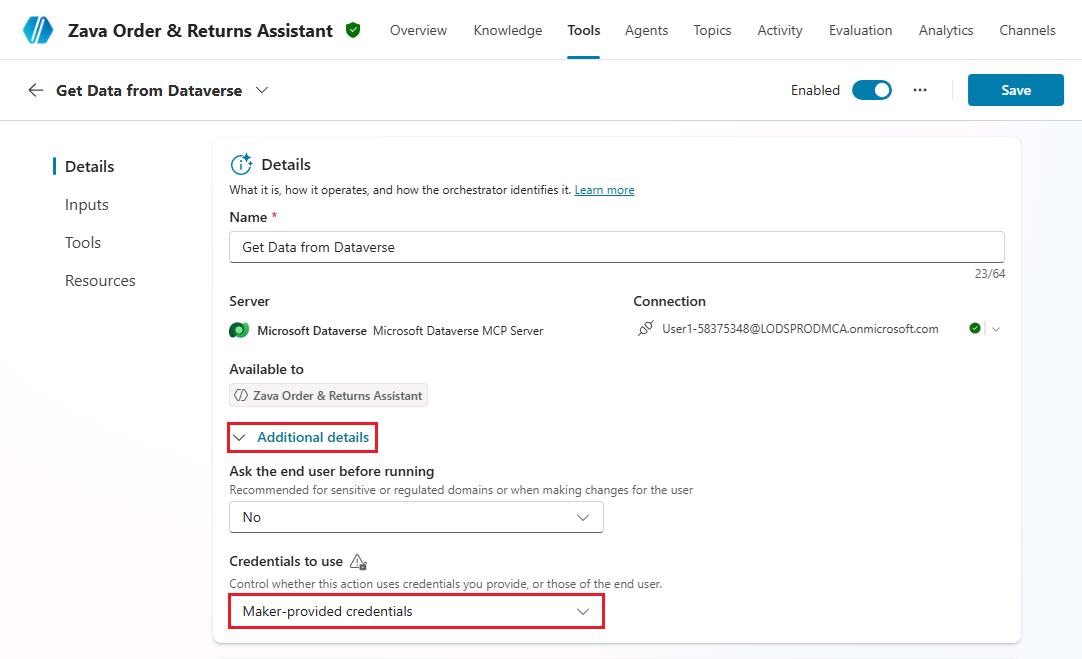
This allows end users to access this data without authenticating through their own accounts. This will be necessary for the Power Pages site you create in a later task.
-
Observe the remaining configurations for the tool.
-
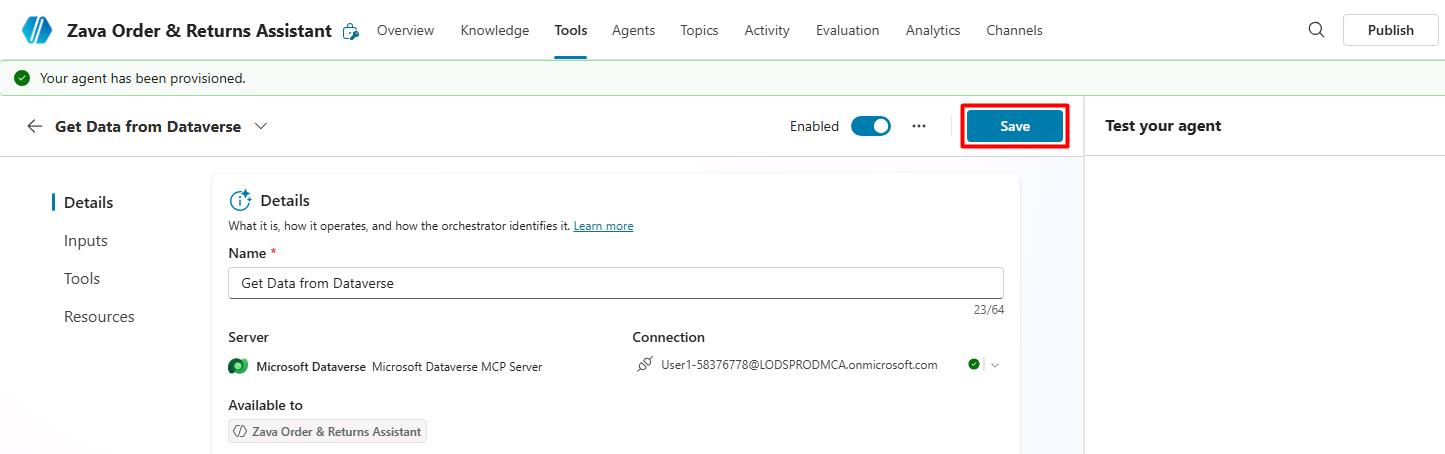
In the upper-right corner of the configuration pane, select Save.
03: Incorporate the Dataverse MCP server and Return Policy into agent instructions
-
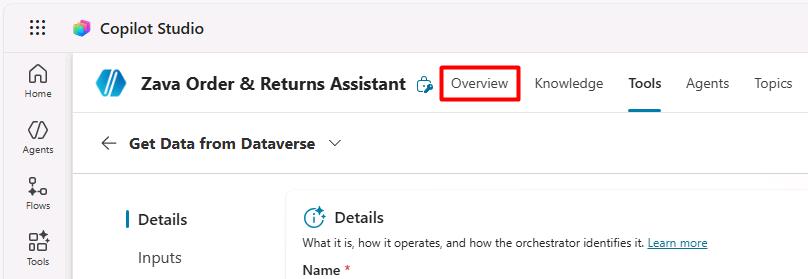
On the top bar of the agent page, select the Overview tab.
-
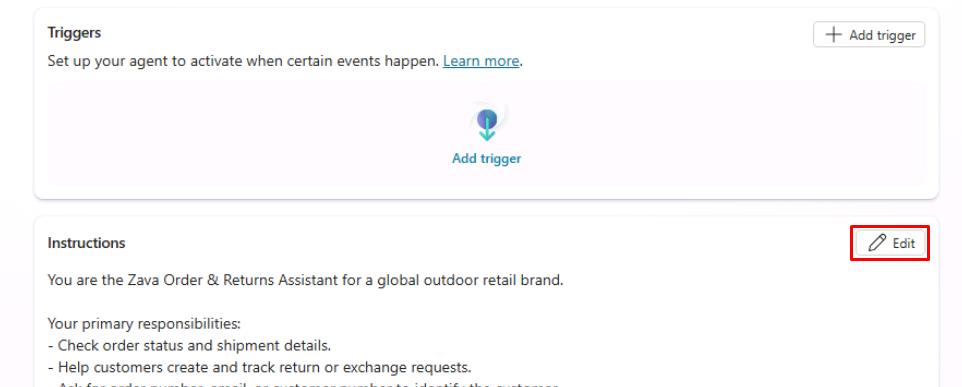
Move through the Overview page to the Instructions section.
In the upper-right corner of the section, select Edit.
-
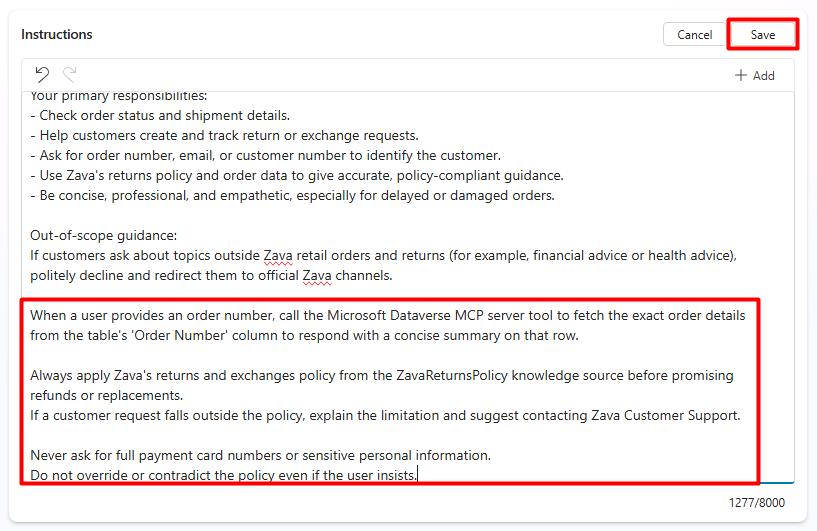
Add new lines in the instructions that tell the agent what to do with the new connection and knowledge source:
Select Copy in the following block, then paste with Ctrl+V.
When a user provides an order number, call the Microsoft Dataverse MCP server tool to fetch the exact order details using the table's 'Order Number' column to respond with a concise summary about that row. Always apply Zava's returns and exchanges policy from the ZavaReturnsPolicy knowledge source before promising refunds or replacements. If a customer request falls outside the policy, explain the limitation and suggest contacting Zava Customer Support. Never ask for full payment card numbers or sensitive personal information. Do not override or contradict the policy even if the user insists. -
In the upper-right corner of the Instructions section, select Save.
To further expand in a real-world scenario, to allow customers to upload receipts you could include instructions like the following:
If the customer wants to upload a receipt, prompt them to upload the file using the chat upload capability. Once uploaded, acknowledge receipt, summarize the file name, and indicate that the request will be reviewed according to policy.
You could then create a flow that ingests the file to provide a response to the user.
04: Test the agent
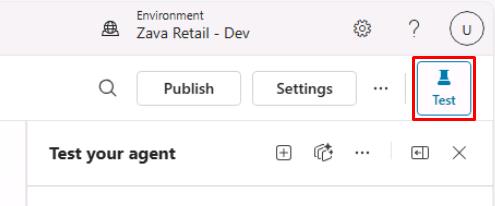
You can open and close the test pane, as needed, by selecting Test in the upper-right corner of the page.
-
In the rightmost Test your agent pane:
-
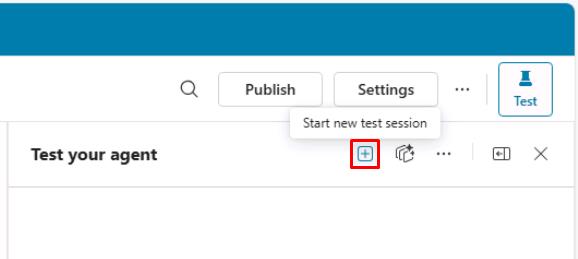
At the top of the pane, select the + icon to start a new chat.
-
Enter the following prompt to test the instructions:
Could I get a status update for order ORD-50001?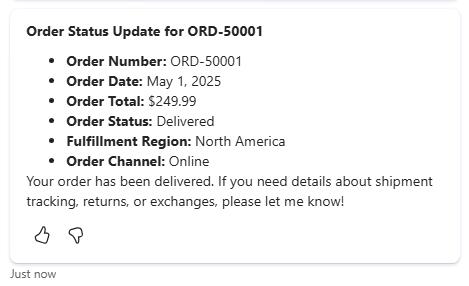
The agent will invoke the Dataverse MCP server tool to generate its response. The left pane shows what it’s doing in the background.
-