Task 03: Add required components to the agent in the solution
-
Go back to your other Copilot Studio Solutions tab with Zava Global Service Desk open.
-
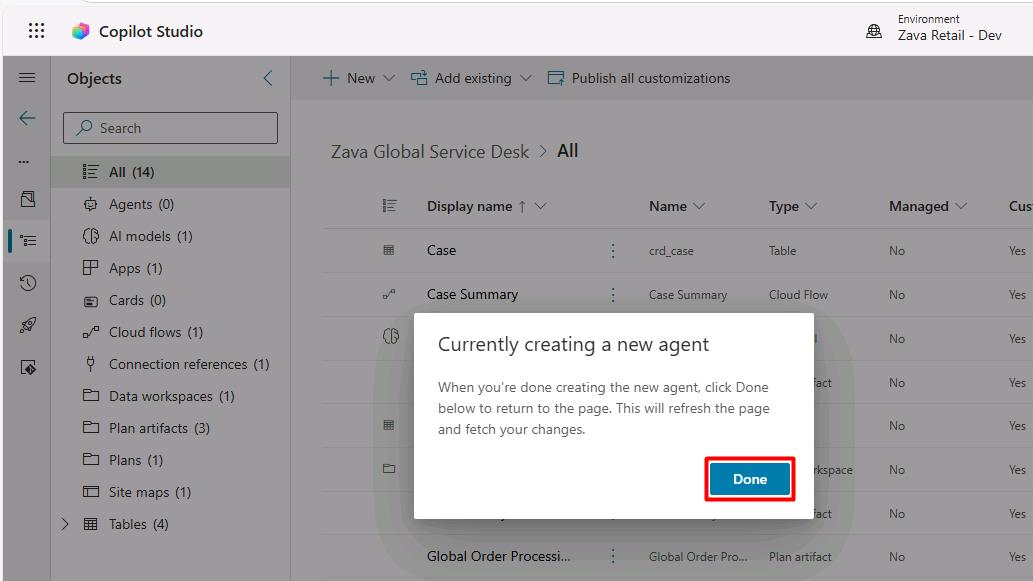
In the dialog, select Done.
-
Under the third Type column, find the entry for Site Map:
-
Select the vertical ellipsis > Advanced > Add required objects.
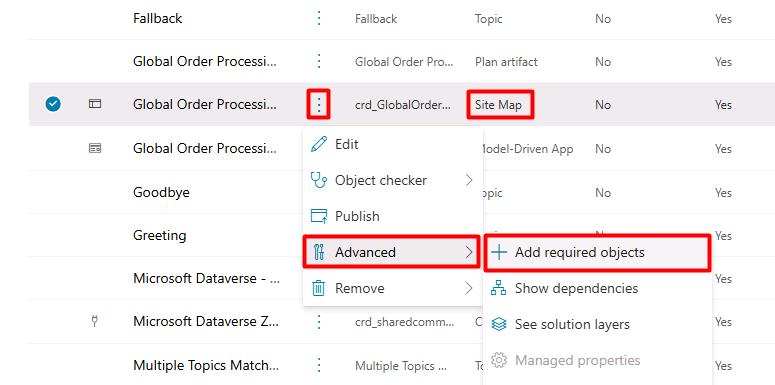
The name of your app’s site map will differ.
-
In the flyout pane, select OK.
-
-
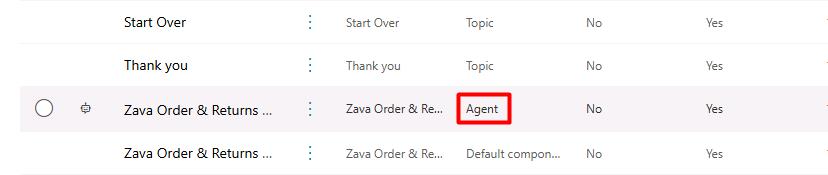
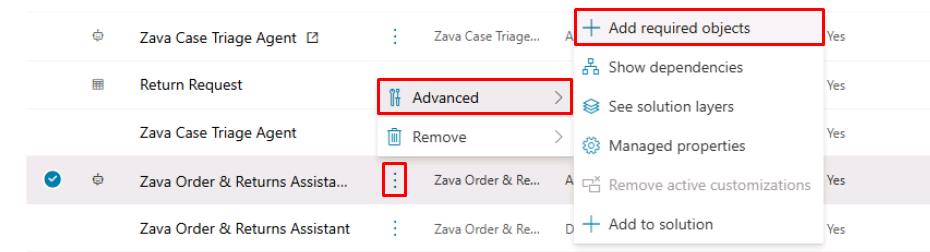
On the line for the Zava Order & Returns Assistant (Type: Agent):
-
Select the vertical ellipsis > Advanced > Add required objects.
-
In the flyout pane, select OK.
-
-
In the leftmost pane, select the Source control (
 ) icon.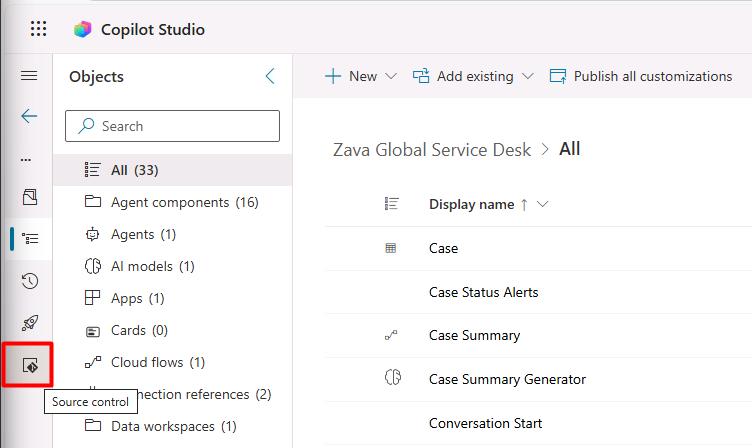
-
On the top bar, select Commit.
-
In the flyout pane:
-
Under Comment, enter
Added Copilot Studio agent with Policy Knowledge and Dataverse MCP Server. -
At the bottom of the pane, select Commit.
-
-
Once committed, go back to your tab for the Azure DevOps repo.
-
In the leftmost pane, under Repos, select Files.
-
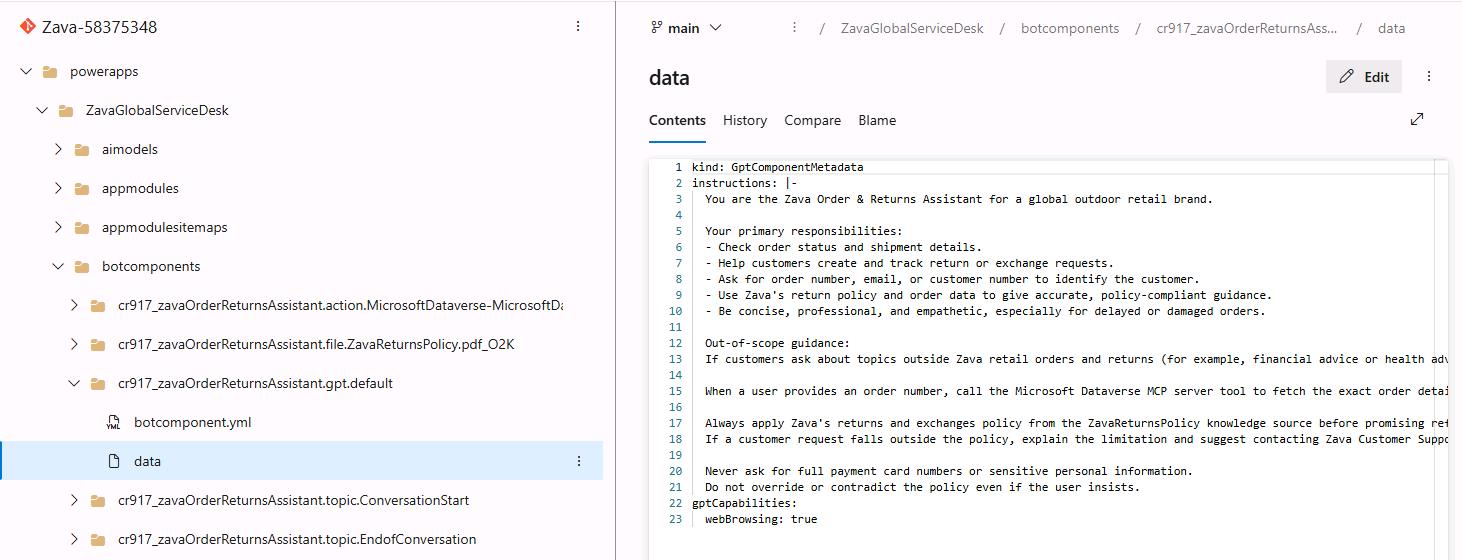
In the navigation pane of the repo, expand powerapps > ZavaGlobalServiceDesk_@lab.LabInstance.Id > botcomponents to observe your new agent’s components.
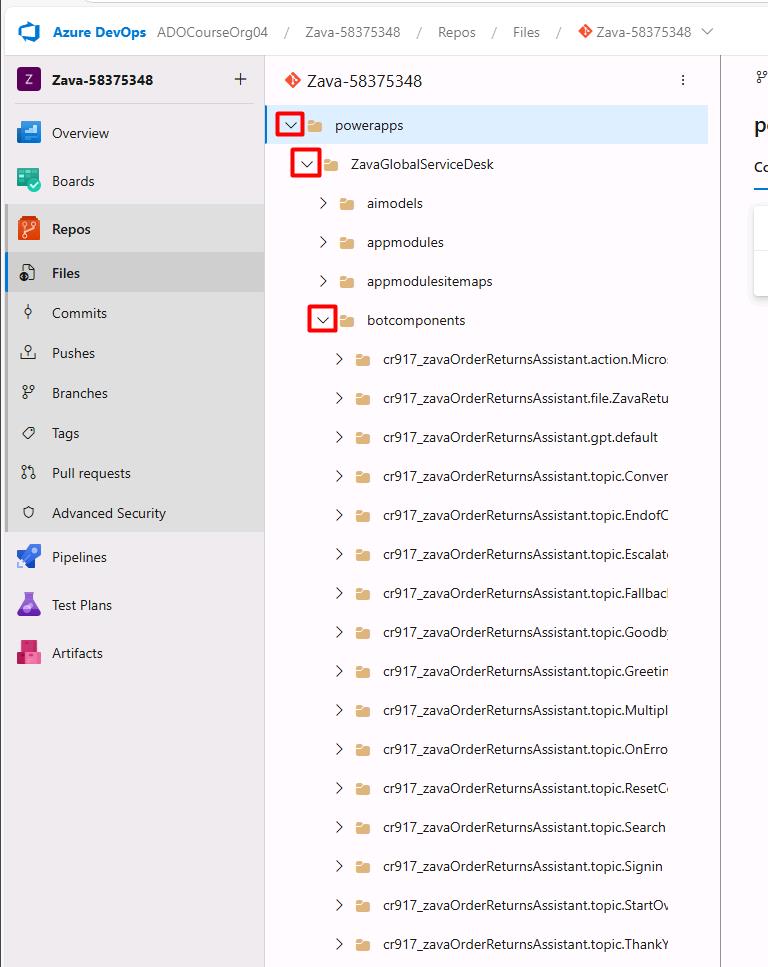
-
Expand cr[XYZ]_zavaOrderReturnsAssistant.gpt.default, then select data.