Task 2.2: Set up a data connector for Linux
Now that we set up Microsoft Sentinel, we can configure our Data Collectors. For this task, we’ll be connecting Syslog.
Syslog is an event logging protocol that’s common to Linux. You can use the Syslog daemon built into Linux devices and appliances to collect local events of the types you specify, and have it send those events to Microsoft Sentinel using the Log Analytics agent for Linux.
The following documents may help you complete this task.
-
On the Microsoft Sentinel page, under Configuration, select Data connectors.
-
On the Connectors summary bar select More content at Content hub.

-
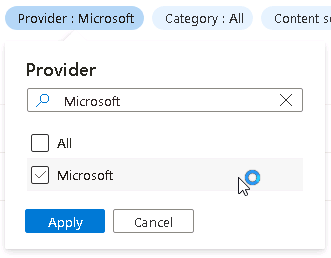
On the Content hub page select the Provider filter and clear the All checkbox.
-
In the Provider search box, enter Microsoft , select Microsoft from the results, and then select Apply.
-
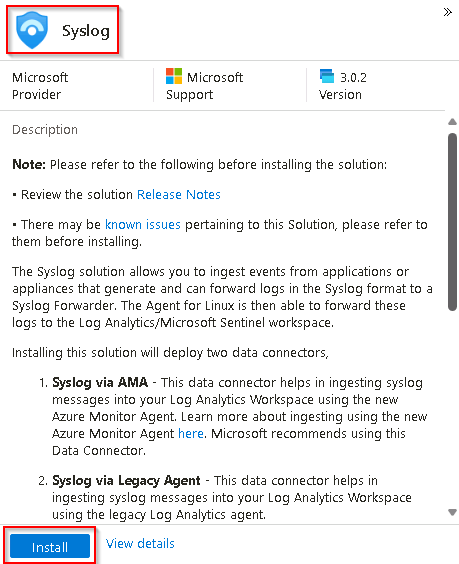
On the Content hub page in the search box, enter Syslog, and then select Syslog from the results.
-
On the Syslog details panel, review the description, and then select Install.
-
When the installation of the Syslog connector has completed, return to the Data connectors page by selecting Microsoft Sentinel Data connectors on the breadcrumb at the top of the page.

-
On the Microsoft Sentinel Data connectors page, in the Search by name or provider box, enter Syslog.
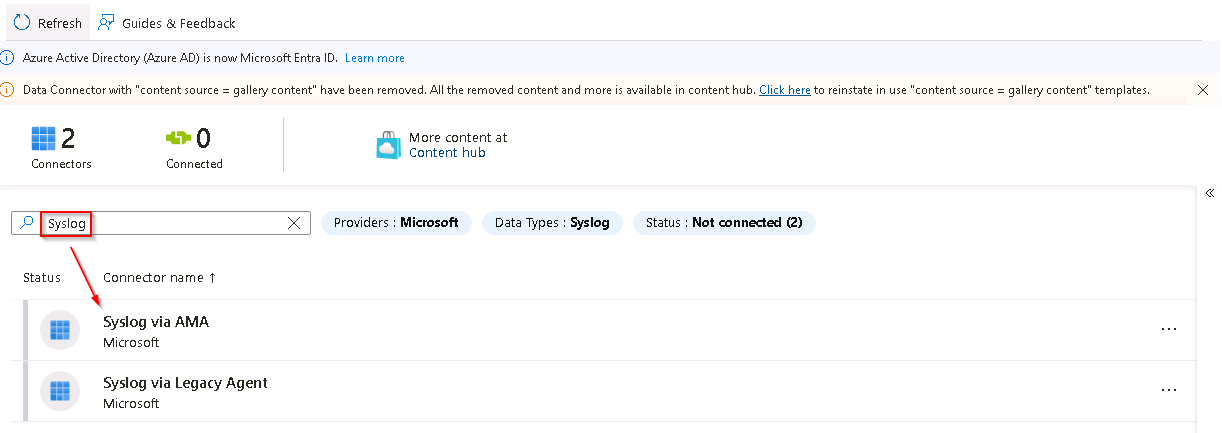
If the Syslog via AMA data connector does not appear in the list, select Refresh from the menu.
-
Select the Syslog via AMA connector from the list to configure the Linux system log connector.
-
On the Syslog via AMA pane, select Open connector page.
-
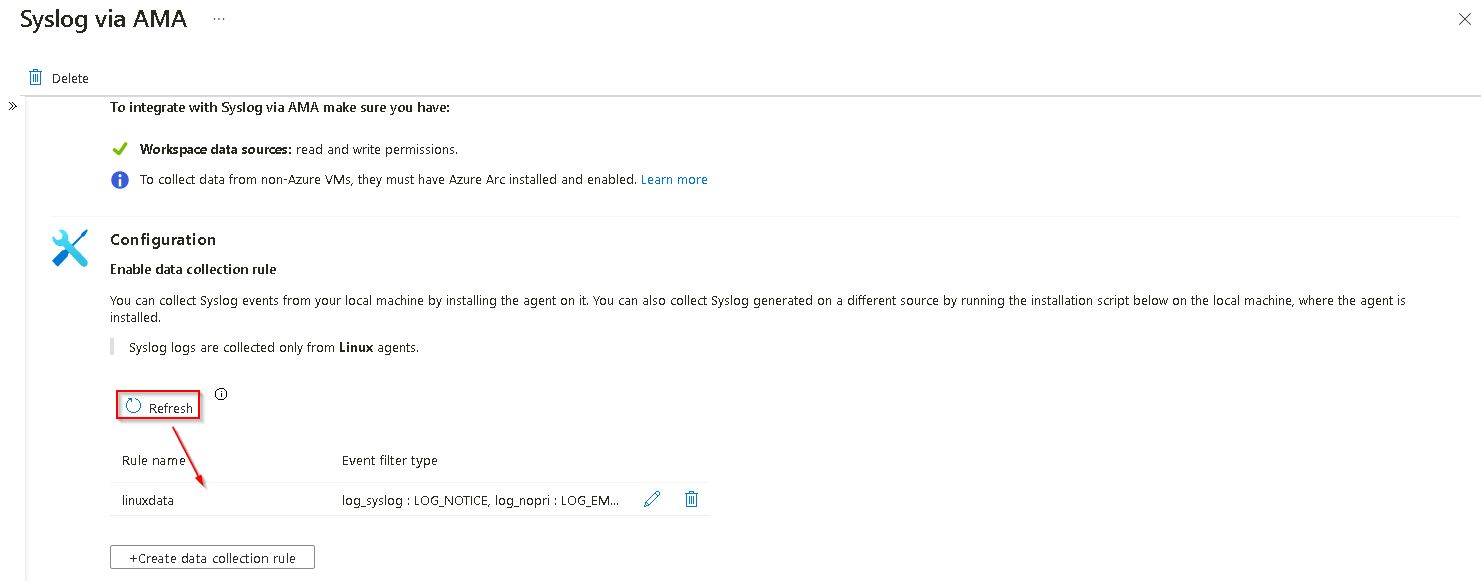
On the Syslog via AMA page, under Configuration, select +Create data collection rule.

-
On the Basic tab of the Create Data Collection Rule page, complete the fields using the table below and then select Next: Resources >:
Field Value Rule name linuxdata Subscription @lab.CloudSubscription.Name Resource group @lab.CloudResourceGroup(RG1).Name -
On the Resources tab of the Create Data Collection Rule page, expand the @lab.CloudSubscription.Name scope and then expand the @lab.CloudResourceGroup(RG1).Name.
-
Select the Linux1 Virtual Machine checkbox, and then select Next: Collect >:

-
On the Collect tab of the Create Data Collection Rule page, scroll down to the LOG_SYSLOG facility and set the Minimum log level to LOG_NOTICE and then select Next: Review + create >.

-
Once the validation has passed select Create.
If the Syslog data connector process is slow to fully complete you can monitor for completion by opening the notifications panel. To do this select the bell icon at the top of the Azure screen and examine the notification titled Connecting VM ‘Linux1’…*

-
On the Syslog via AMA page, in the Configuration section, select Refresh until the data collection rule linuxdata is shown in the list.
-
On the Syslog via Legacy Connector page, in the Configuration section, expand the option Install agent on Azure Linux Virtual Machine.
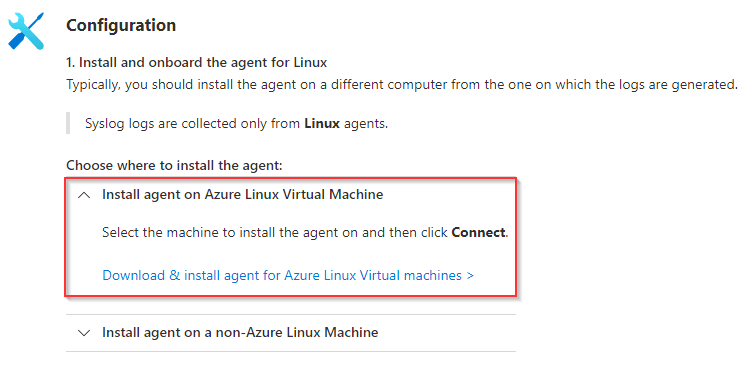
-
Select the Download & install agent for Azure Linux Virtual machines link.
-
From the list of Virtual machines, select the entry named Linux1.

-
To complete the connection, on the Linux1 page, select Connect.

This process can take a couple of minutes to complete.
-
Once the connection has completed, return to the Syslog via Legacy Agent page by selecting Syslog via Legacy Agent in the breadcrumb navigation at the top of the page.

-
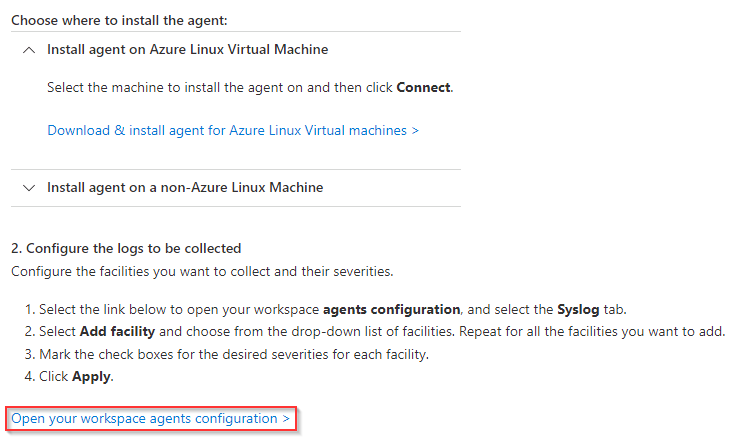
On the Syslog page, at the bottom of the Configuration section, select the Open your workspace agents configuration link.
-
Select + Add facility to define the facilities to collect and then select syslog from the list.
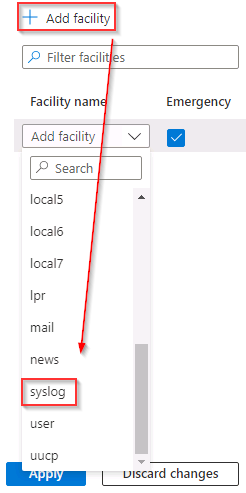
-
Un-select all checkboxes except the Notice checkbox and then select Apply.
