Task 1.2: Import the Splunk data into Azure Sentinel using SIEM Migration
SIEM migration in Azure Sentinel removes the complexity of converting data analytics rules from the Splunk data rules import process.
The following document may help you complete this task.
-
Open Microsoft Edge, go to the Azure Portal then sign in using these credentials:
Username @lab.CloudPortalCredential(User1).Username Password @lab.CloudPortalCredential(User1).Password If you encounter the Welcome to Microsoft Azure screen select Get started and then select Skip on the next two screens.
-
In the Stay signed in? dialog box, select the Don’t show this again box and then select Yes.
If you encounter the Welcome to Microsoft Azure page select the Get started button and then select Skip on the next two pages to bypass the survey and Azure tour.
-
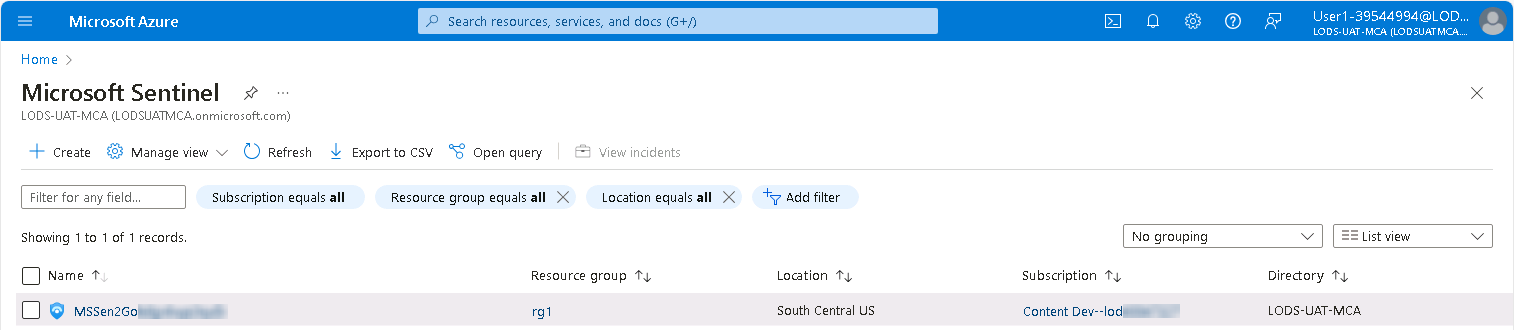
In the search bar of the Azure portal, enter and select Microsoft Sentinel.
-
Select the Sentinel instance with the prefix MSSen2Go… from the list.
-
On the Microsoft Sentinel menu, under Content management, select Content hub.
-
On the Content hub menu, select SIEM Migration.

-
On the Prerequisites tab, review the prerequisites necessary for Splunk data import, and then select Next: Upload file >.
The instructions provided at the top of the Upload file tab provide details on how to export the data from the Splunk instance. This lab assumes that this step has already been completed.
-
Open Windows File Explorer, then go to the C:\Users\Admin\Desktop folder.
-
Drag the SplunkData.json file to the Upload file box in Edge.
A green circle with a checkmark next to the filename will indicate that the file has been appropriately selected.
Alternatively, you can select the Browser for files link in the Upload file section to navigate to, and select, the C:\Users\Admin\Desktop\SplunkData.json file.
-
Select Next : Configure Rules > to upload the Splunk data file and define the migration rules.
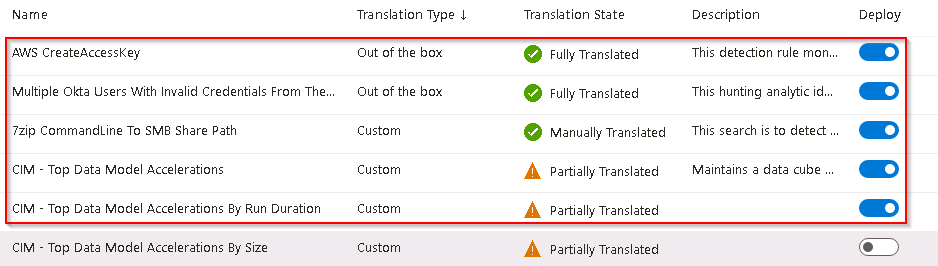
Some rules will be fully recognized and translated while some may only be partially translated or failed. Partially translated rules may require updates to fully migrate the information to Sentinel. Failed translations will not be recognized by Sentinel.
-
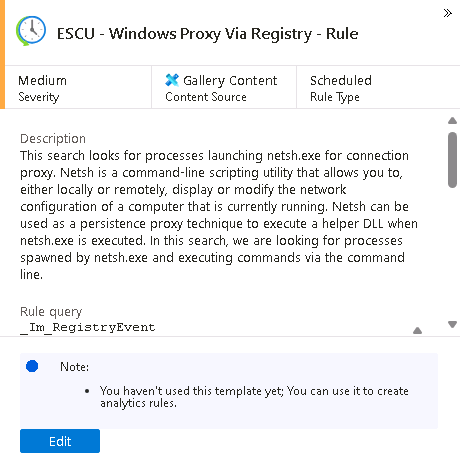
On the Configure Rules tab, in the Name column, select the ESCU - Windows Query Registry Reg Save - Rule rule entry that has a Translation State status of Fully Translated.
Make sure the Translation State is Fully Translated.
-
On the ESCU - Windows Query Registry Reg Save - Rule pane, review the details of the translated rule, including the rule query, run frequency and other parameters.
-
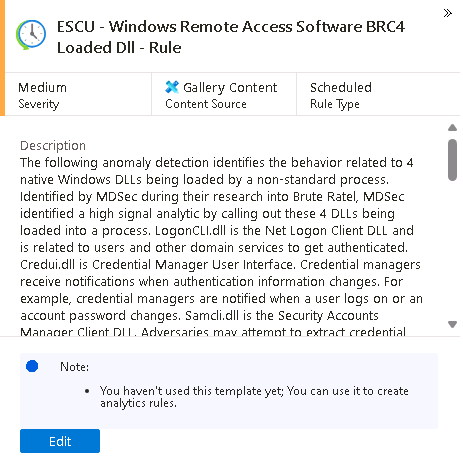
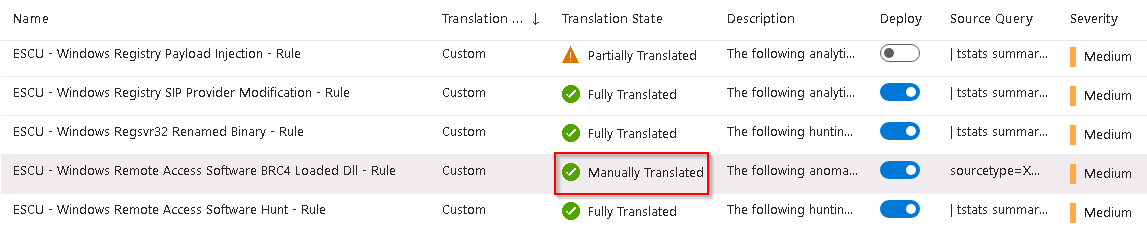
Back on the Configure Rules tab, clear the Filter field, then enter and select the ESCU - Windows Remote Access Software BRC4 Loaded Dll - Rule rule entry that has a Translation State status of Partially Translated.
-
On the ESCU - Windows Remote Access Software BRC4 Loaded Dll - Rule pane, review the details of the partially translated rule, then select Edit.
-
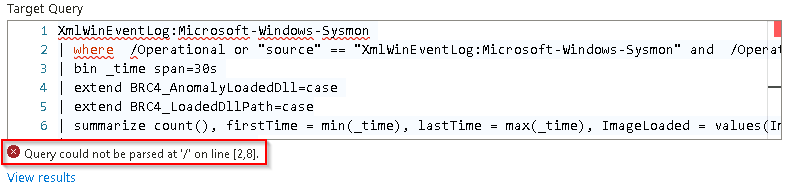
On the Edit SIEM migration rule pane, under the Target Query box, note the following error message. It indicates that an error was detected in the Kusto Query Language (KQL) query.
-
If you’re familiar with this issue, modify the Target query to correct the query.
-
If you’re not sure how to correct the query, use the following steps:
To attempt to translate the Splunk query to MS KQL you can use Copilot AI or other tools to do the work for you.
-
In the Source Query box, highlight and then copy the entire query.
-
Open a new tab in Edge.
-
Go to http://copilot.microsoft.com to access Microsoft Copilot.
-
In the chat box type:
translate this splunk rule to KQL:
-
On a new line in the chat box paste the Source Query copied previously and then submit the text.
-
Copy the resulting KQL query from Copilot and paste it into the Target Query box on the Edit SIEM migration rule pane.
A new error will be displayed under the Target Query box. This error indicates that a table couldn’t be resolved. This table may not exist in Sentinel which will prevent the successful execution of this rule.
-
To complete the update select Save Changes.
-
-
The Translation State of the ESCU - Windows Remote Access Software BRC4 Loaded Dll - Rule SIEM rule has changed from Partially Translated to Manually Translated.
-
In the SIEM Migration rules list ensure that the Deploy switch has been enabled for the following rules and then select Next : Review and migrate >.
- ESCU - Windows Query Registry Reg Save - Rule
- ESCU - Windows Rapid Authentication on Multiple Hosts - Rule
- ESCU - Windows Remote Access Software BRC4 Loaded Dll - Rule
- ESCU - Windows RDP Connection Successful - Rule
-
Clear the filter, then search for ESCU - Windows Updates and note that the Translation State for the following rules is currently Not Translated.
- ESCU - Windows Updates Install Failures
- ESCU - Windows Updates Install Successes
These rules could not be automatically translated by the SIEM Migration engine and will have to be re-created manually.
-
To continue with the migration select Next : Review and migrate >.
-
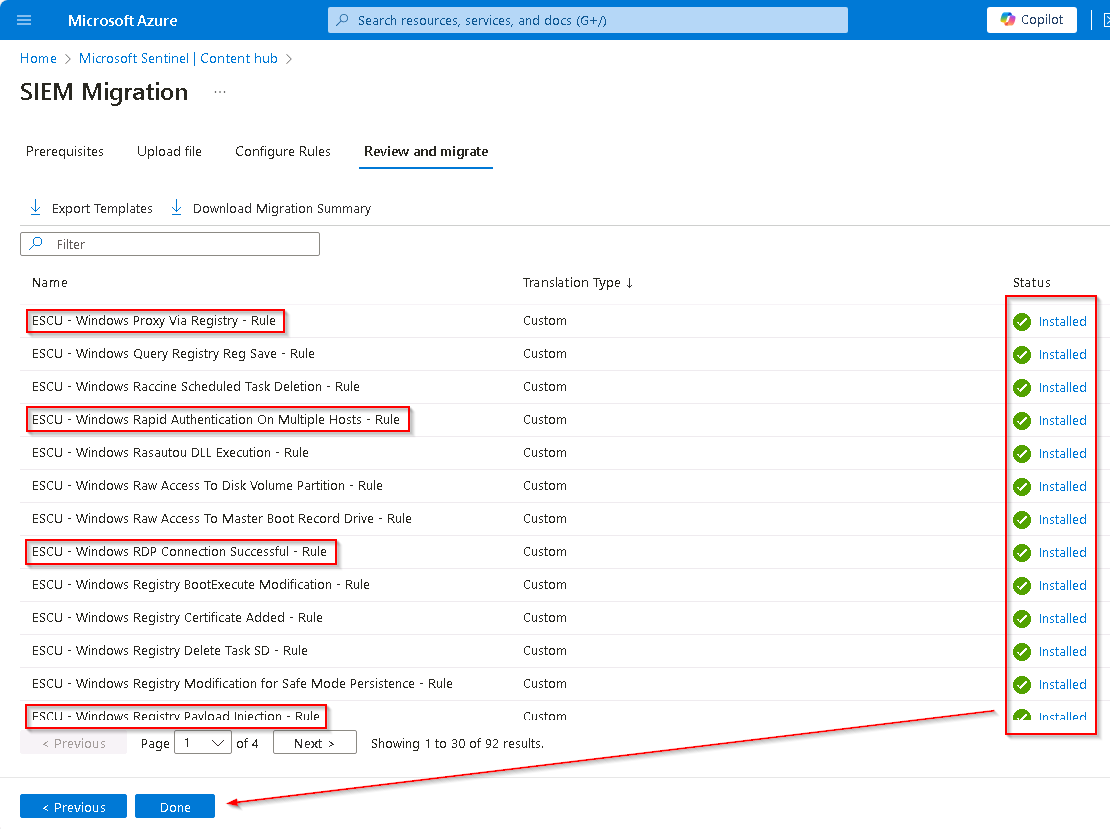
Review the list of SIEM Migration rules to ensure that the appropriate rules have been selected and then select Deploy.
It may take a couple of minutes to complete the installation of the queries into Sentinel and build out the analytics rules.
-
Once the installation of all the SIEM Migration rules has completed select Done to return to the Microsoft Sentinel | Content hub panel.
-
On the confirmation screen select OK to complete the migration.