Task 3.6: Configure an Azure Analytics rule for Linux
In this task, you’ll use Sentinel to create a new high priority Scheduled Query Rule for Linux.
The following documents may help you complete this task.
- Create custom analytics rules to detect threats
- Collect data from Linux-based sources using Syslog
- Data collection best practices
-
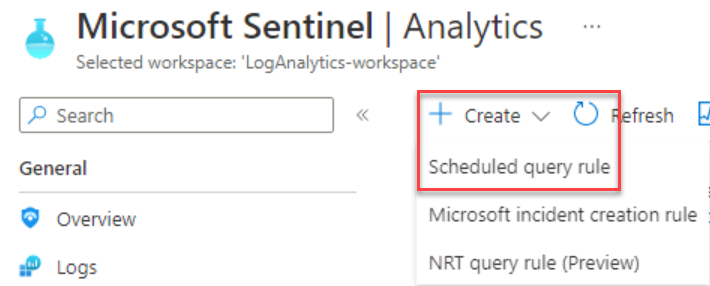
On the Microsoft Sentinel Analytics page, select + Create > Scheduled query rule.
-
On the Analytics rule wizard - Create a new scheduled rule, on the General tab, under Analytics rule details complete the form using the values in the table below:
Field Value Name **Linux Custom Rule** Severity High Status Enabled 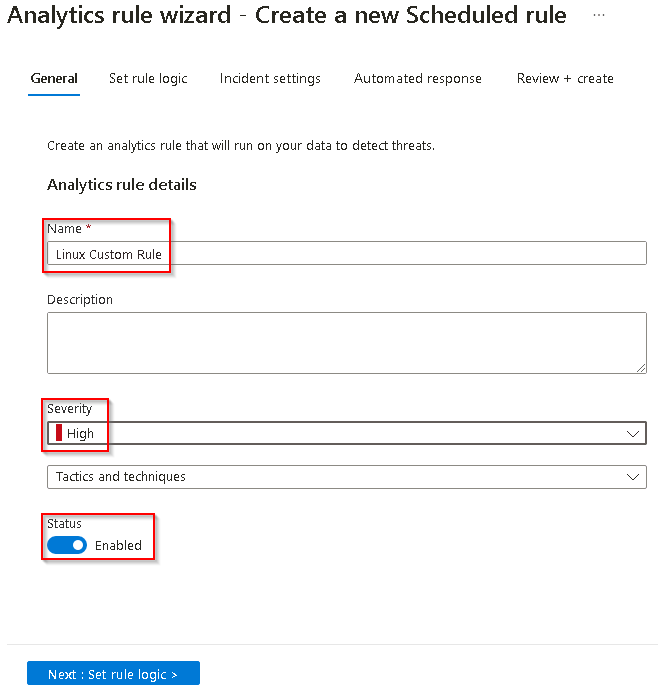
-
Select Next: Set rule logic.
-
On the Set rule logic tab, in the Rule query box, enter the following query.
Syslog | where Facility contains "syslog" |where ProcessID == "65536" | project HostName, HostIP, Computer, TimeGenerated, SourceSystemThis query searches for the event code that triggers an incident in Sentinel.
-
Under Query scheduling, set Run query every to 5 minutes.

-
To configure the Incident settings select Next : Incident settings >.
-
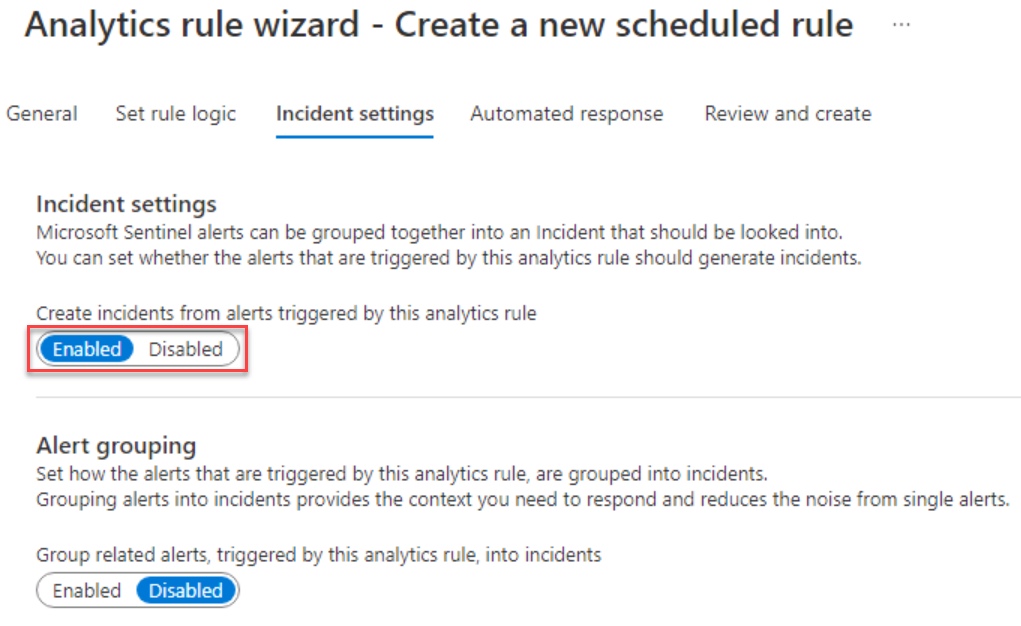
On the Incident settings tab, under Incident settings, verify that Create incidents from alerts triggered by this analytics rule is set to Enabled.
-
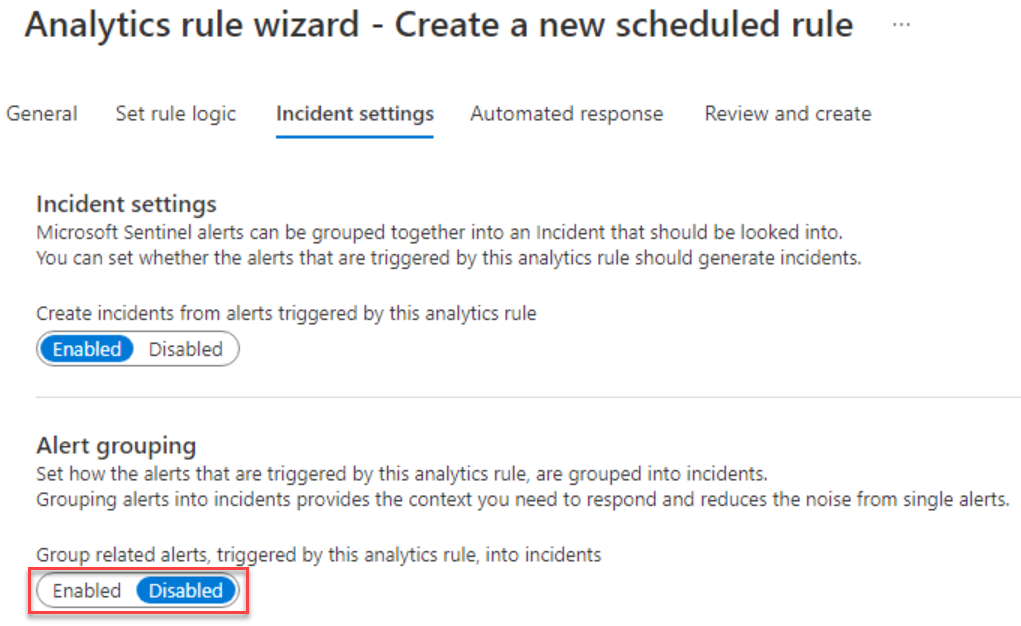
Under Alert grouping, verify that Group related alerts, triggered by this analytics rule, into incidents, is set to Disabled and then select Next: Automated response >.
-
On the Automated response tab select Next: Review + create.
-
On the Review and create tab, after validation completes, review the settings, then select Save.
Upon review, if any of the settings are incorrect, select Previous to return to the appropriate tab.

-
Once complete, the Microsoft Sentinel Analytics page will display.