TIP
🔥 Help shape the future of Azure Tips and Tricks by telling what you'd like for us to write about here (opens new window).
💡 Learn more : Tip 236 Deploy your web app in Windows Containers on Azure App Service (opens new window).
📺 Watch the video : How to use Deployment Slots in Azure App Service for Containers (opens new window).
# How to use Deployment Slots in Azure App Service for Containers
# Managed features for containerized applications
Using containers is a great way to make sure that your application can run anywhere and that it runs in the same environment, anywhere. In Azure, you can run containers in many services, including in Azure Kubernetes Service (opens new window), Azure Container Instances (opens new window), Azure Service Fabric (opens new window) and more. And you can also run containers in Azure App Service (opens new window). Running containers in Azure App Service enables you to use features like deployment slots (opens new window) and easy authentication and authorization (opens new window).
In this post, we'll take a look at using deployment slots for containers in Azure App Service.
# Prerequisites
If you want to follow along, you'll need the following:
- An Azure subscription (If you don't have an Azure subscription, create a free account (opens new window) before you begin)
- Follow the instruction in Tip 236 (opens new window), to deploy an ASP.NET Forms application in a WIndows container to Azure App Service
# Using deployment slots
Deployment slots (opens new window) in Azure App Service help you to deploy new features of your app without any downtime. Let's see how we can do that with a containerized application. We'll start with an ASP.NET app that is already containerized and deployed to an Azure App Service.
- Go to the Azure portal (opens new window)
- Navigate to the Azure App Service
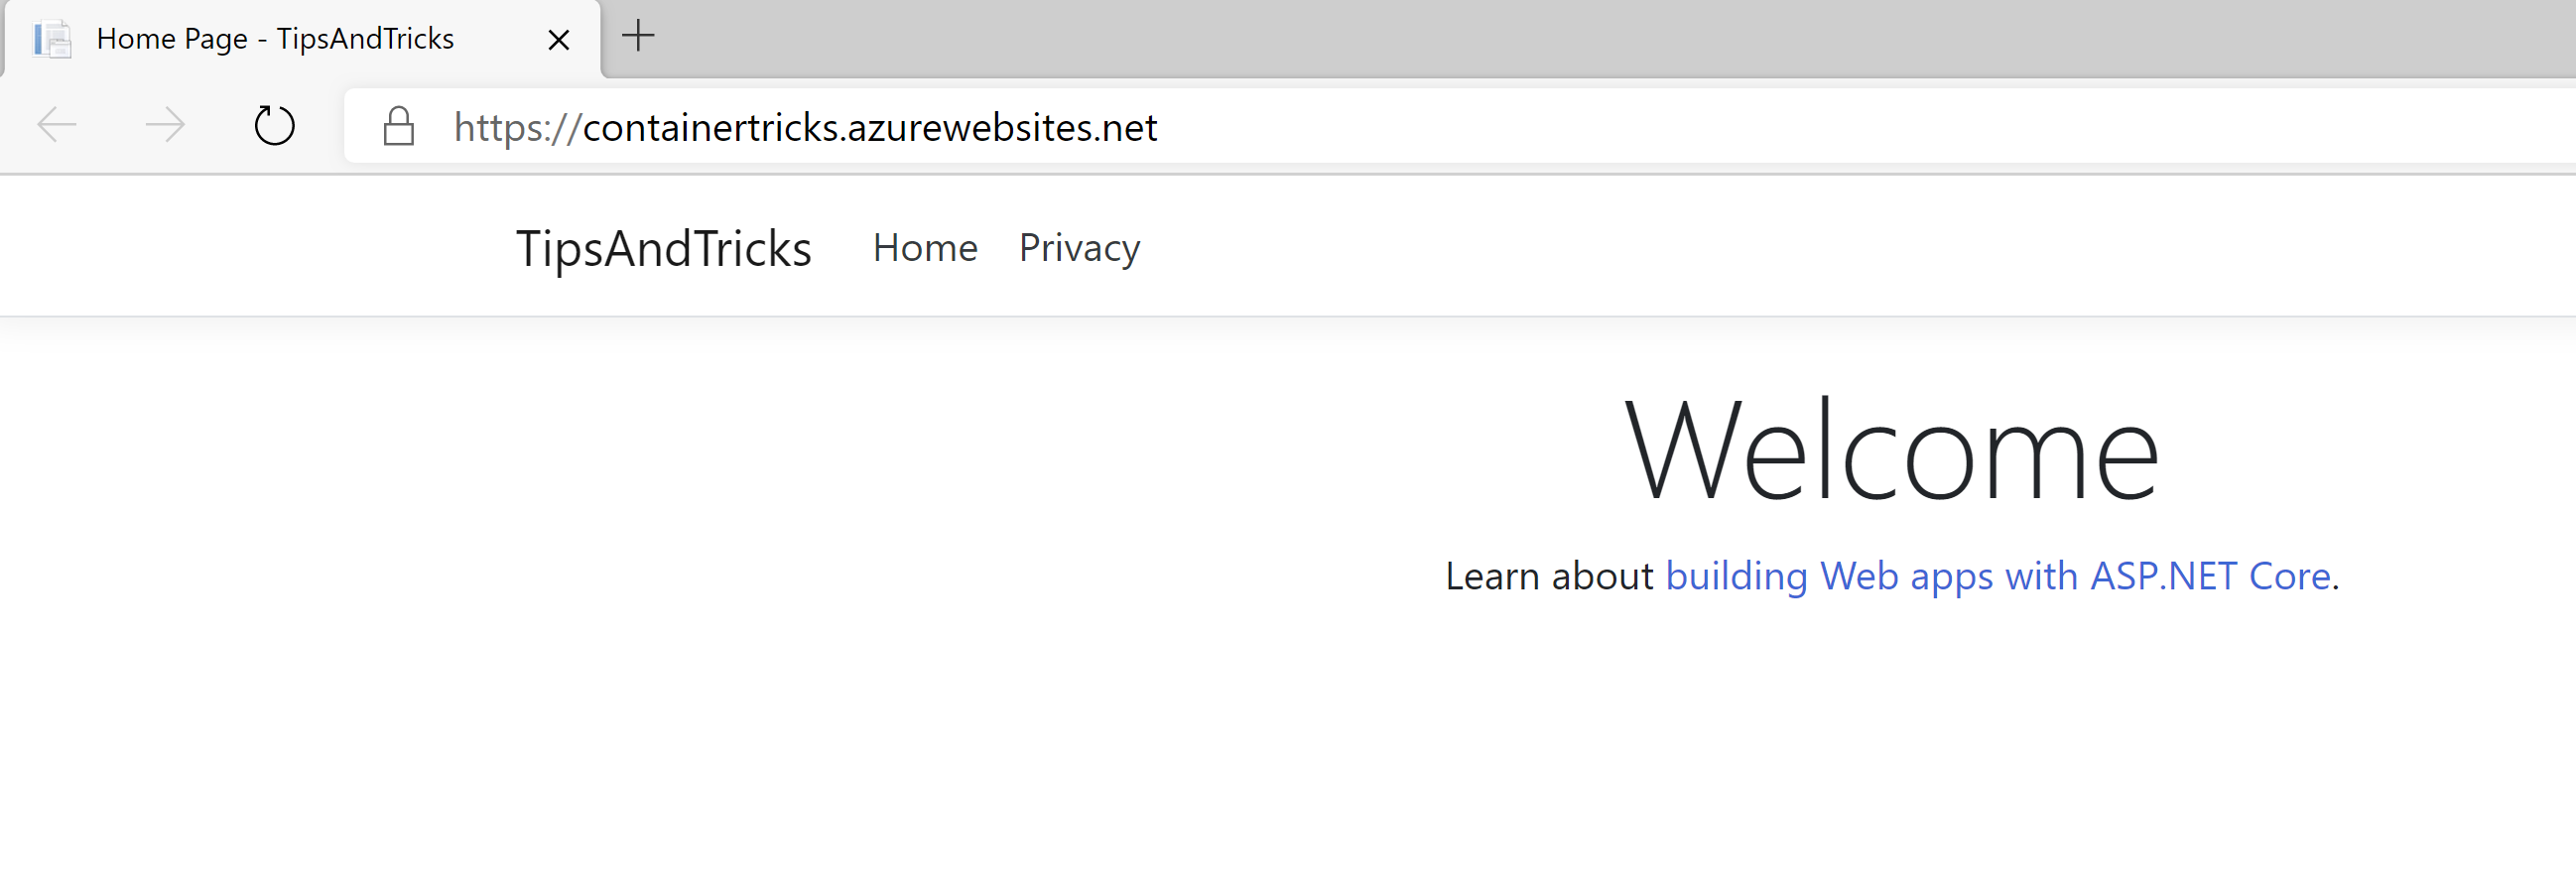
- In the overview blade, click on Browse to see the application that is running in a container in the App Service.

(Application running in App Service)
- The App Service gets the container from Docker Hub (opens new window), and you can also use Azure Container Registry (opens new window). We are going to change the application, publish a new version of the container image to the container registry and deploy that to a deployment slot. Open The application in Visual Studio and make a visible change to it
- In Visual Studio, right-click the project file and click Publish
- In the Publish window, change the Image Tag to something else than "latest"
- Click Publish to publish the new version of the application in a container to the container registry

(Publish window in Visual Studio)
- Go back to the Azure portal and back to the App Service
- Select the Deployment slots menu
- We currently have no deployment slots, so let's add one by clicking on Add Slot
- Provide a name for the deployment slot
- Click Add
- You'll now see the new slot in the list of deployment slots. Click on it
- When the deployment slot is opened, it looks exactly the same as the App Service. That is because a deployment slot is another instance of an App Service that runs in the same App Service Plan (opens new window). This means that you can use almost all App Service features in a deployment slot and that you don't pay extra for it. Go to the Container settings menu in the deployment slot
- In Container Settings, change the Full Image Name and Tag, so that it points to the latest version of the application
- Click Save
- Go back to the Overview blade and click Restart to restart the App Service. Now wait a few minutes and click Browse to see the new version of the app in action

(New version of the app in a deployment slot)
The new version of the application runs in a deployment slot. The slot has almost the same URL as the original App Service (the production slot), only appended with the slot name, like container-tricks-staging.azurewebsites.net
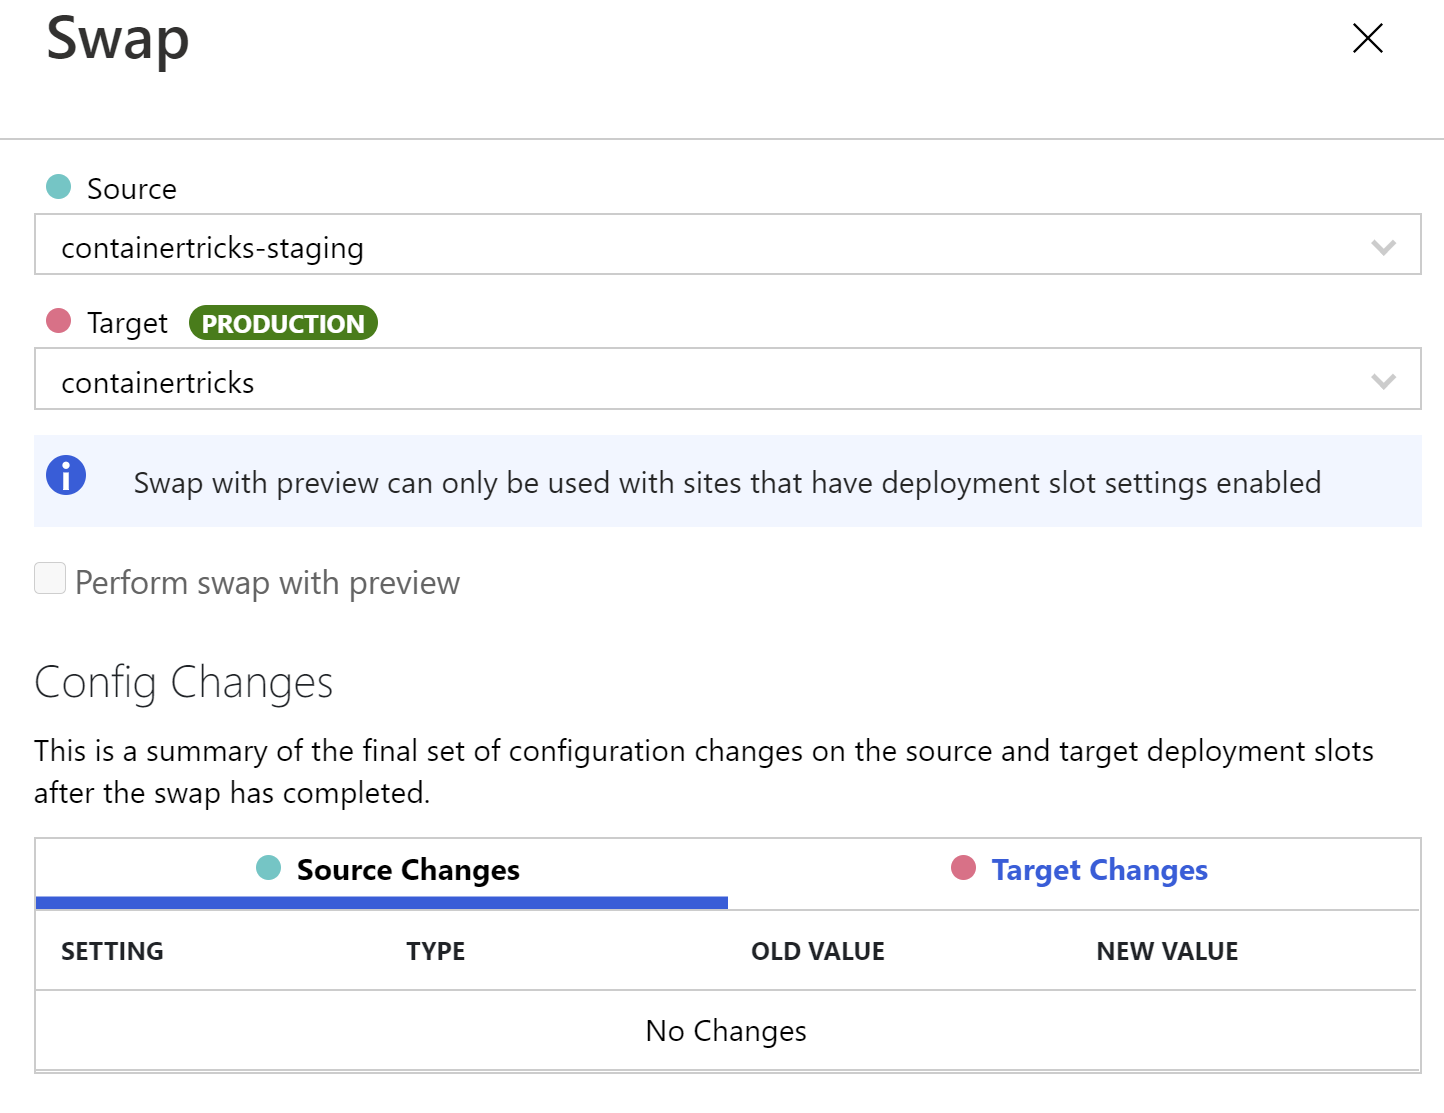
- Now for the magic part of deployment slots, the swap. Go to the Deployment slots menu again
- Click on the Swap button
- Leave everything as it is and click Swap. This will warm up the staging slot and "swap" it with the production slot, to seamlessly deploy the new version of the application to production, without any downtime

(Swap deployment slots)
- In the Deployment slot blade, click on the production slot
- Click on Browse in the overview blade to see the app that is running in production

(New version of the app in production)
The latest version of the app is now running in production. If you check the deployment slot, you'll find that it is now running the old version of the app. This allows you to easily revert a deployment, by simply swapping back.
# Conclusion
Deployment slots (opens new window) are a powerful feature of Azure App Service (opens new window) that allows you to deploy without any downtime. You can use them for containerized application with Azure App Service for Containers (opens new window). Go and check it out!
